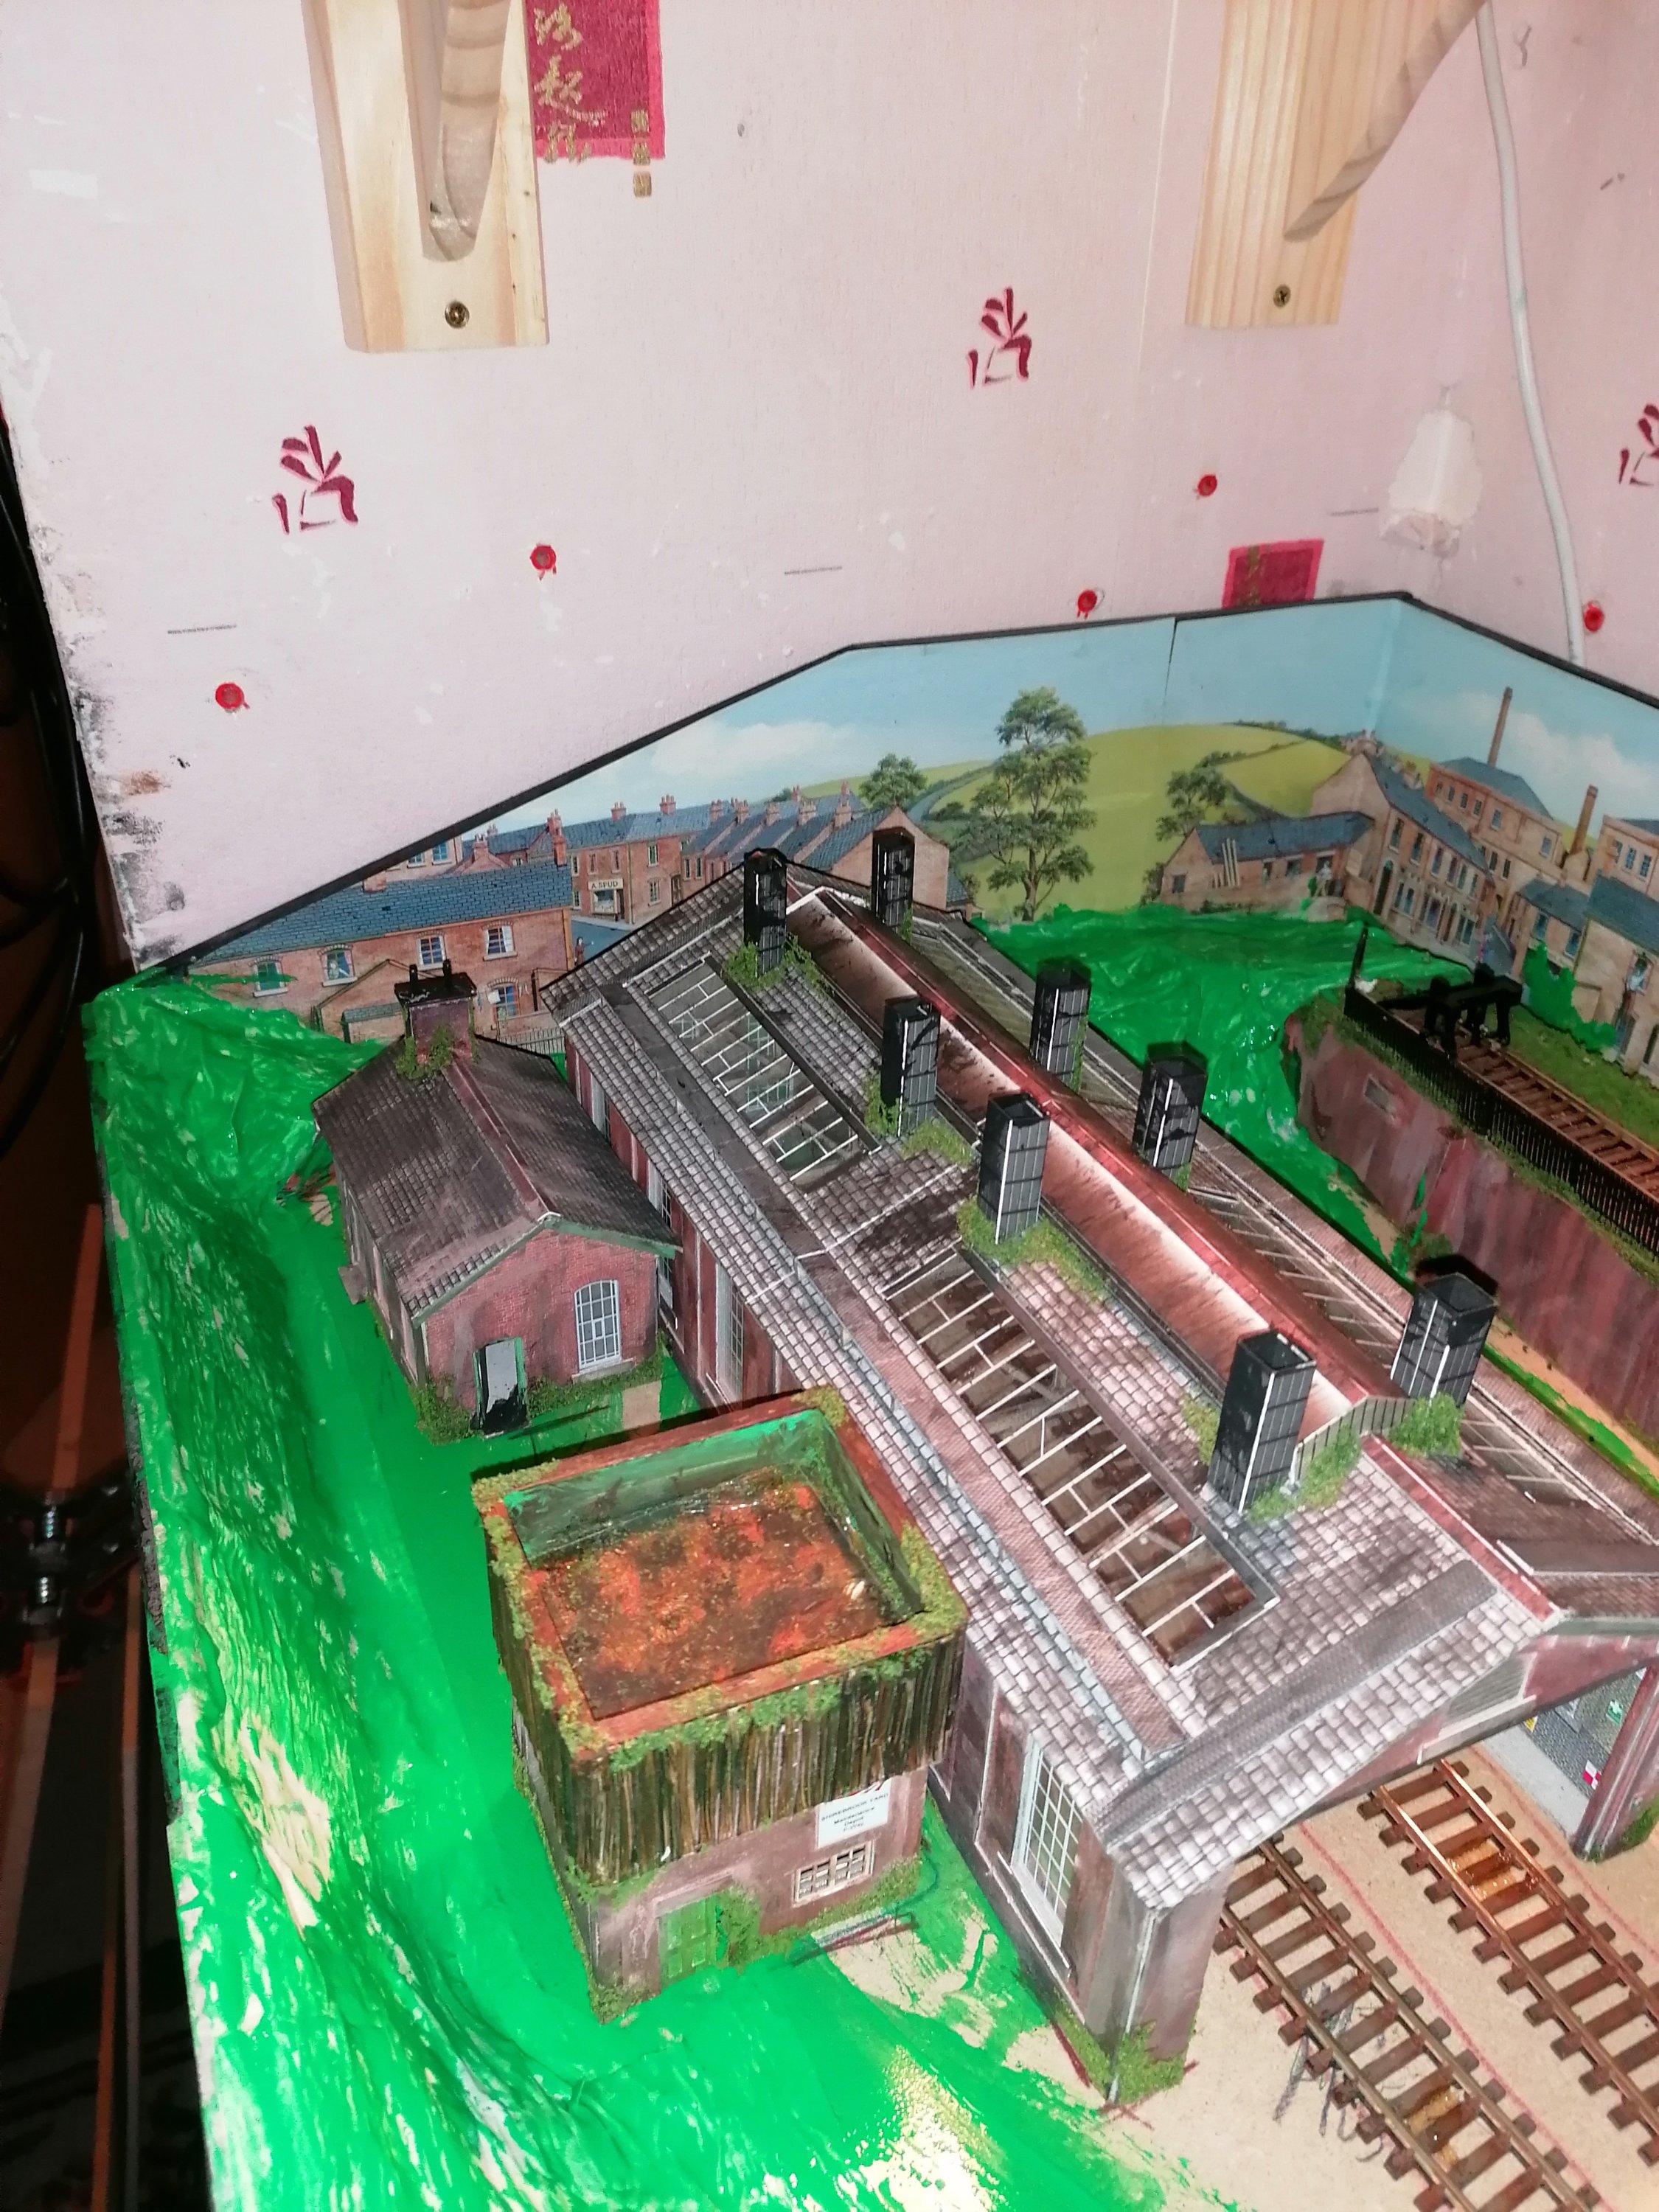
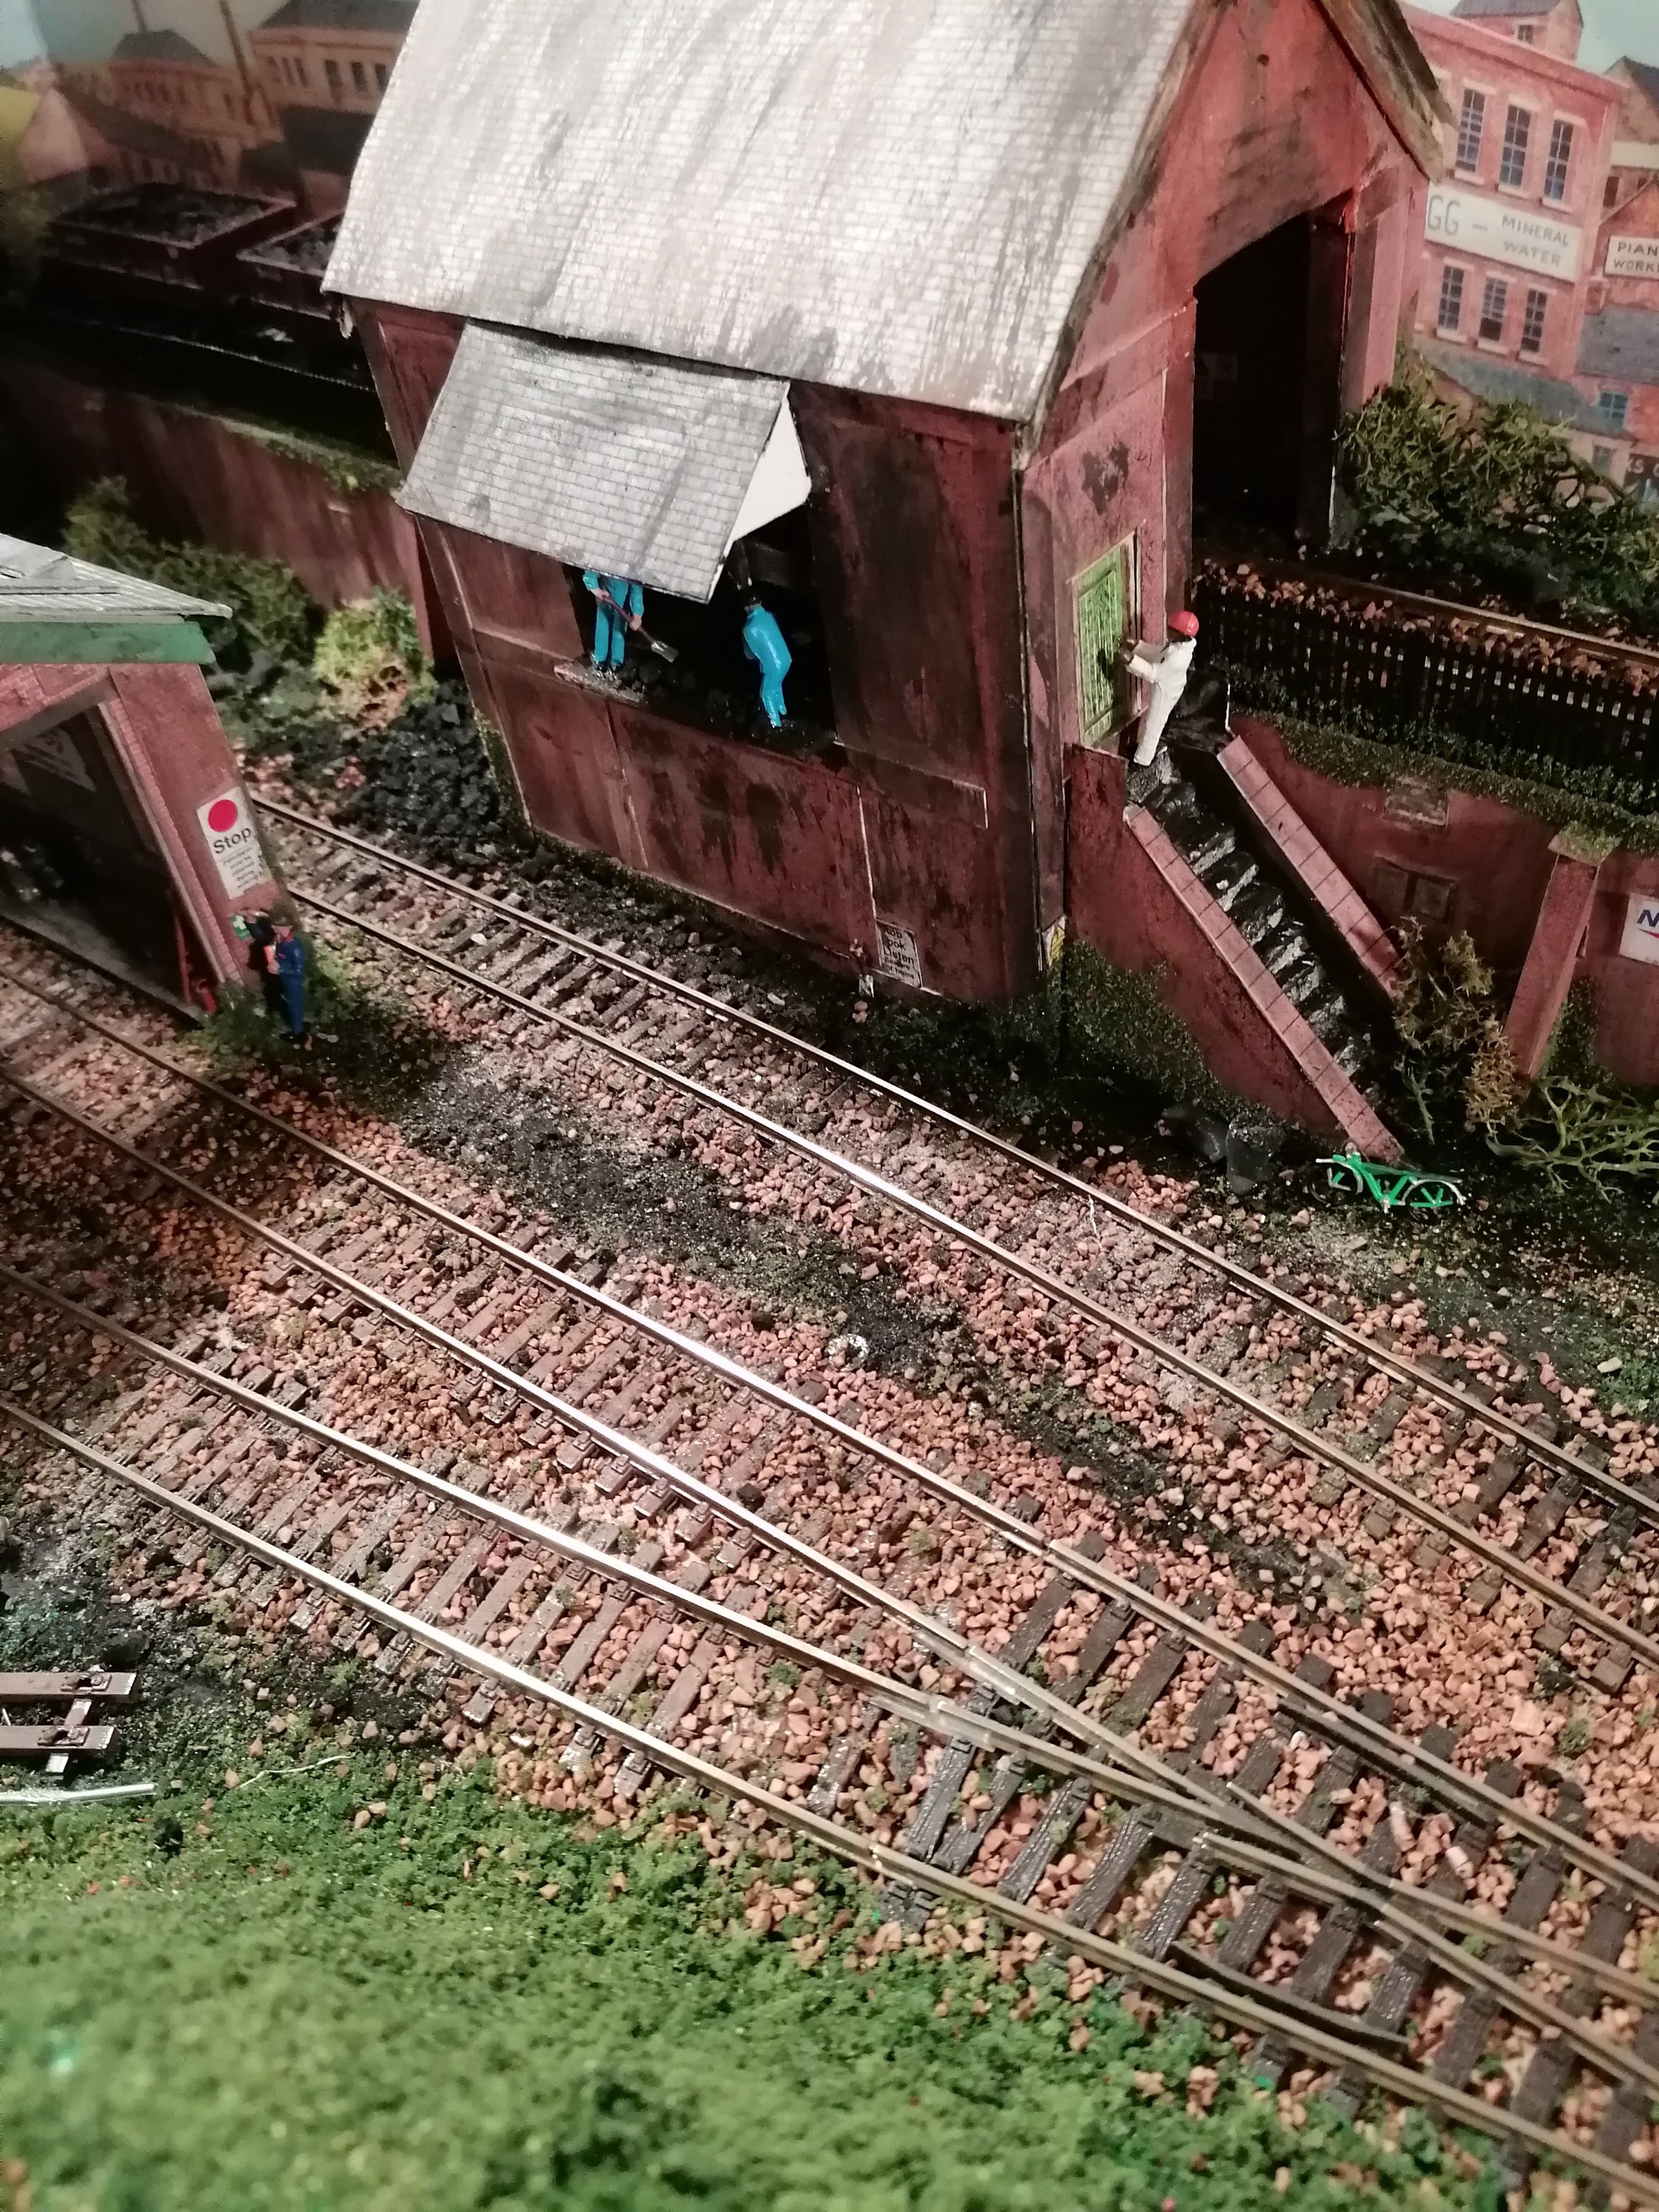
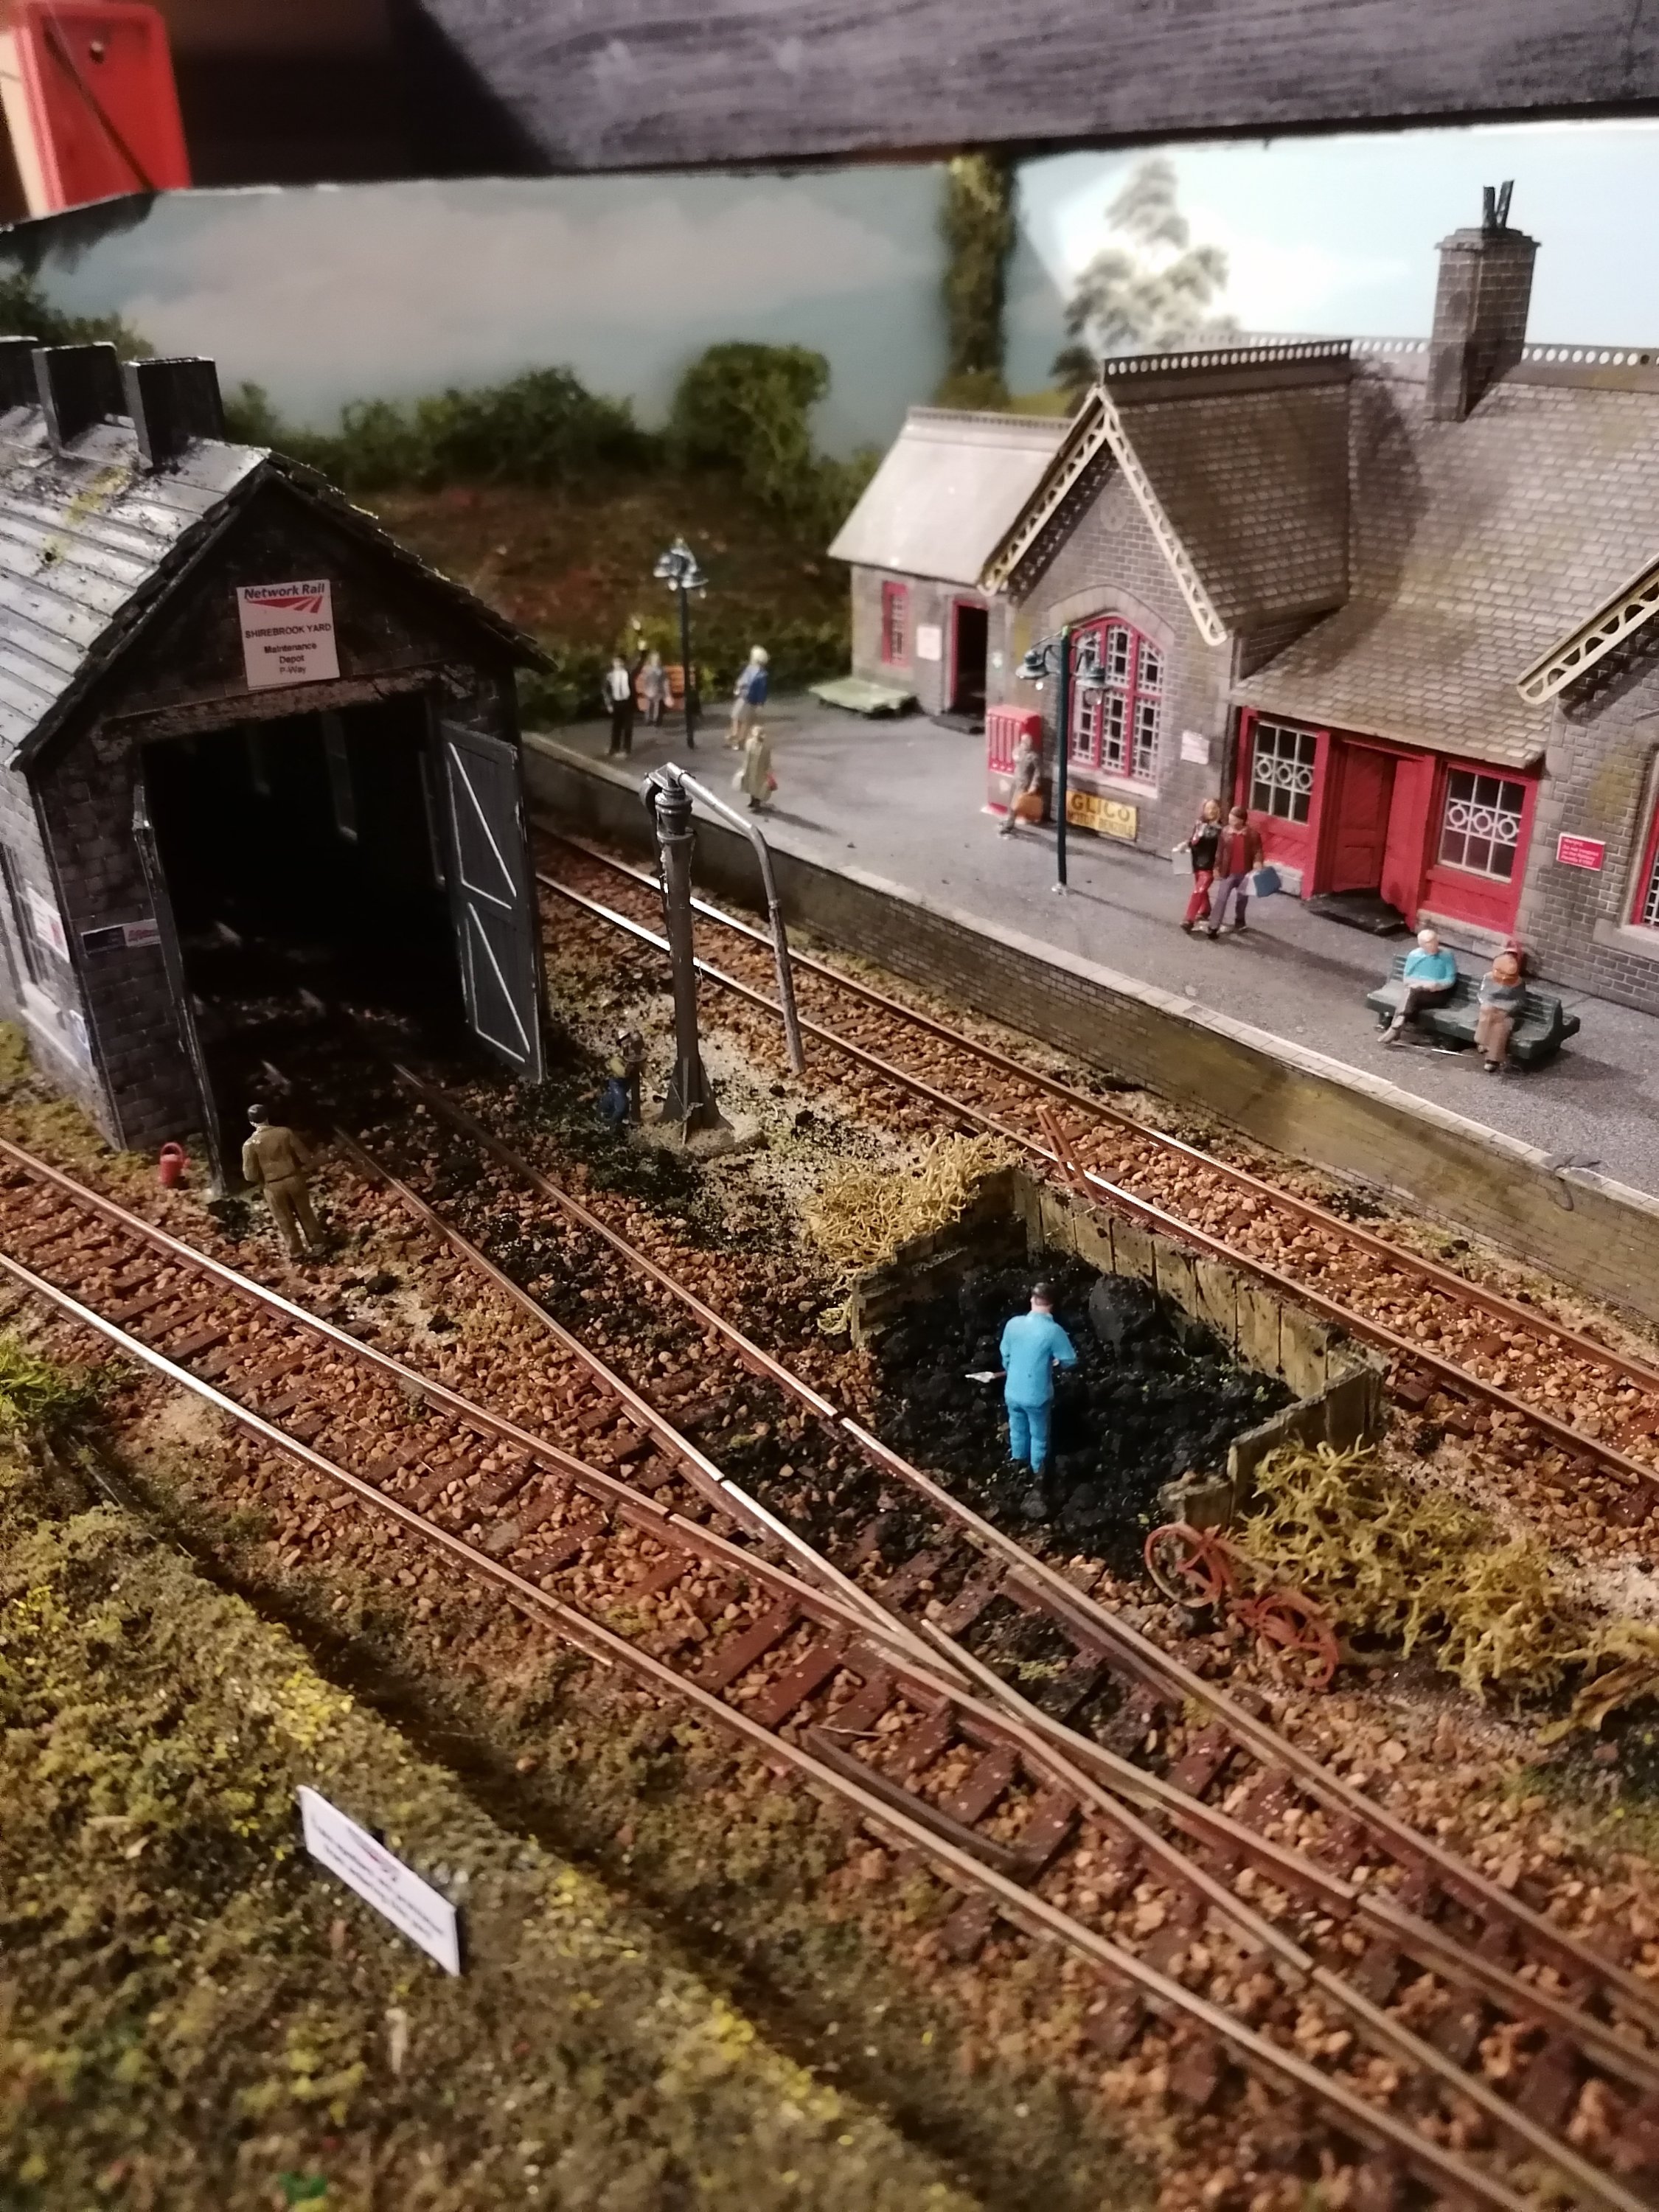
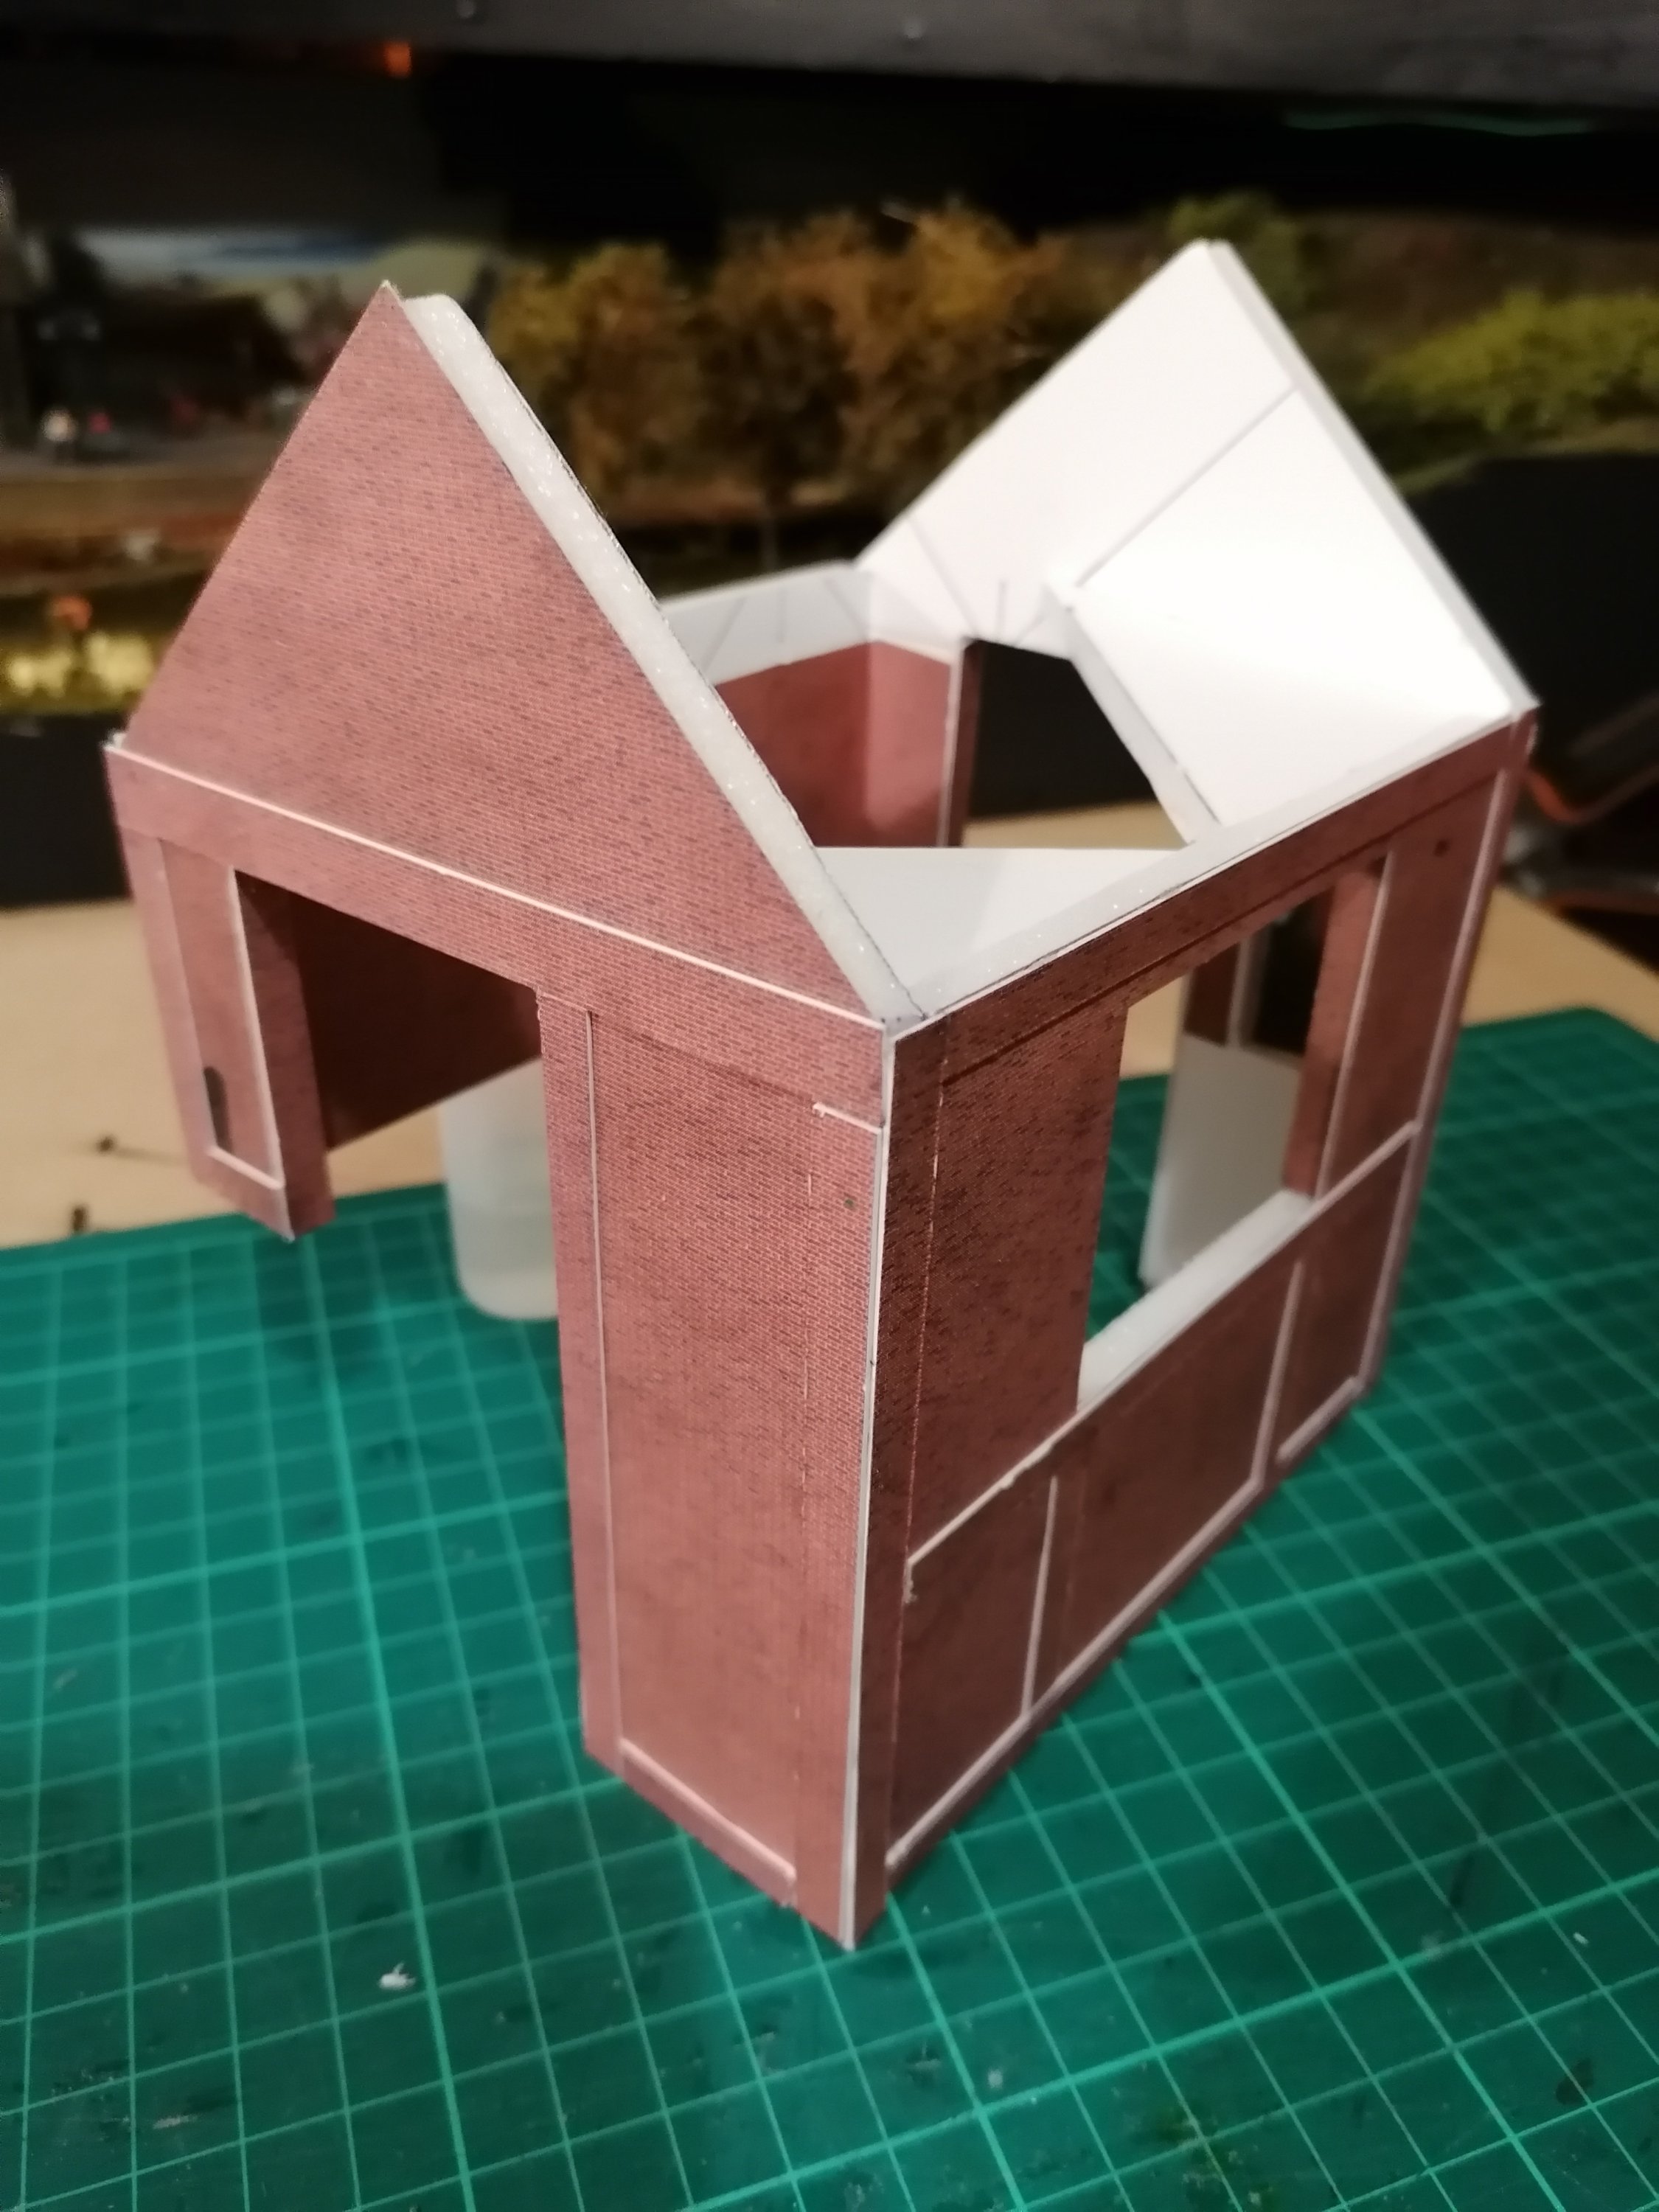
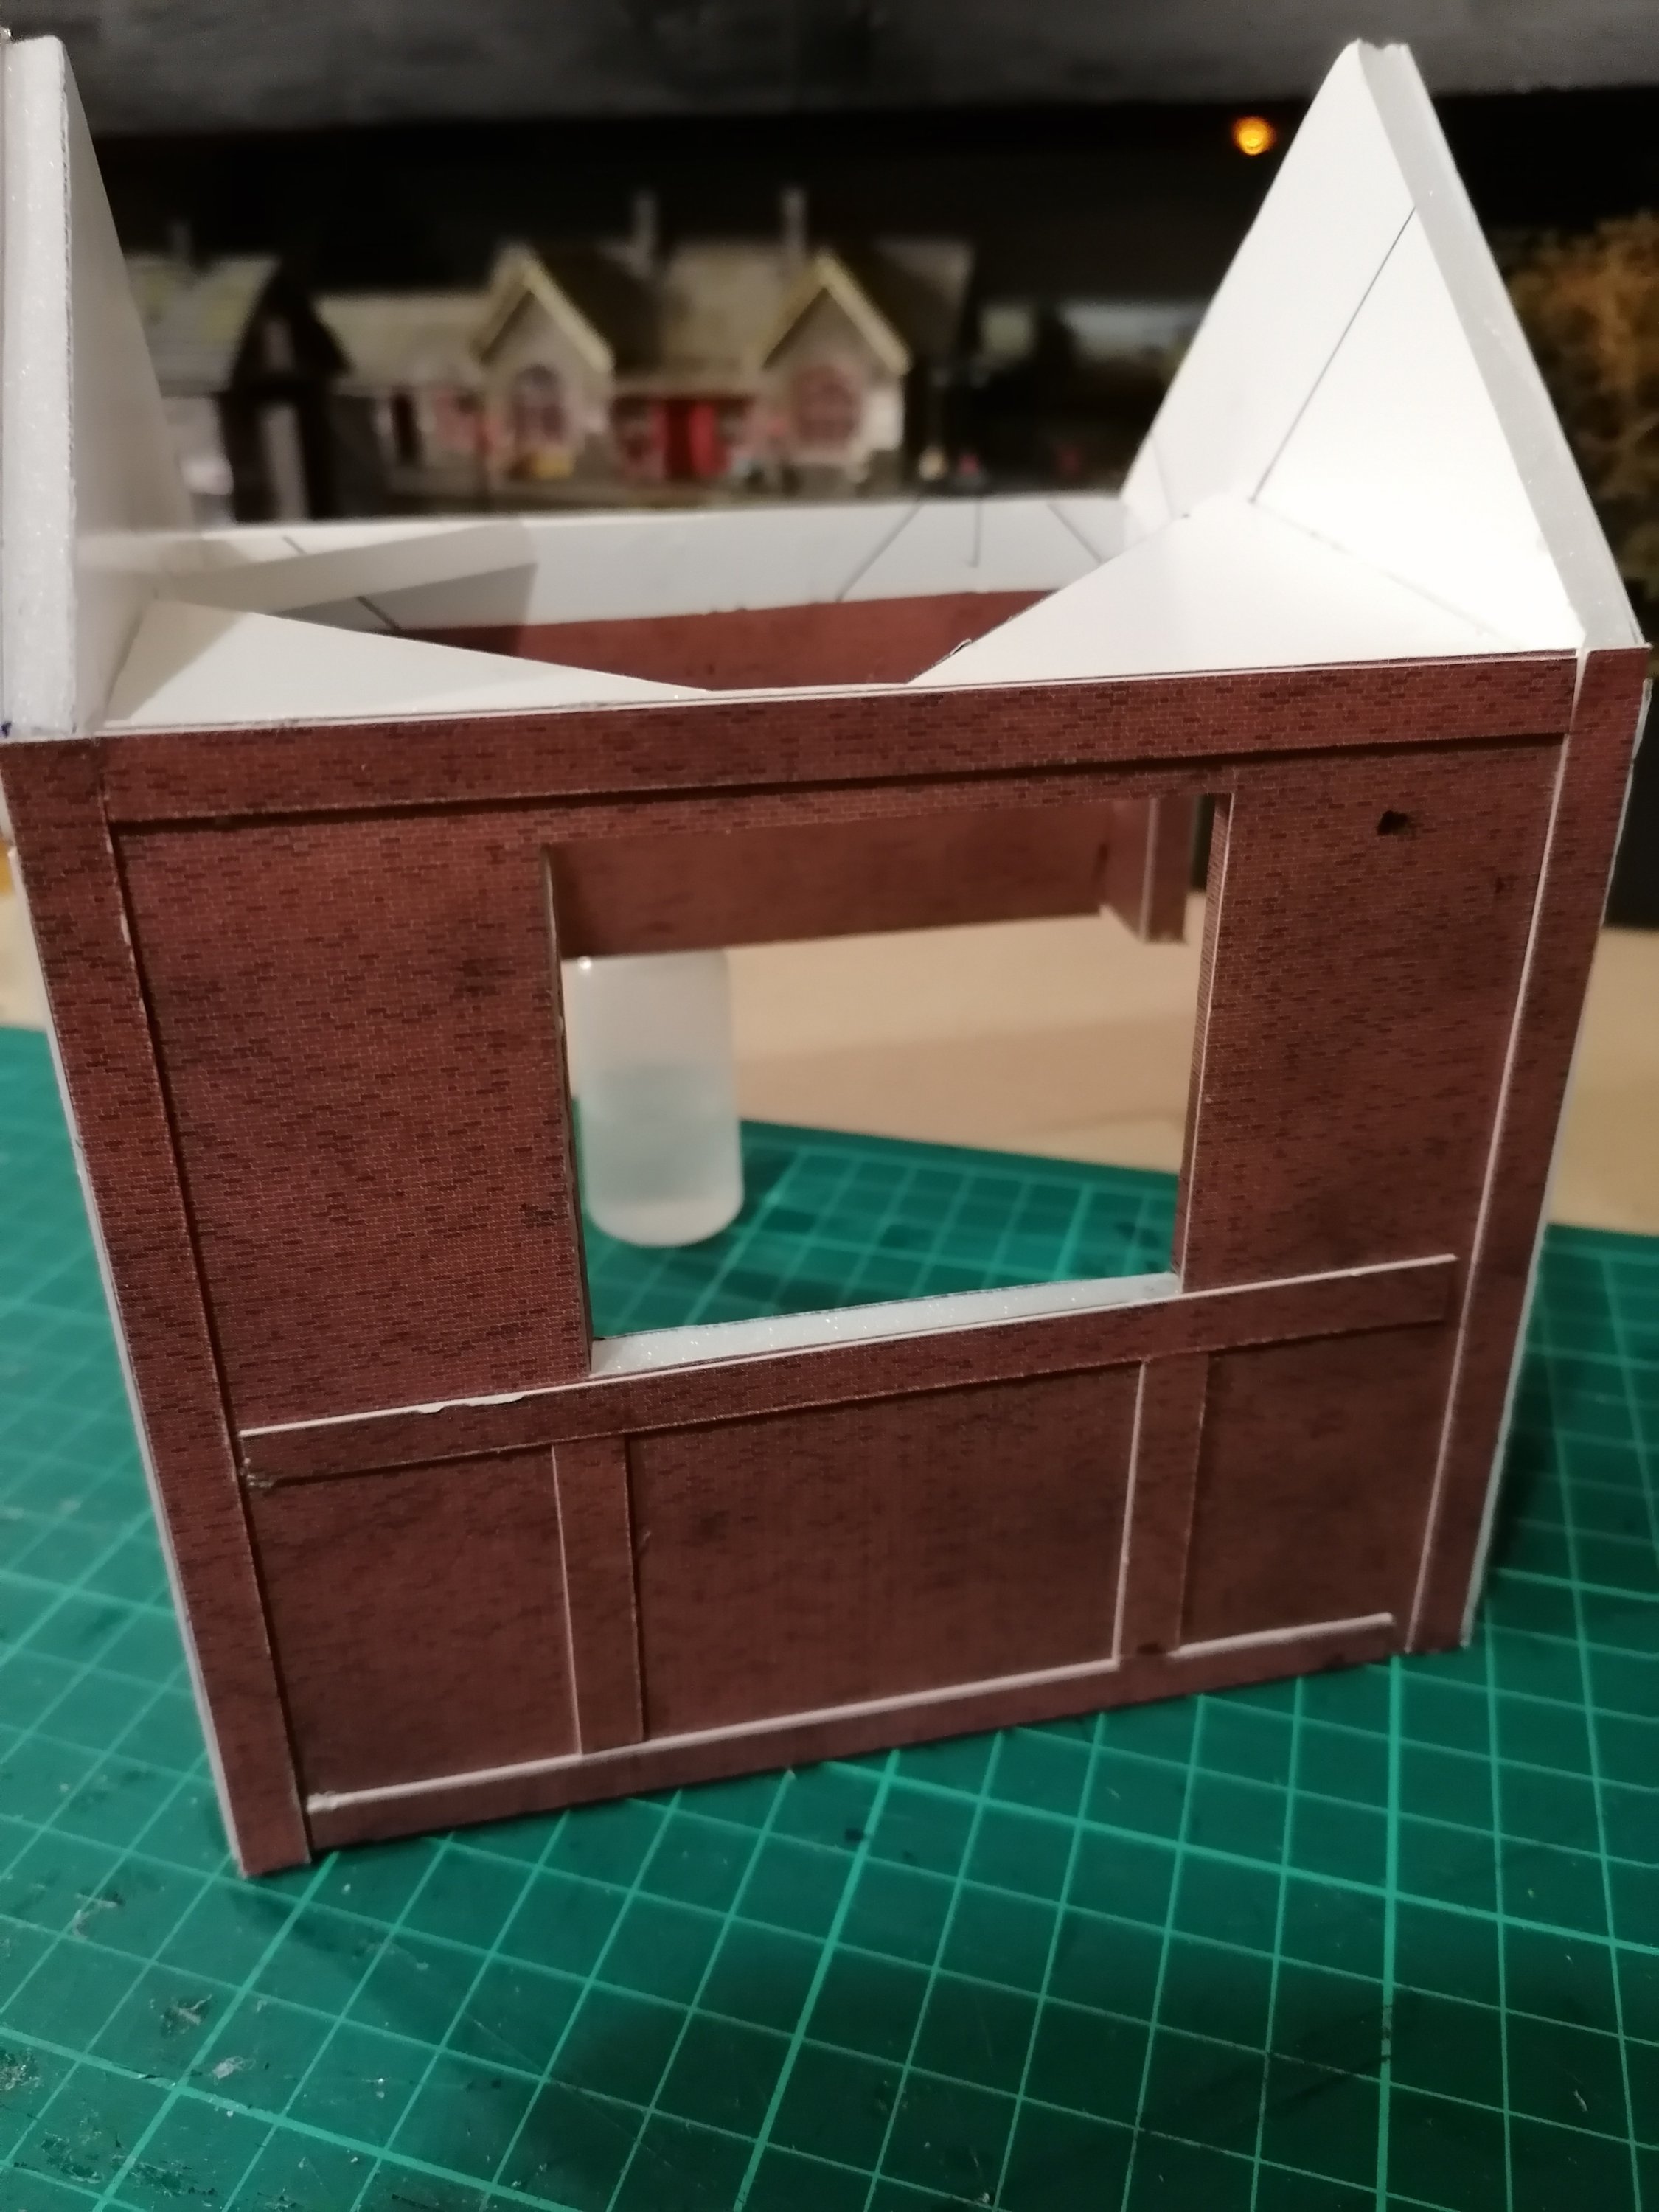
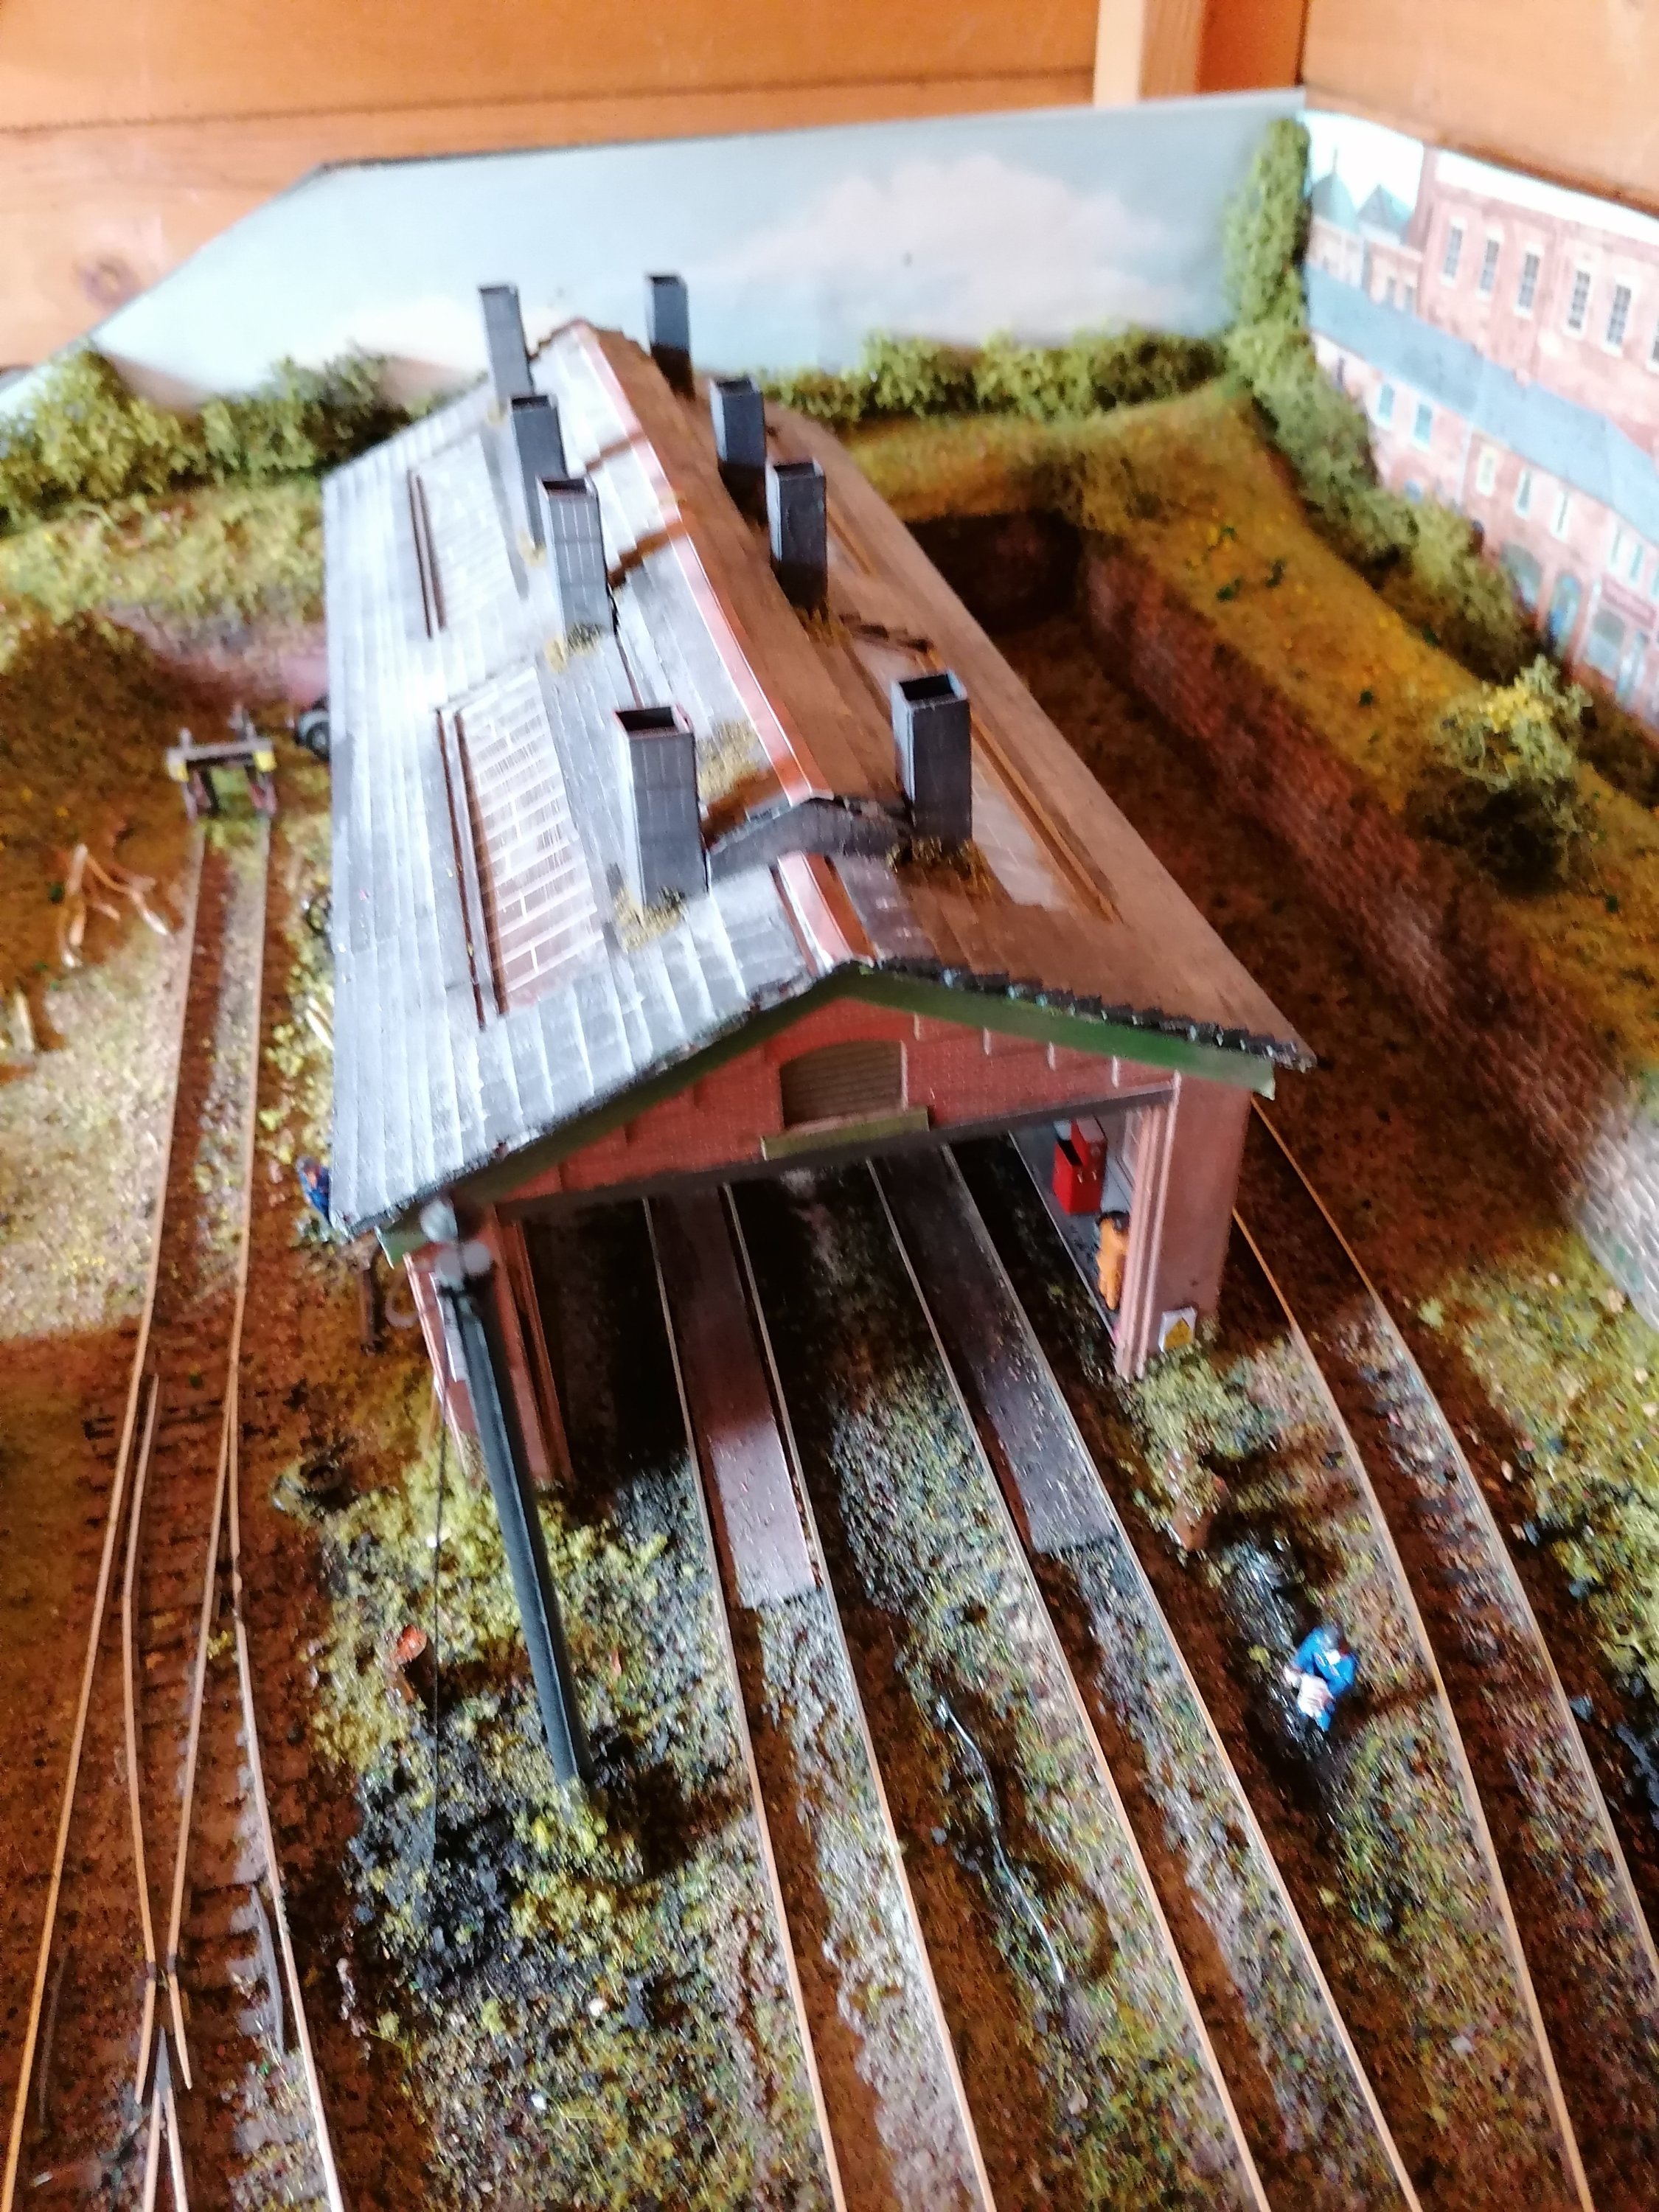
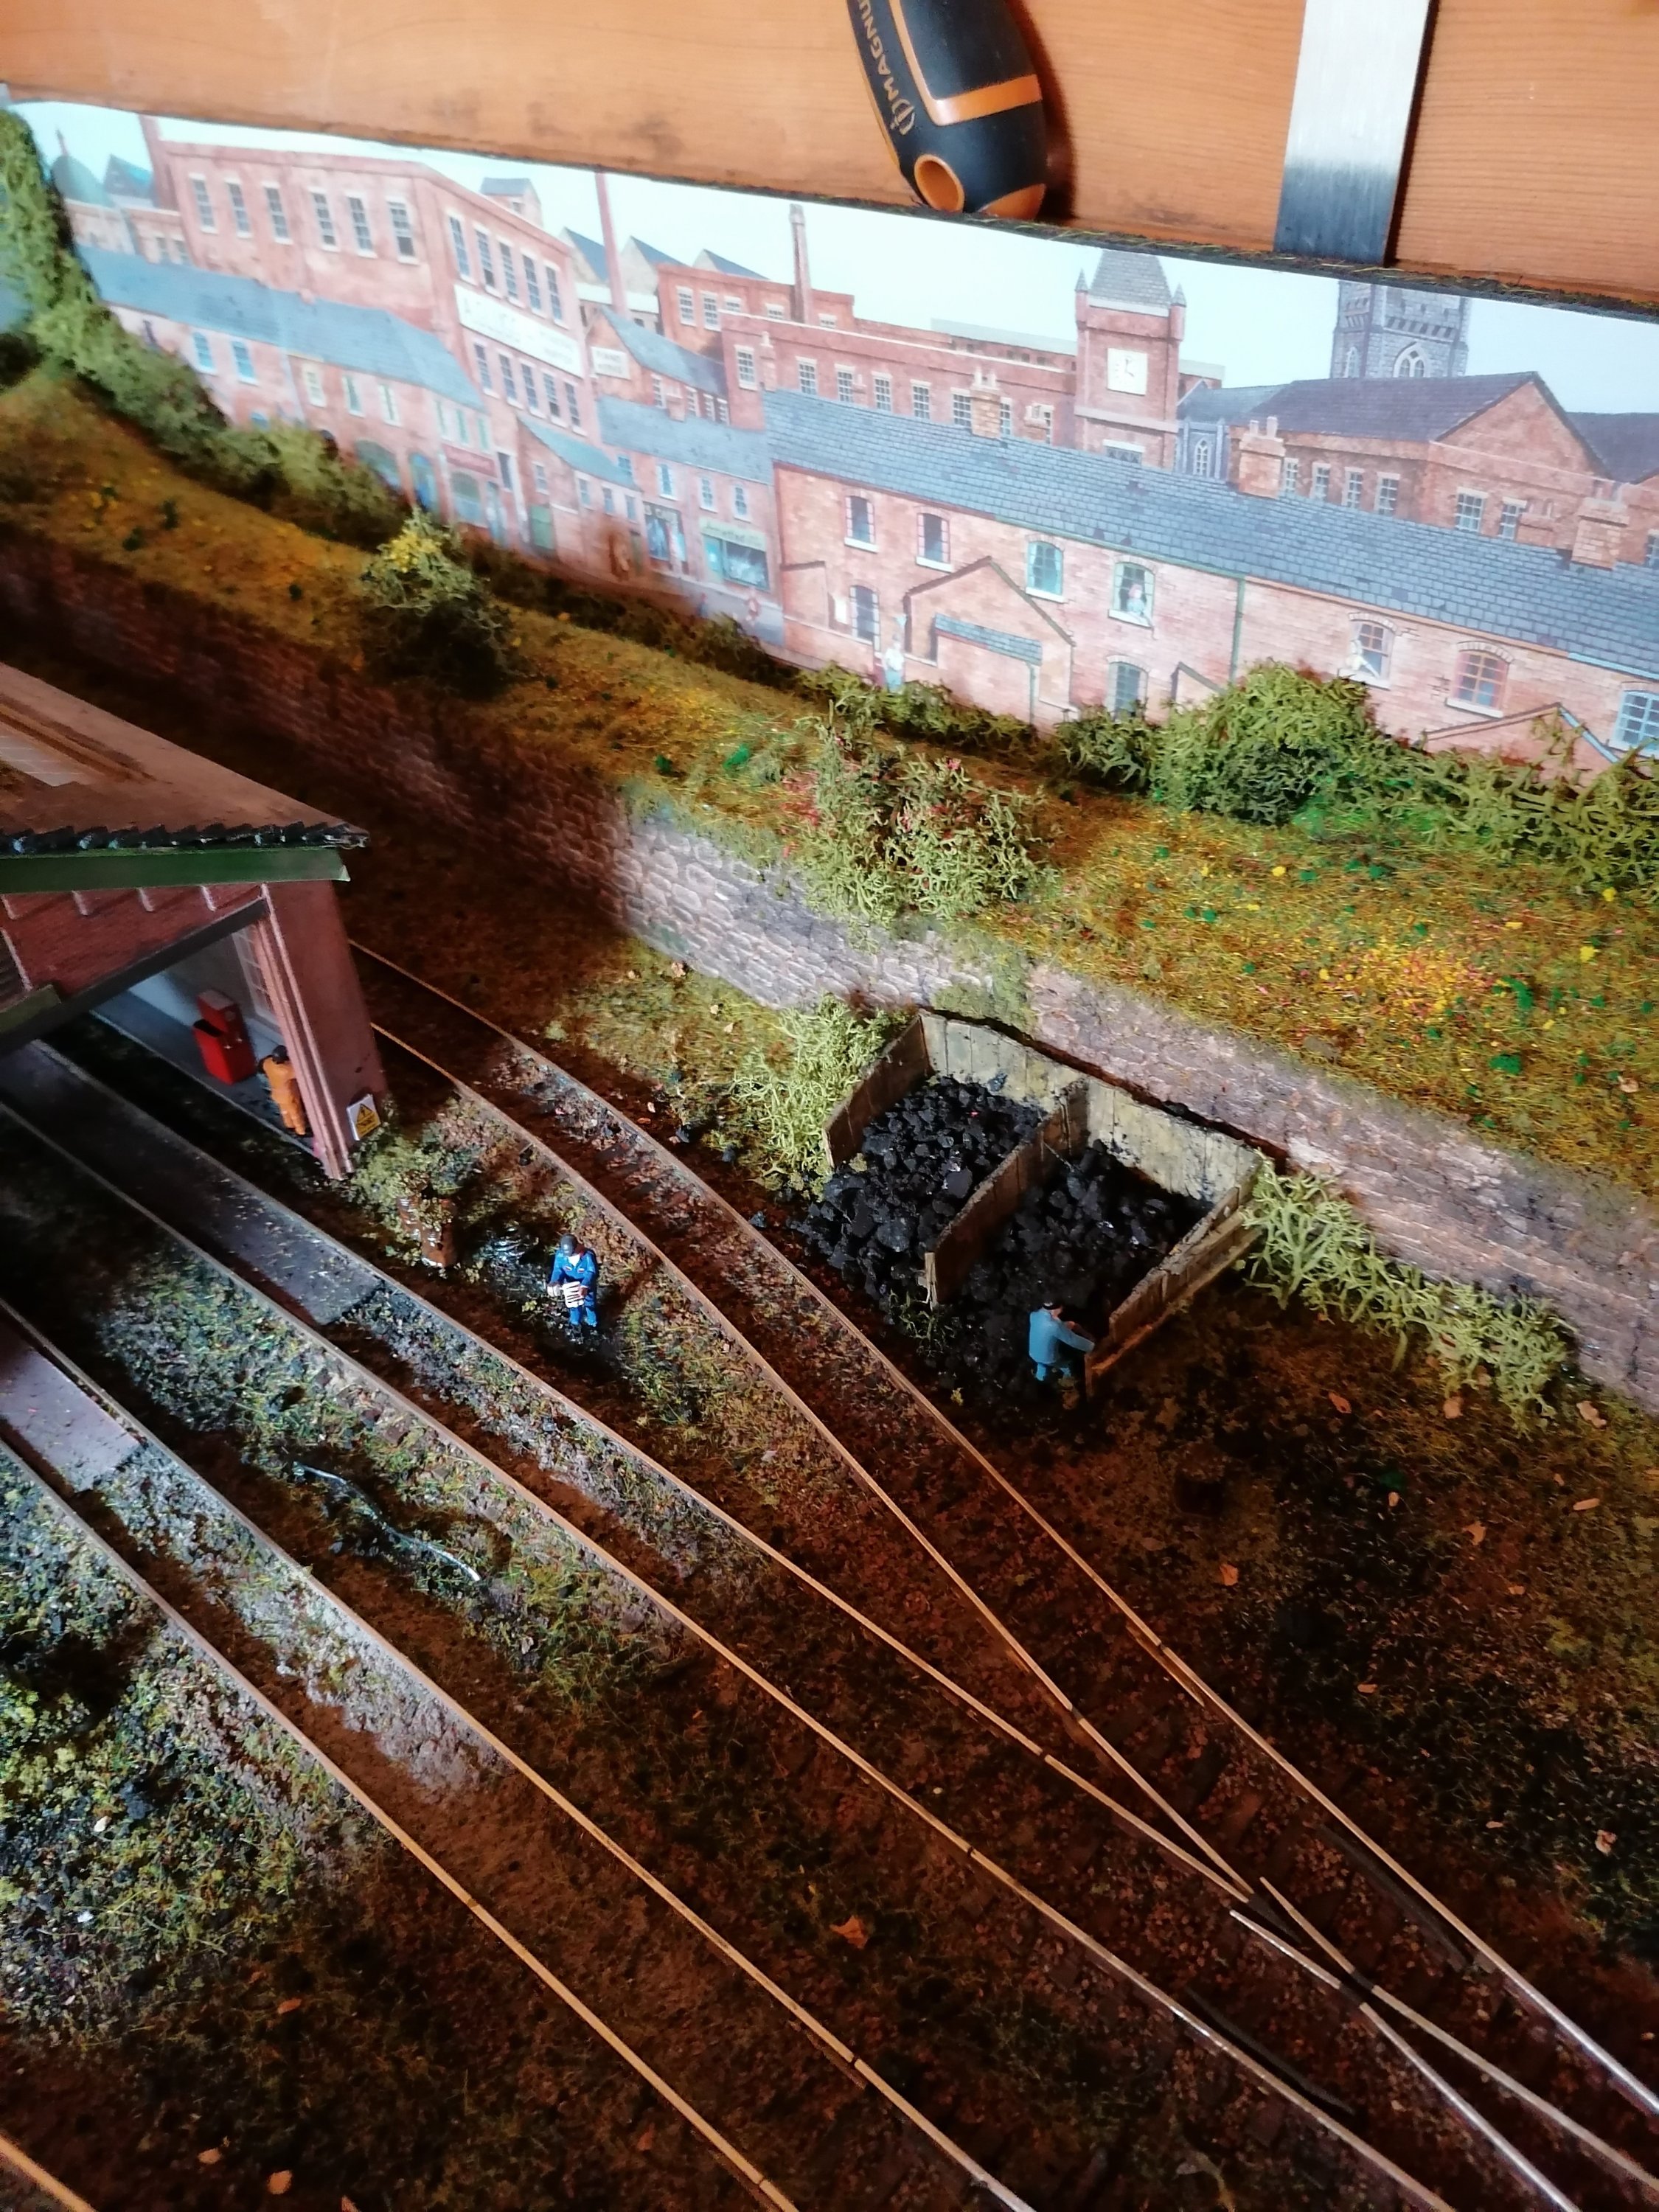
So I thought this blog could be a pictorial one showing the progress of the latest Shirebrook Yard. As you can see the upper level coaling stage I think has gone pretty well.
Although this is a scratch built project I want to try and keep it in the same style as the Metcalfe kits I normally use. I used foam board to build the structure and left over brick card from previously built kits.
As you can see it’s a pretty simple design that will probably make more sence when it’s on the layout.
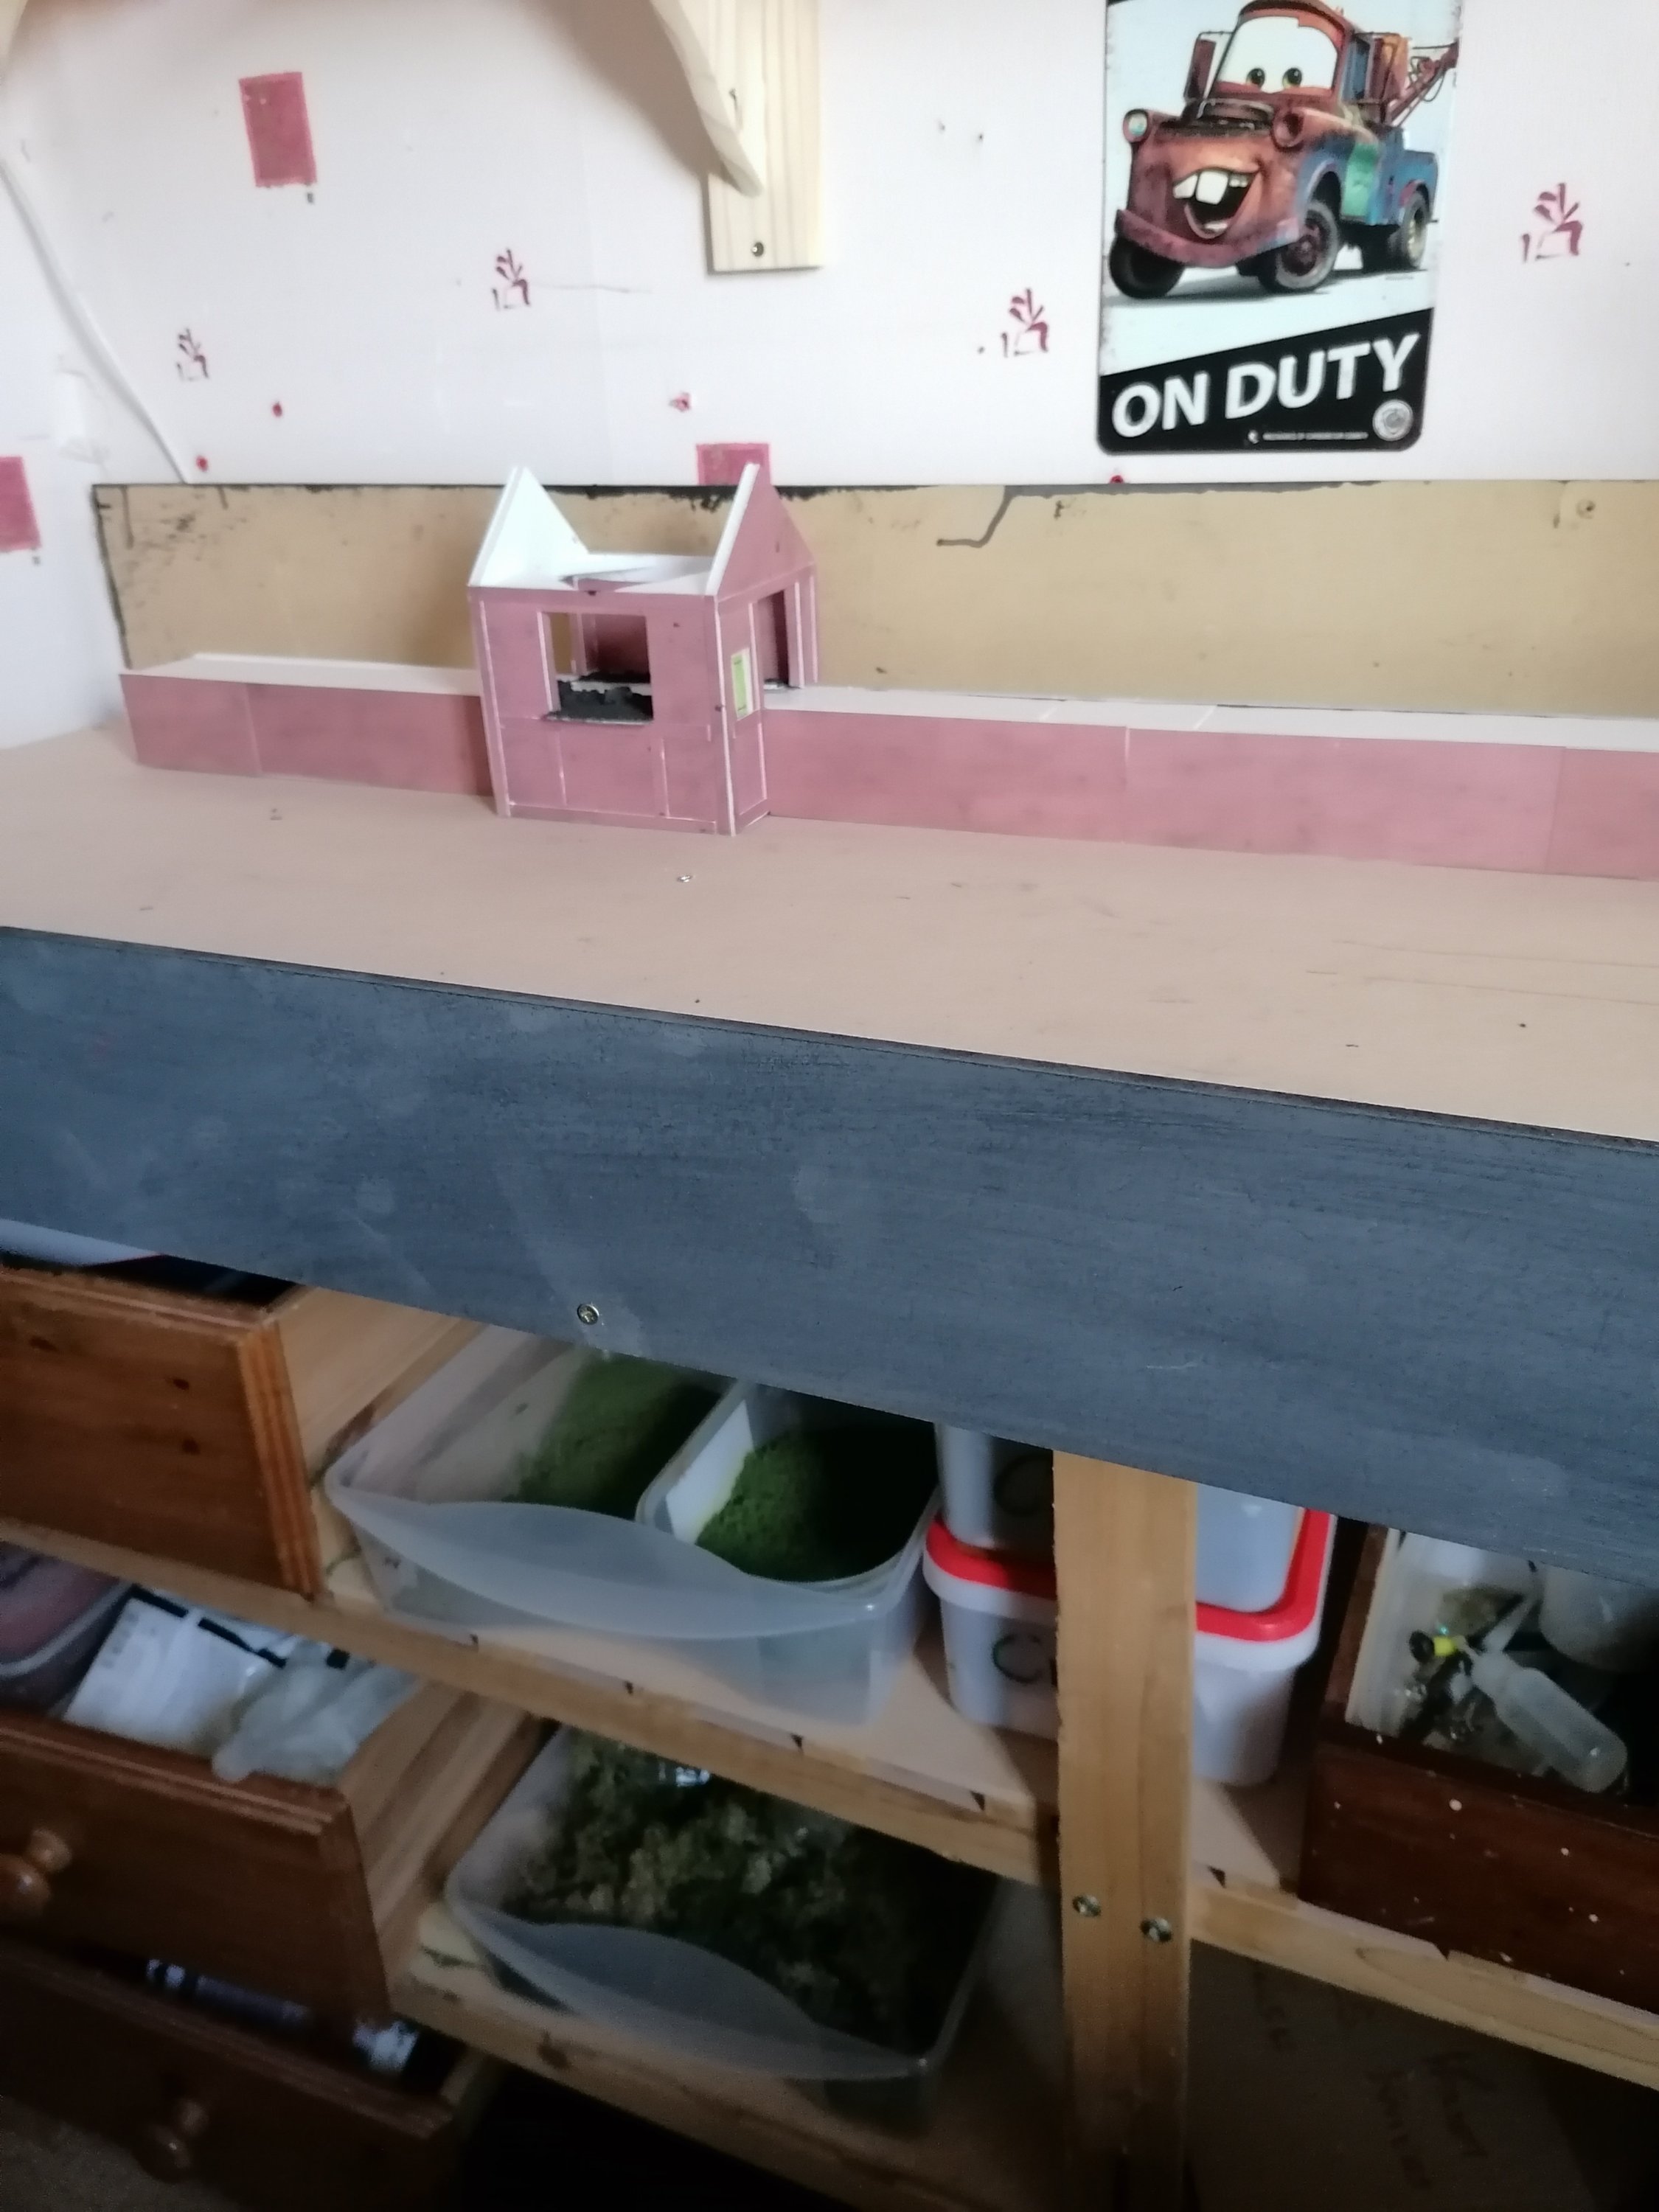
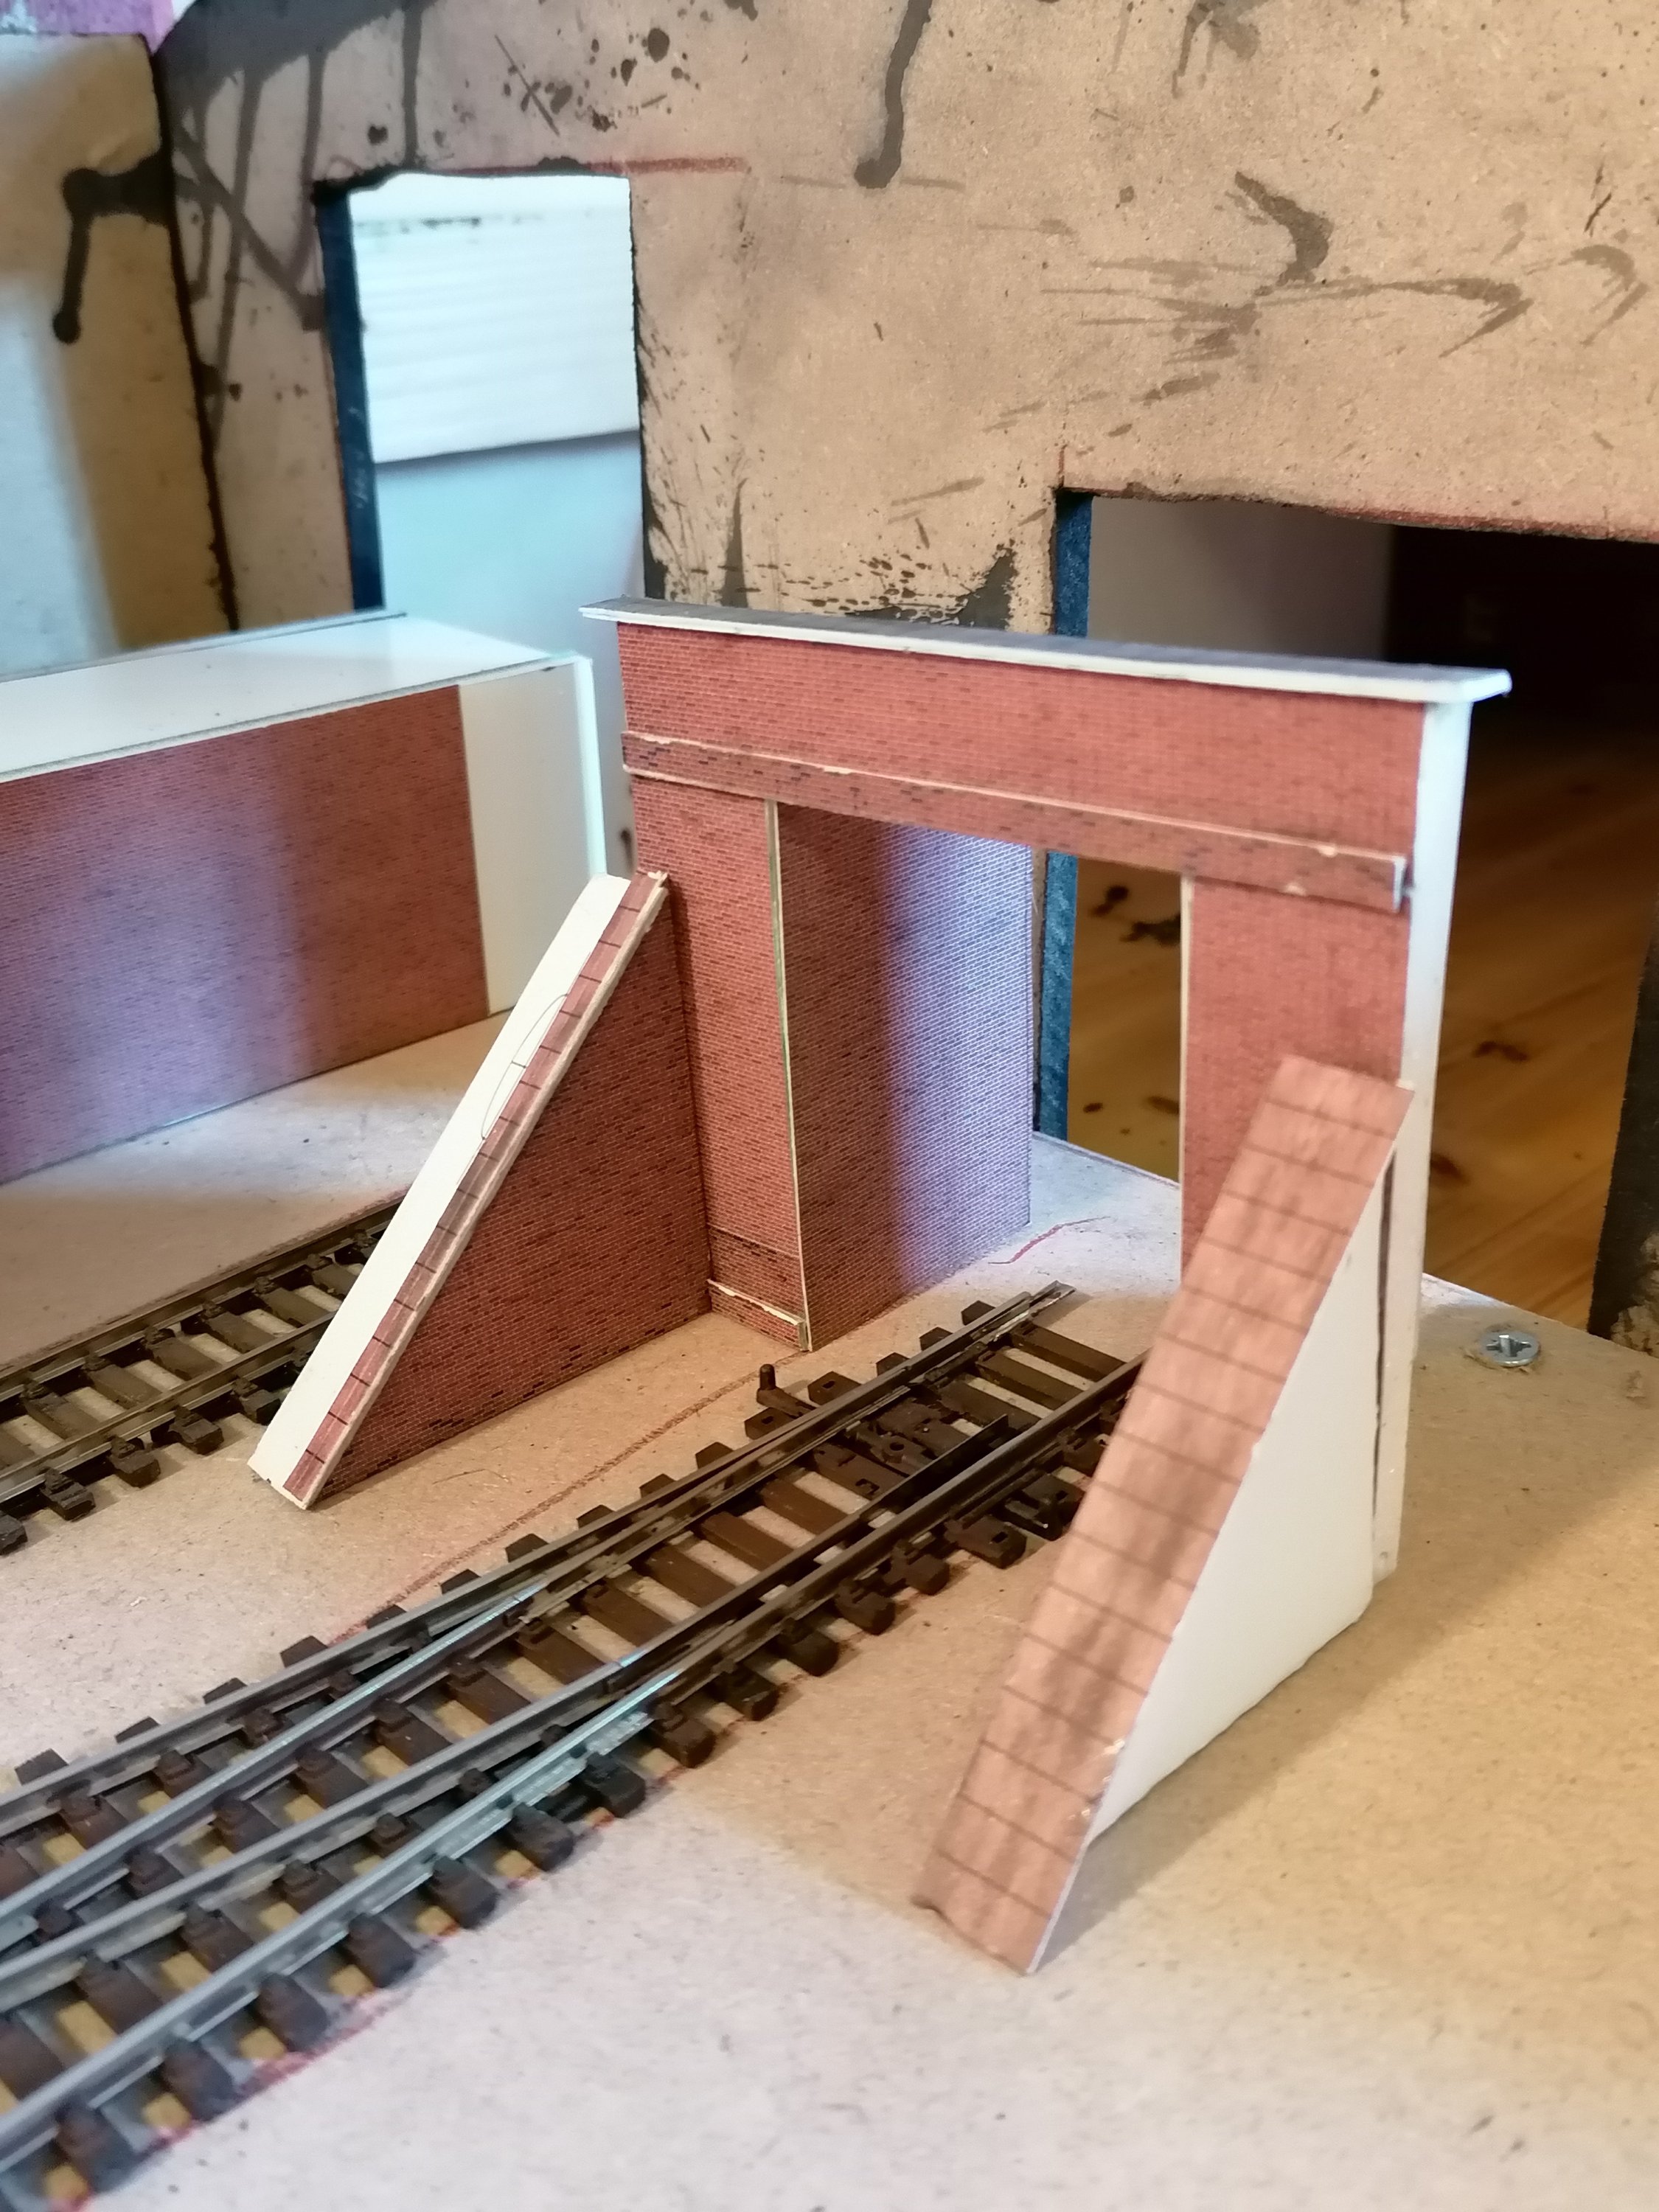
So two days later its beginning to take shape on the layout.
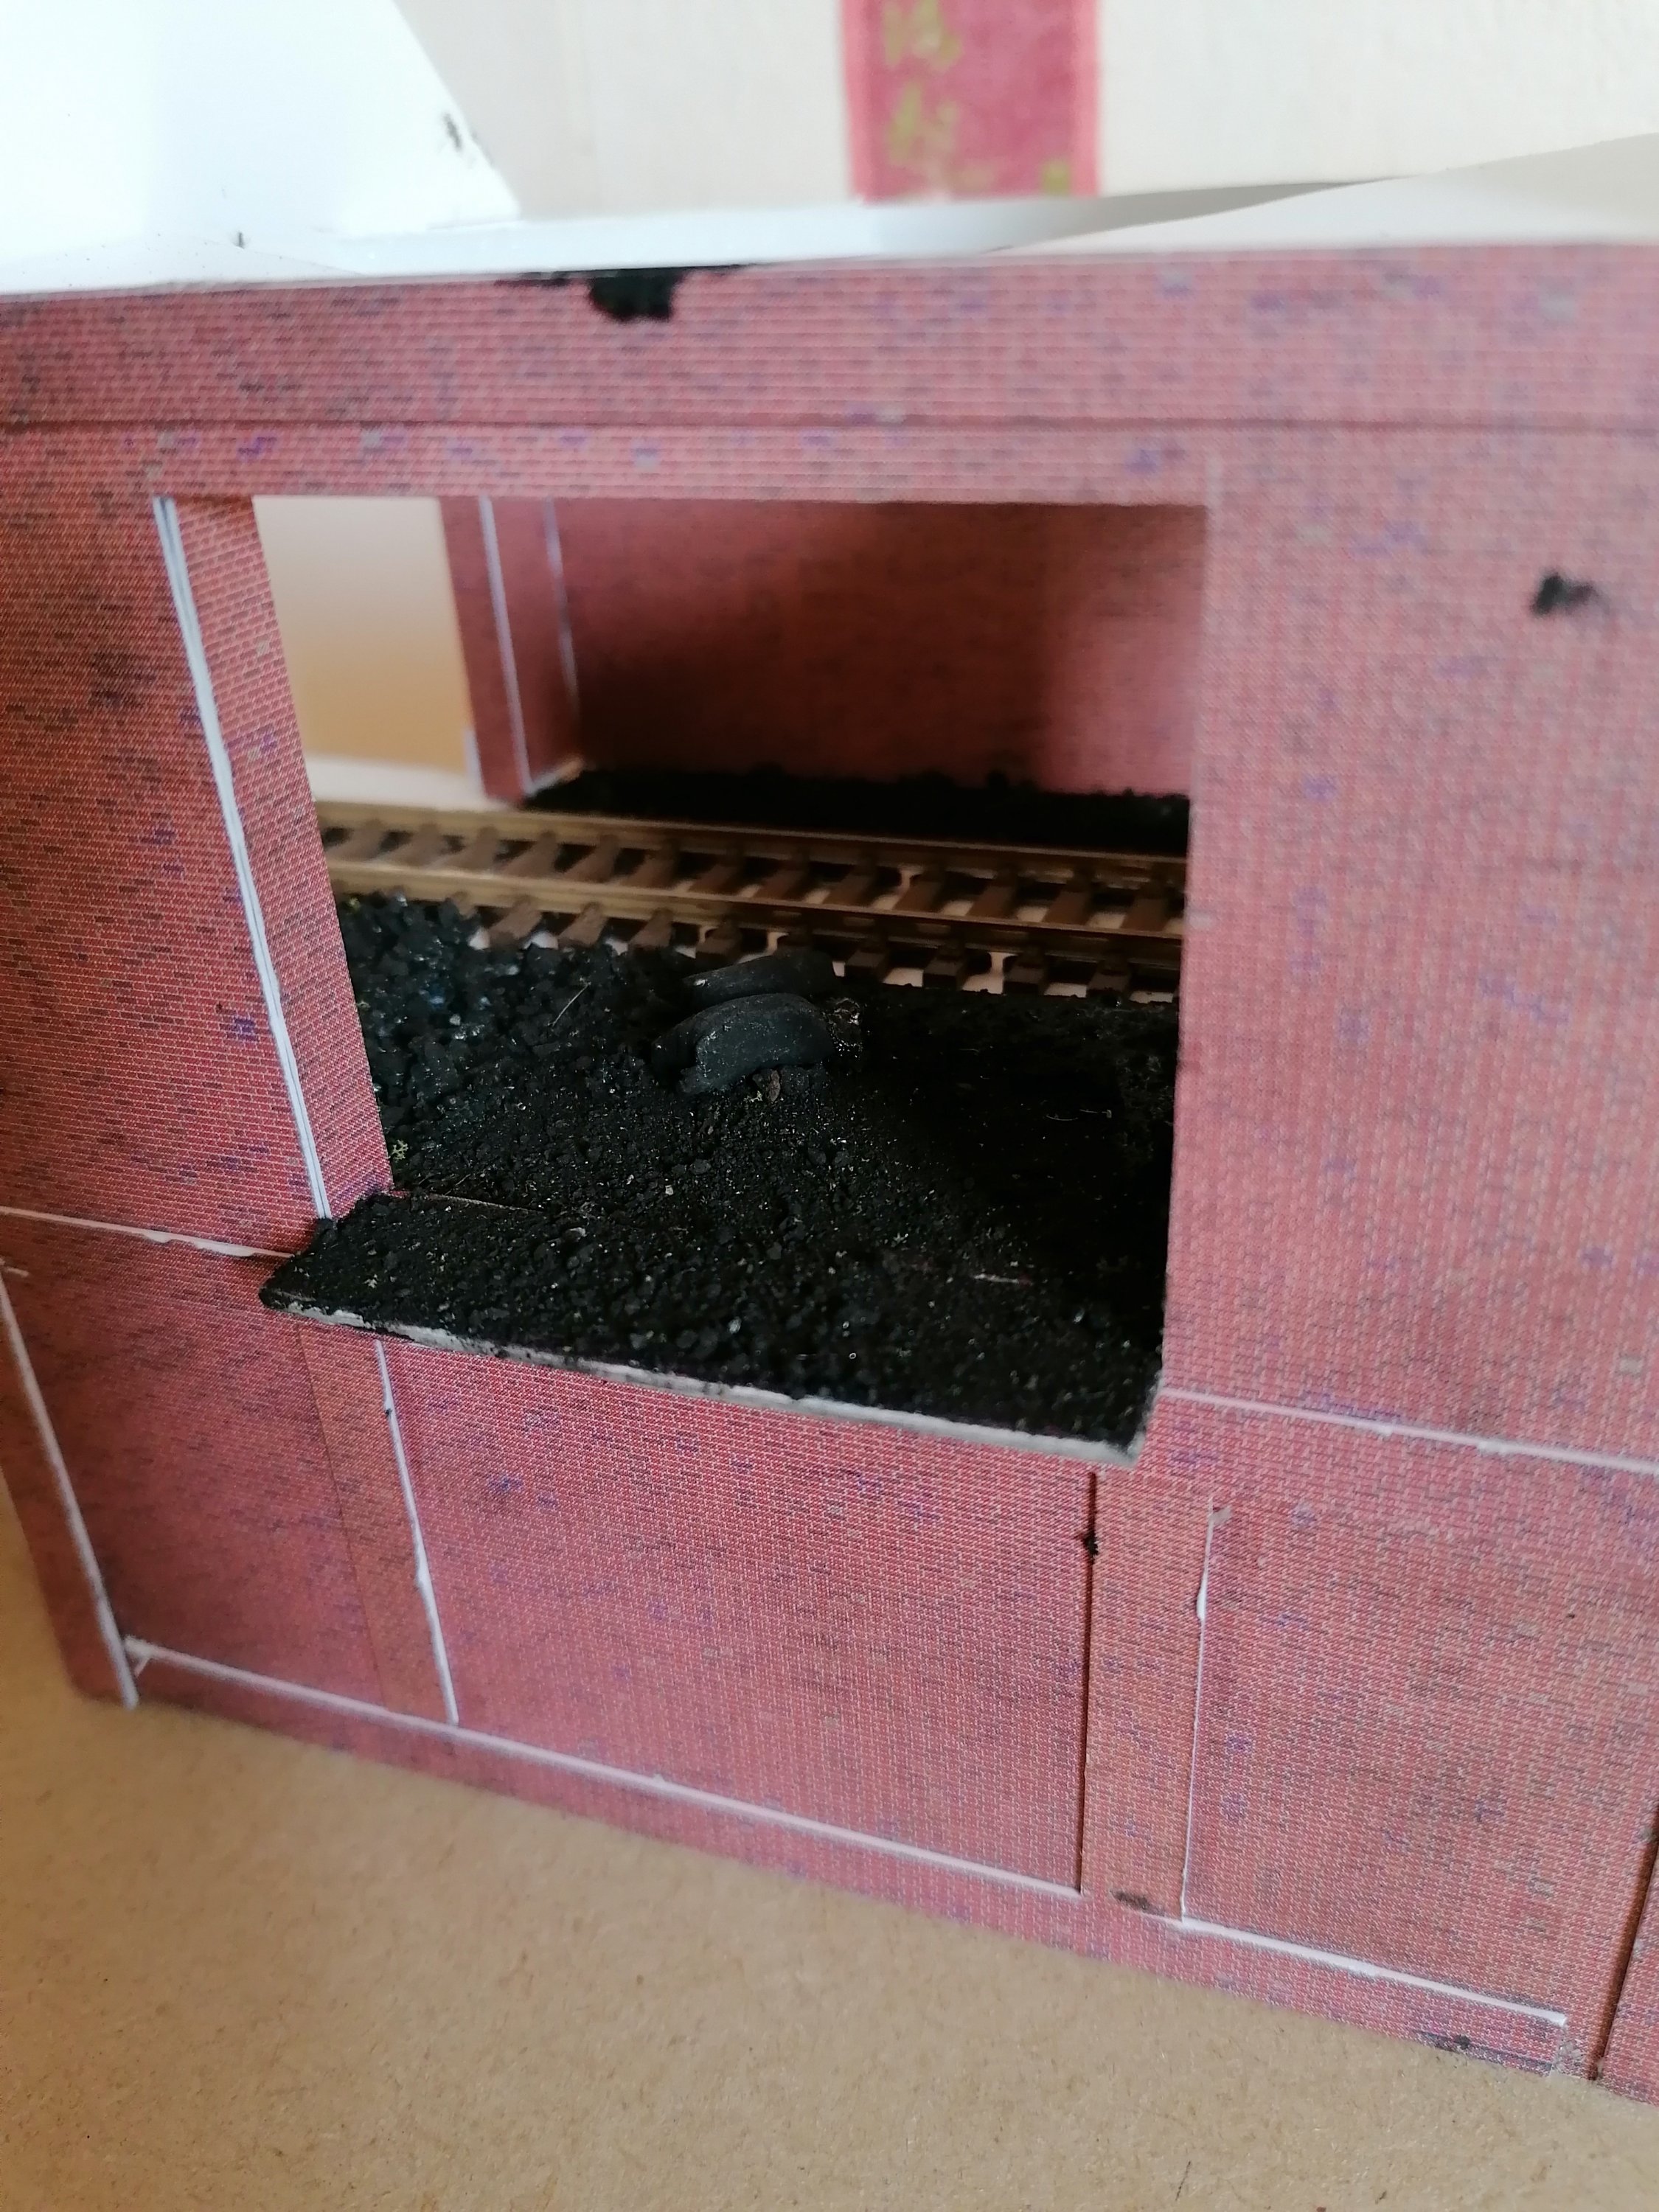
As you can see I’ve attached it to the upper level track and added some real coal.
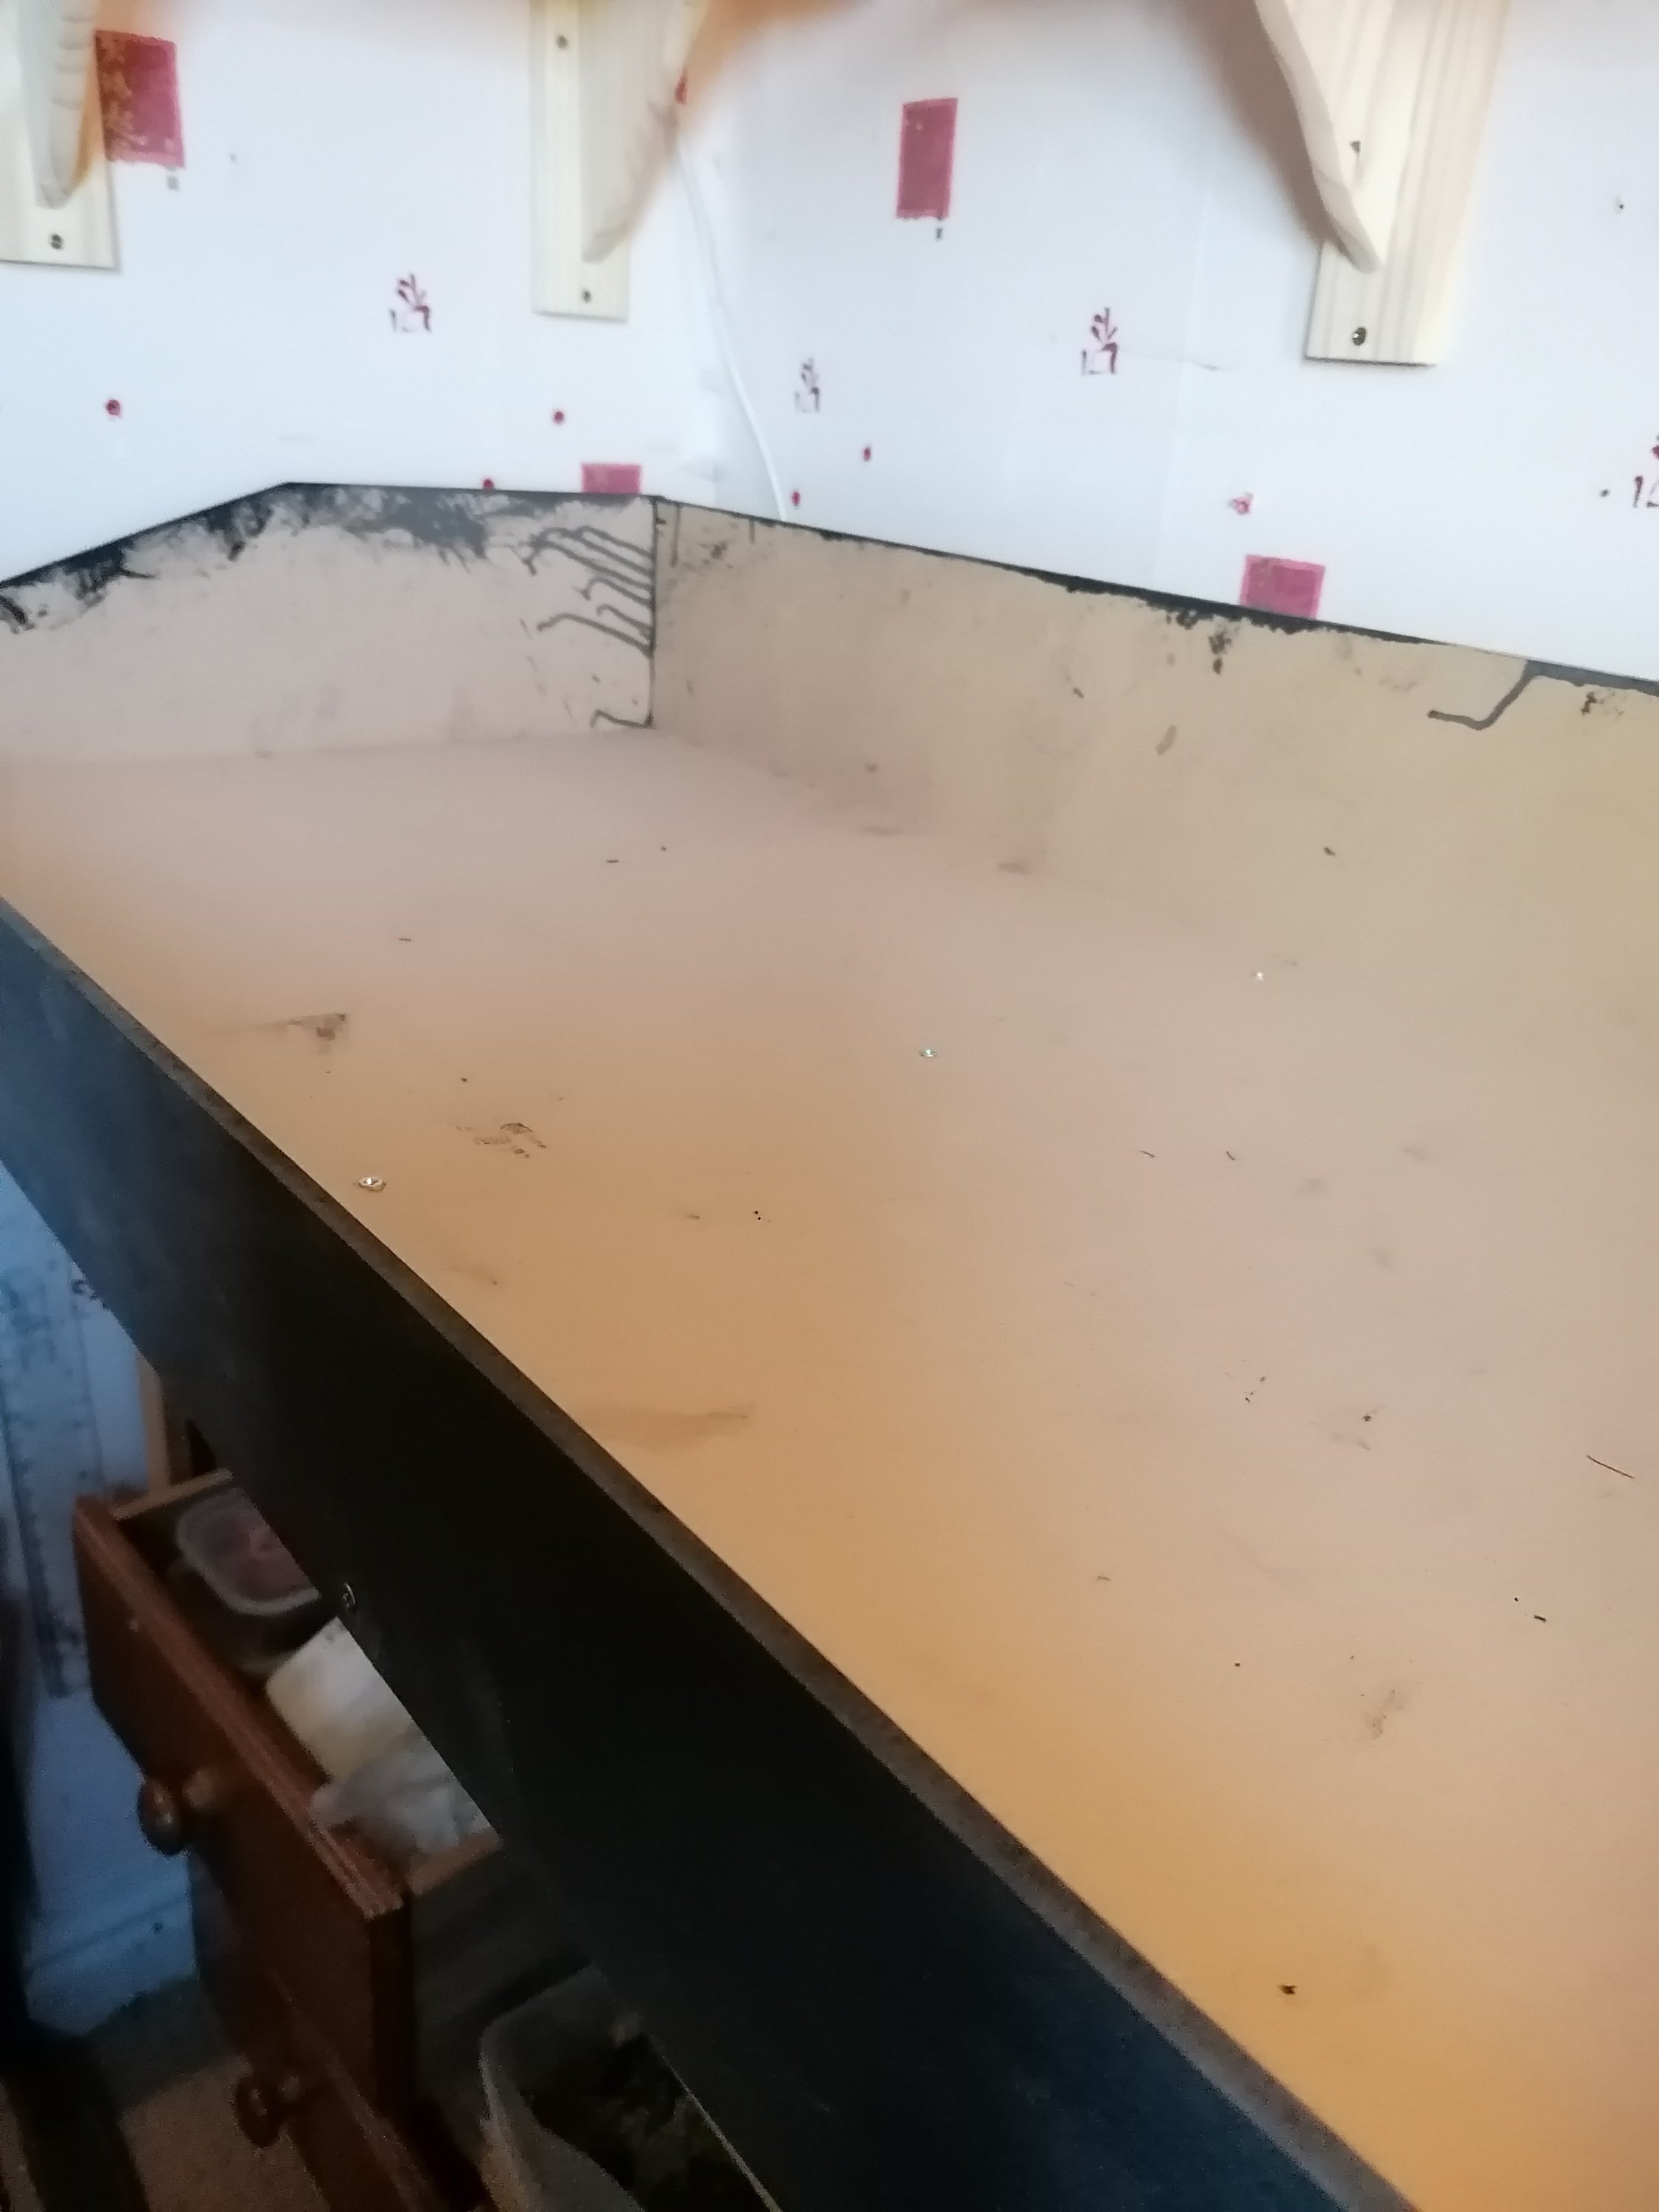
So before going any further it’s always best to make sure the plan you have in your head on on paper actually works on the layout.
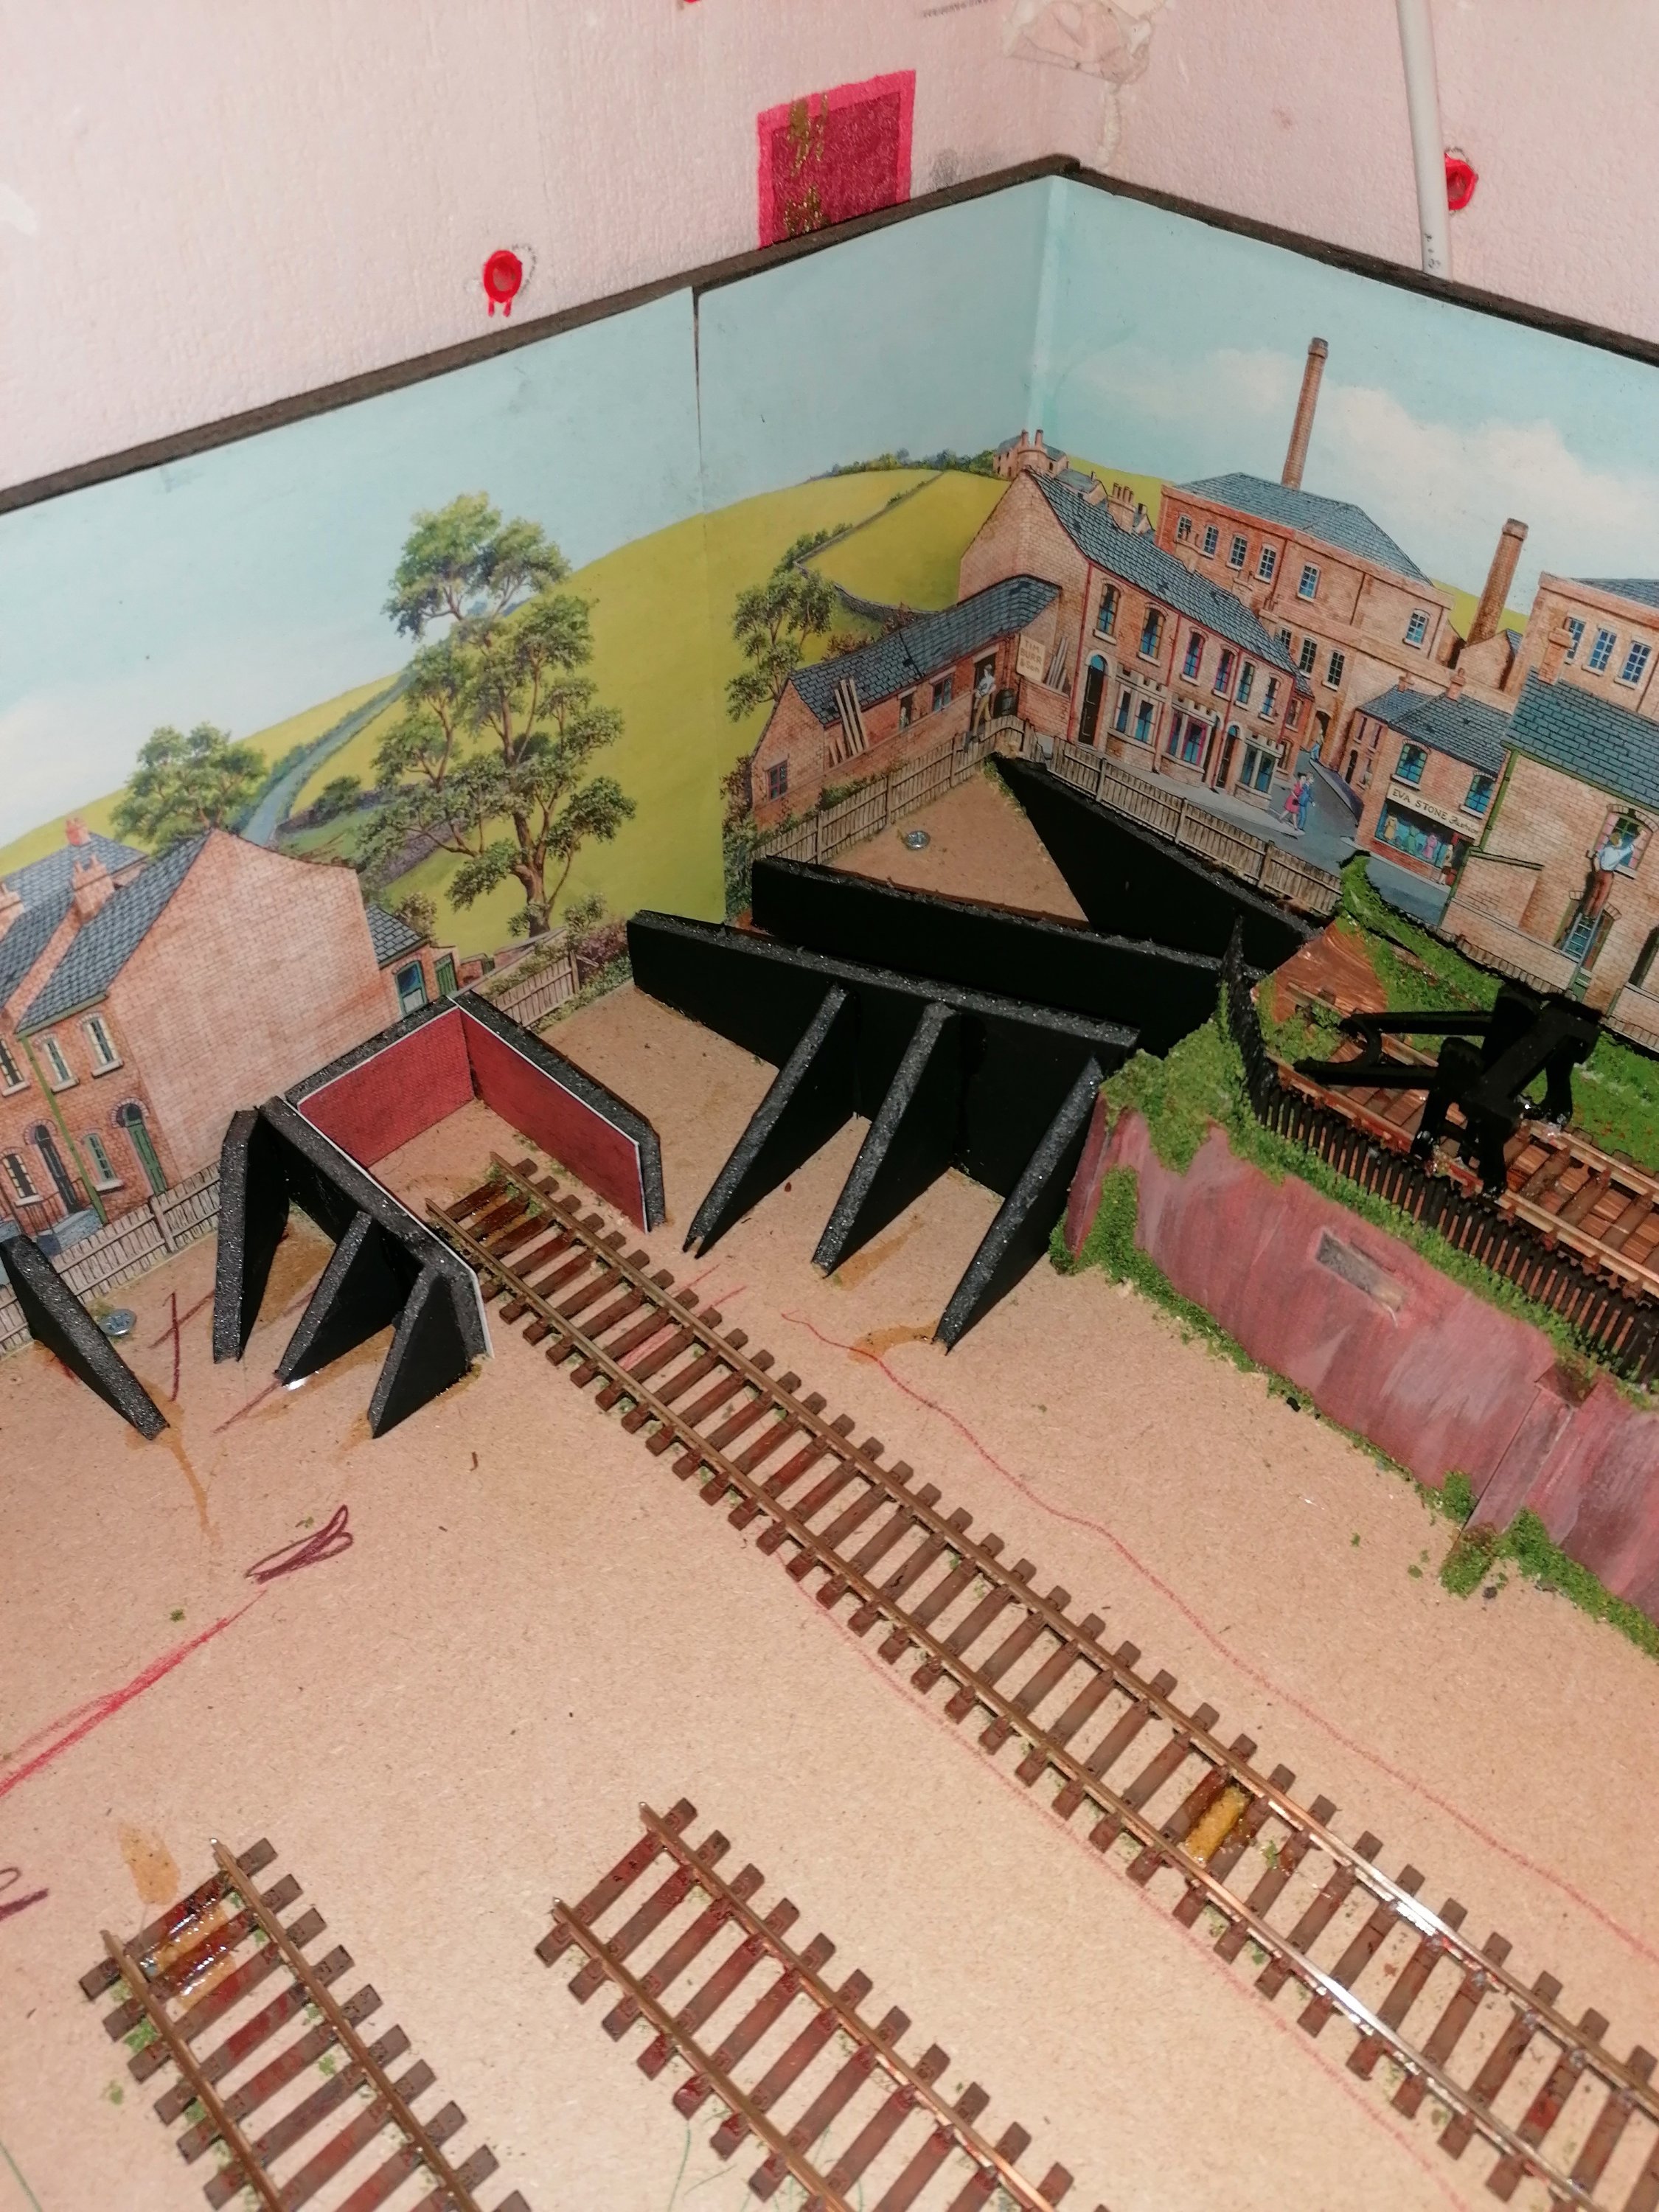
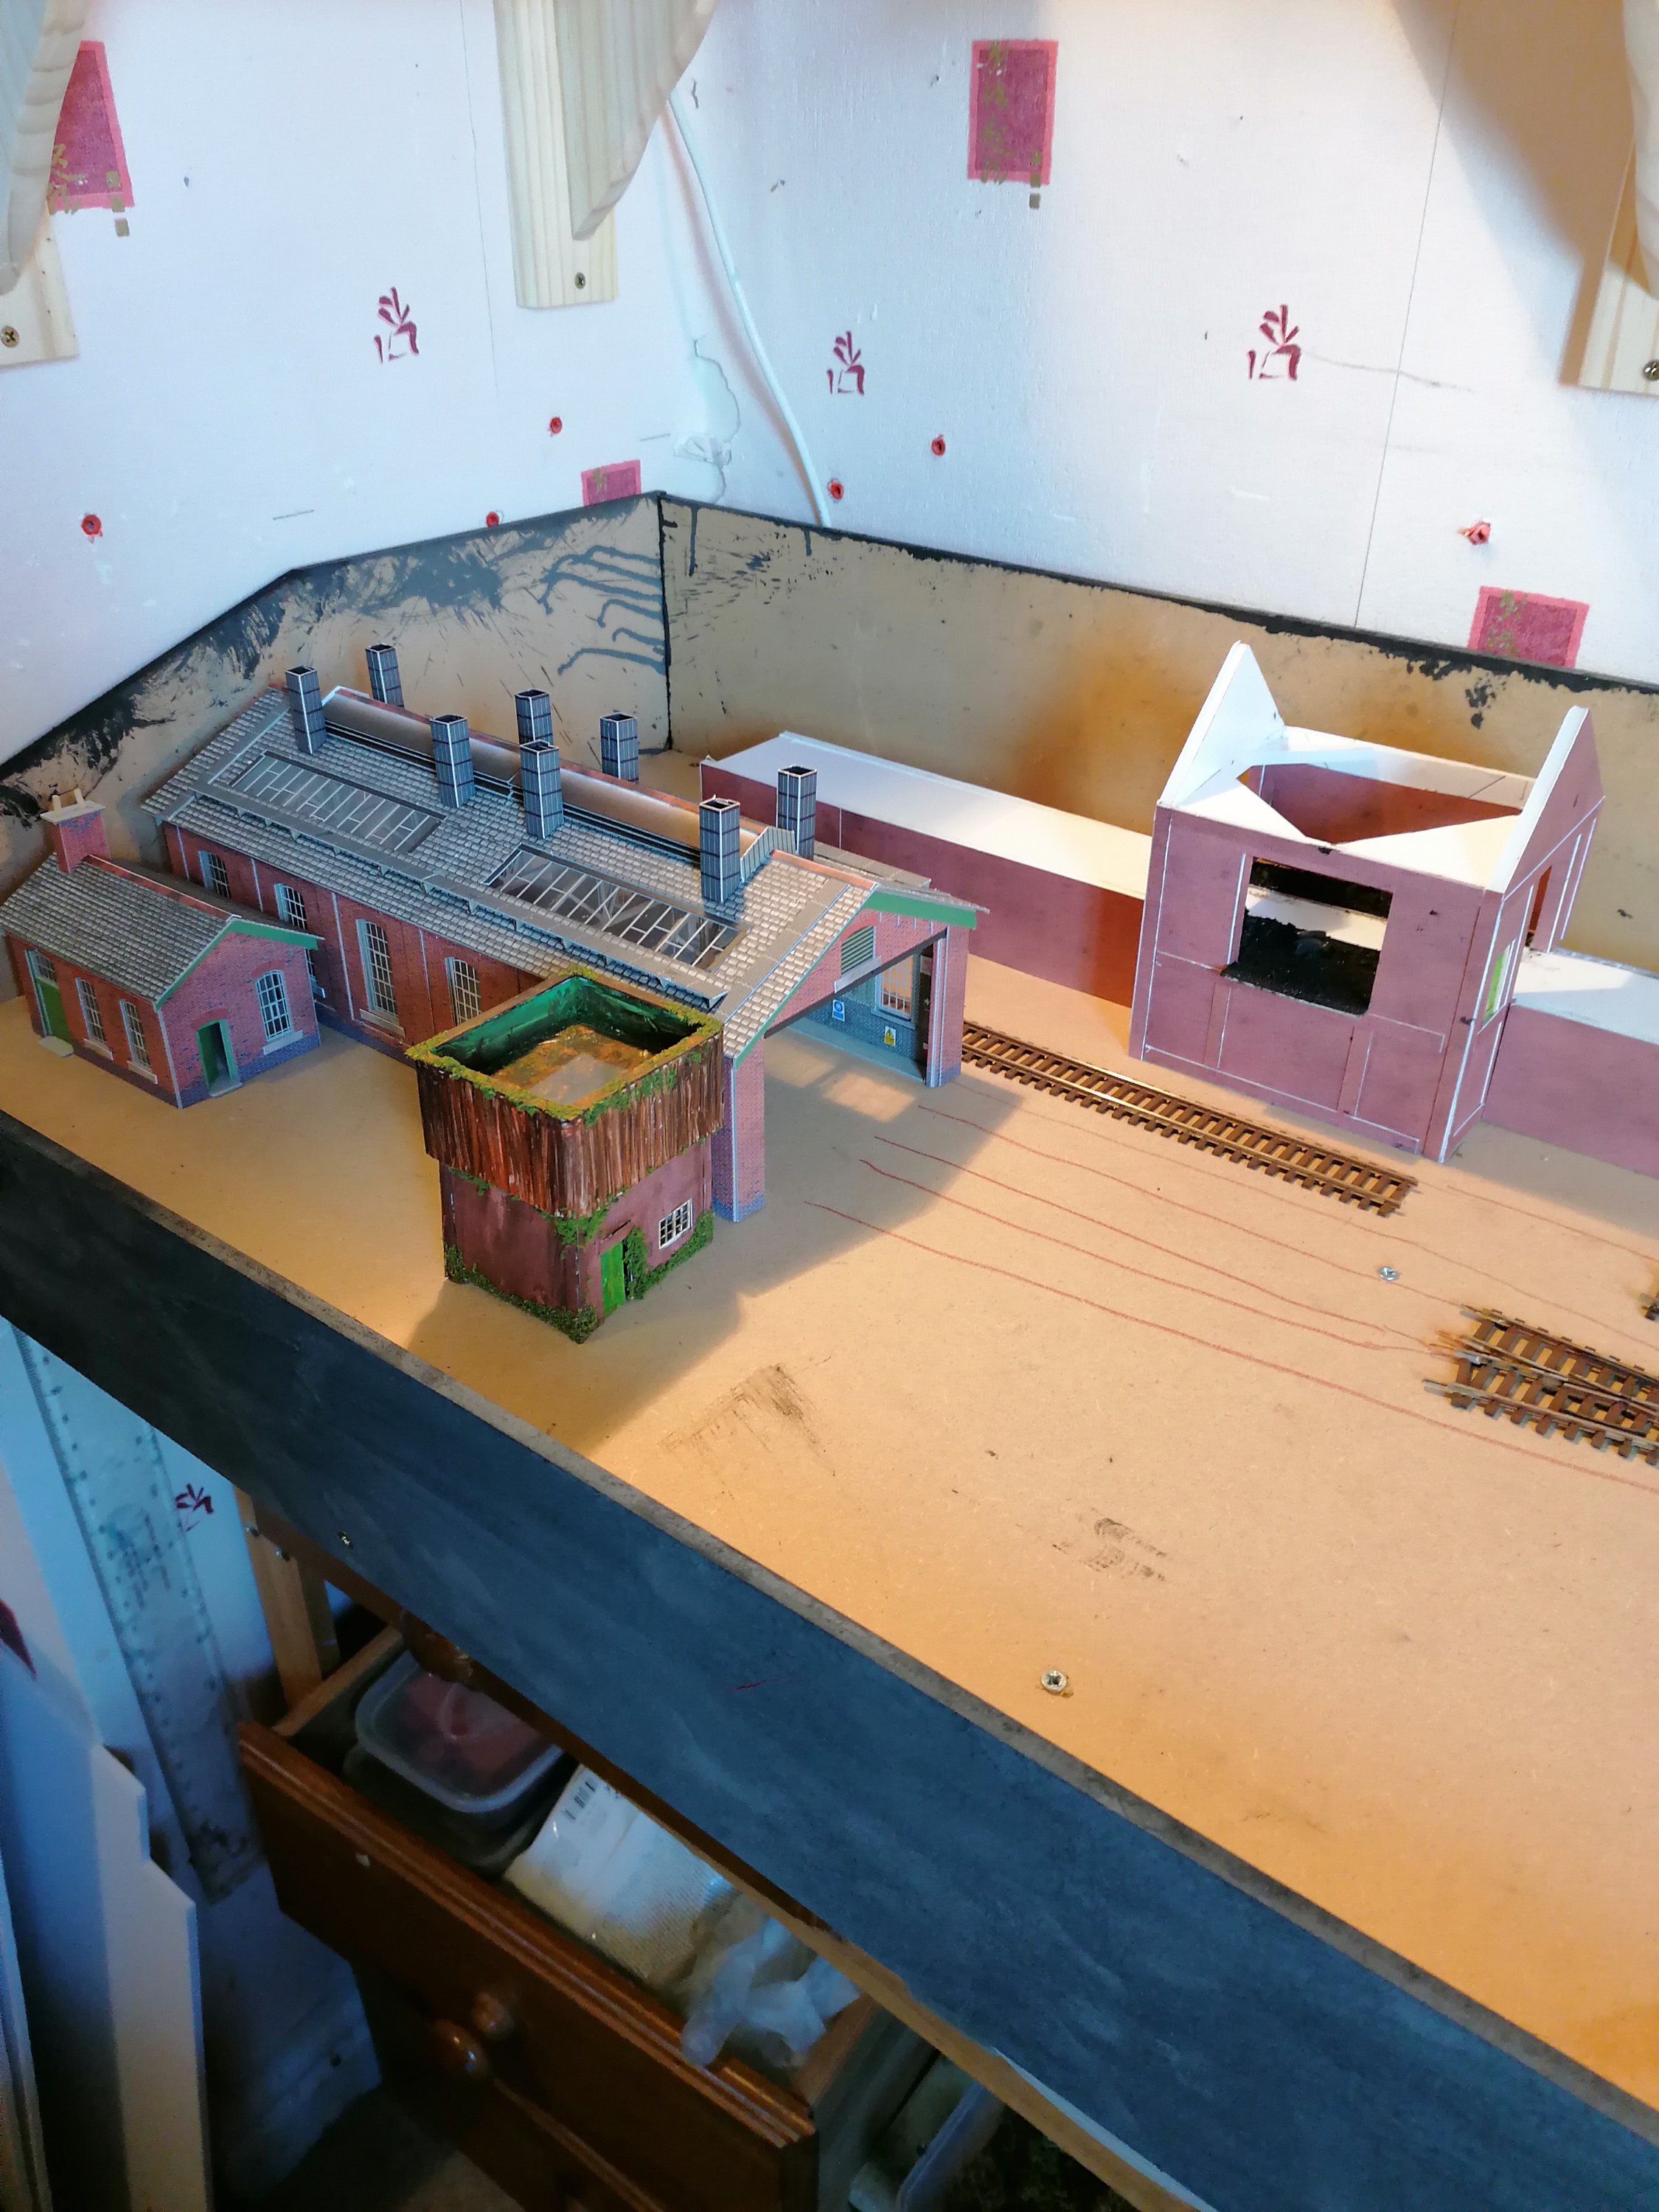
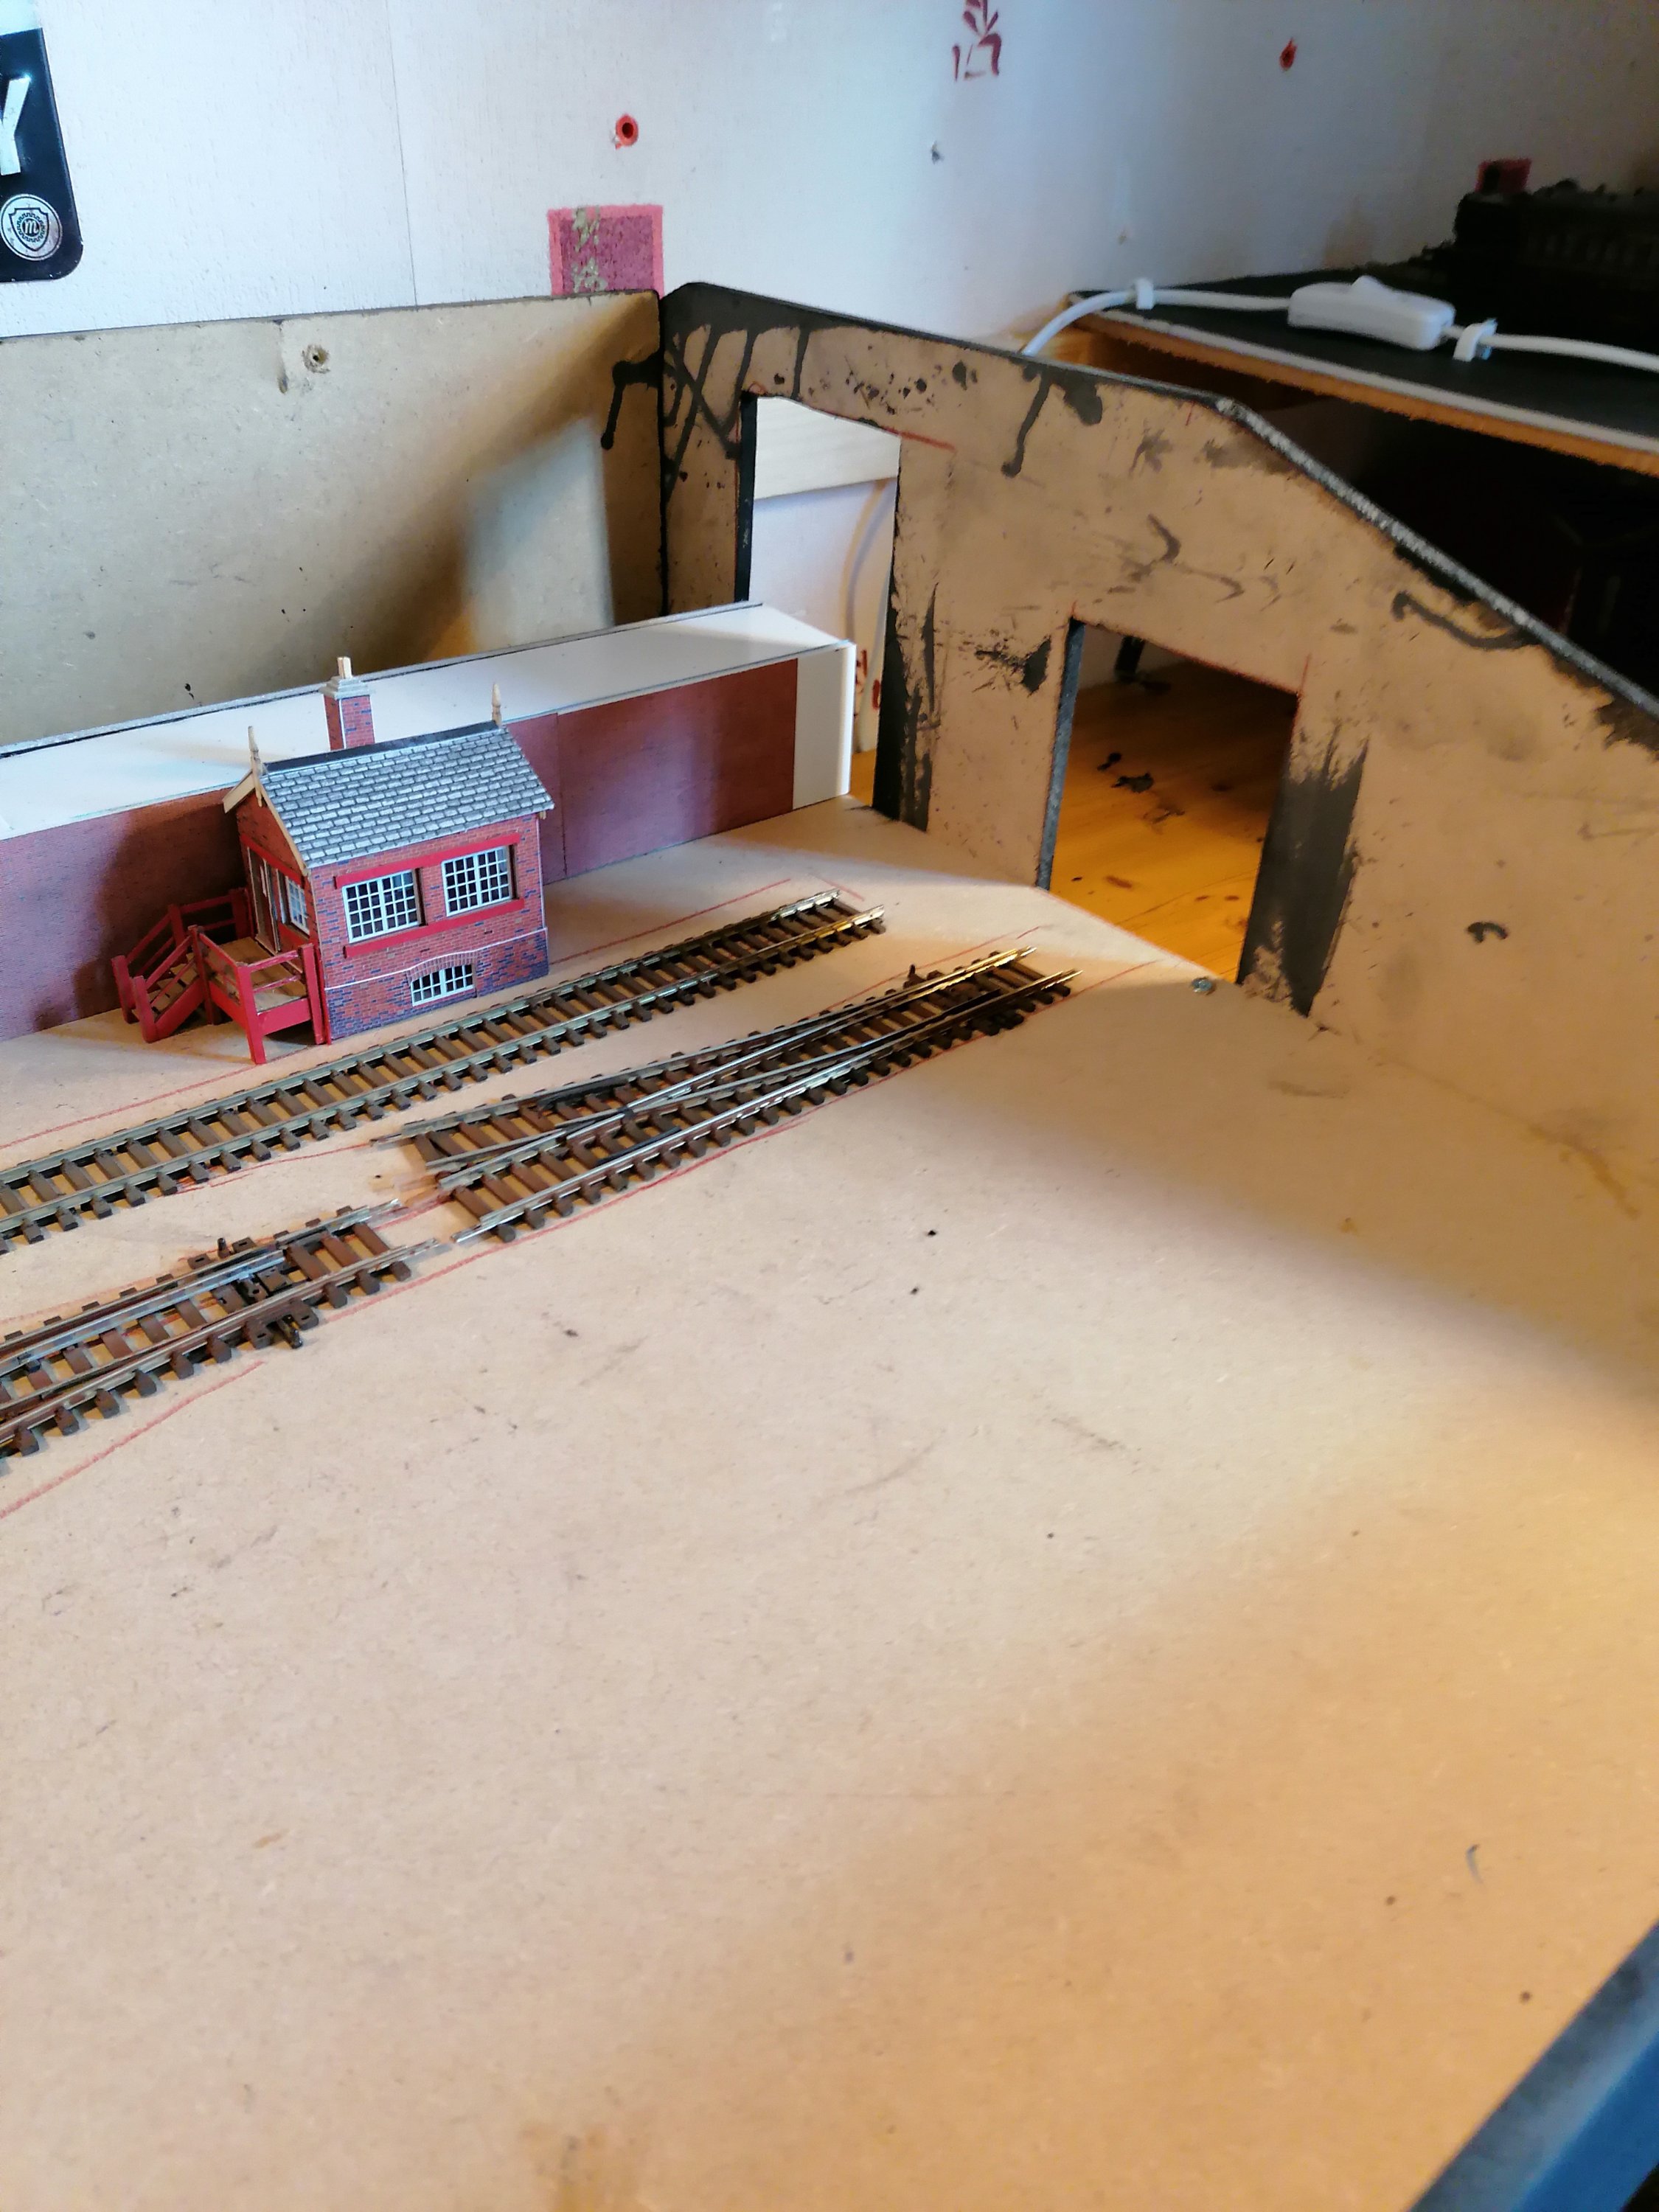
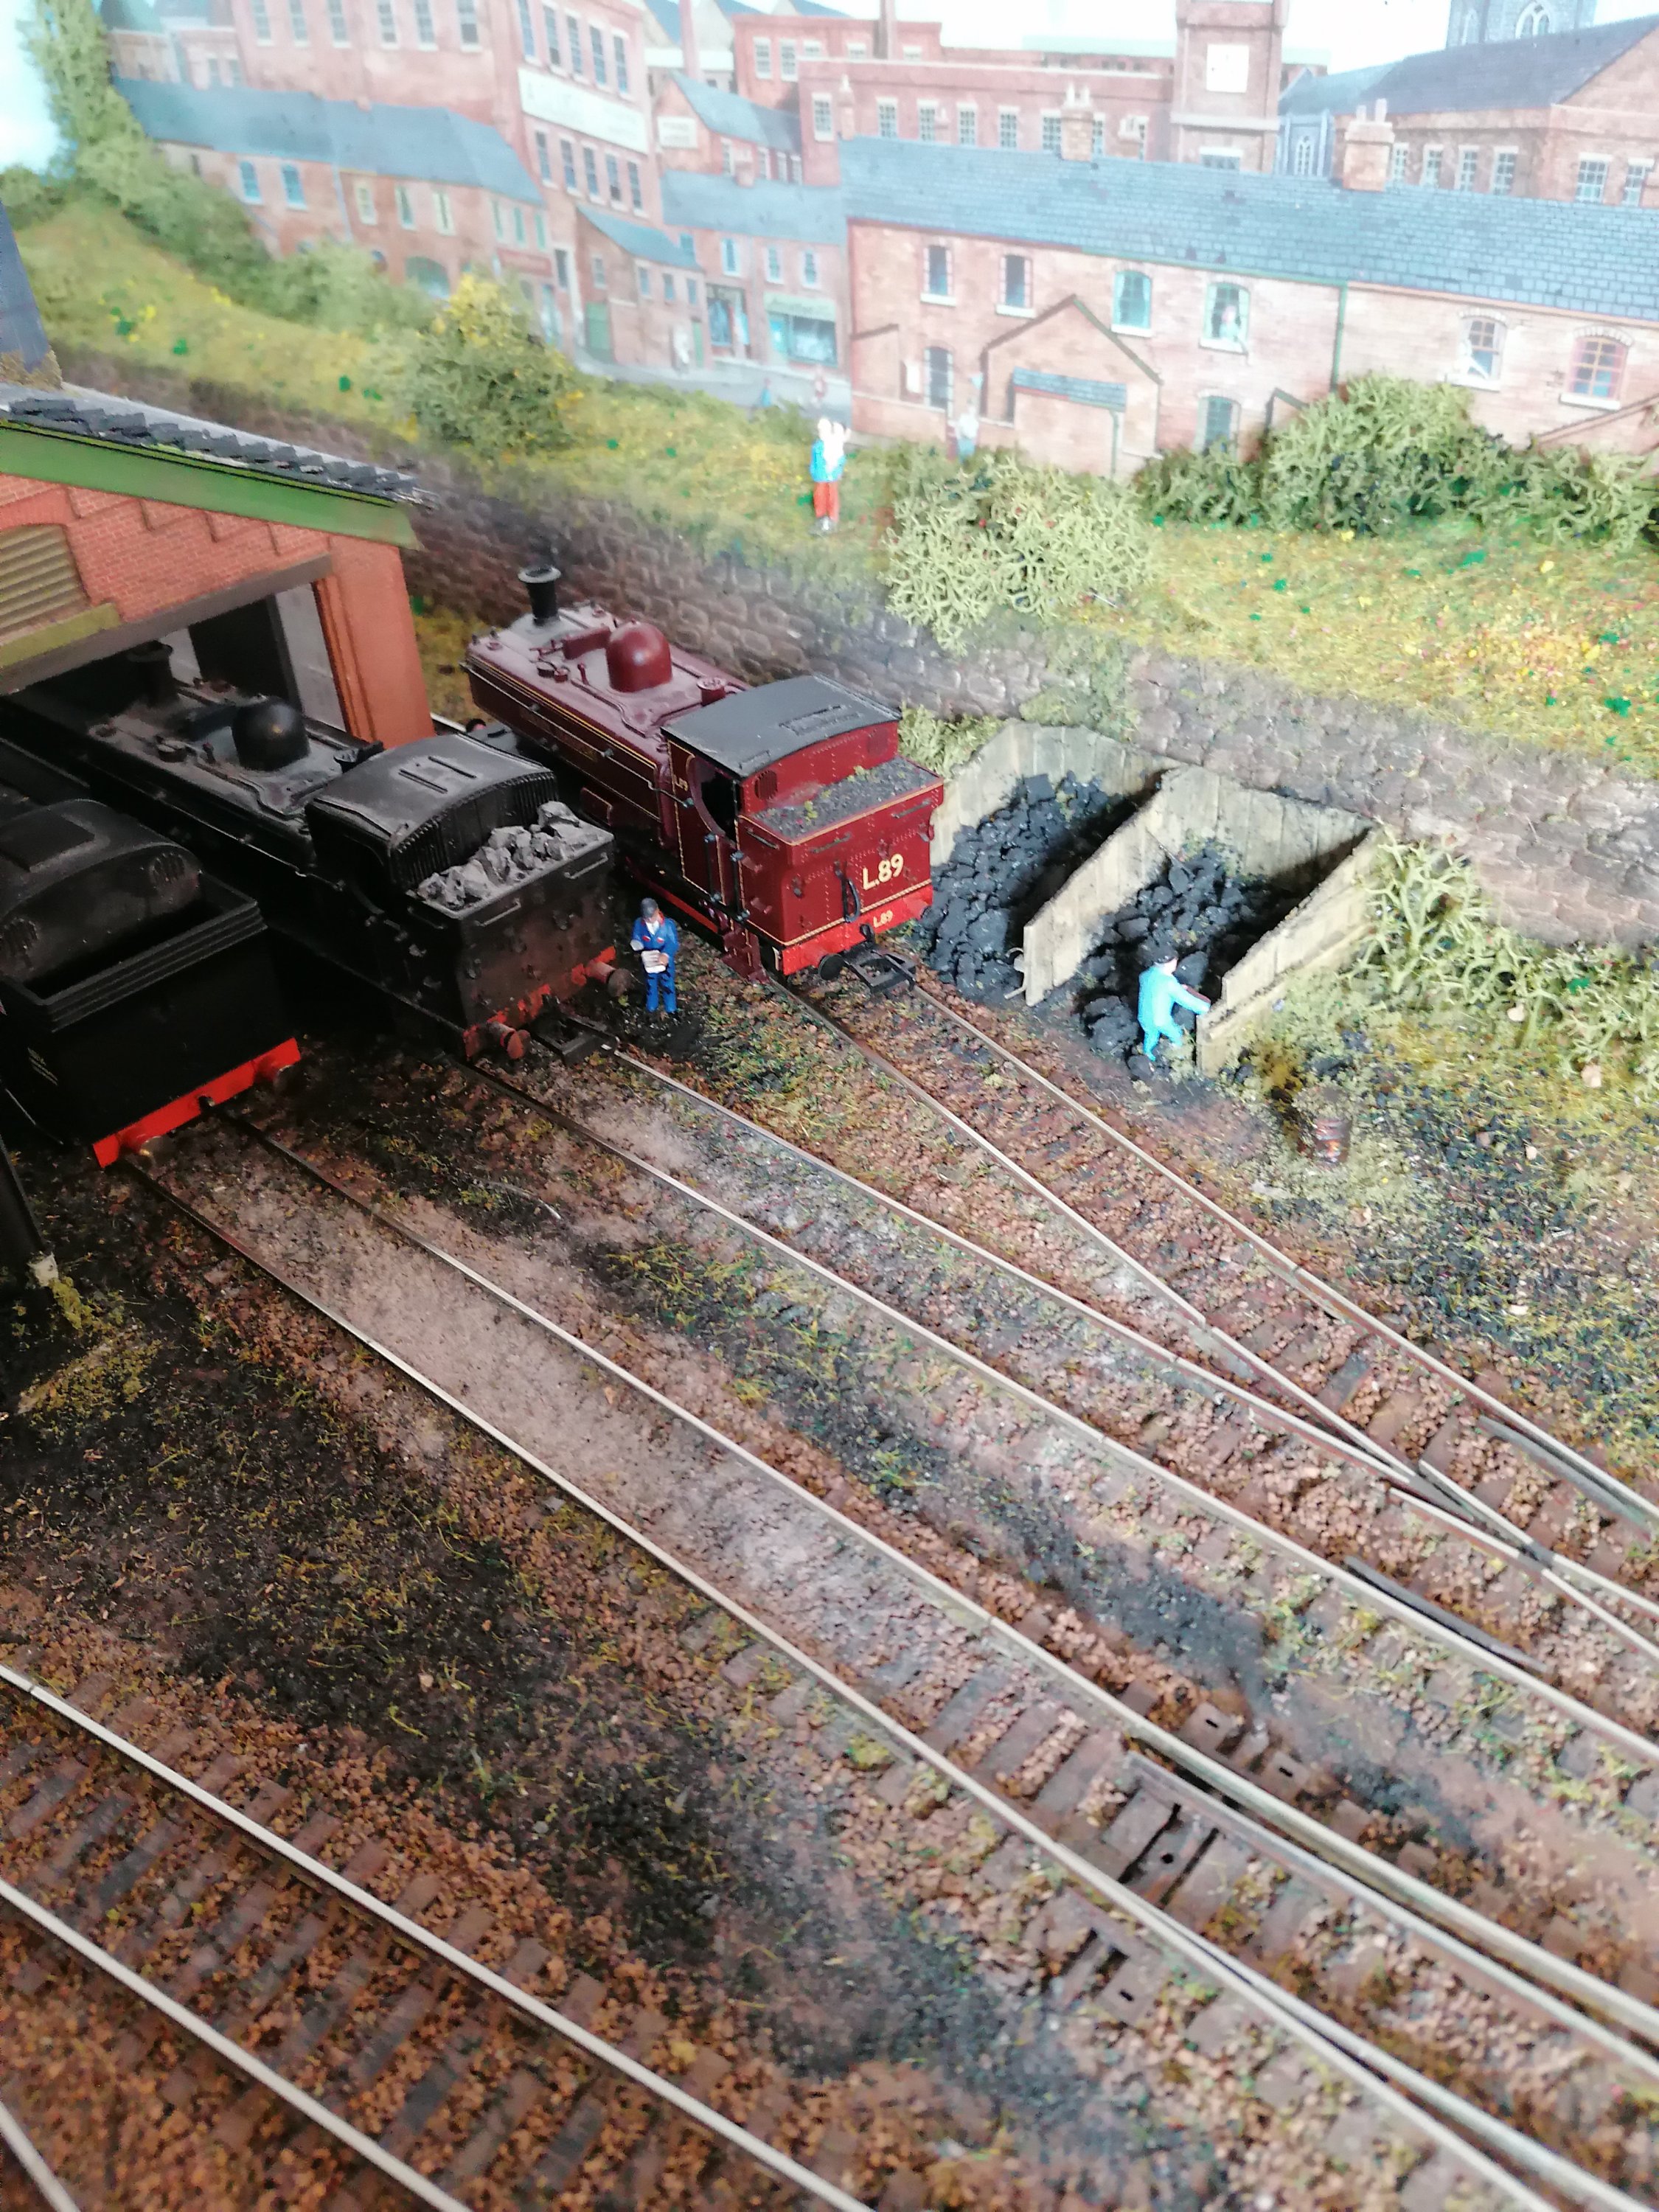
Having moved things around a bit this is the layout configuration I went with. Upper level allows coal hoppers to bring fuel into coaling stage and lower level allows trains to come into yard for coal, water and maintainance.
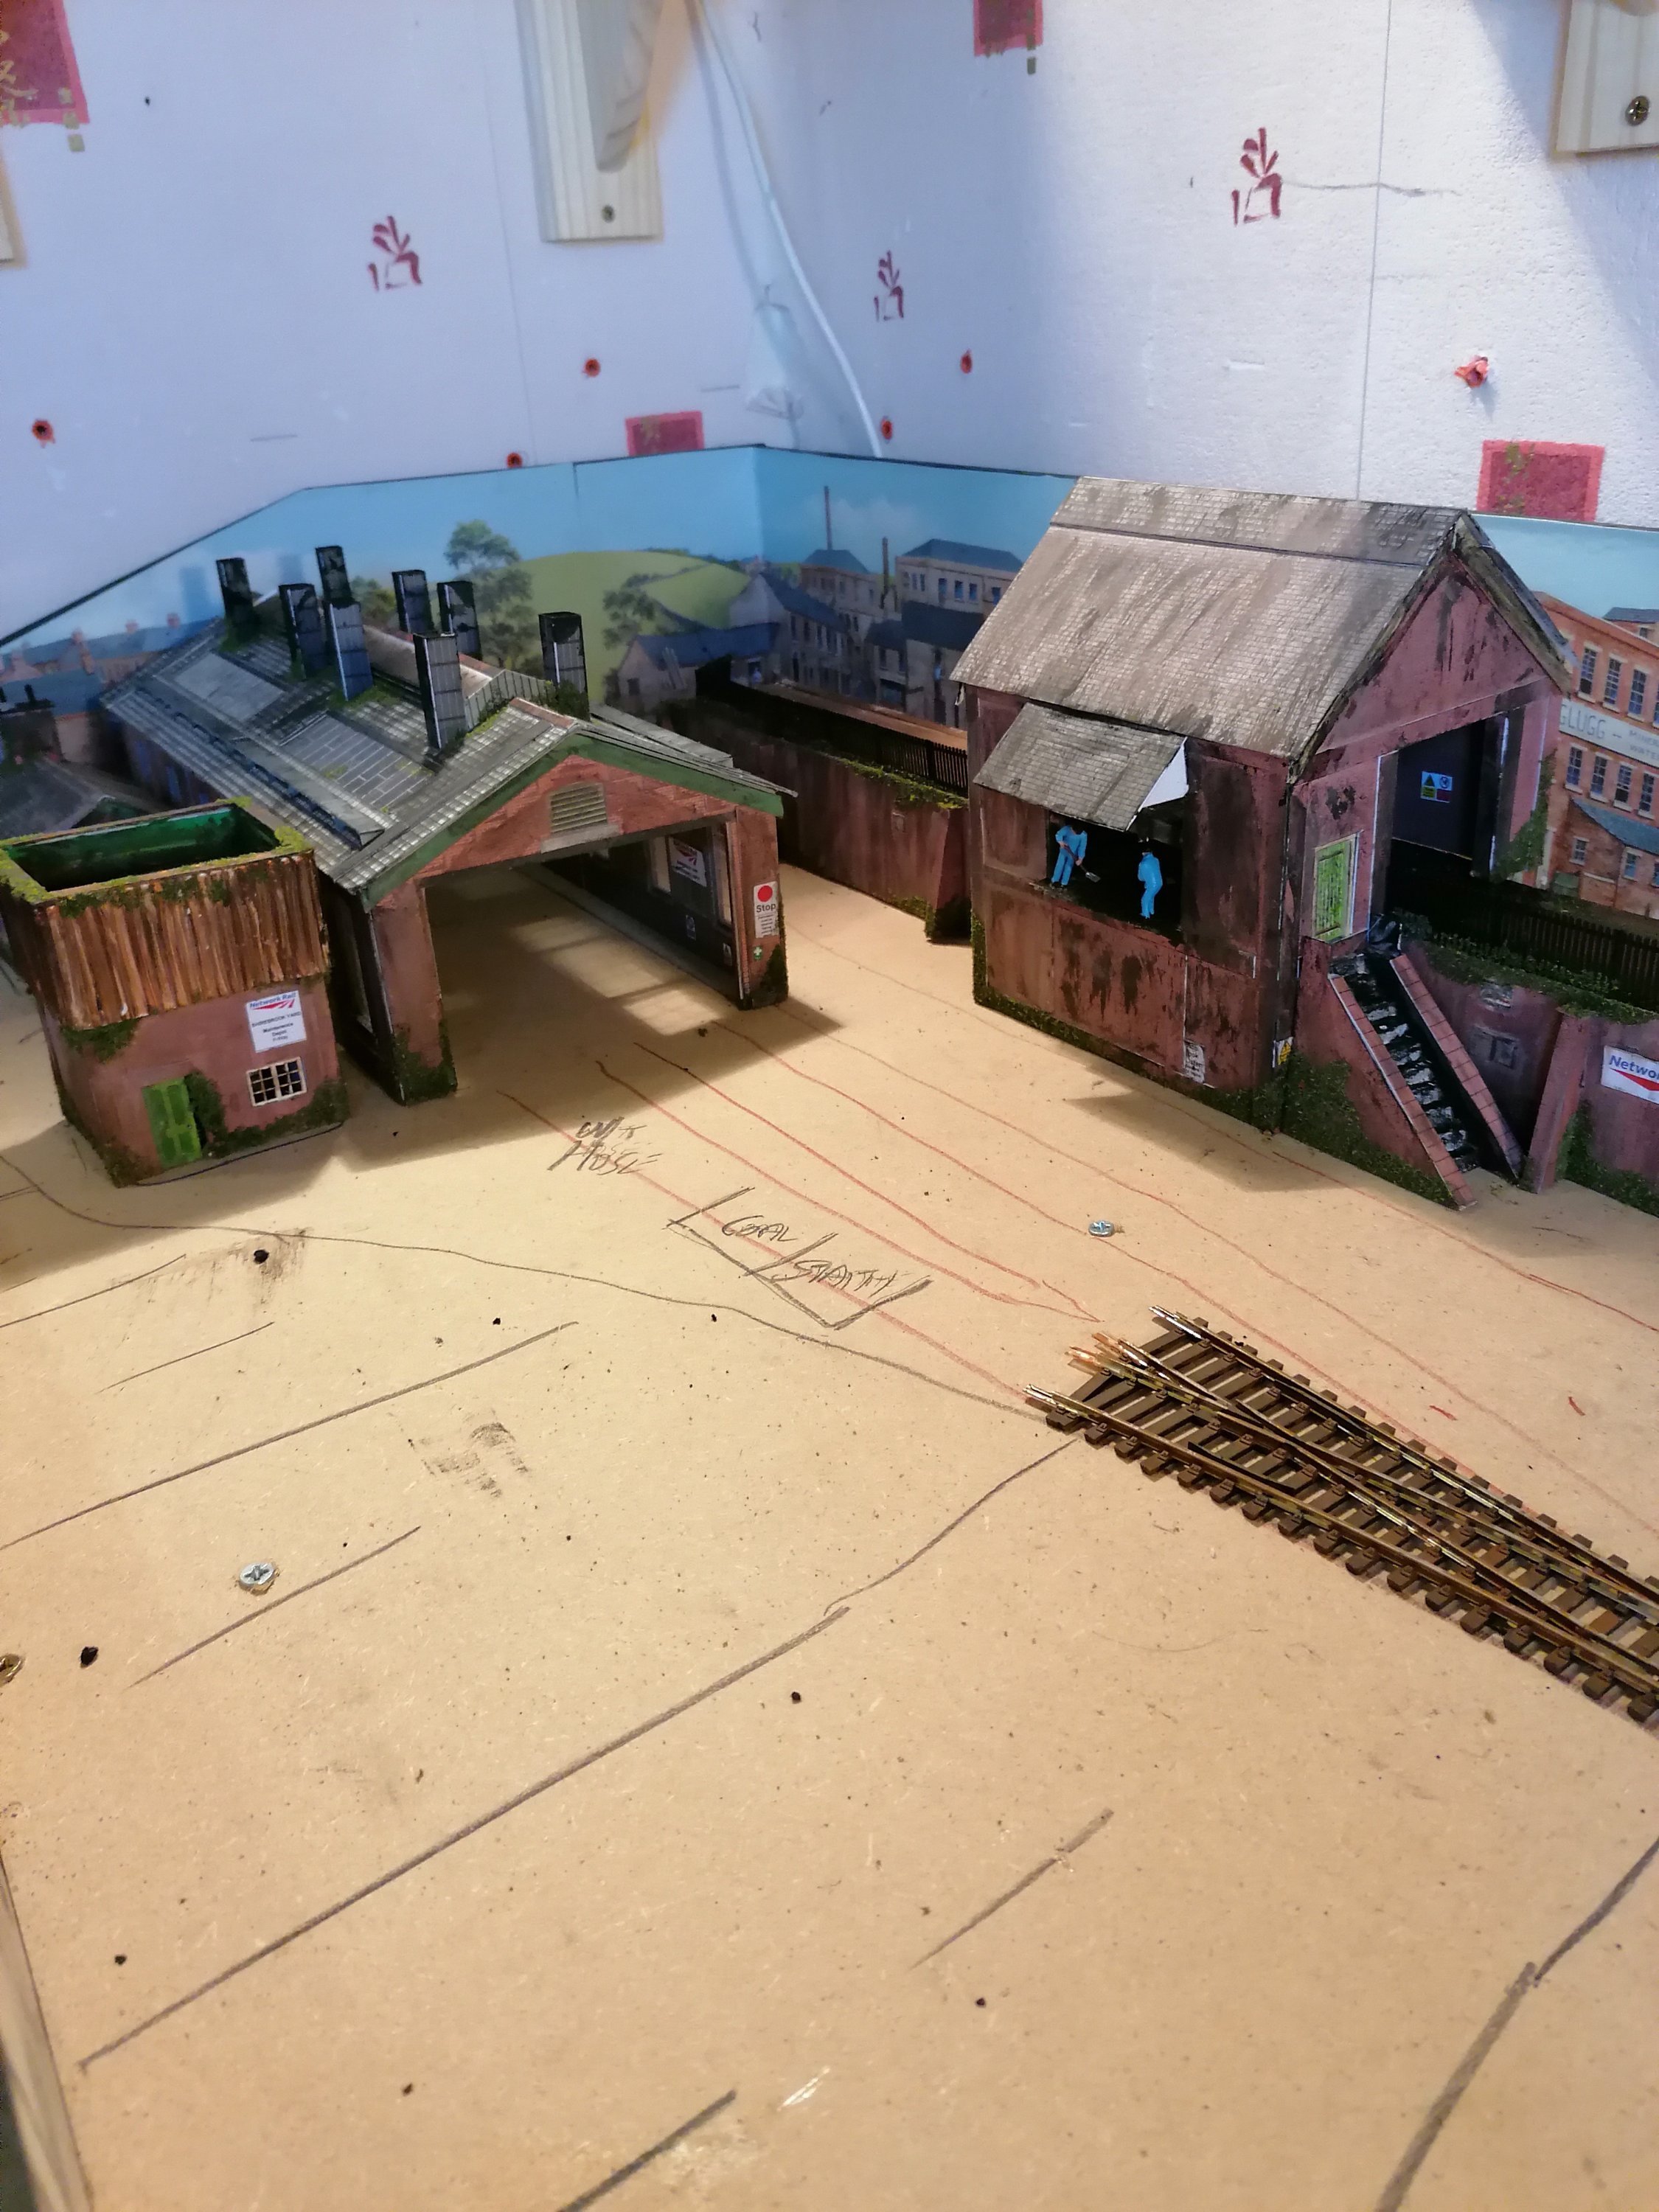
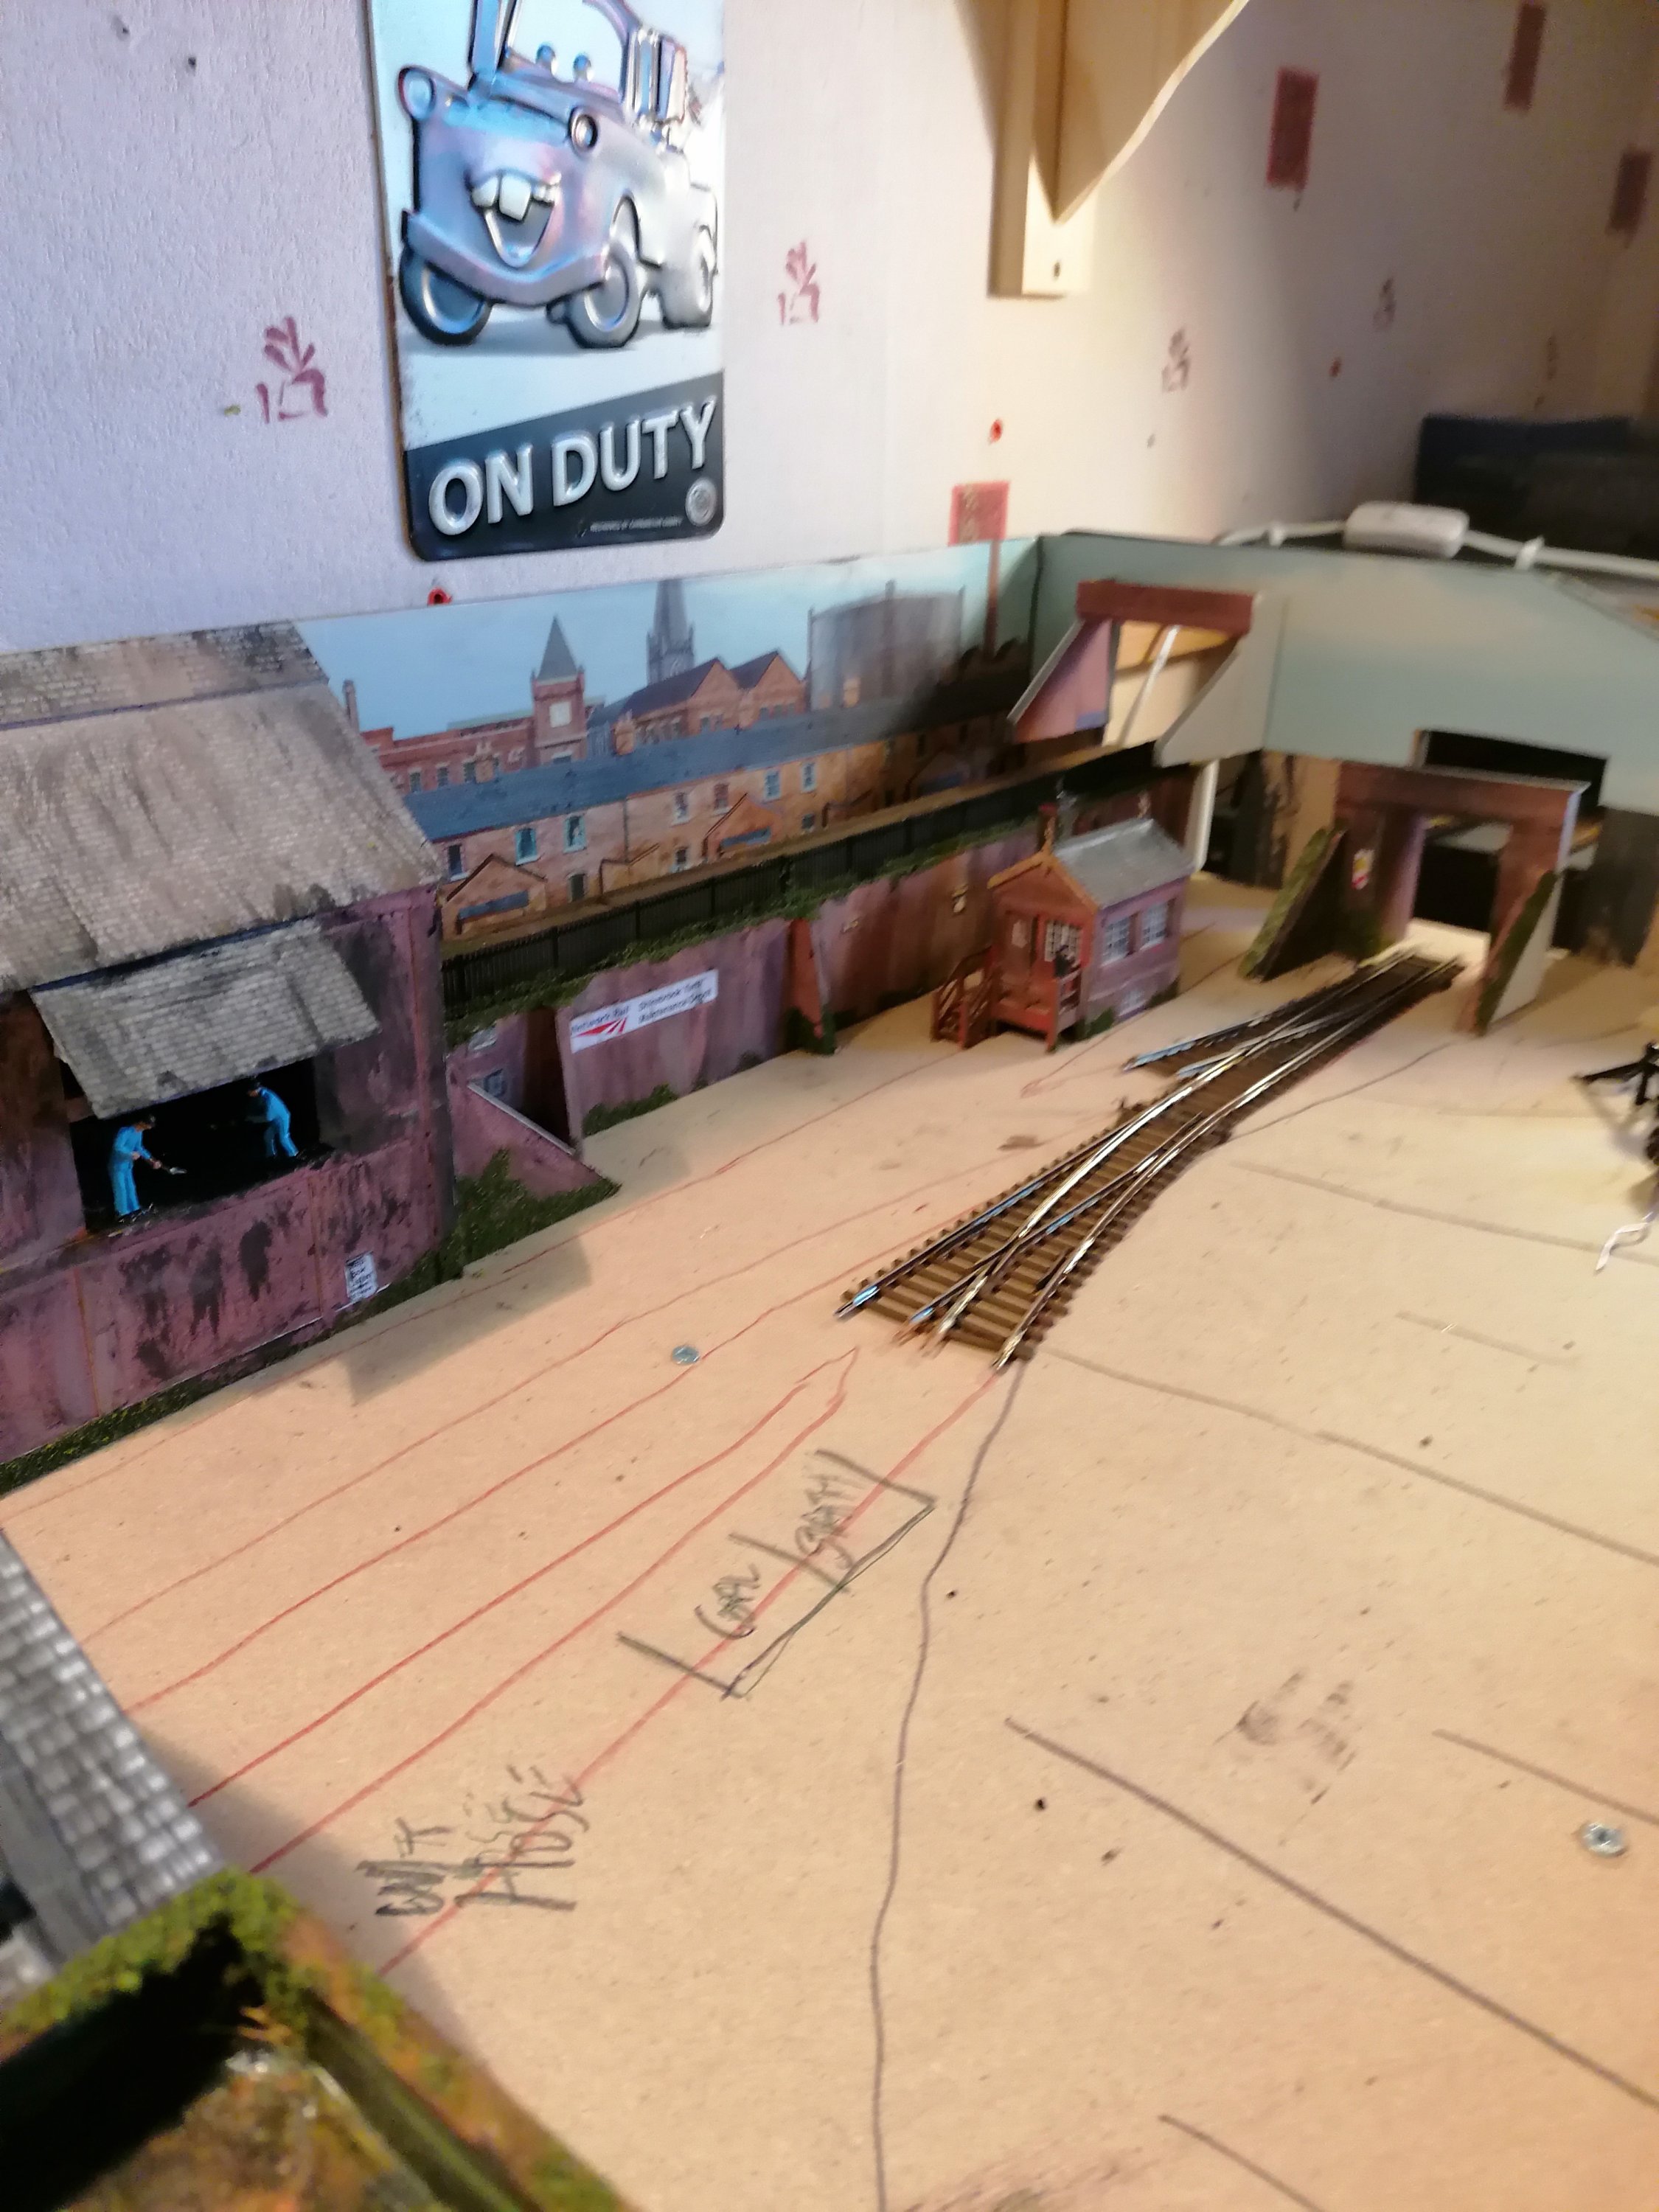
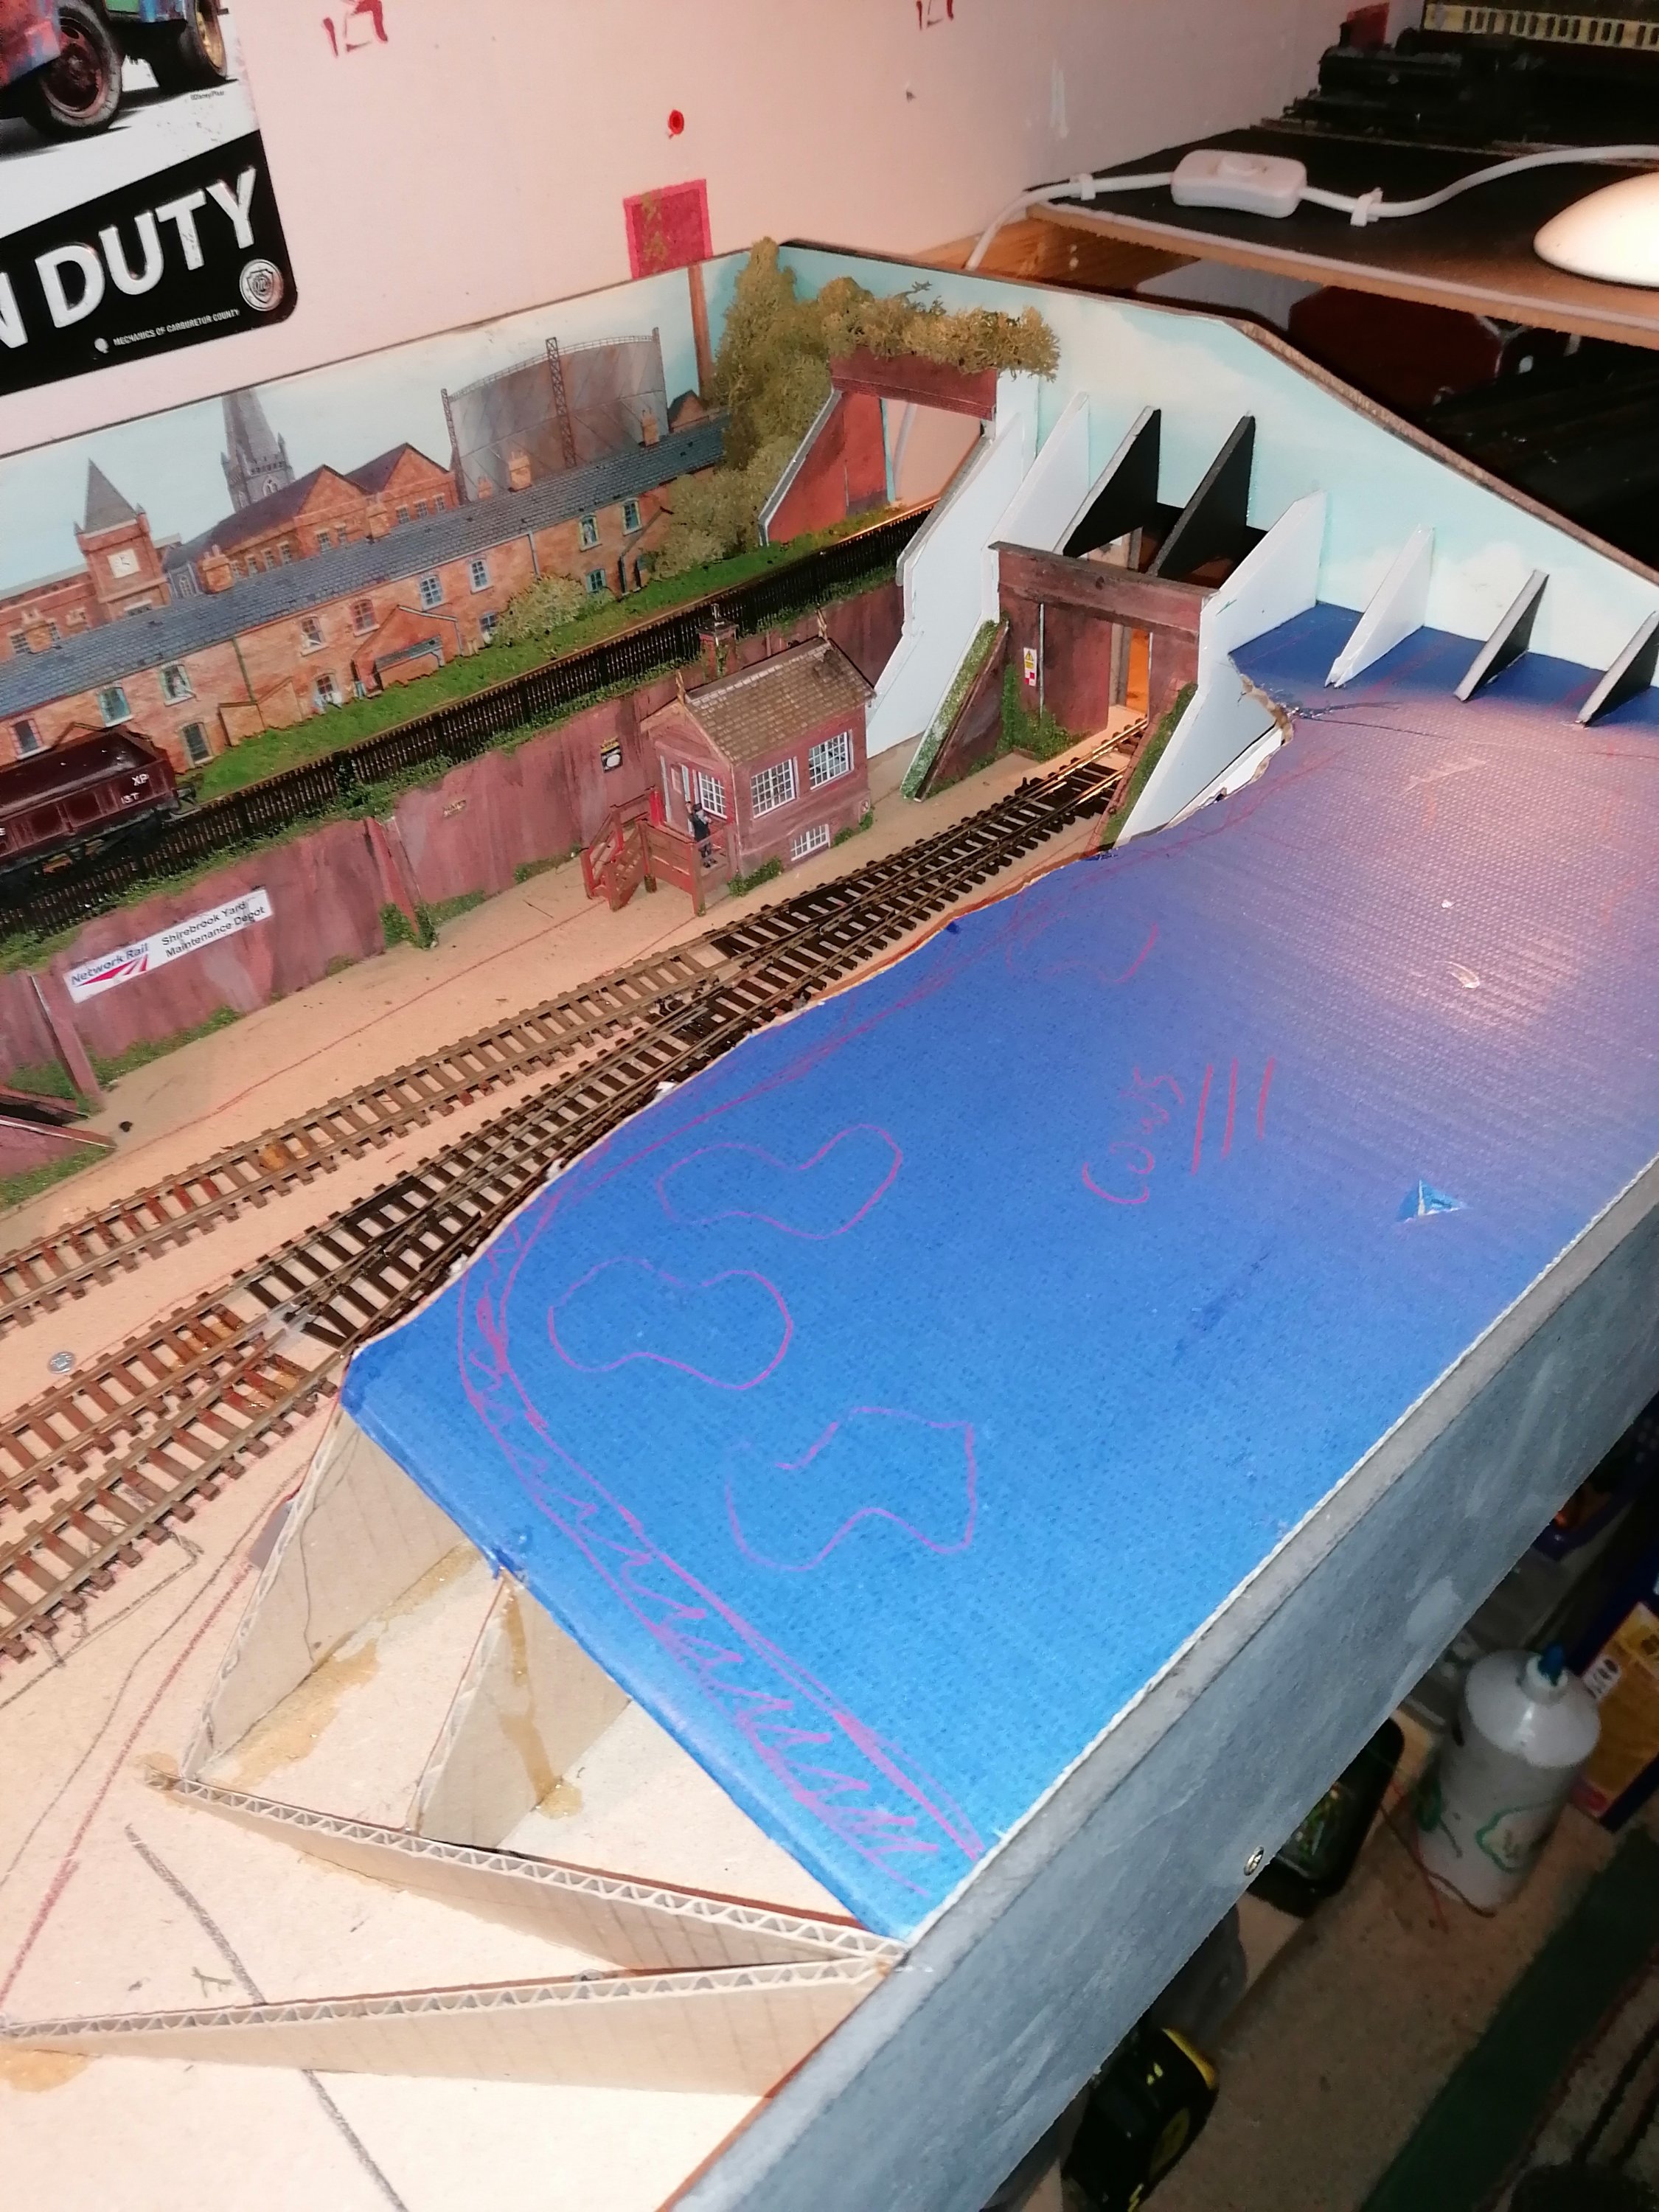
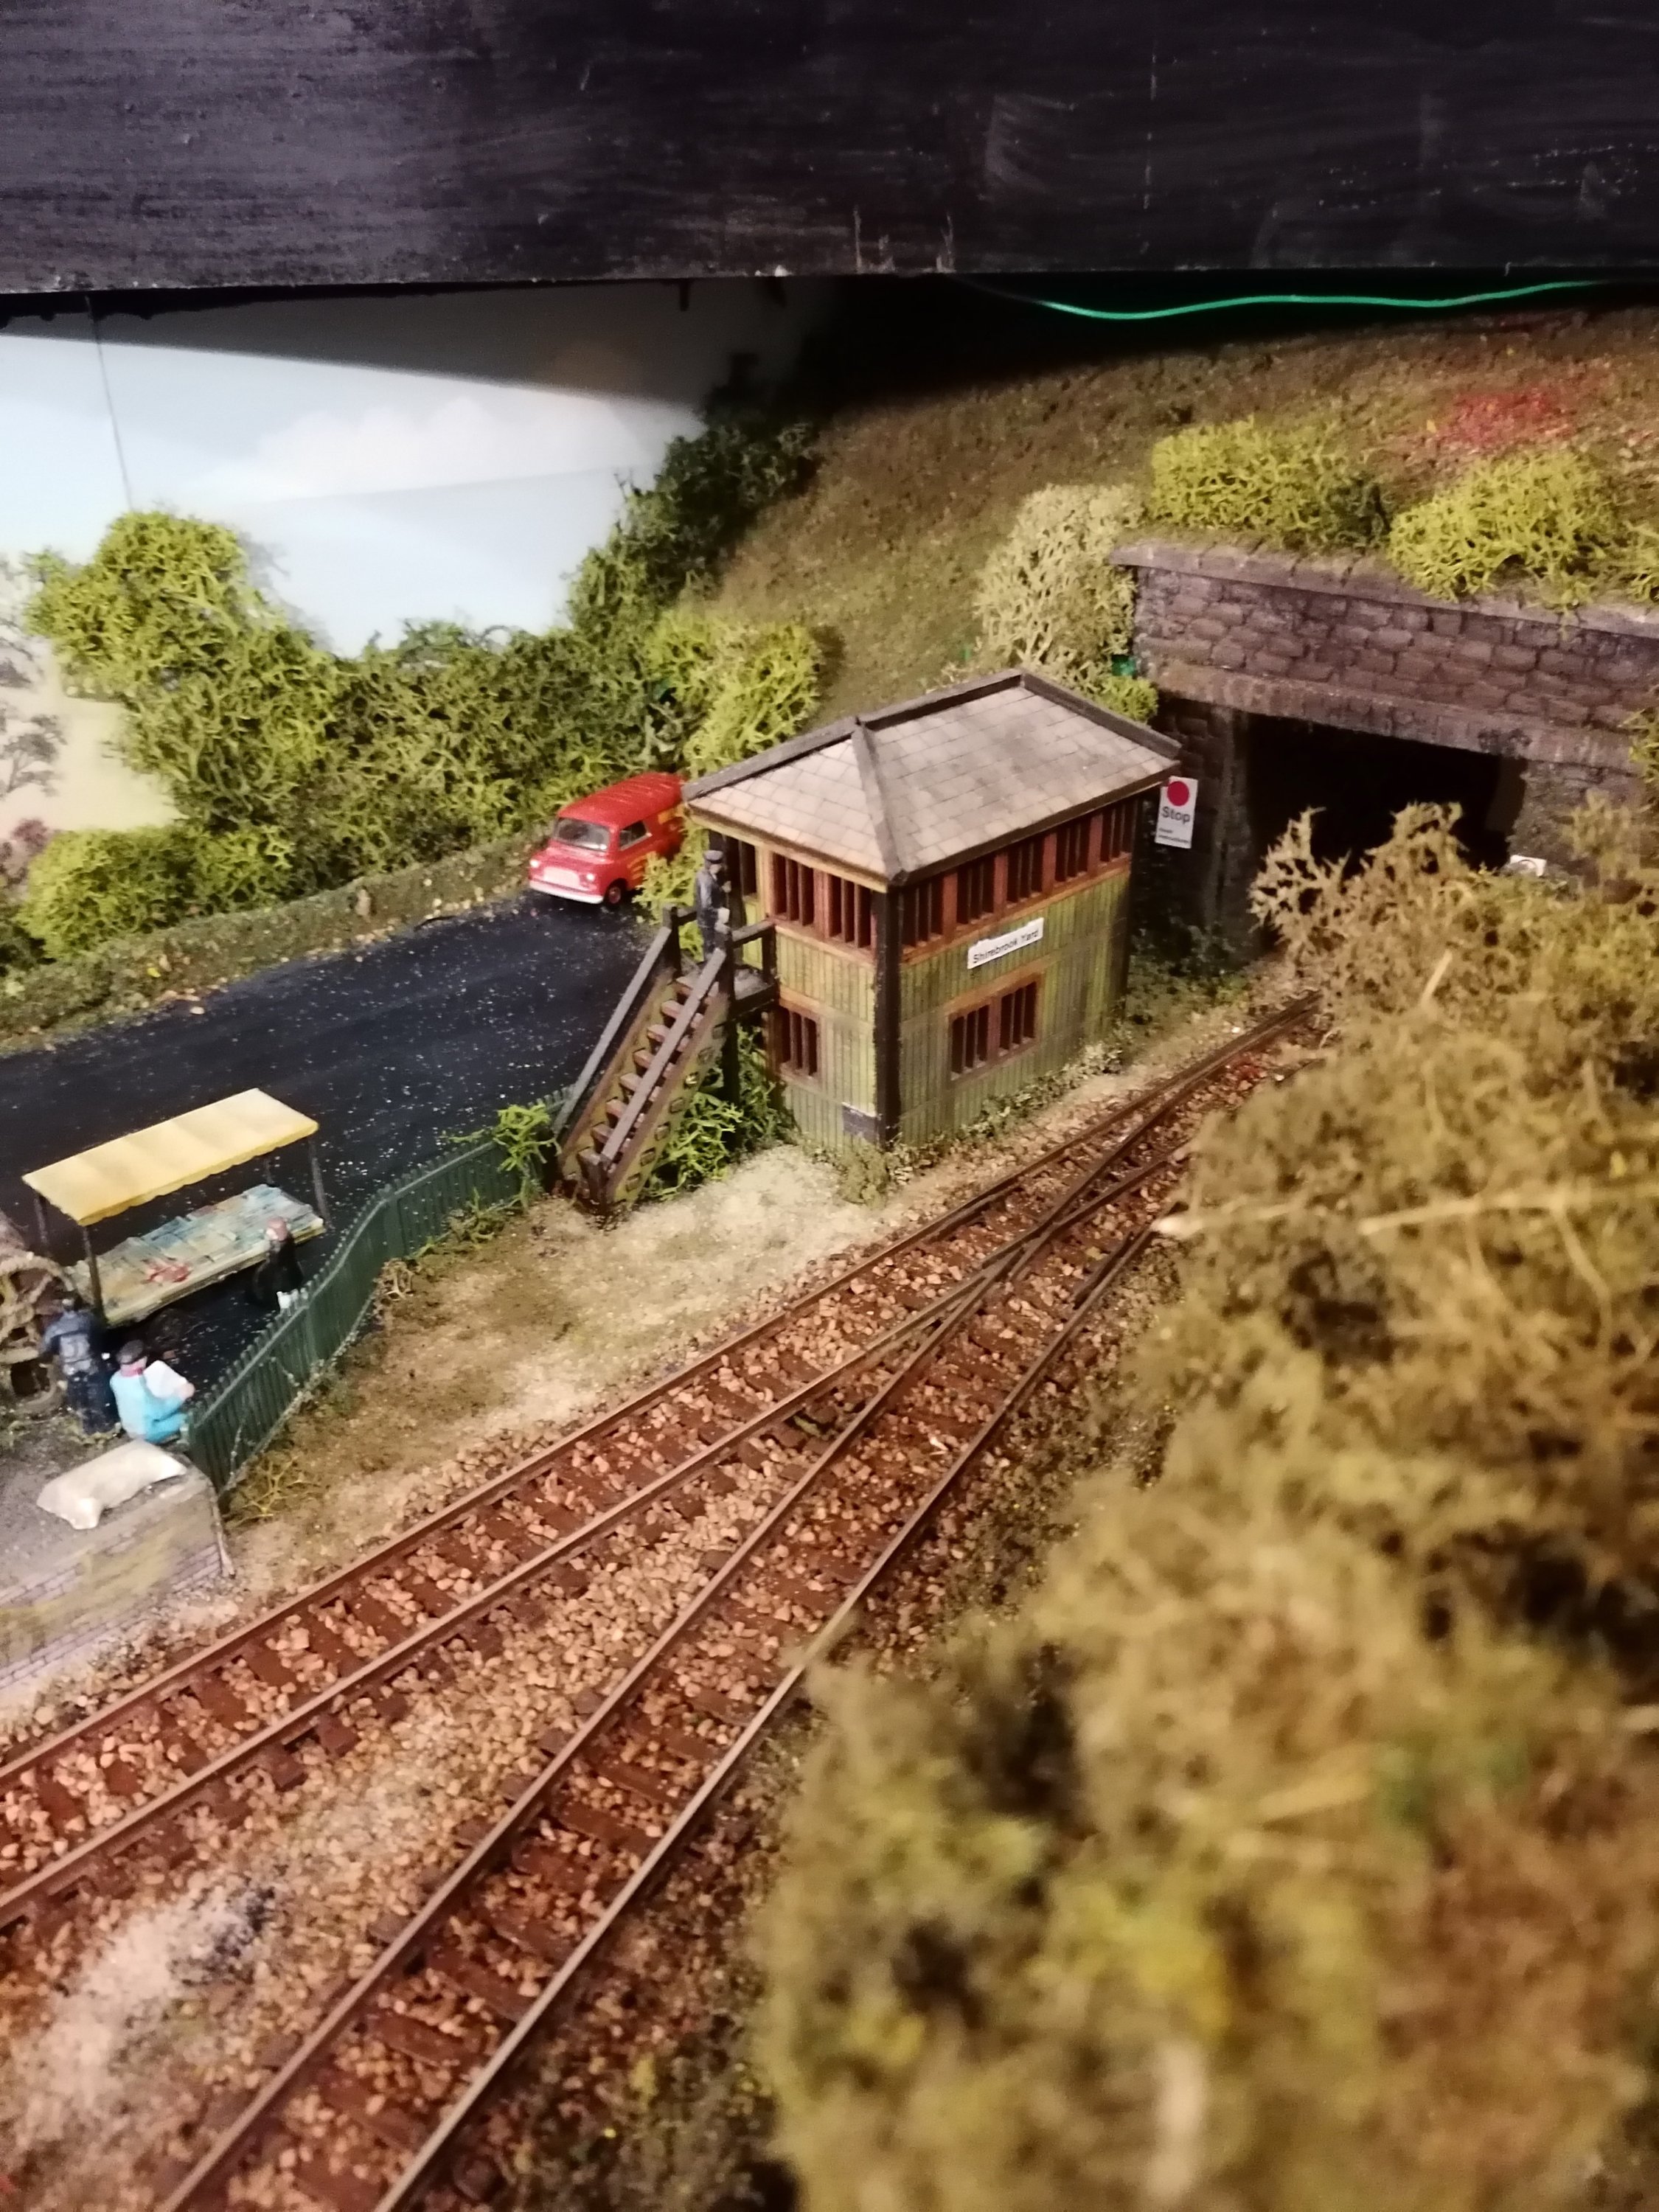
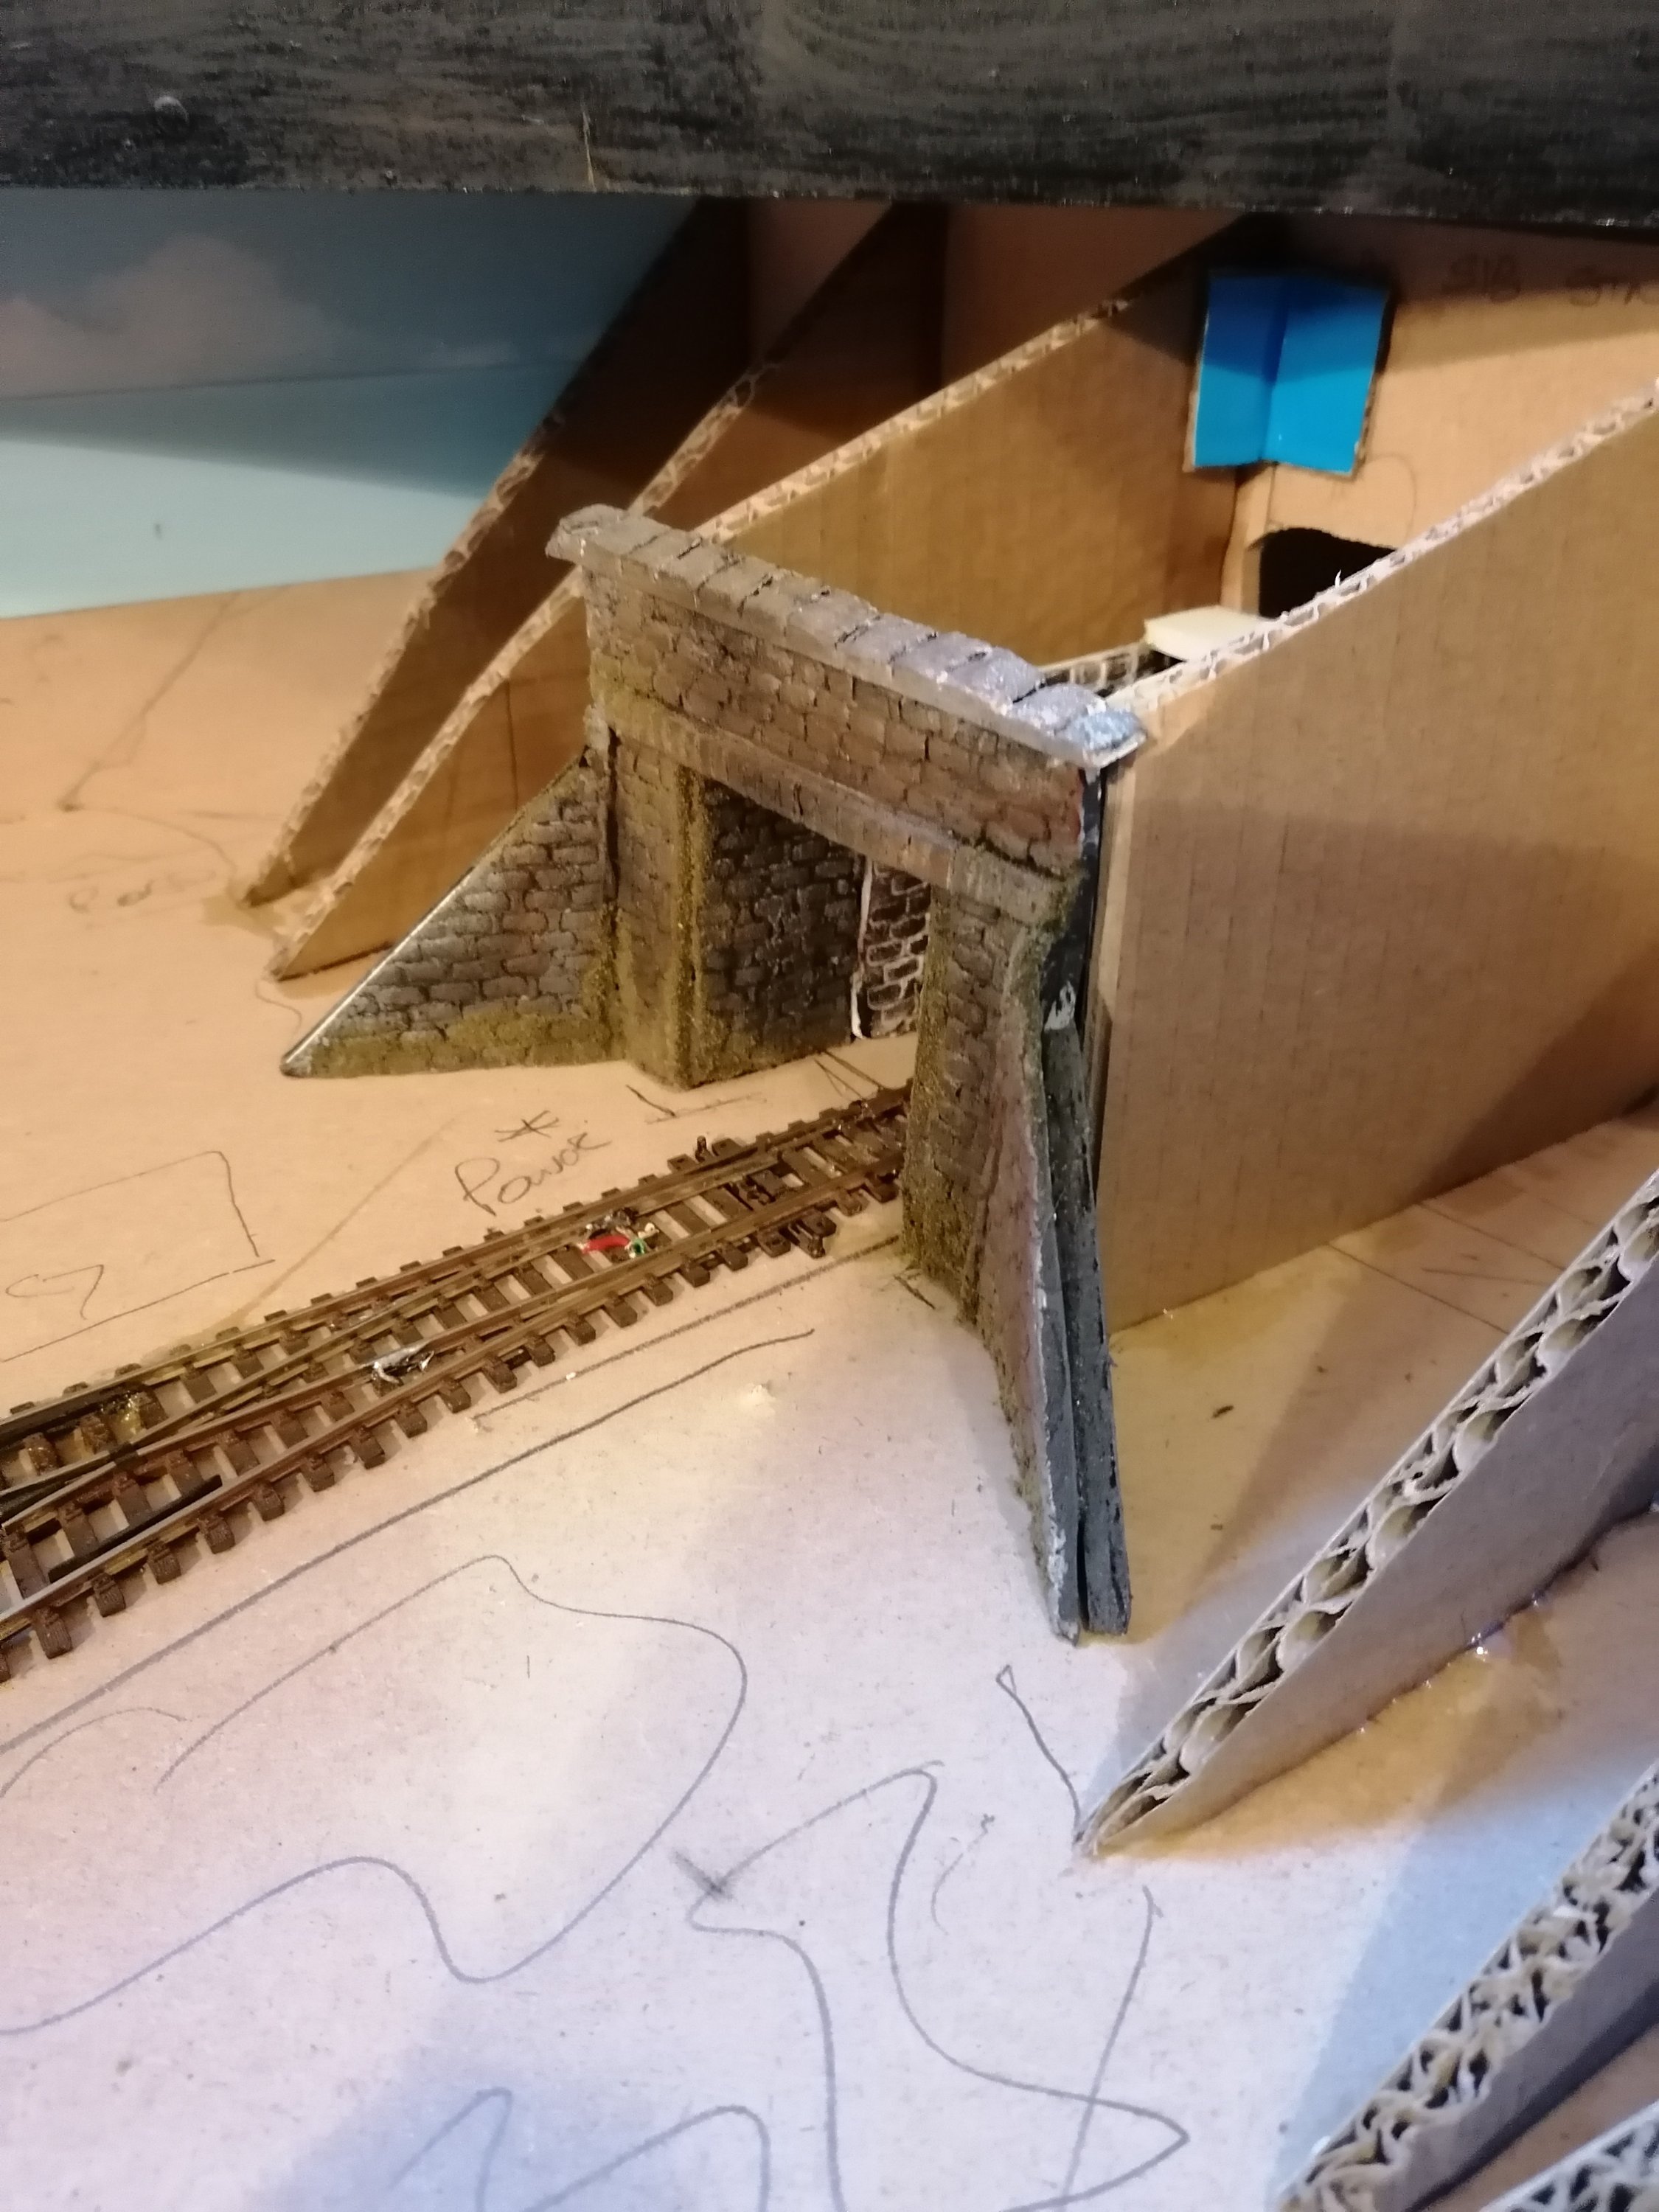
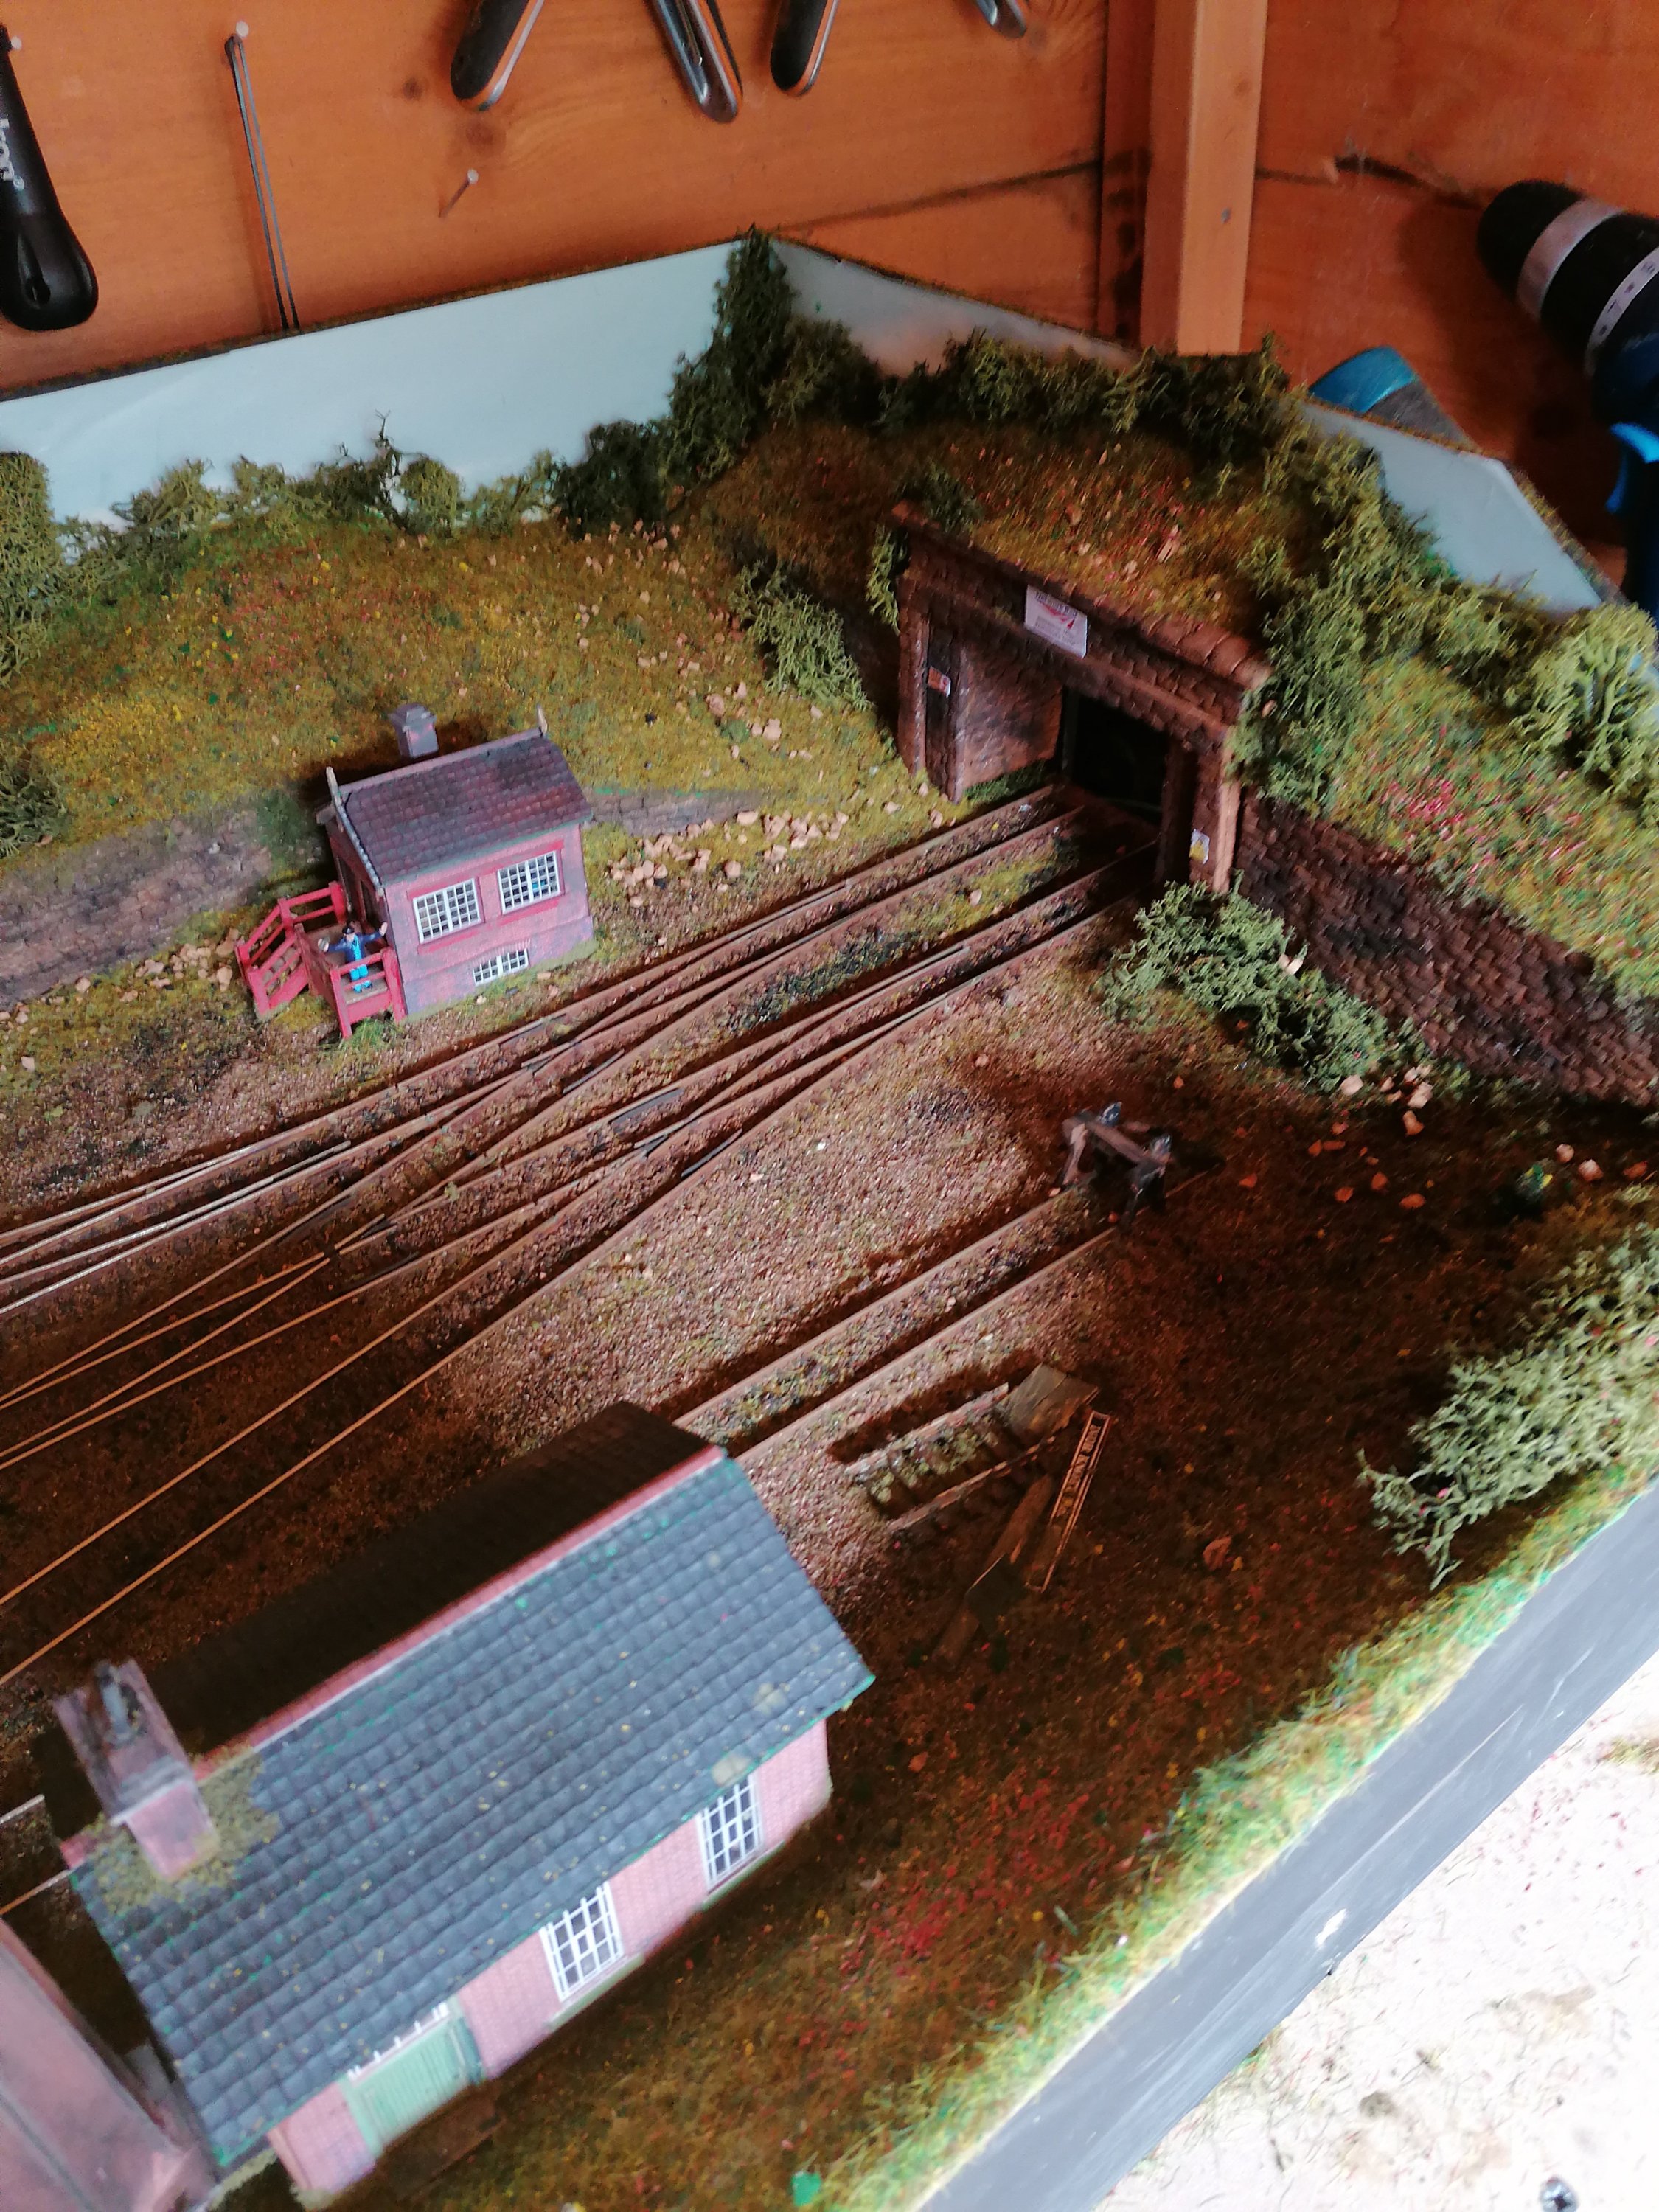
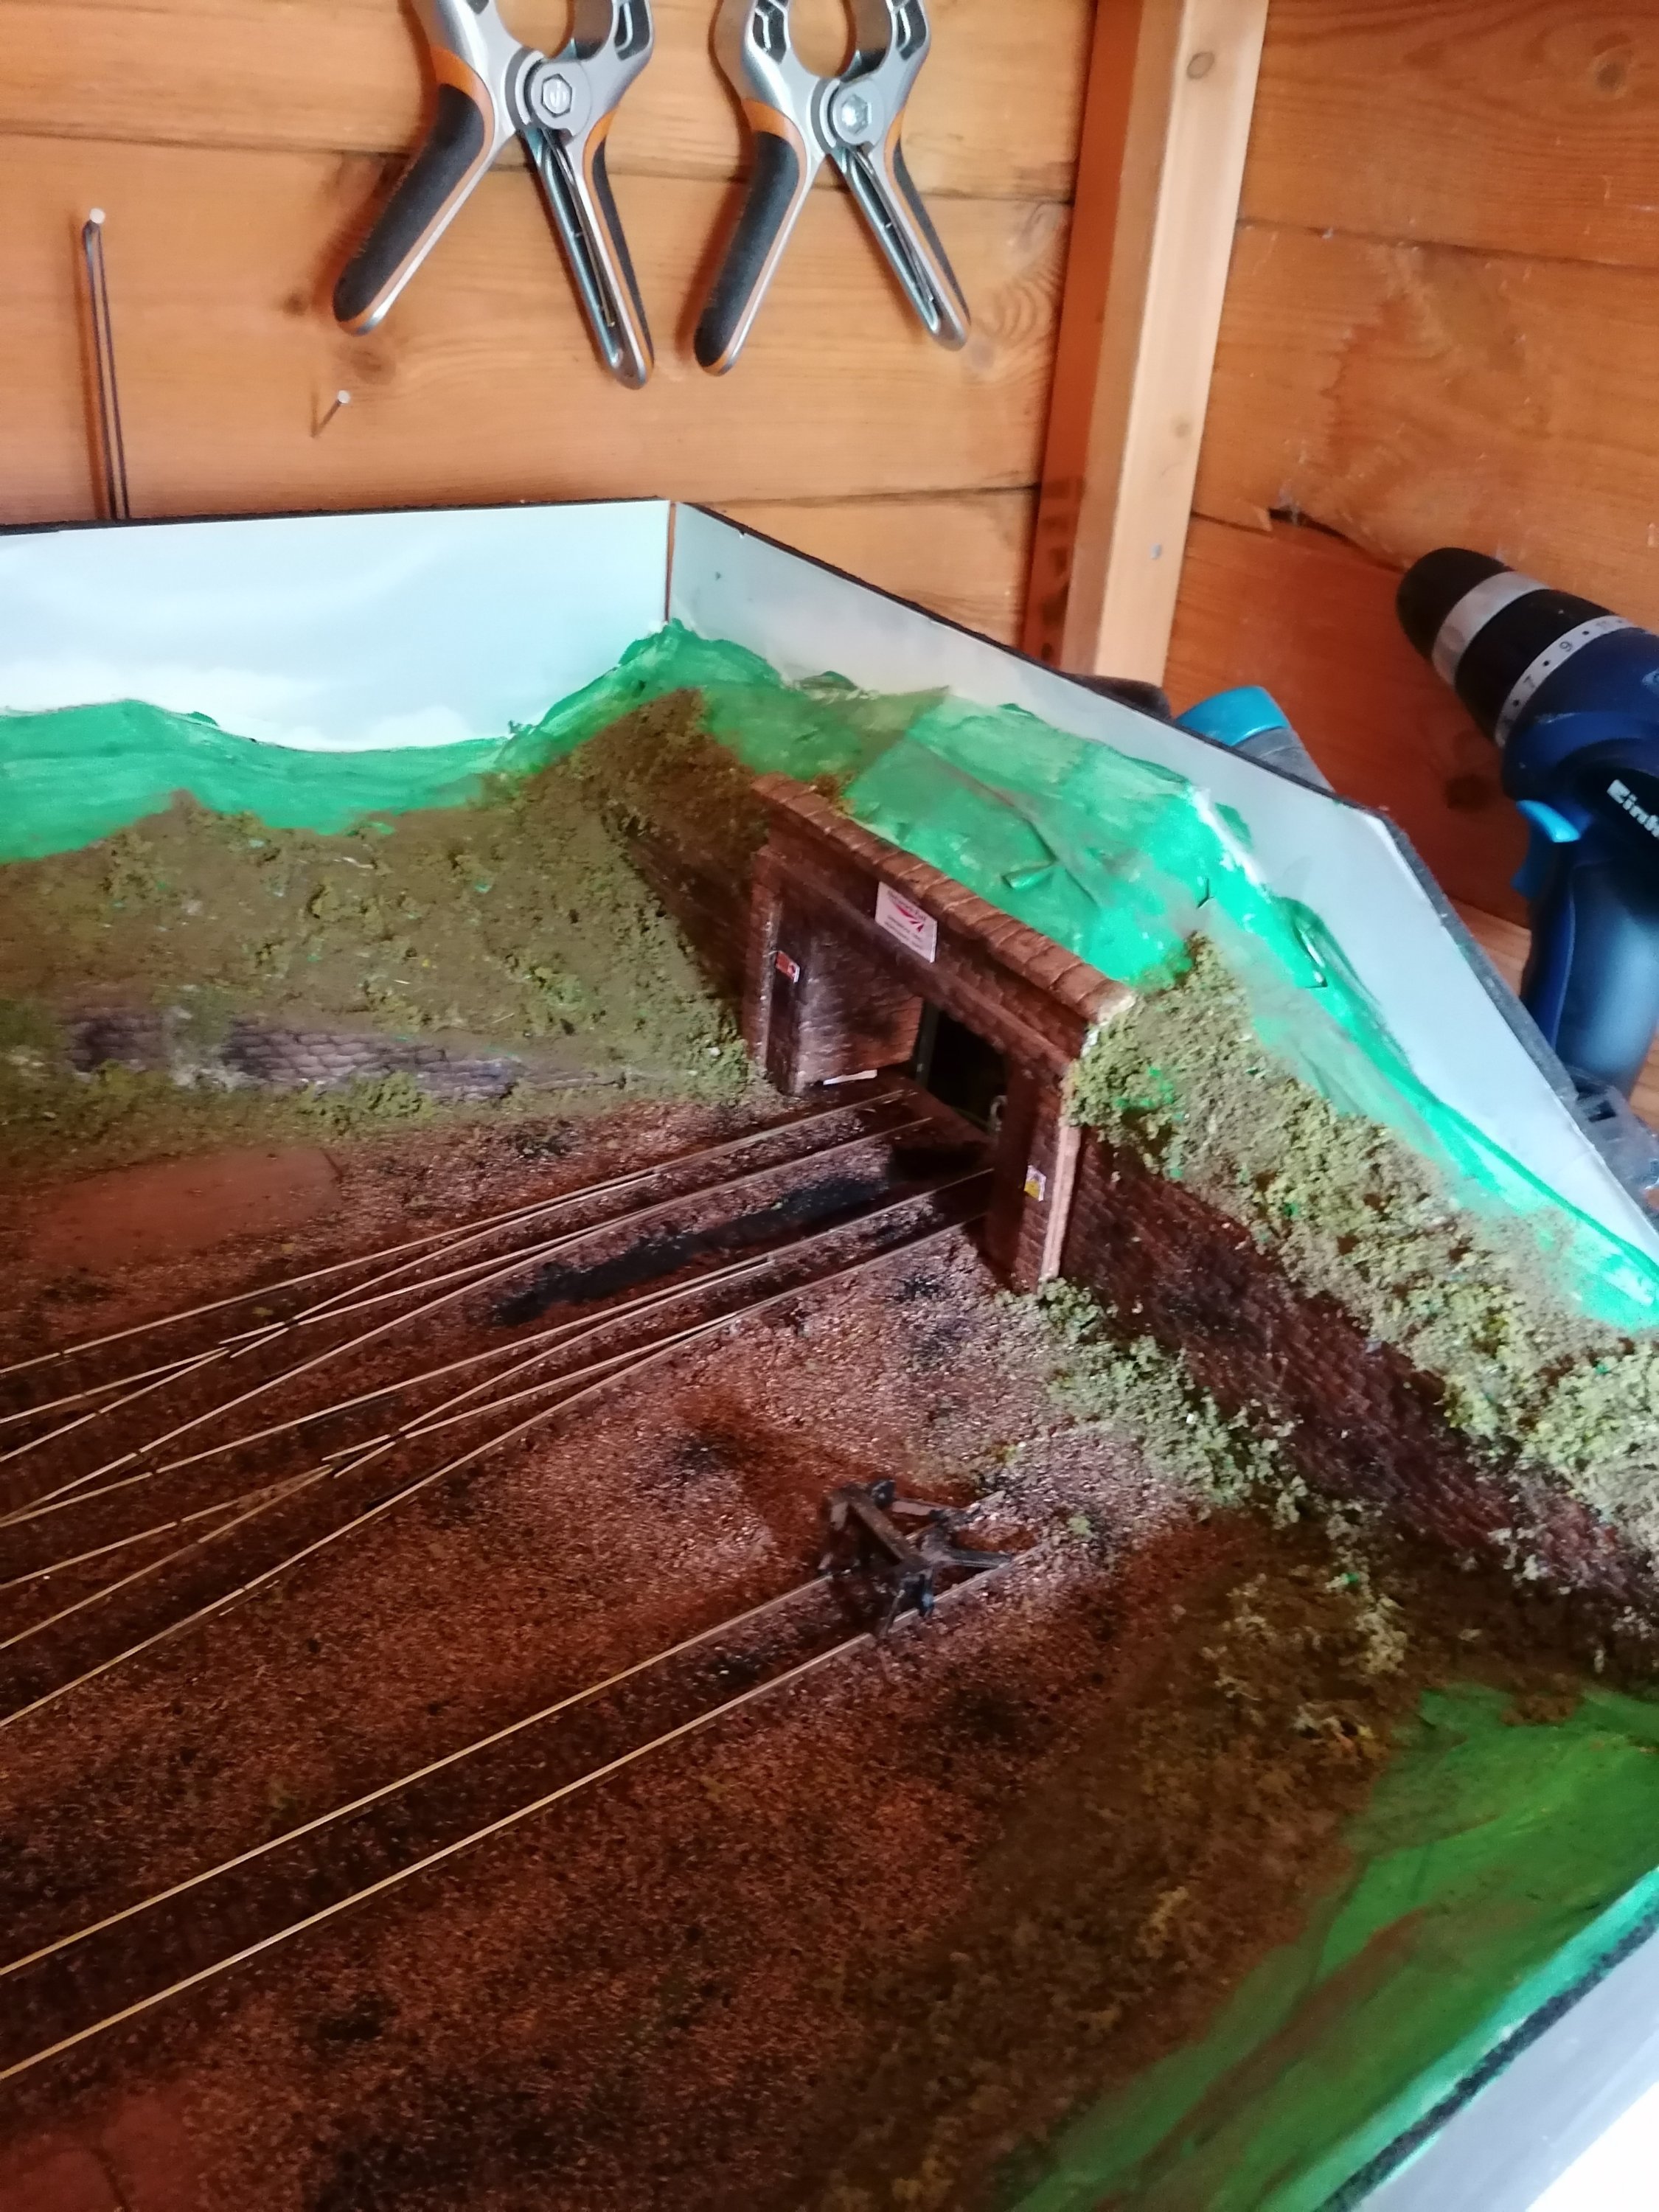
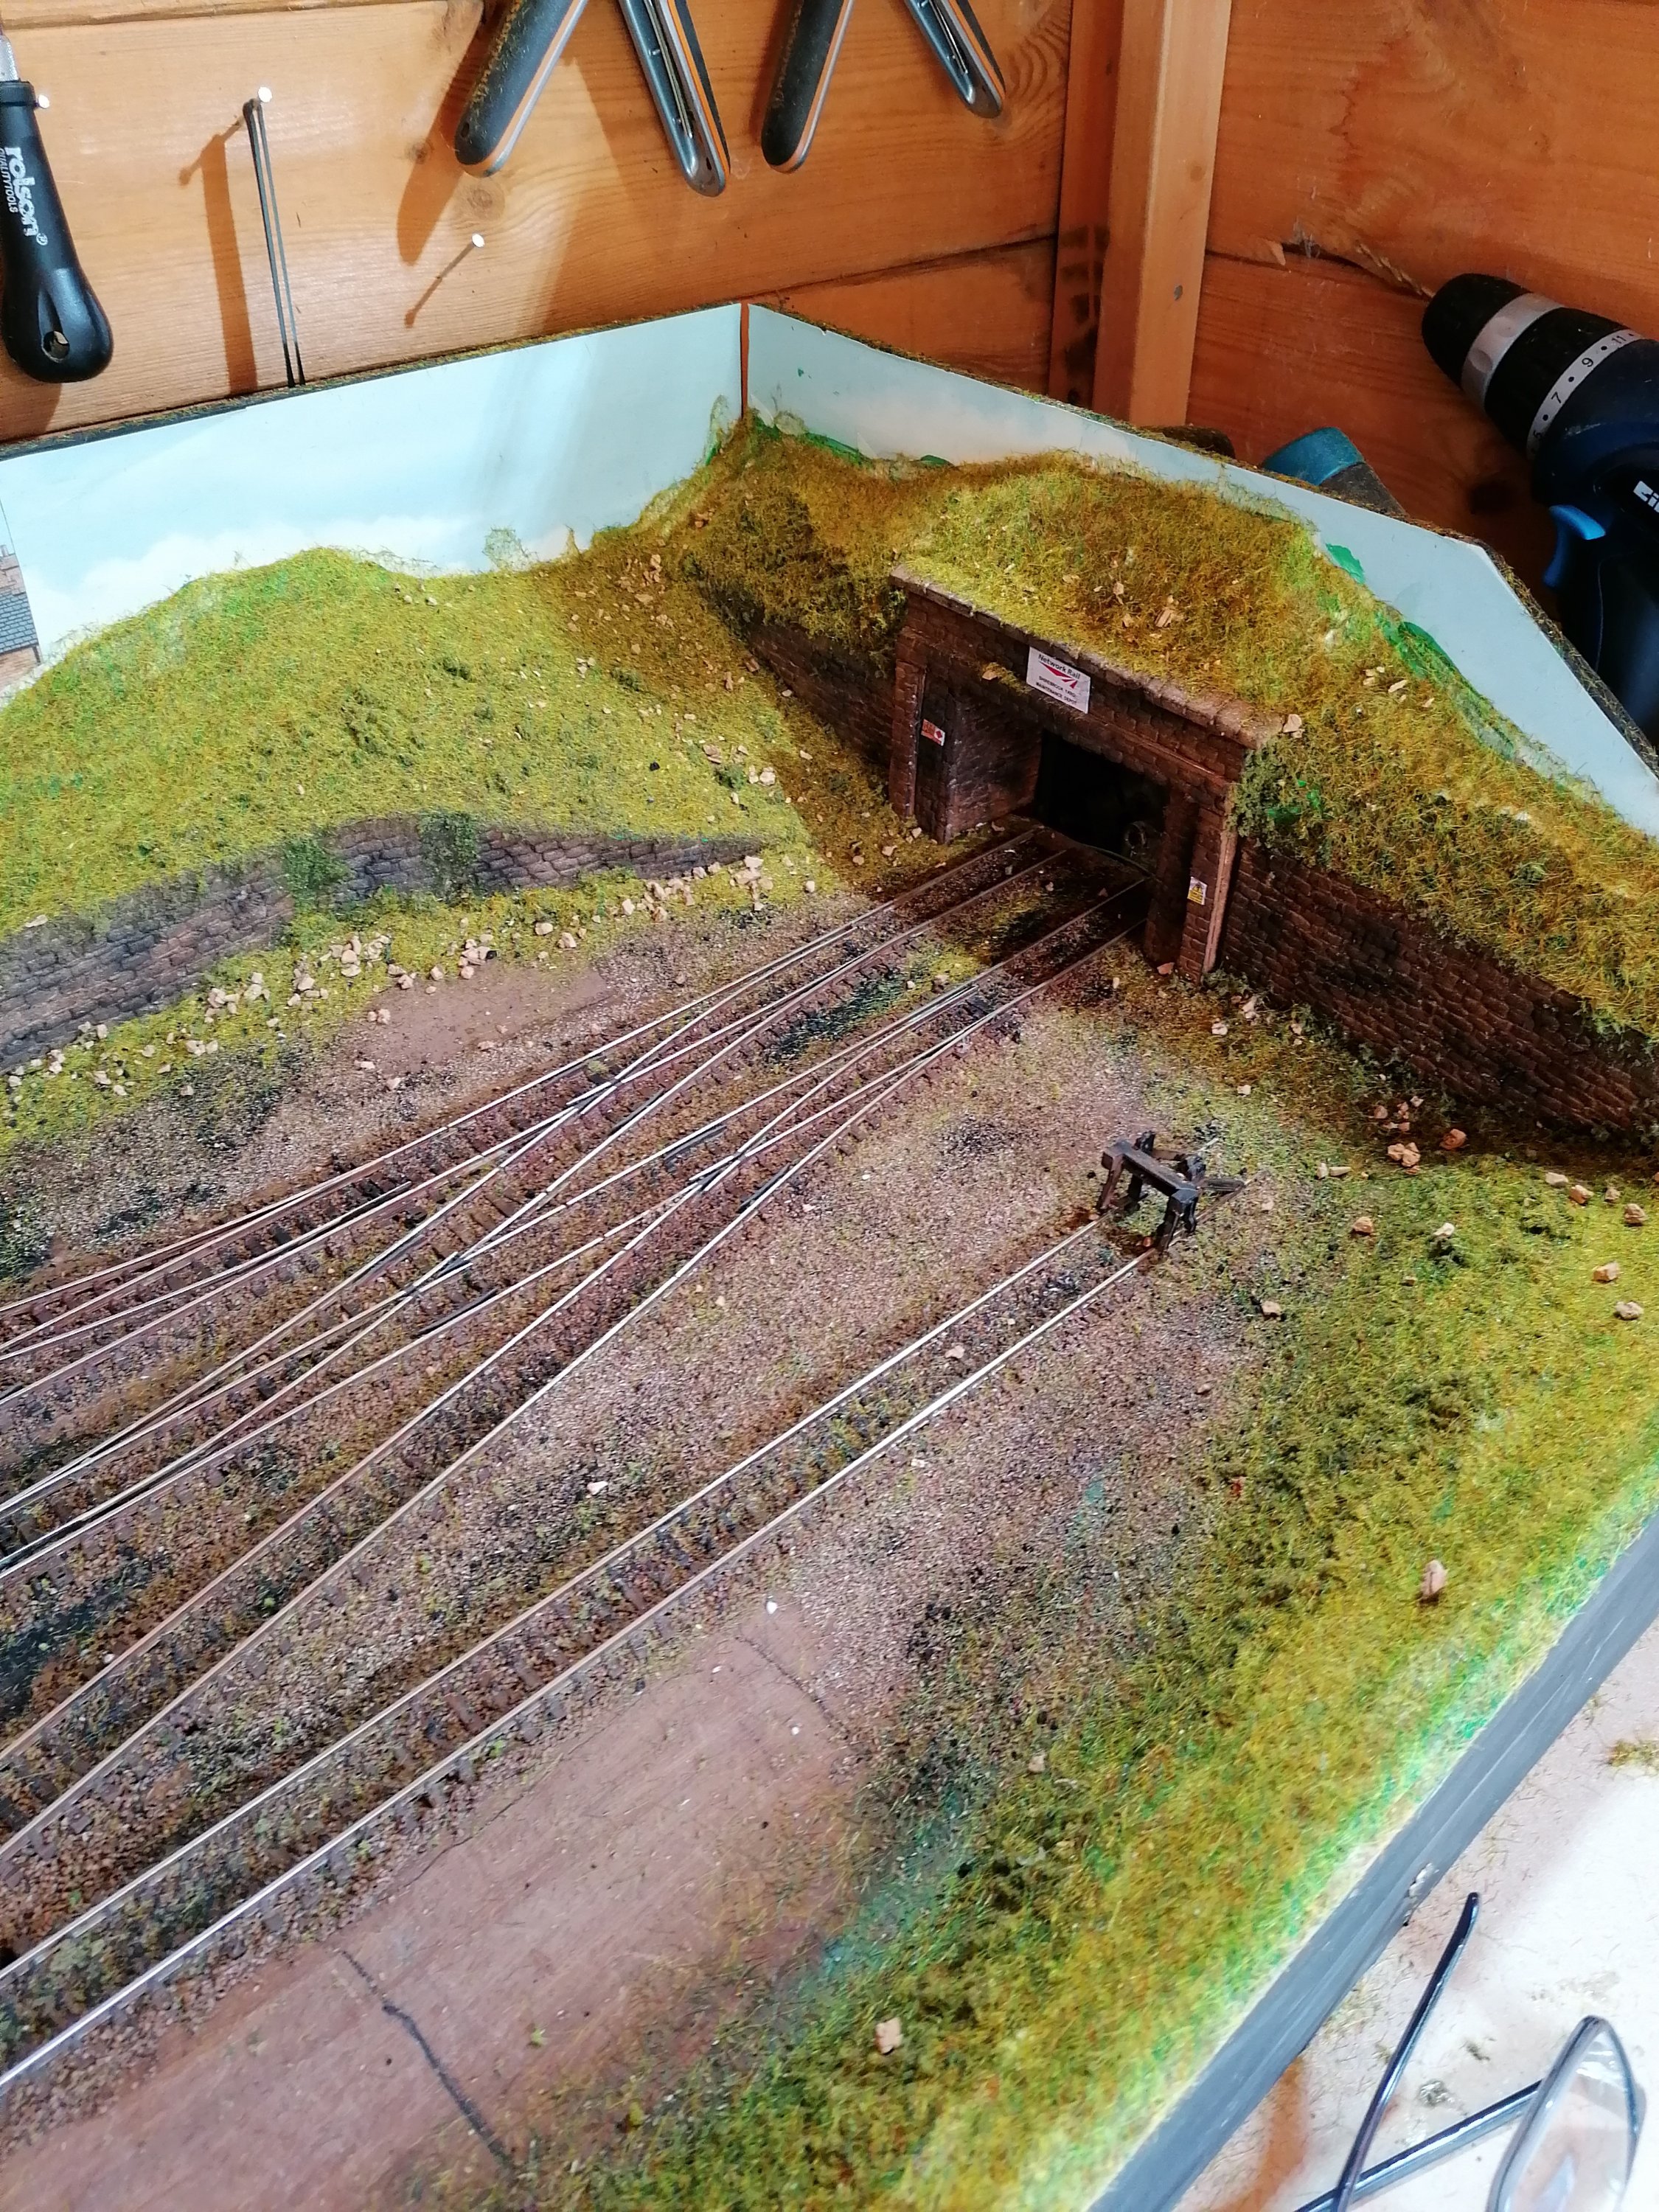
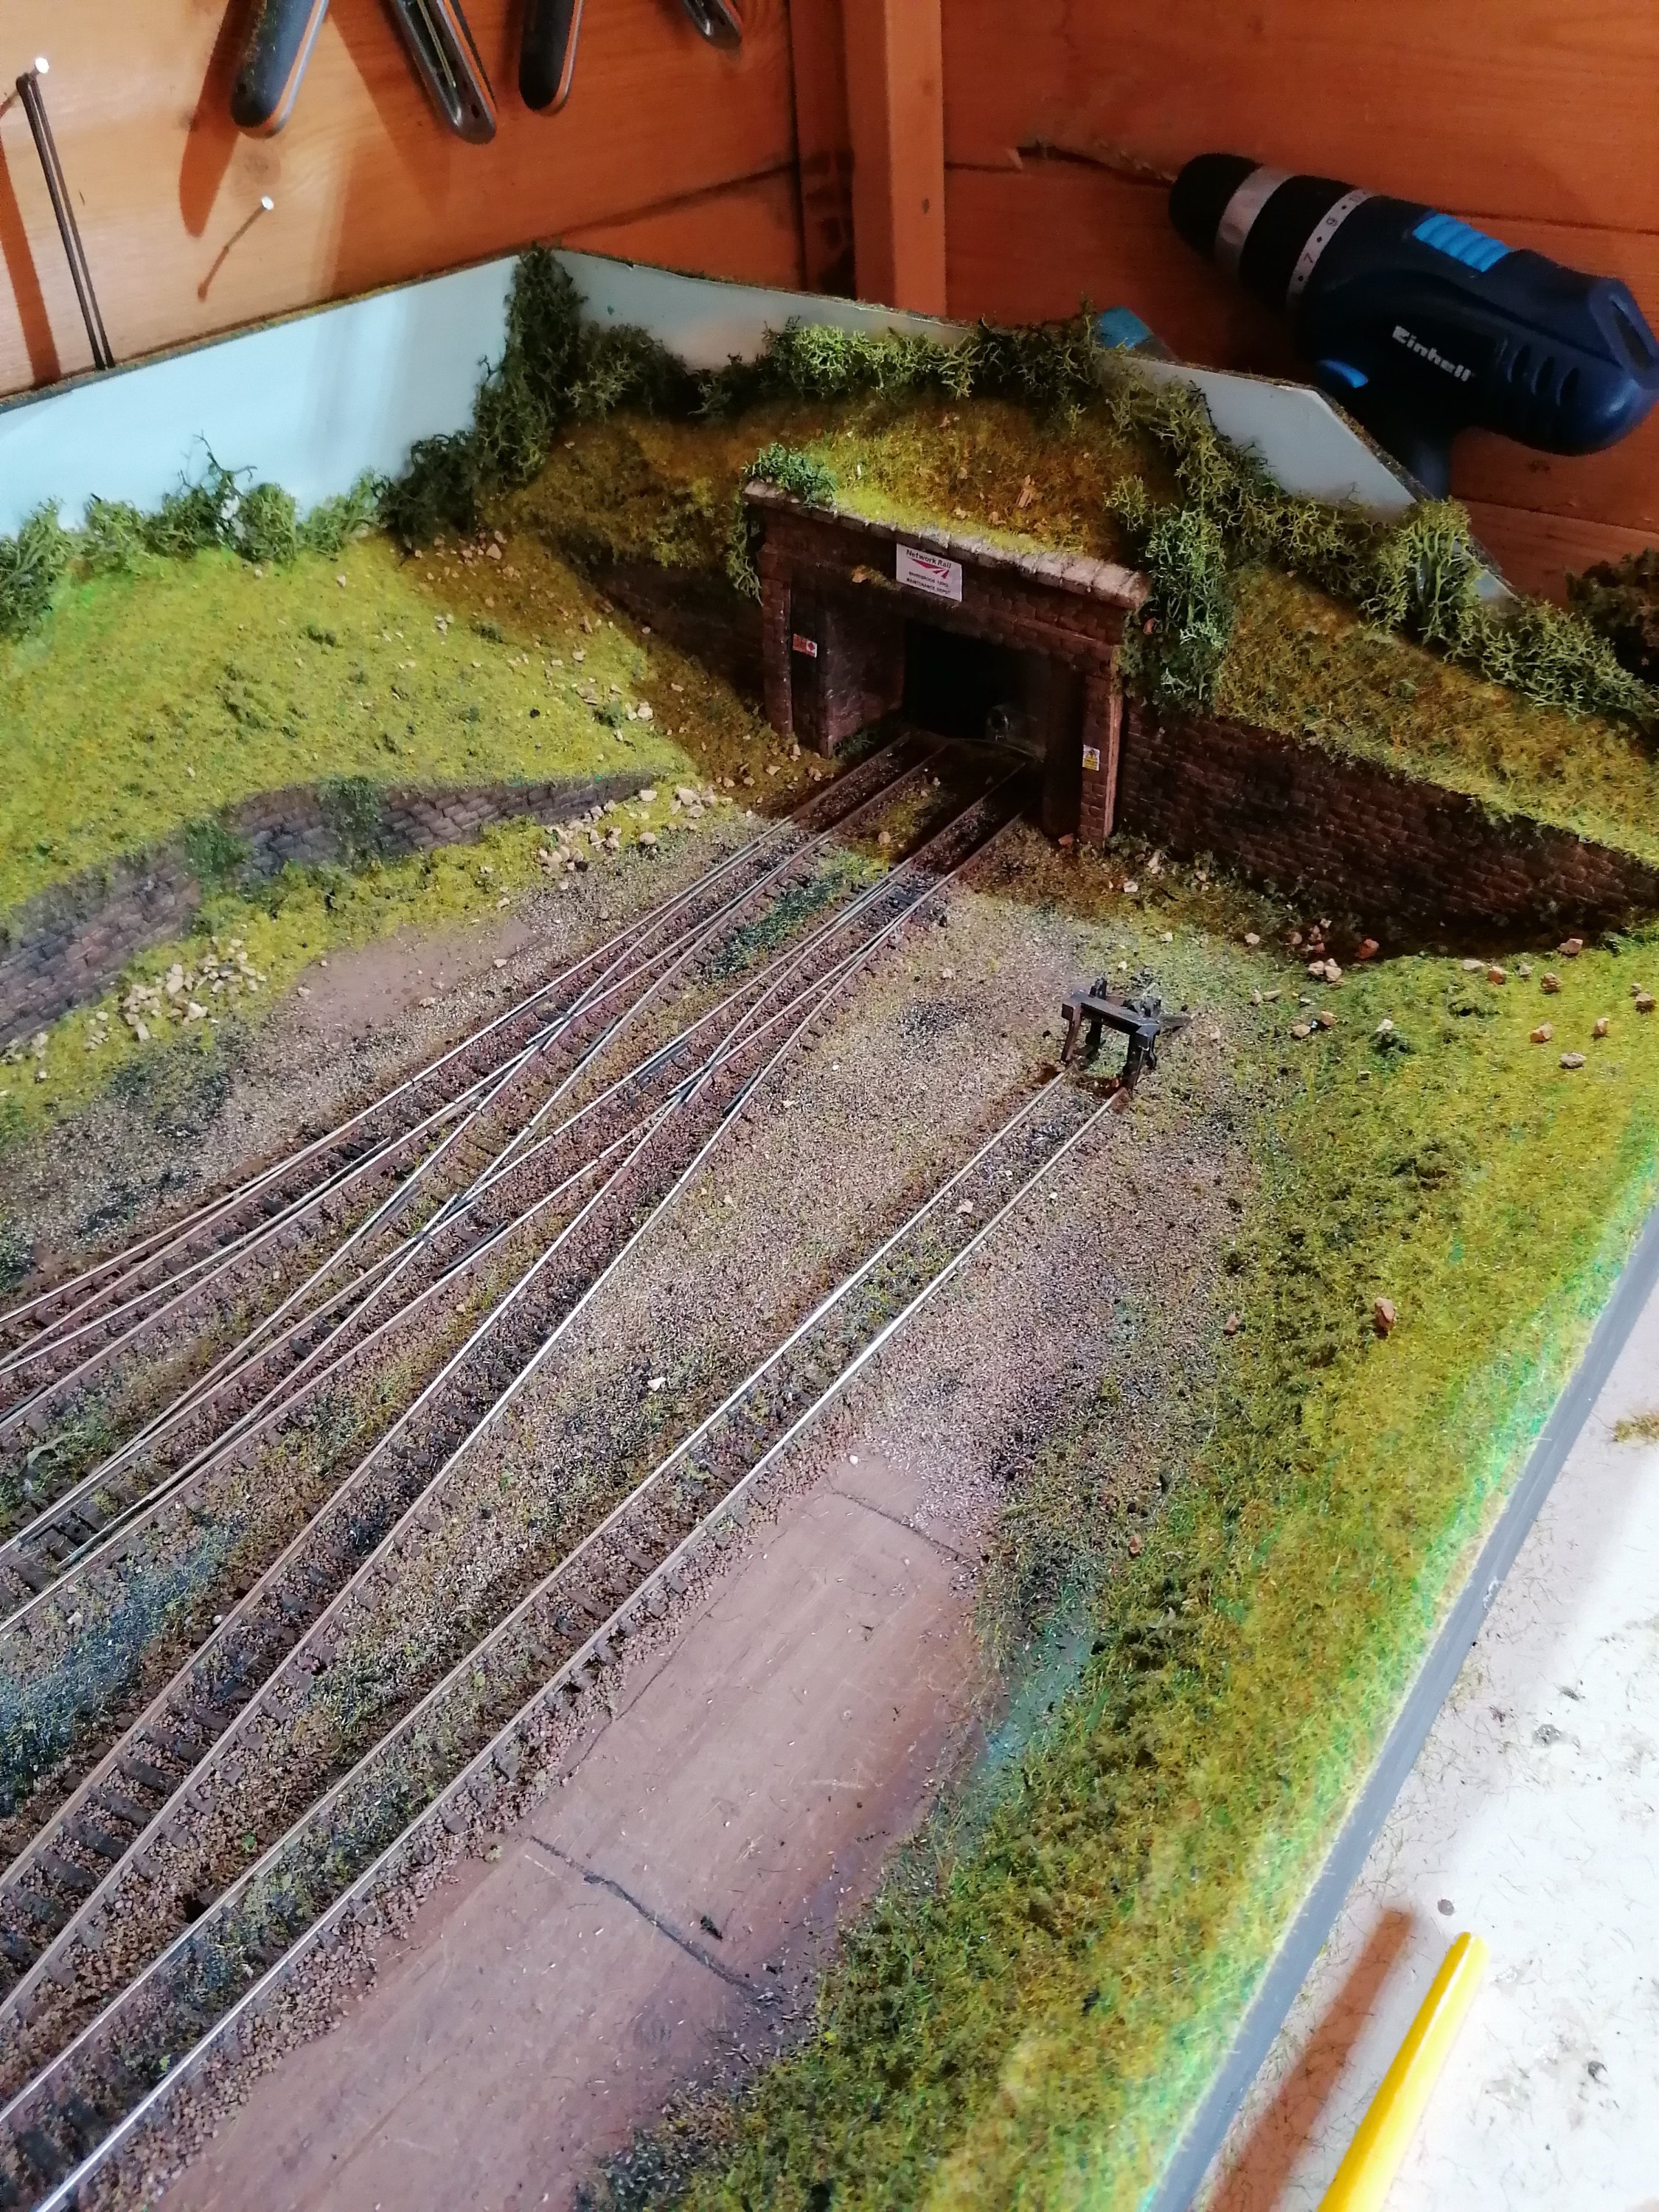
I also decided to build the tunnel mouths from scratch again really only to keep costs down but it seems to look OK on layout.
Next time it’s back scene, track laying and electrics.
A few weeks ago I started this blog to help grow my business and encourage others to come be part of the great hobby that is model railways. Must admit wasn’t sure if anybody would be interested in either the blog or the layouts. Well nearly 700 views on the blog and this week SHIREBROOK YARD sold, bit like your first born leaving home!
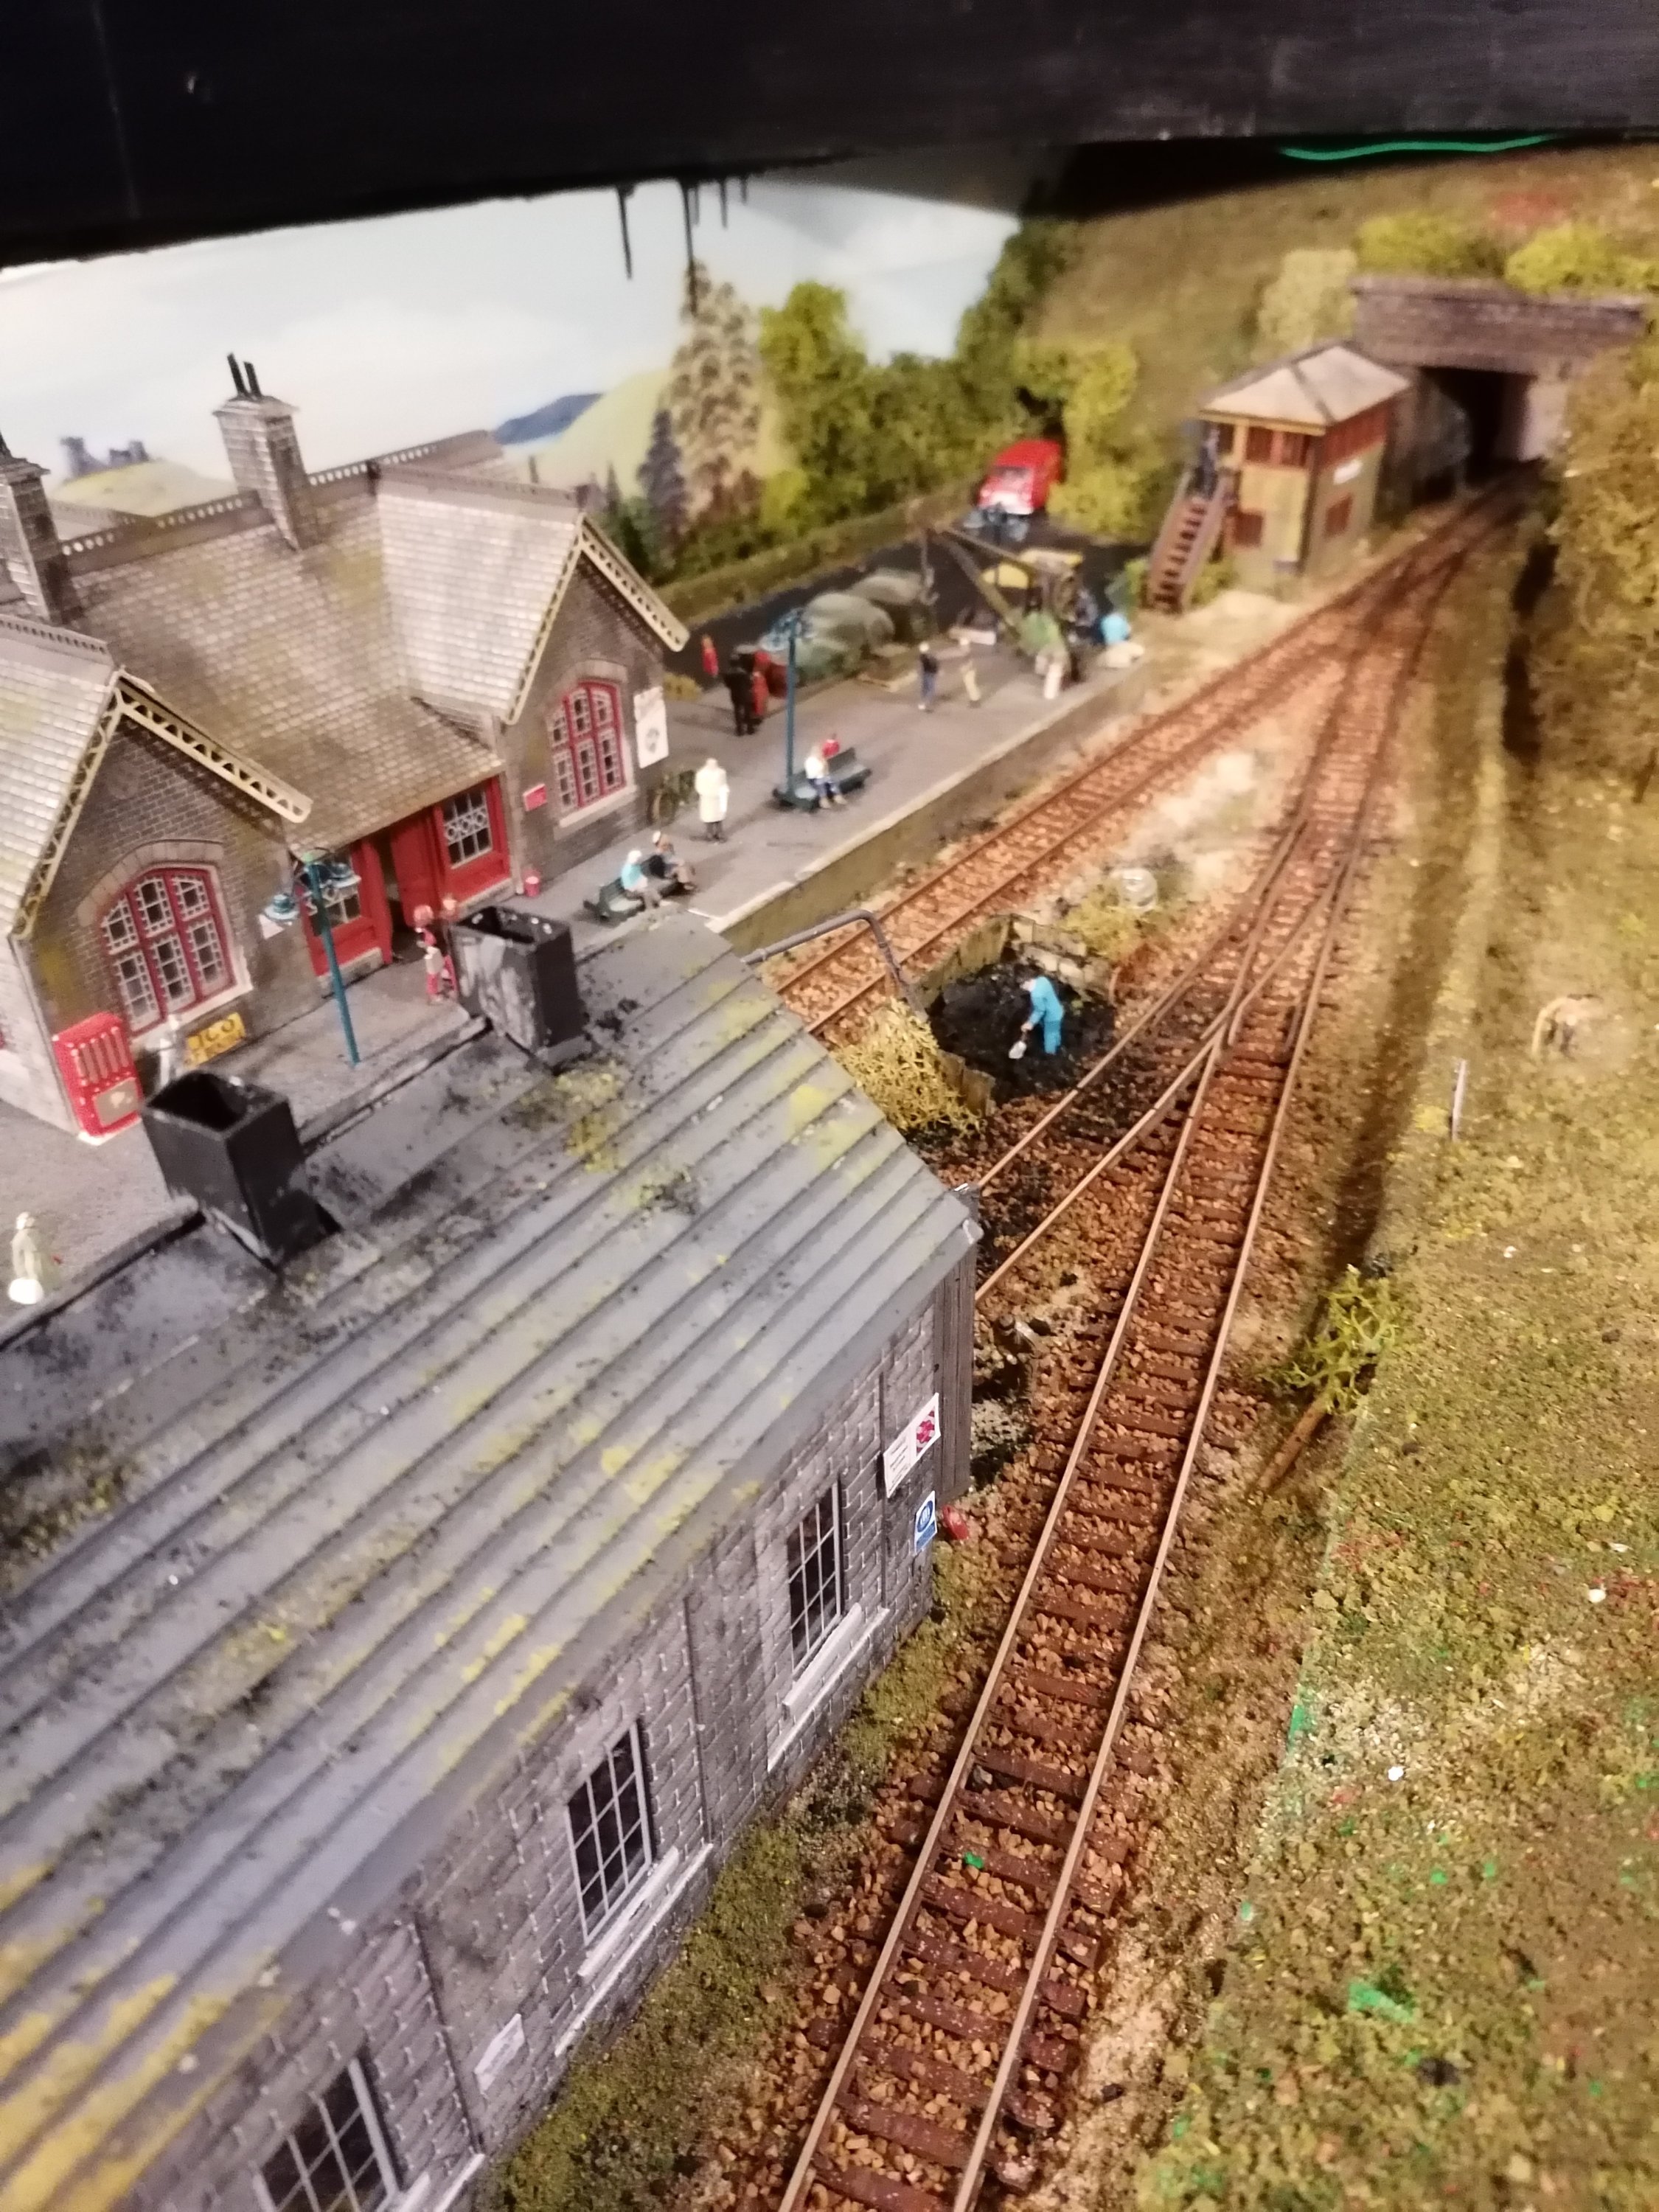
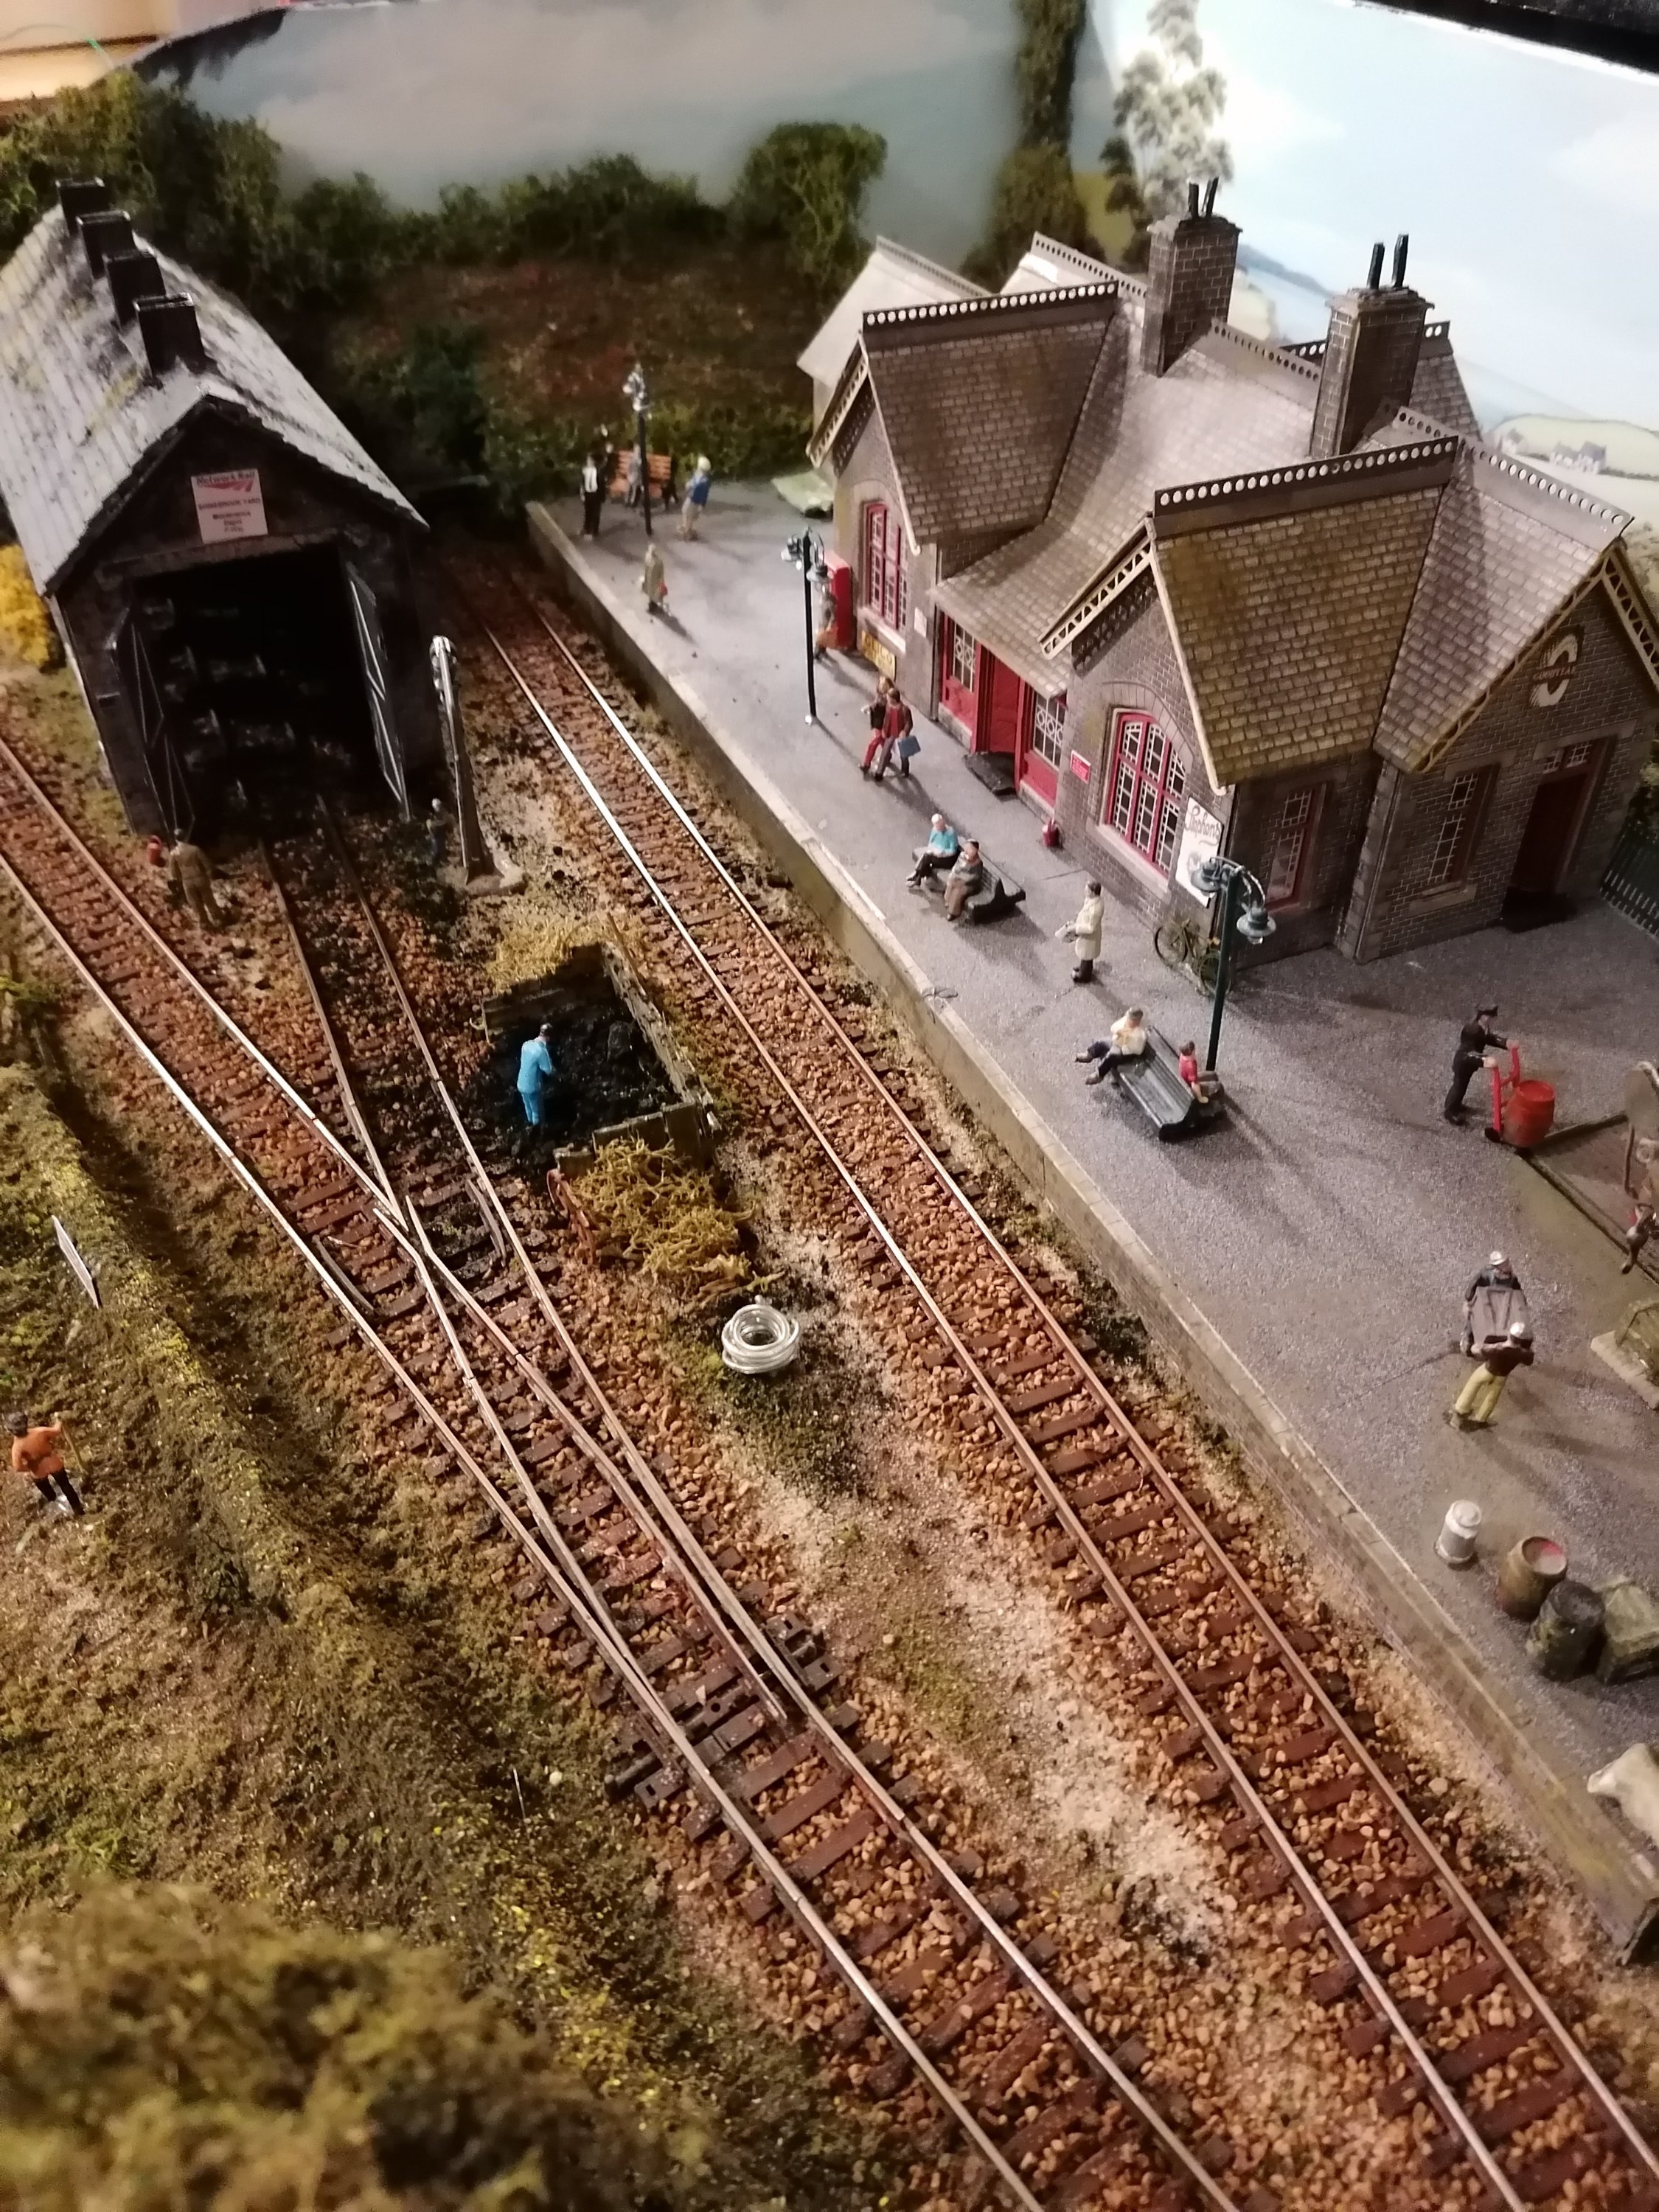
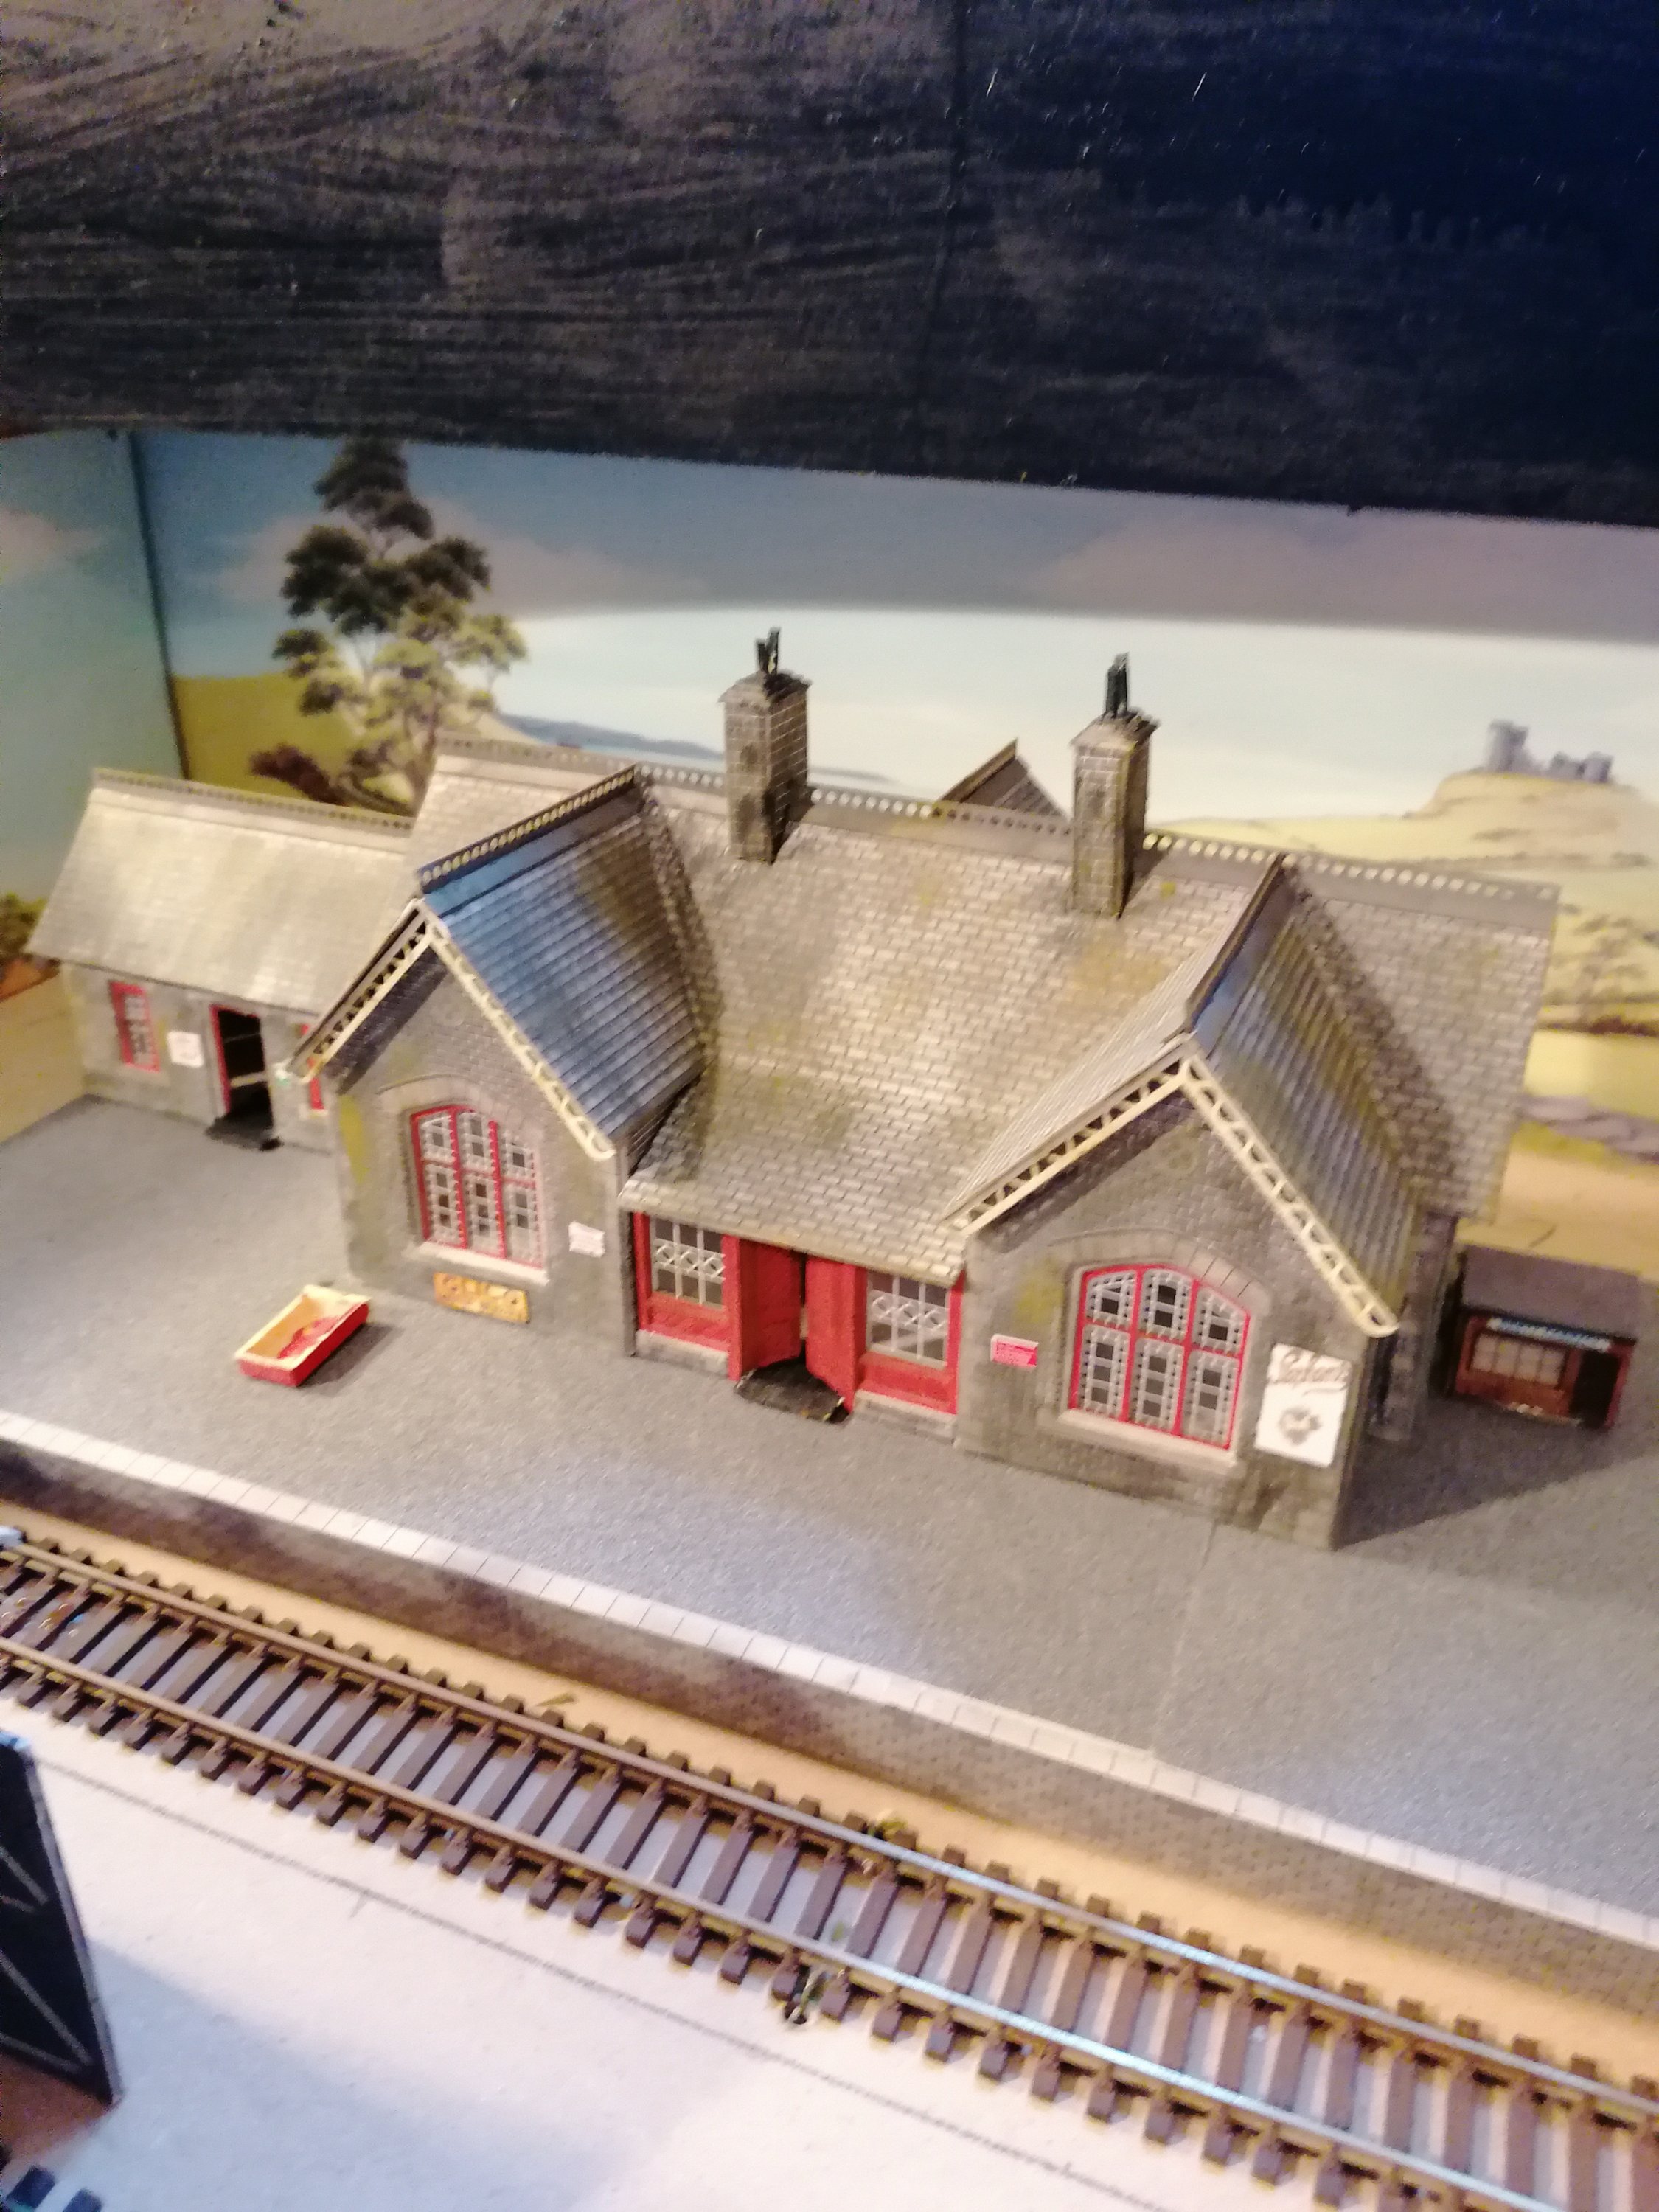
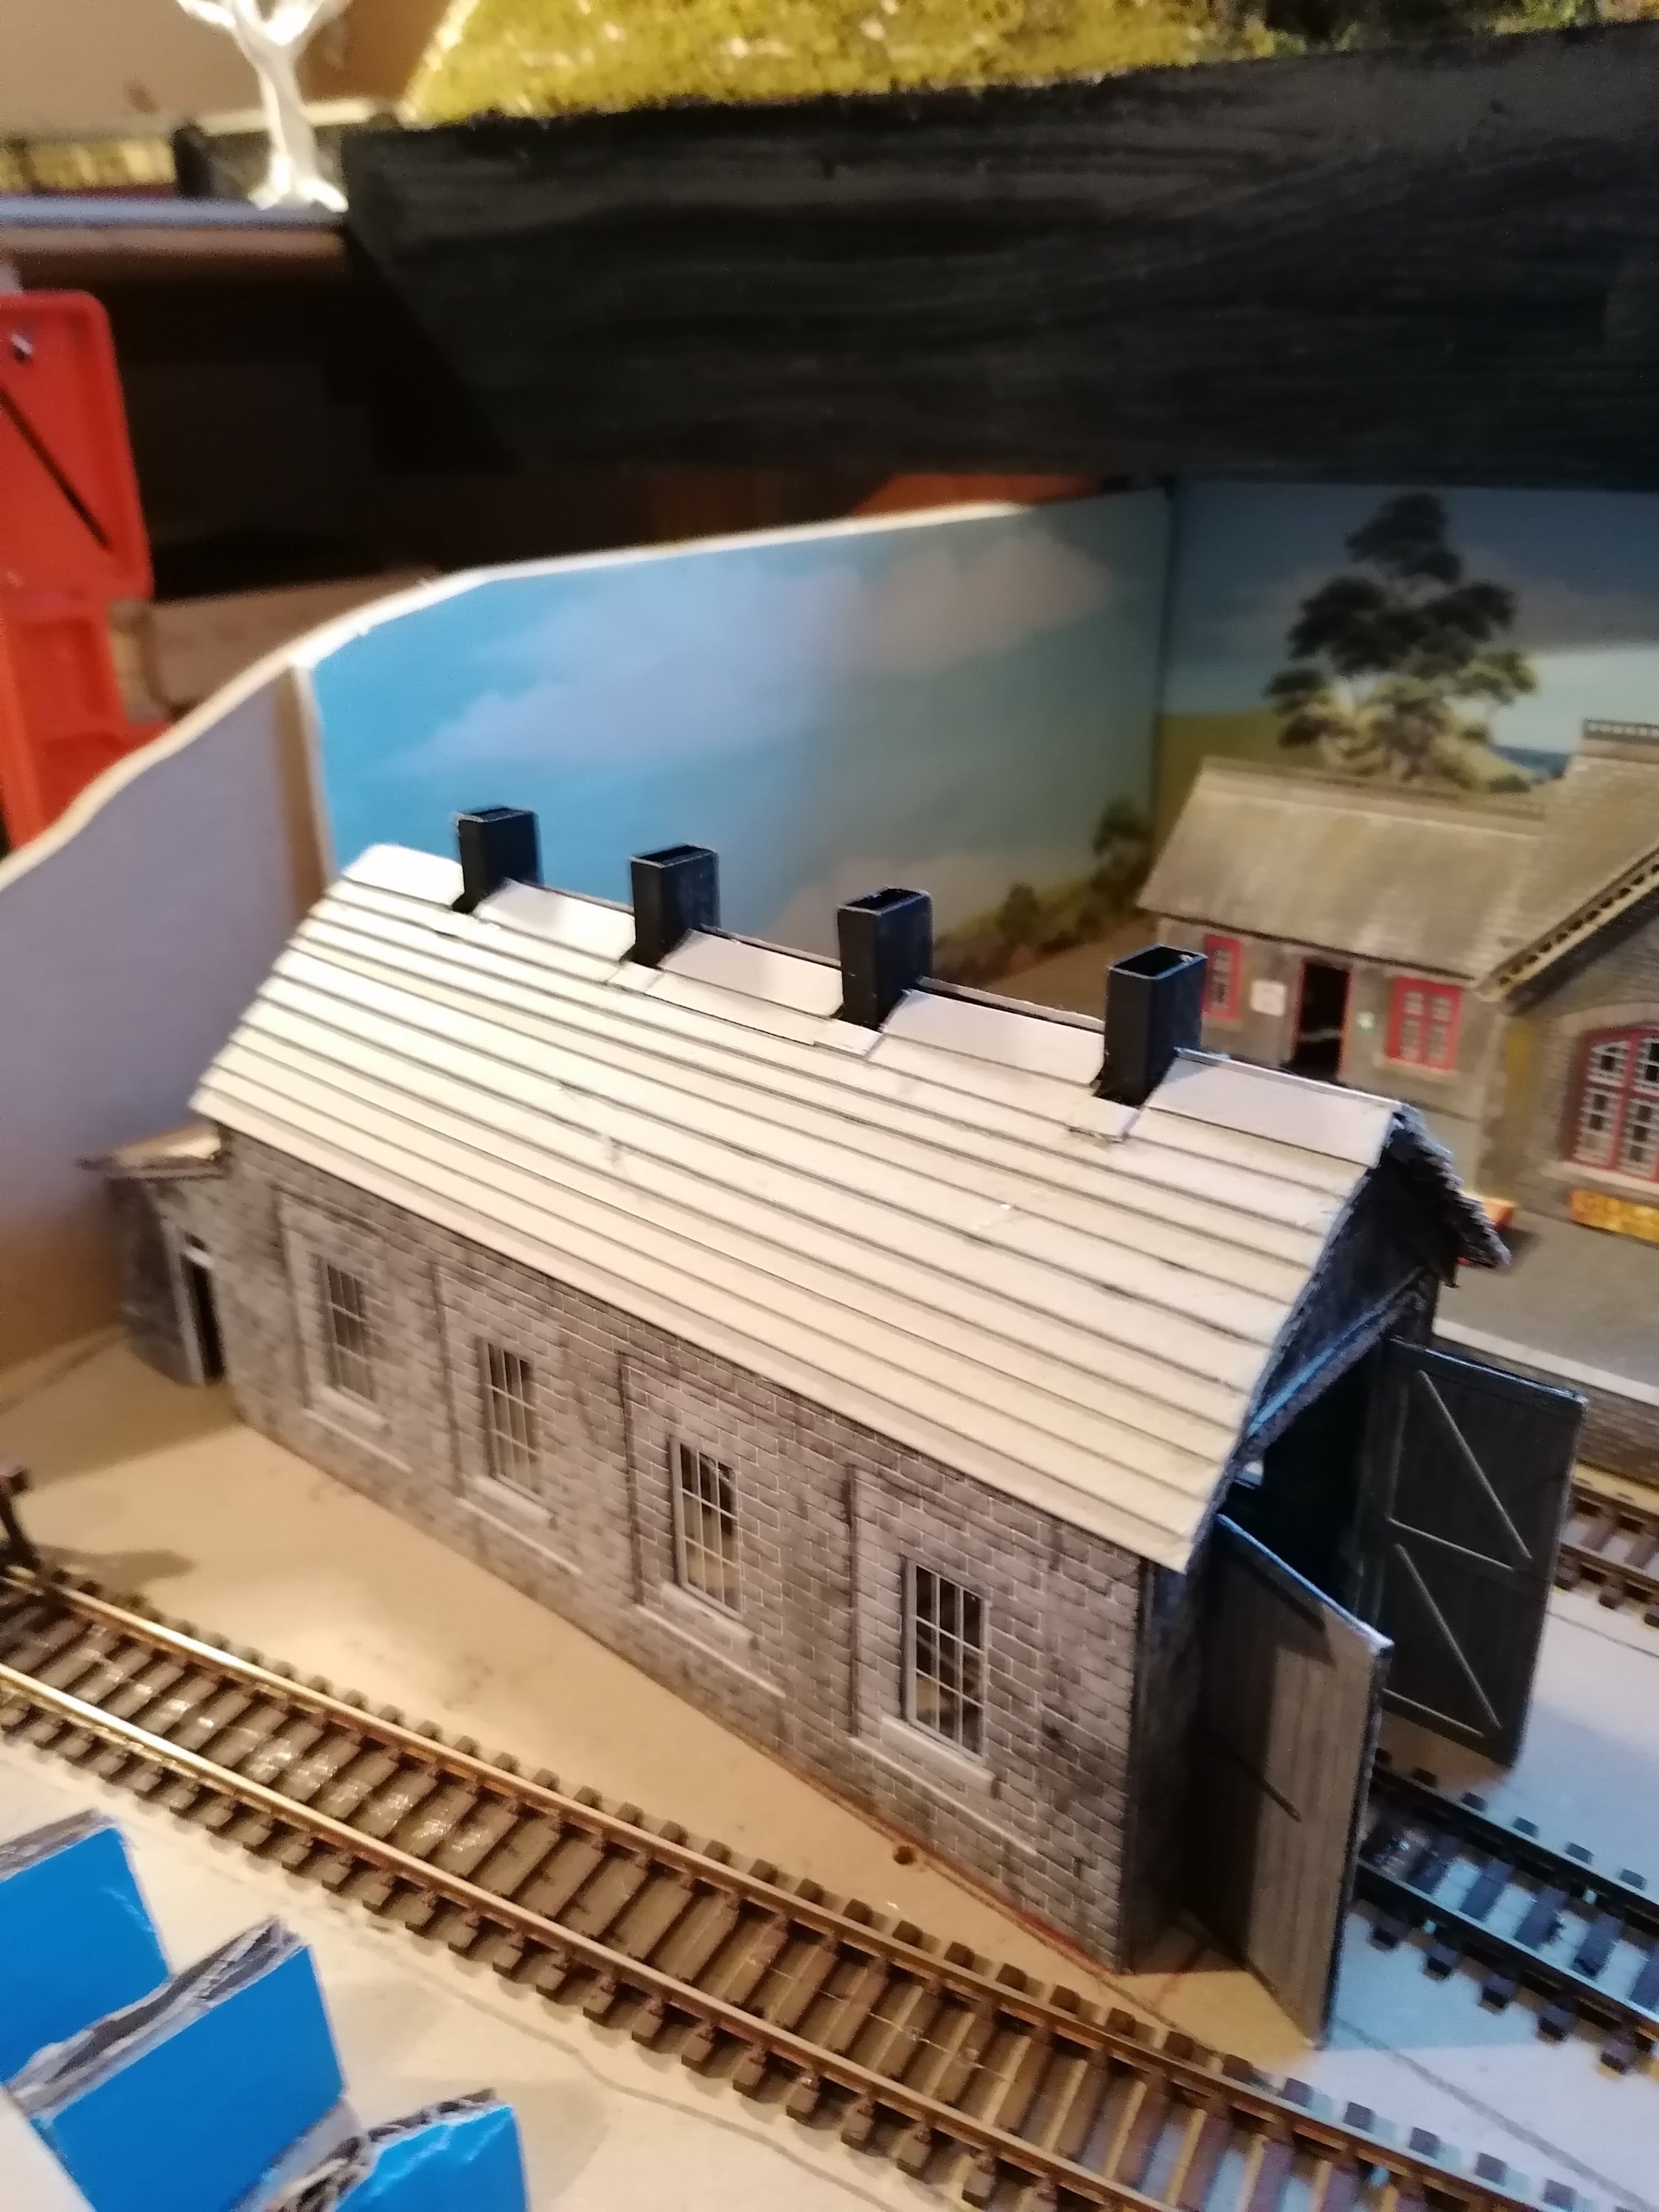
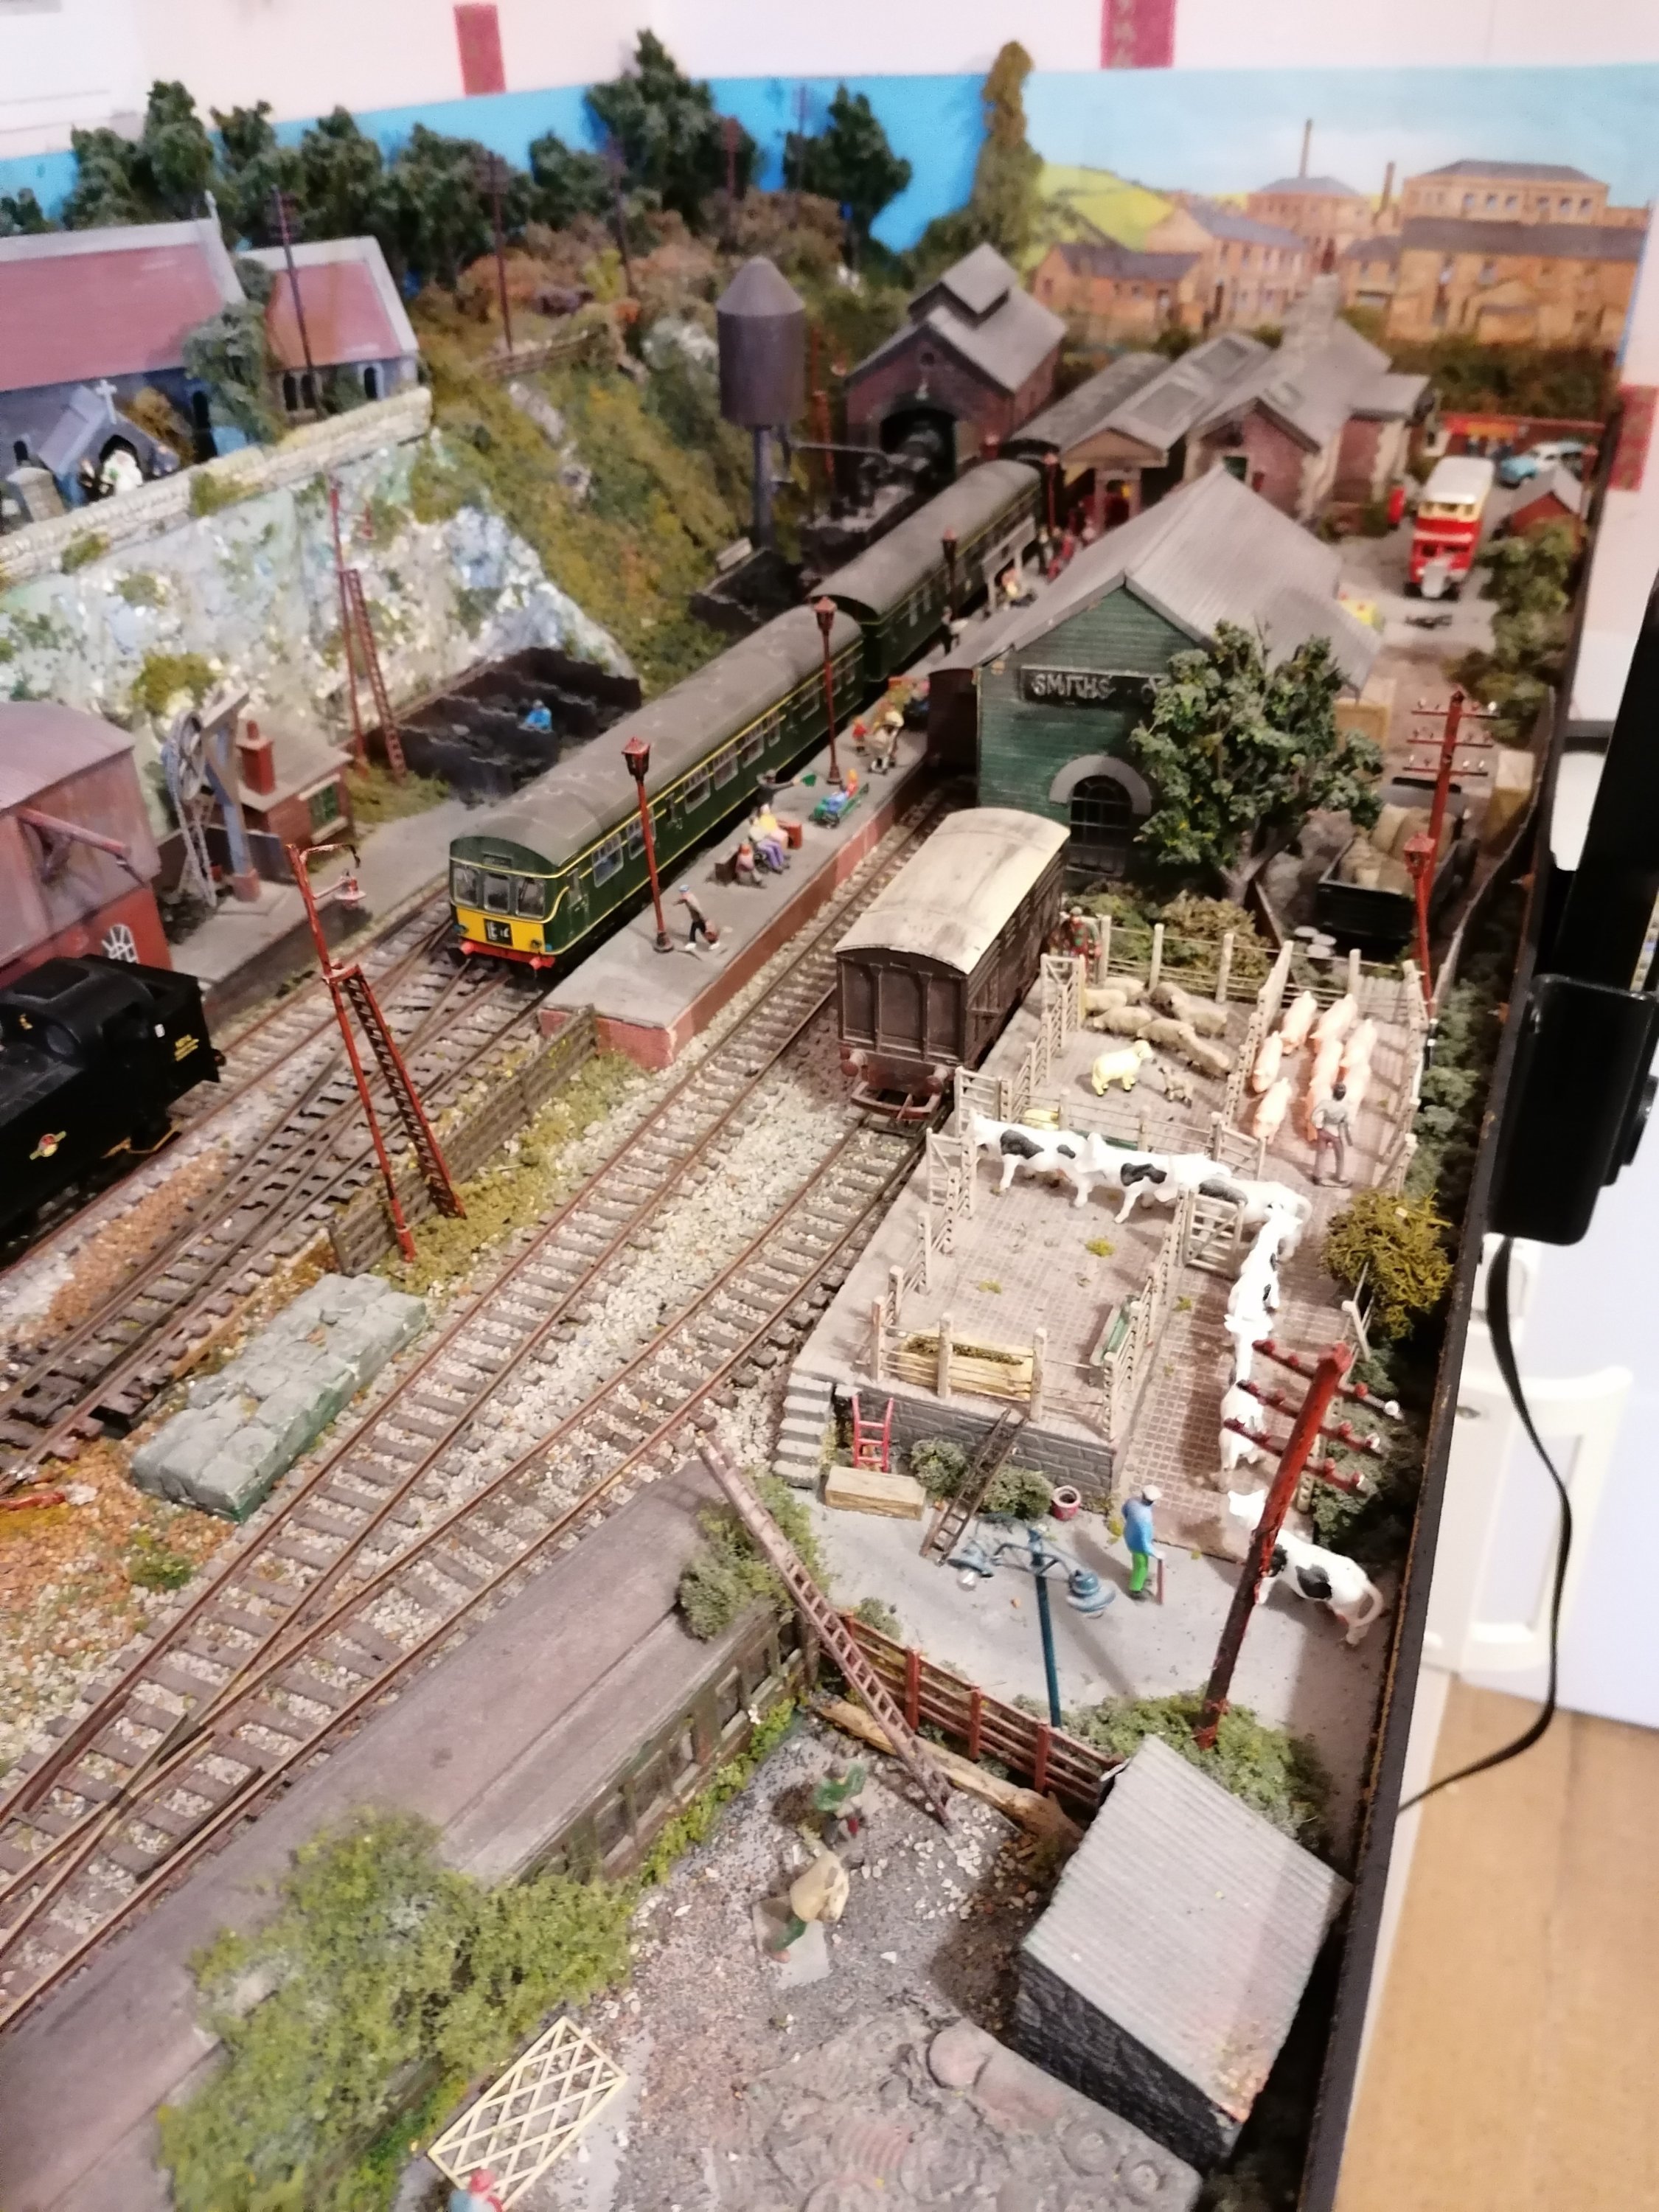
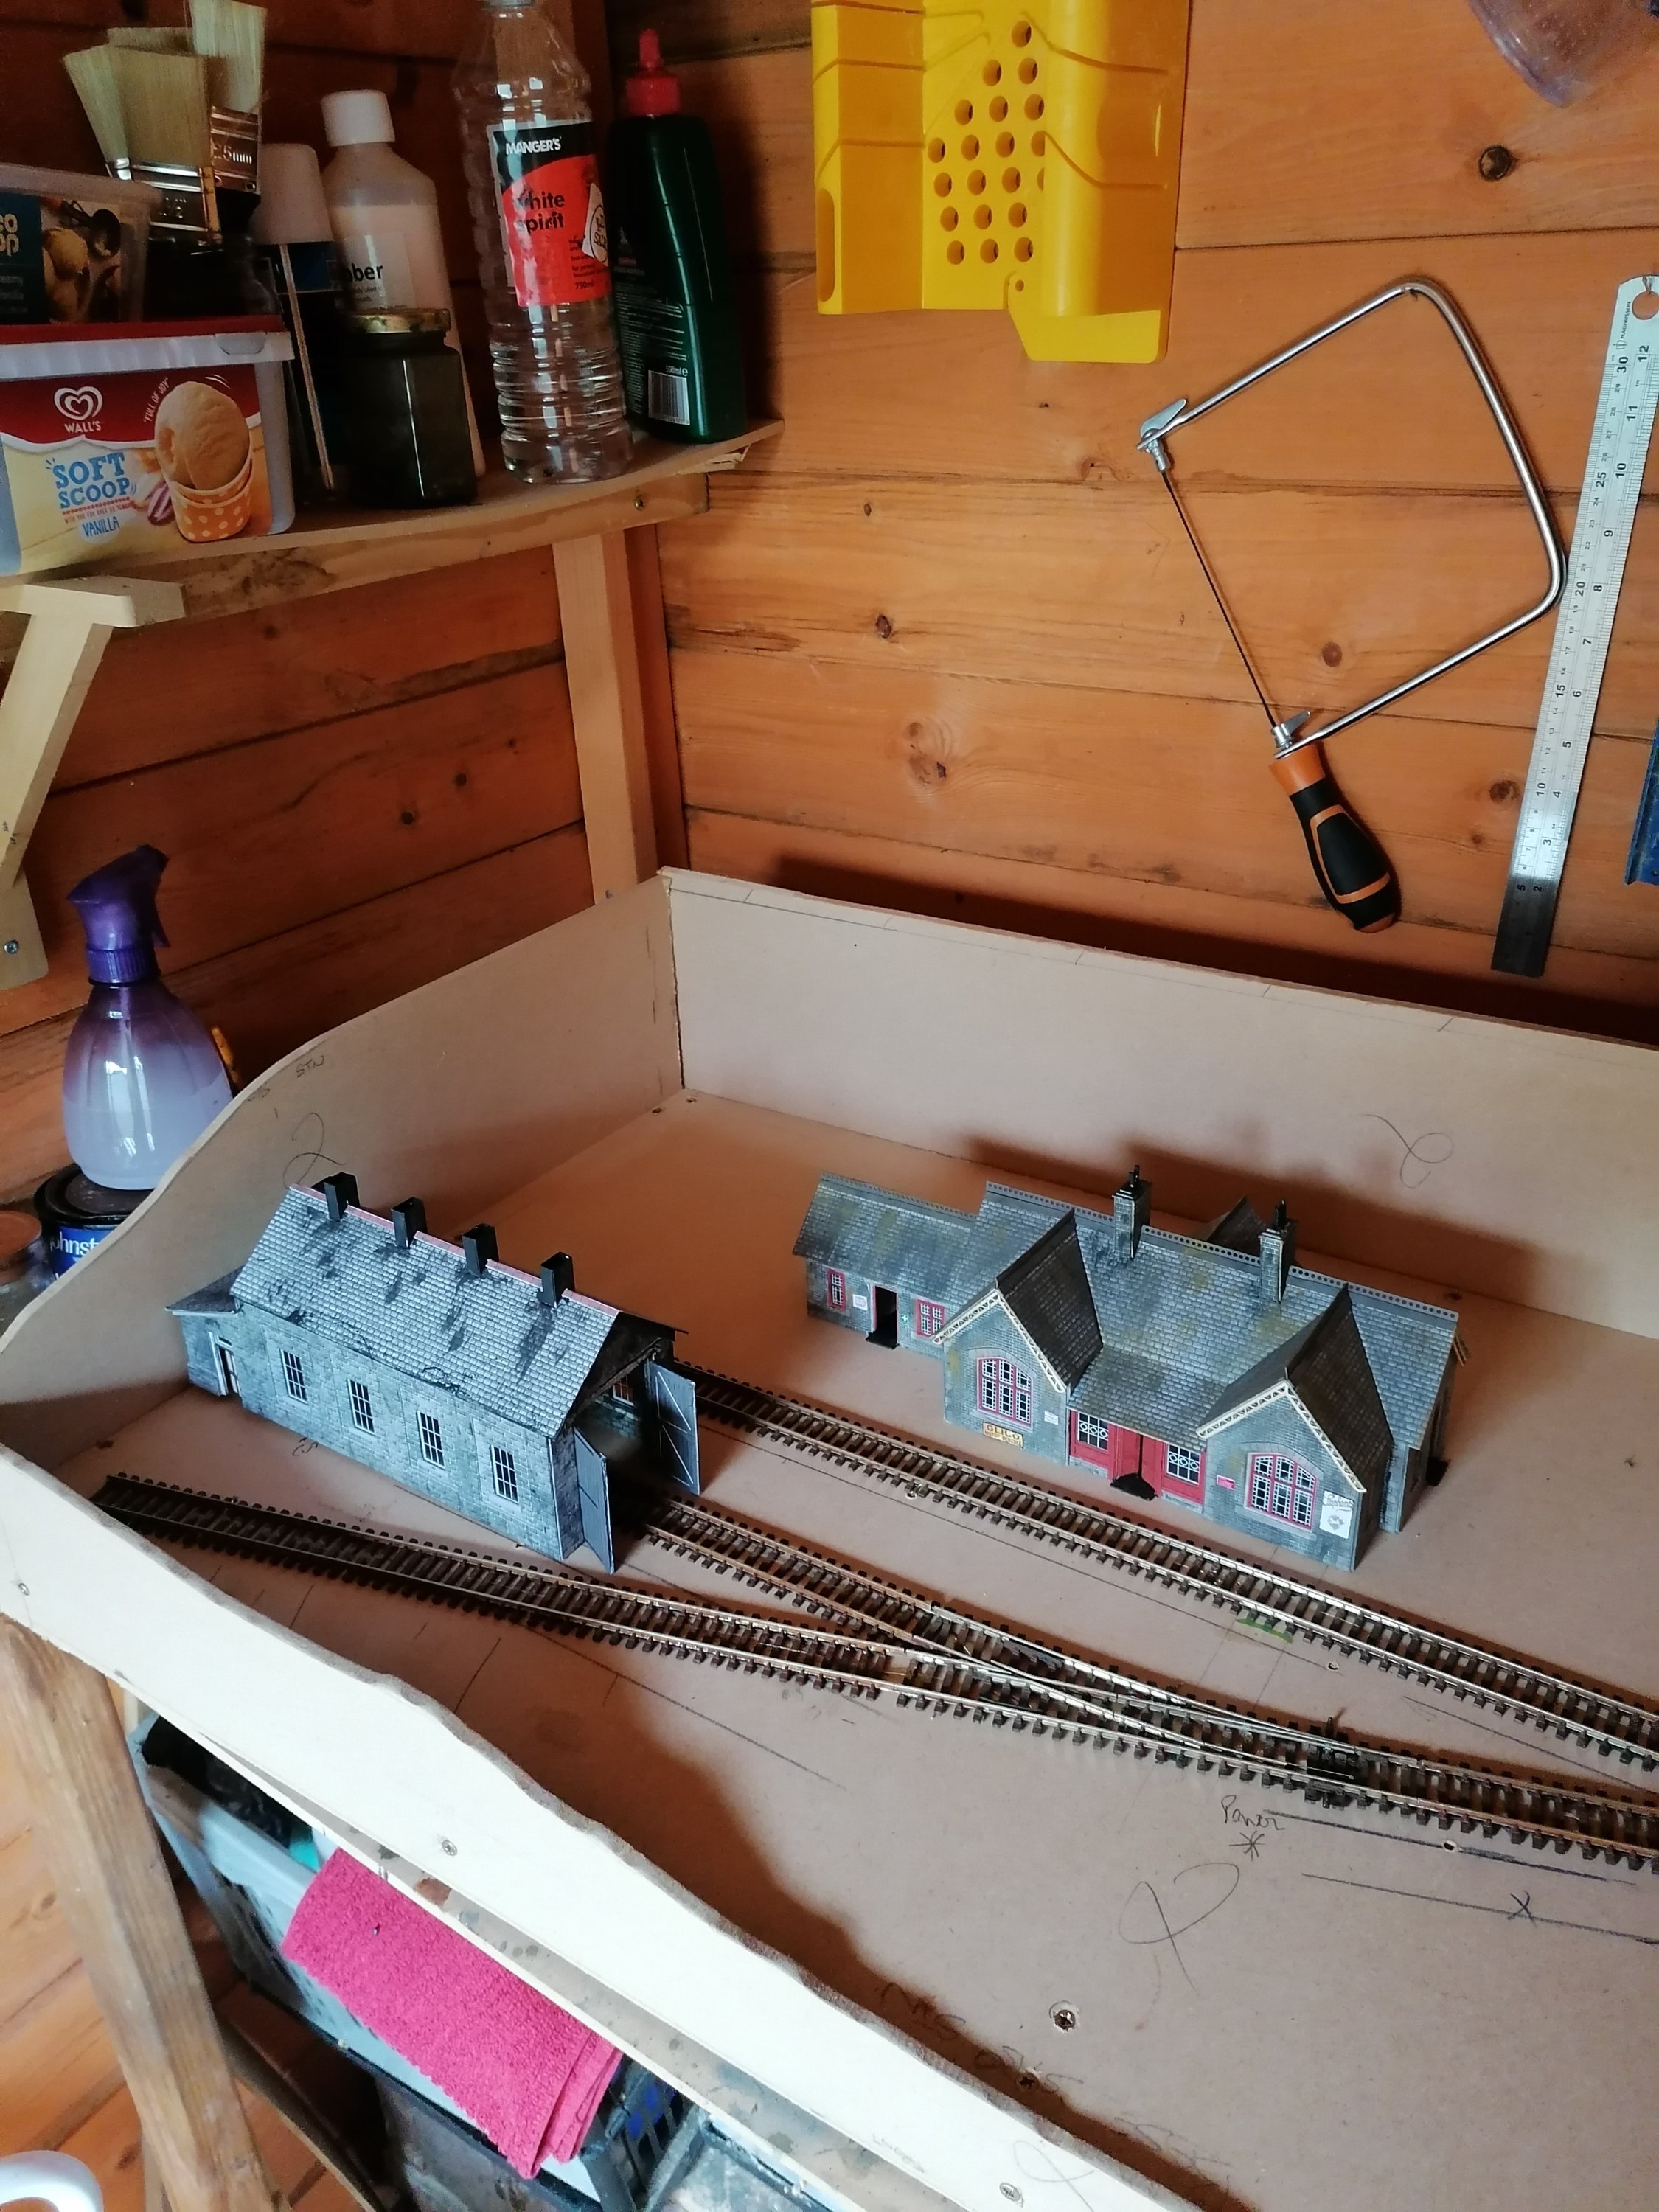
Since the last blog SHIREBROOK STATION is now finished. As you can see from the pics below this I quite a simple layout, a country station branch line with a small goods yard and a single track engine shed. On the face of it it doesn’t look like there’s much scope for movements but actually each train will be mixed both passenger and goods so this will allow for shunting of goods into the siding and exchange of engines for work on the engine shed.
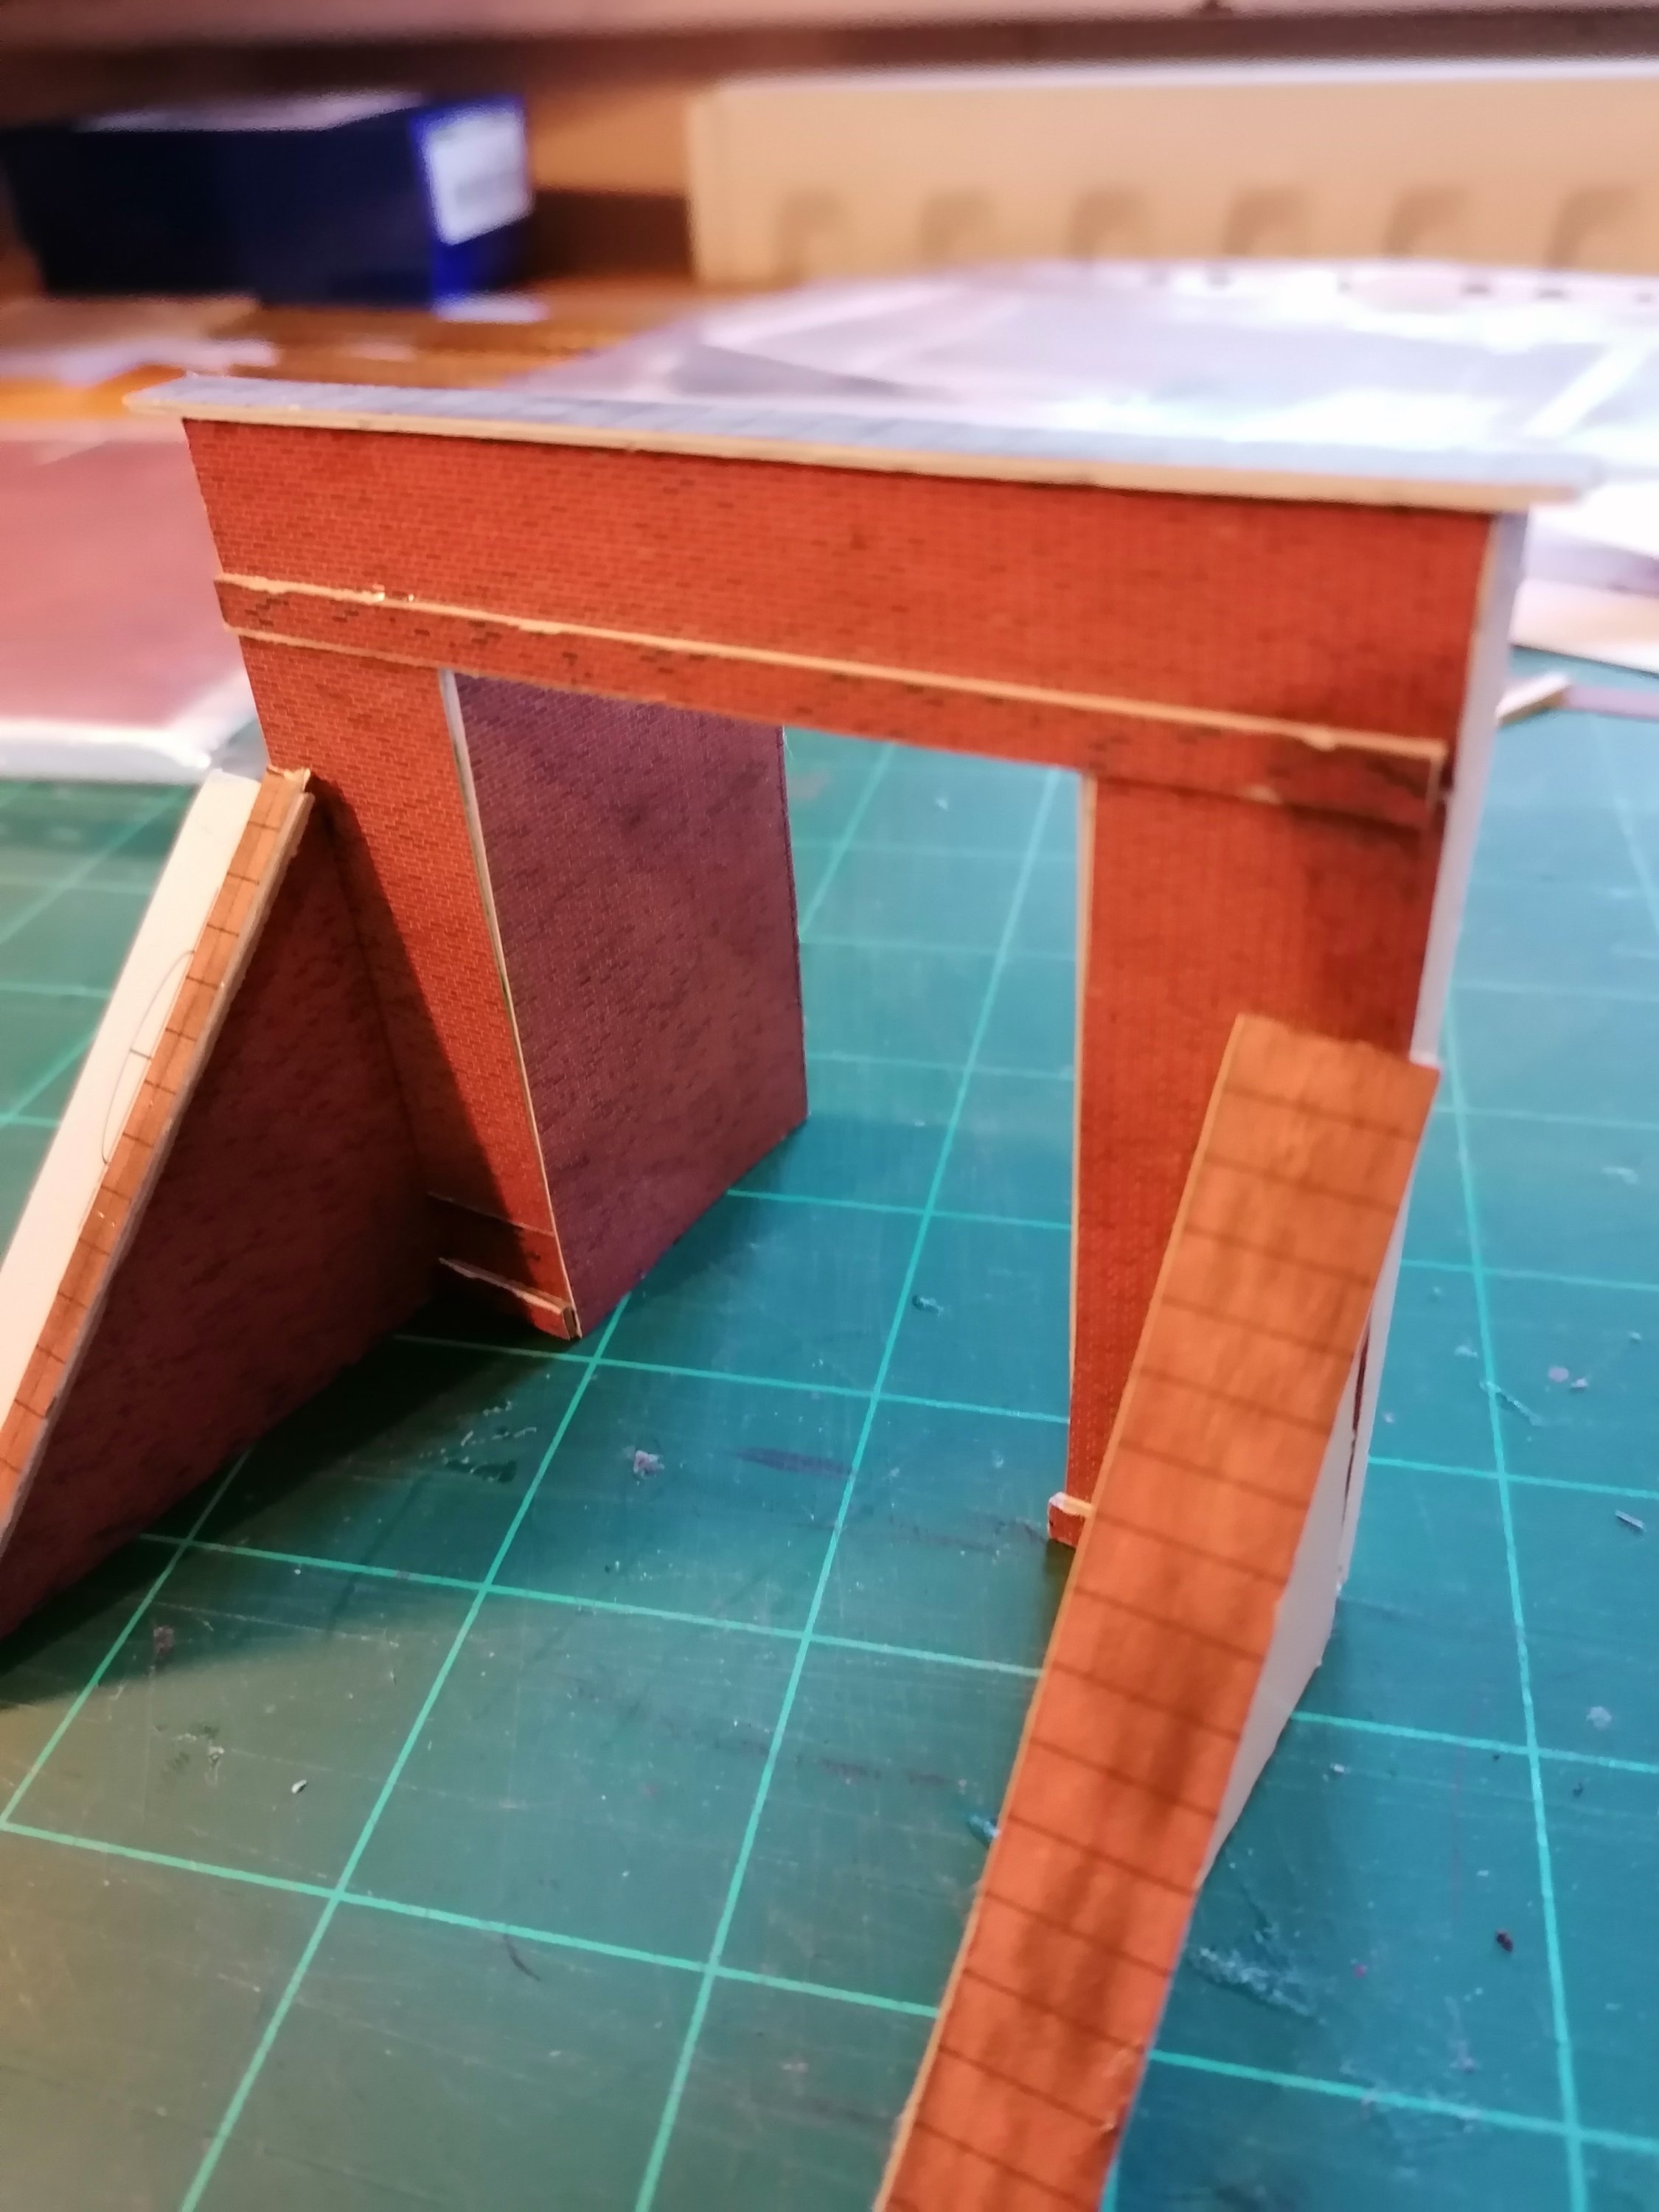
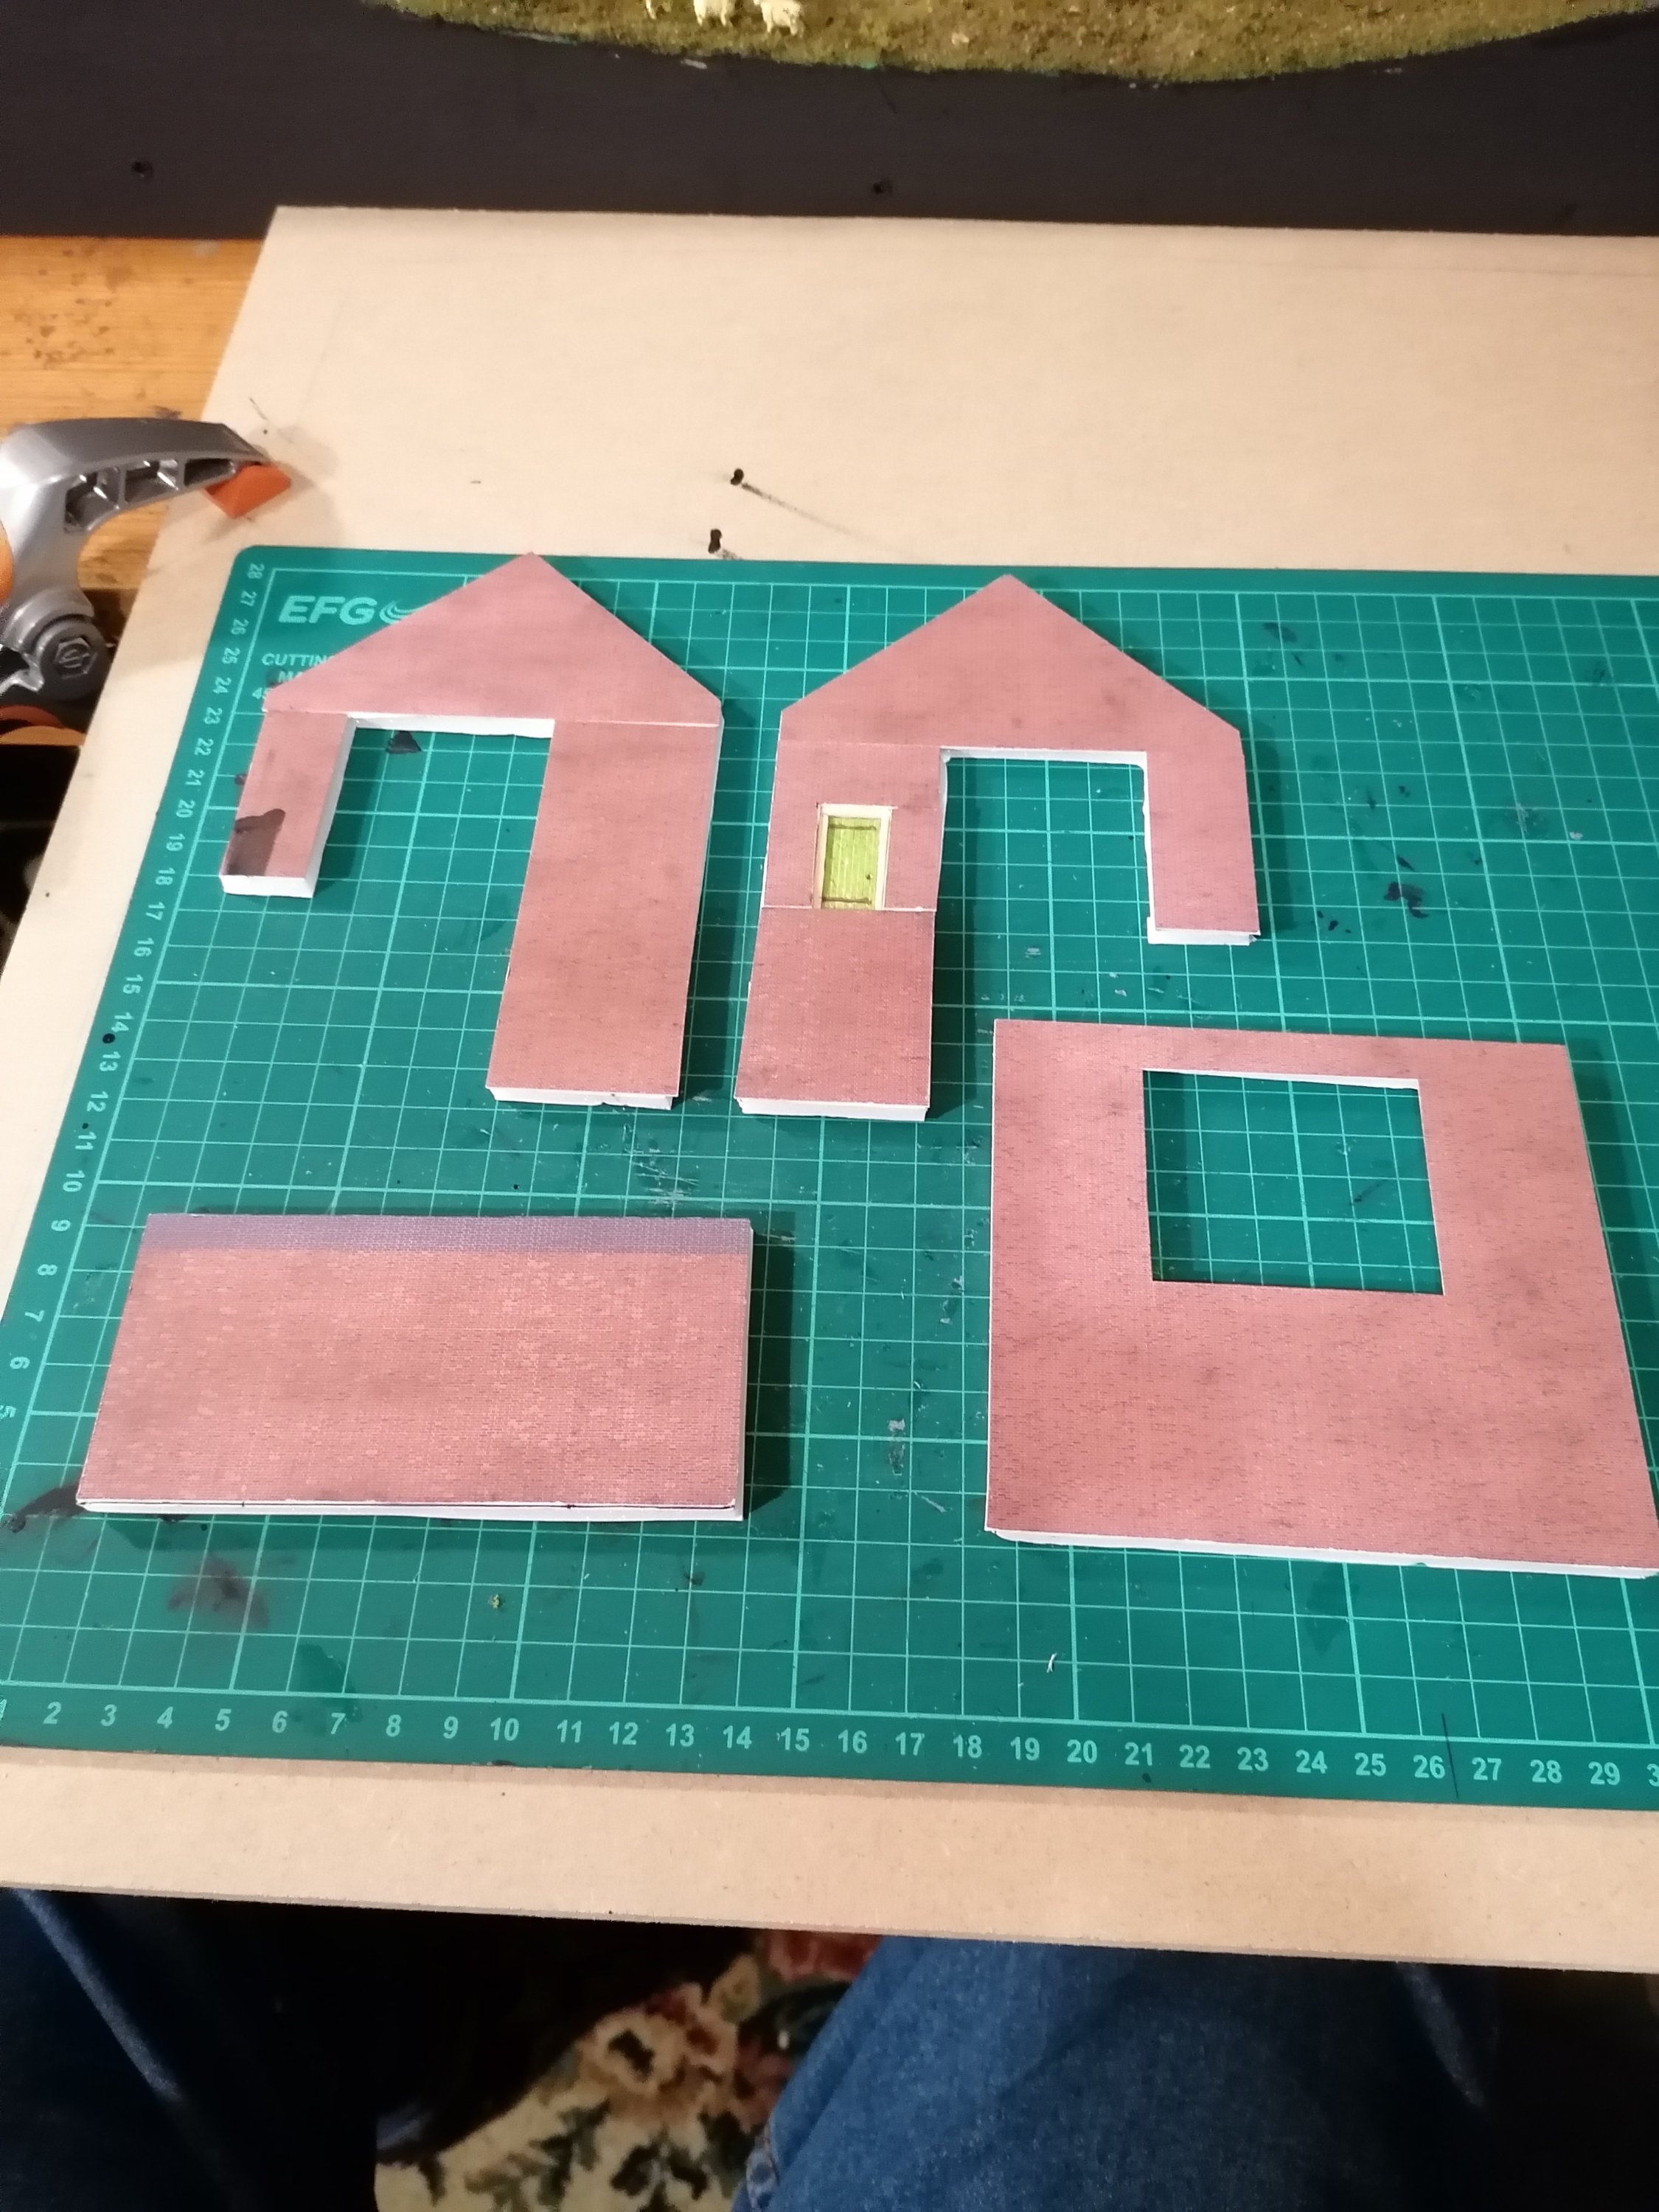
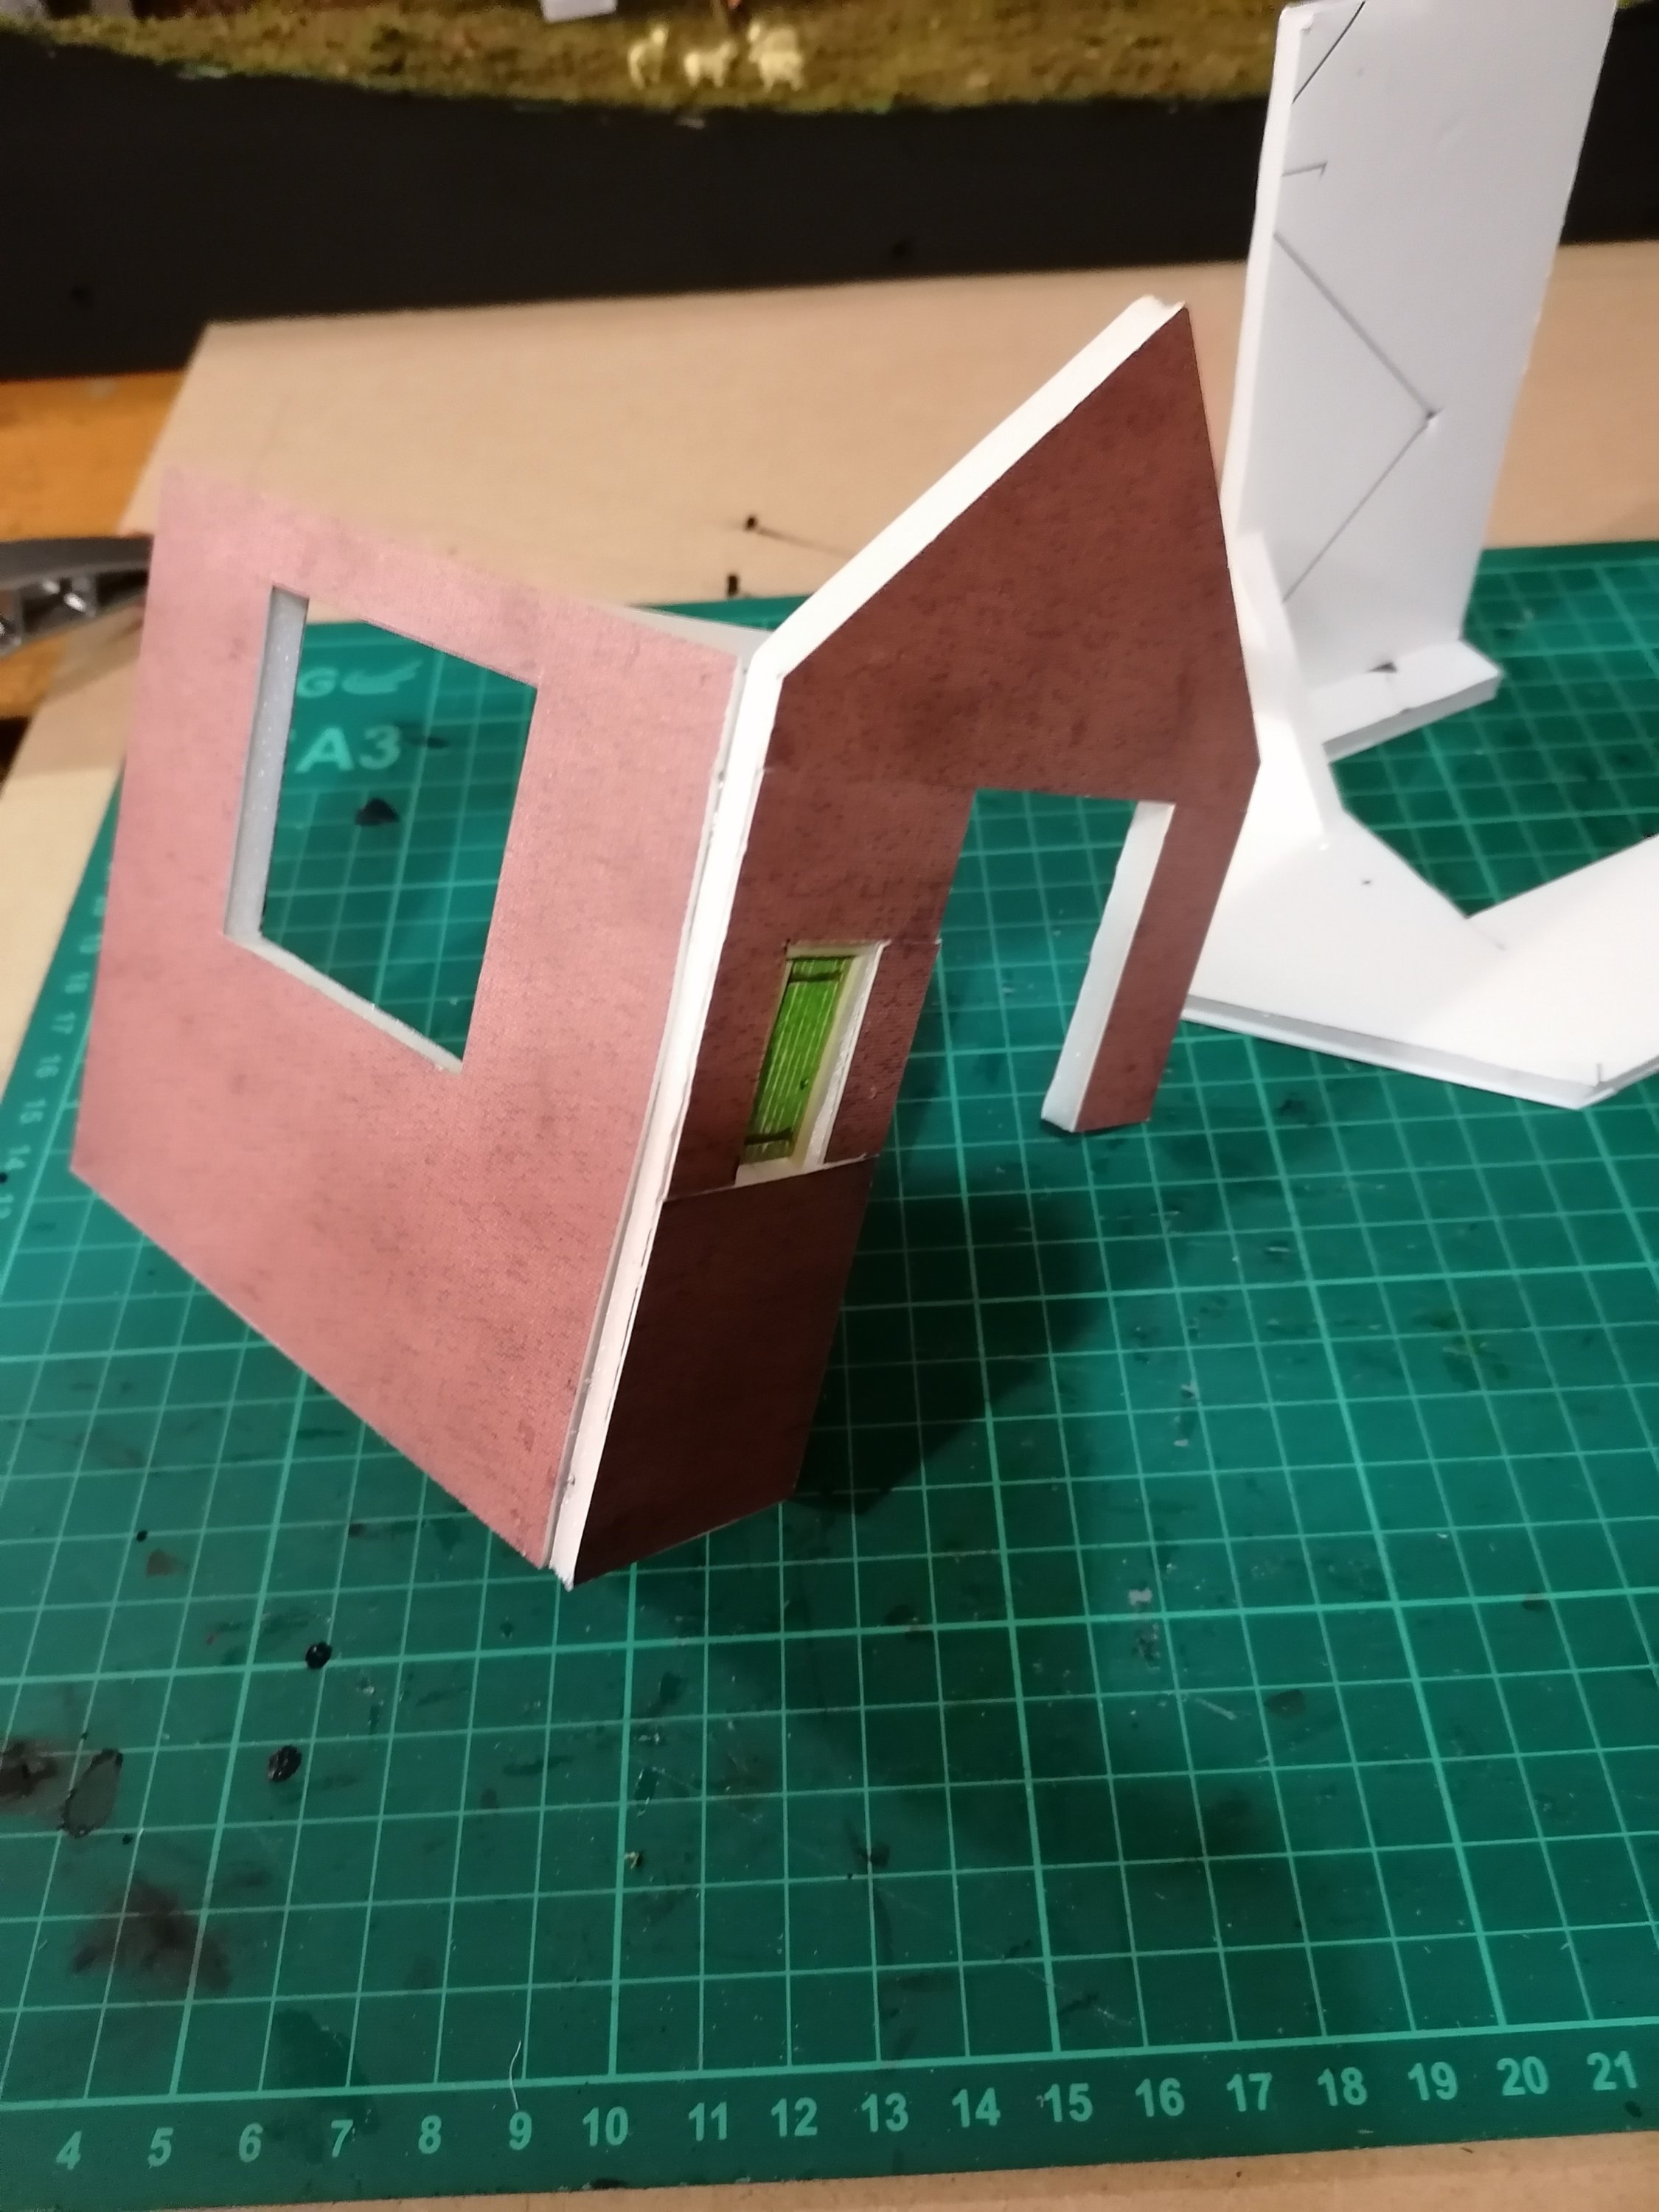
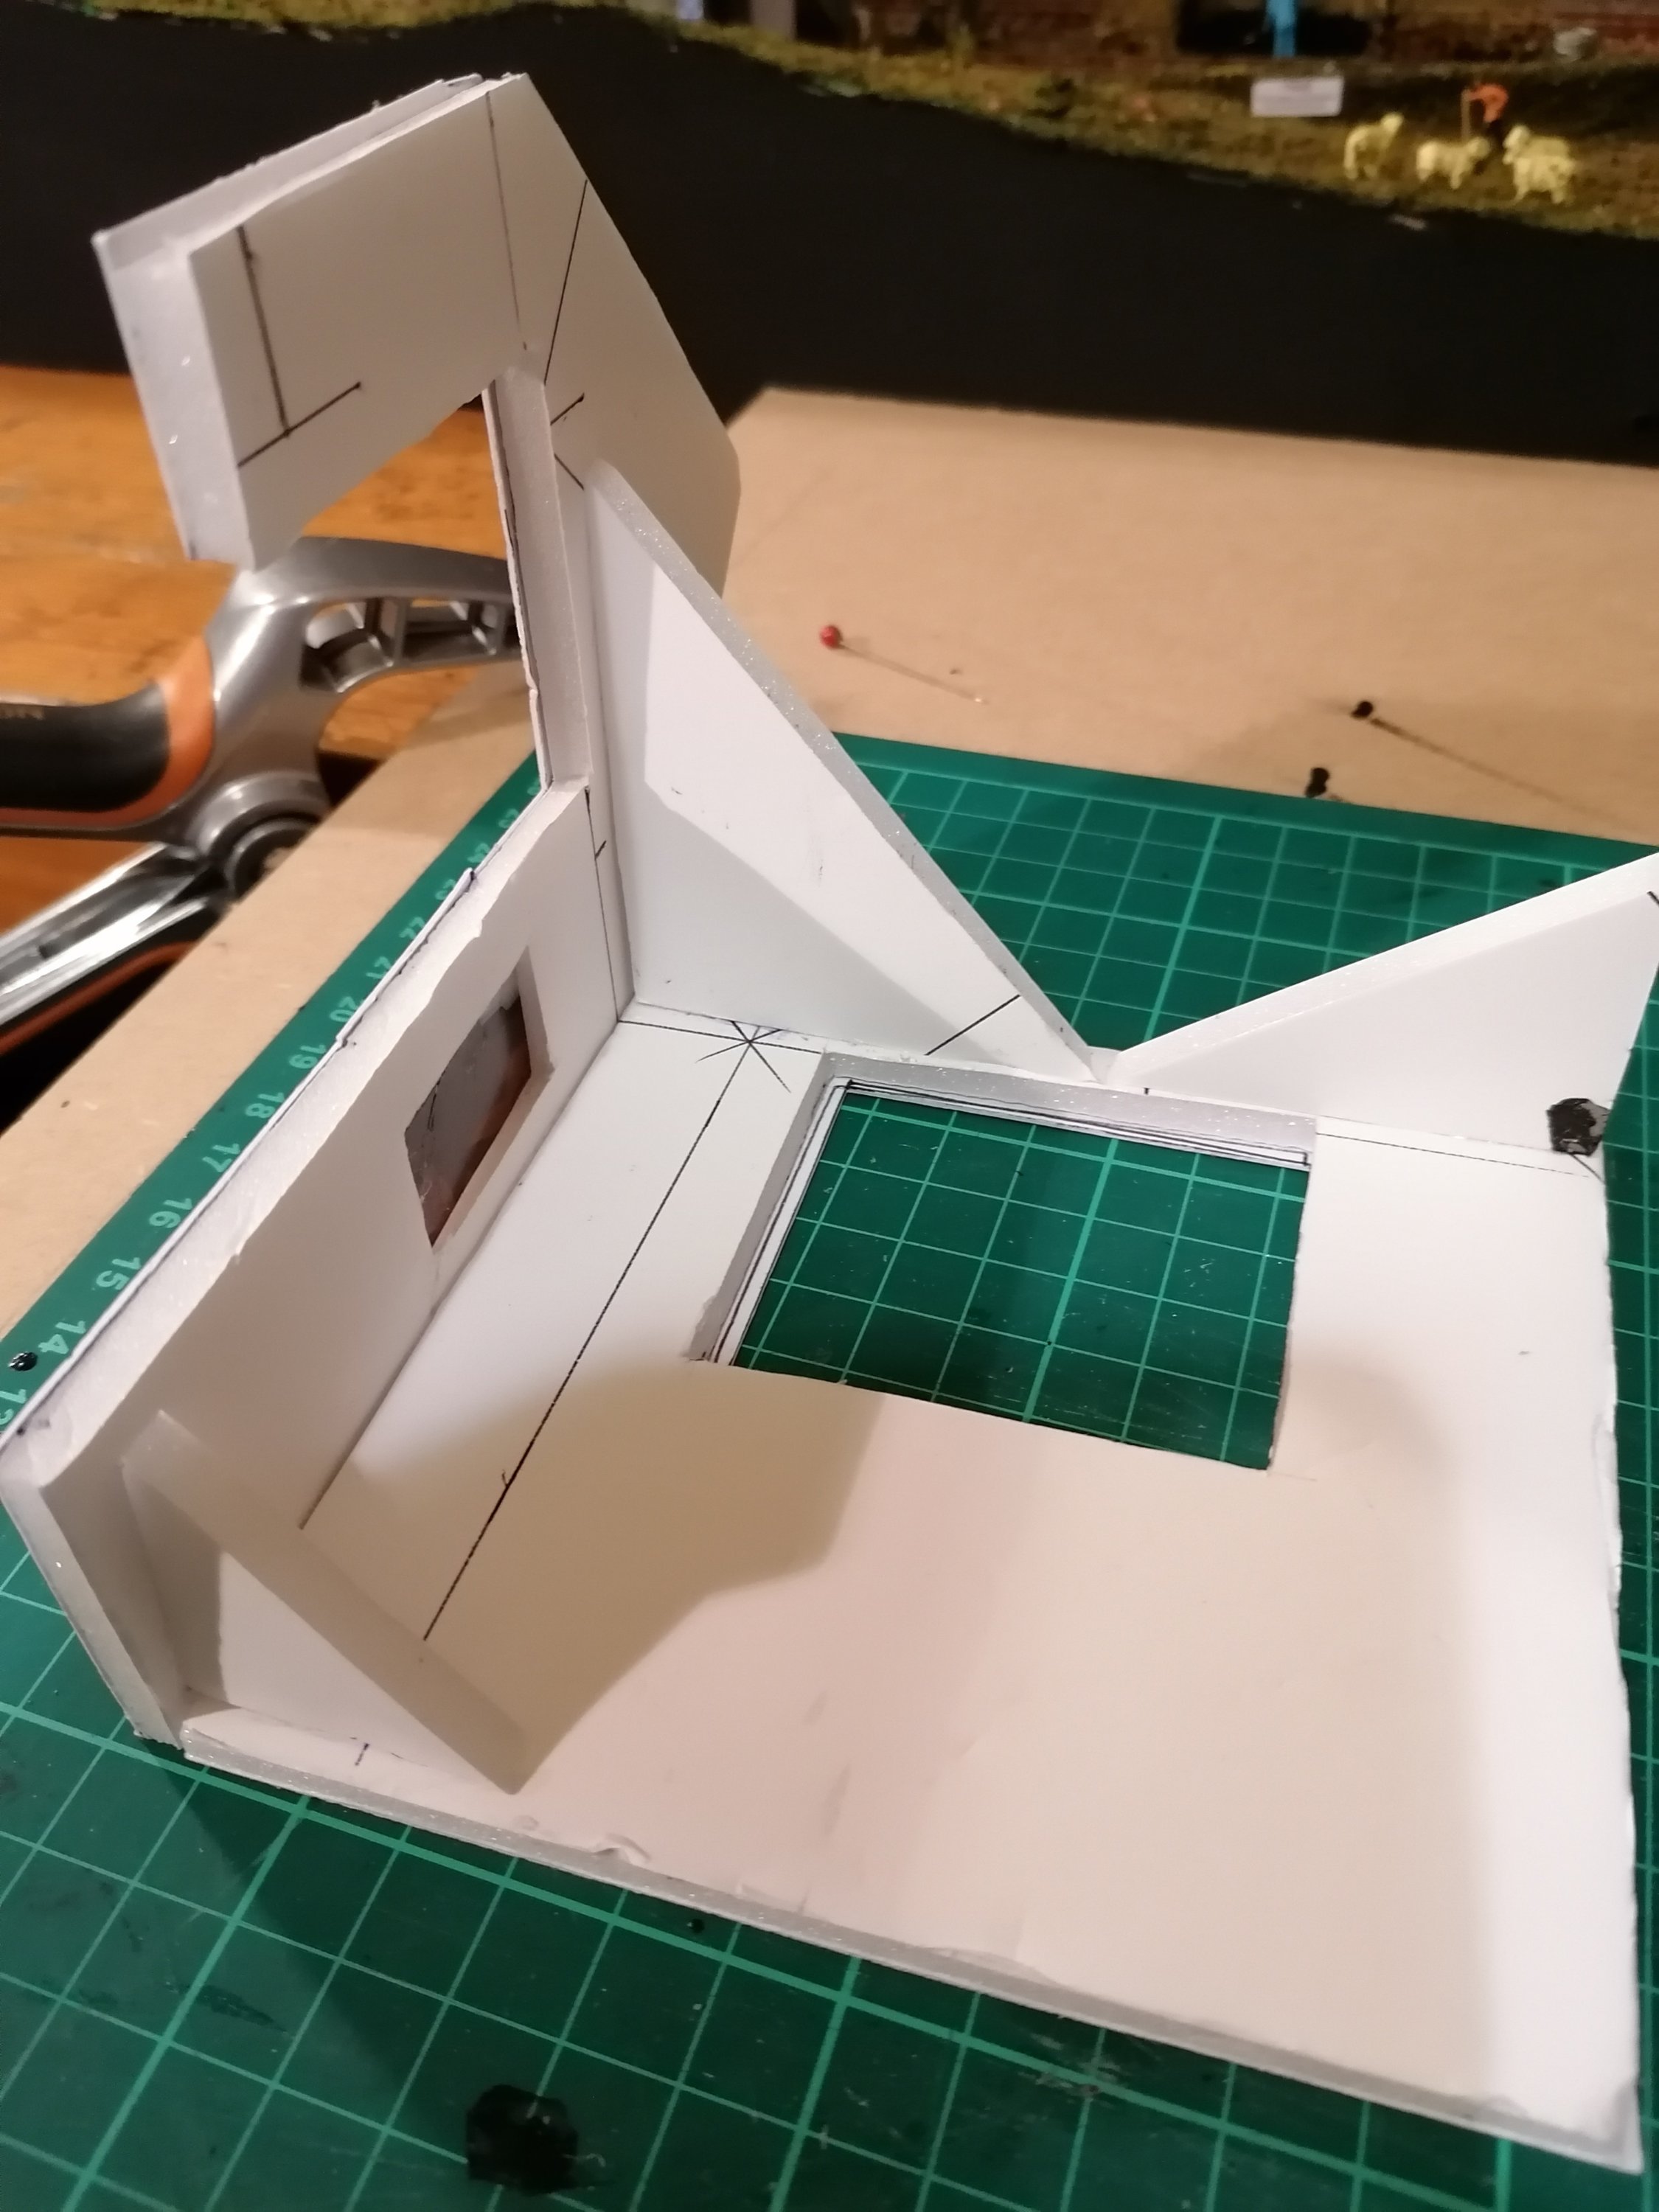
This was a fairly streight foward layout to construct but next its back to SHIREBROOK YARD but with an upgrade! This time I’m going to have track on two levels. Obviously this gives more scope for movement and is usually esthetically pleasing. So how will this work? Well if you remember the original layout had a retaining wall to the rear of the layout which just served as foreground for the back scene, this time that will be replaced with a coaling stage fed from the upper line and refuelled at the lower level. I’ll show plans for this on the next blog but this plan did cause one problem. As you know I’ve been using Metcalfe card kits for my buildings but for the coaling stage it’s going to have to be scratch built. After trawling through archive pics I came up with my design.
The main structure is built out of foam board and brick card, main reason for card is so the scratch build looks the same as the a Metcalfe kits. (well almost!).
Next time it should be finished and on the layout.
Having completed SHIREBROOKE YARD work is now well underway on the next instalment SHIREBROOK STATION.
Because these layouts are a range that will ultimately be available to purchase the baseboard is the same size and the design is a simple country station with an engine shed and small goods dock as part of the station platform. This will allow for plenty of options when it comes to swapping engine duties and passenger/goods on and off loading.
Metcalfe card kit station is taking shape. Single track Metcalfe engine shed with modified roof.
So whilst all that’s going on I have been hatching a plan!
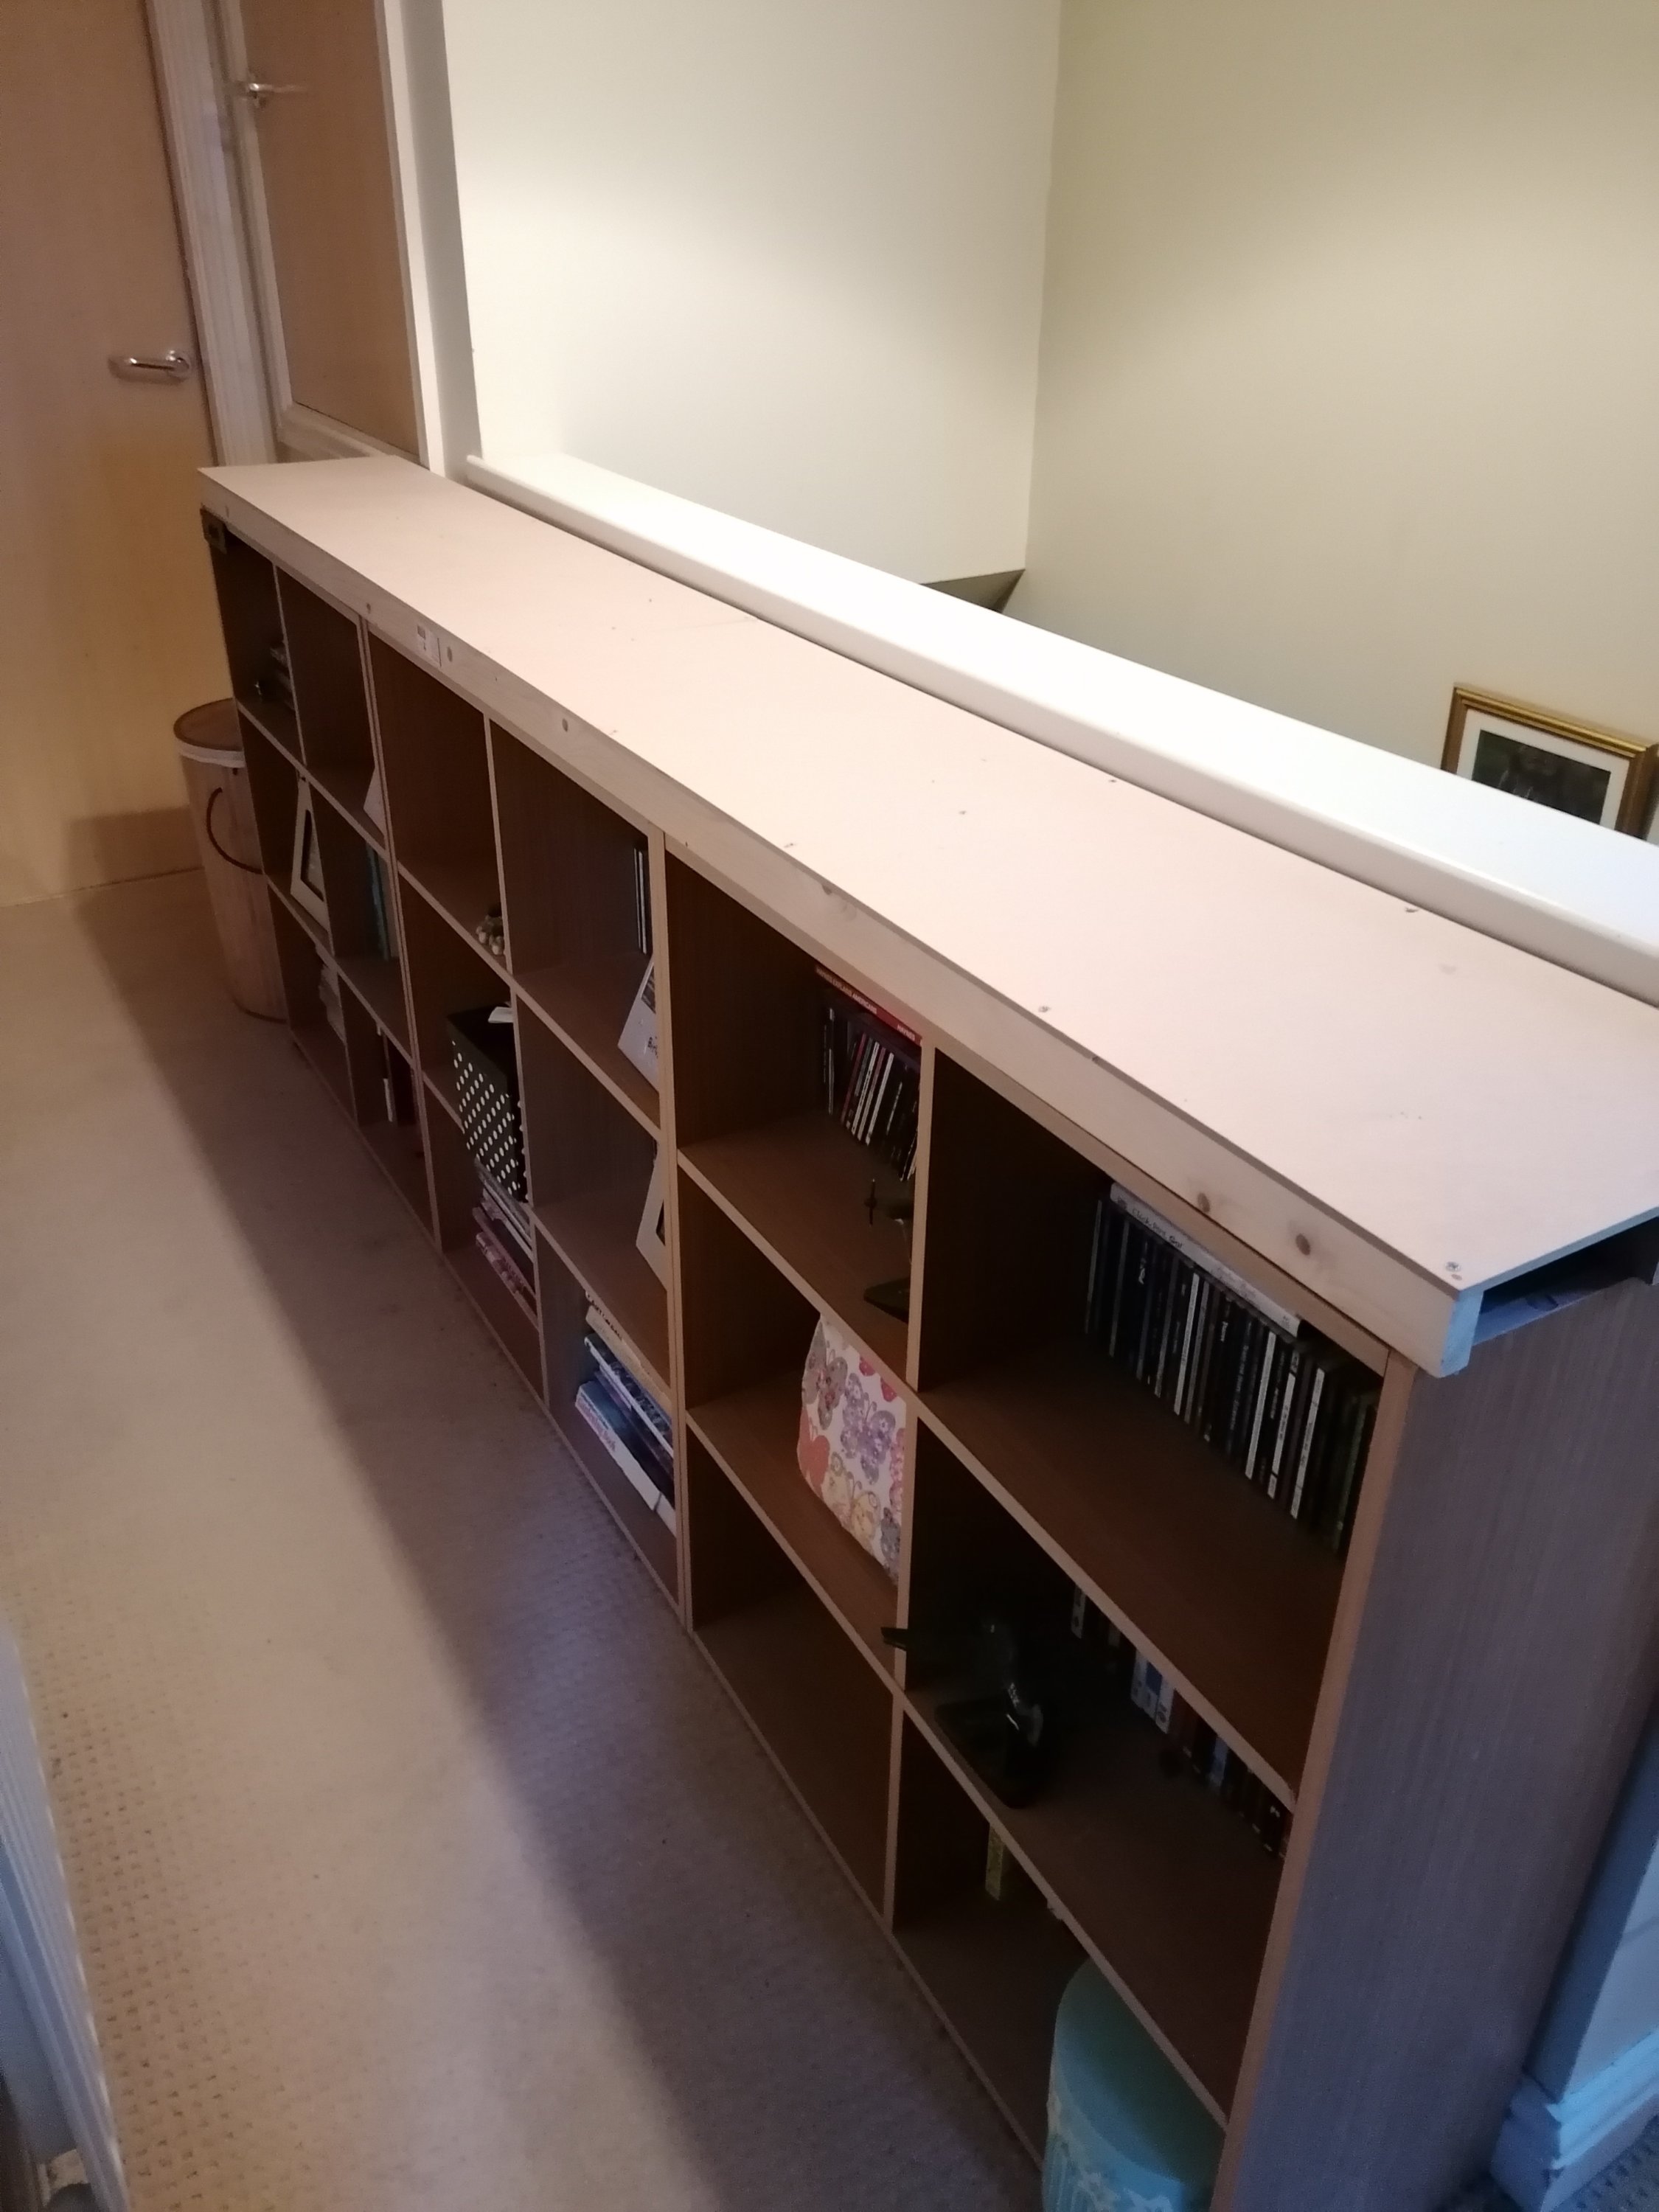
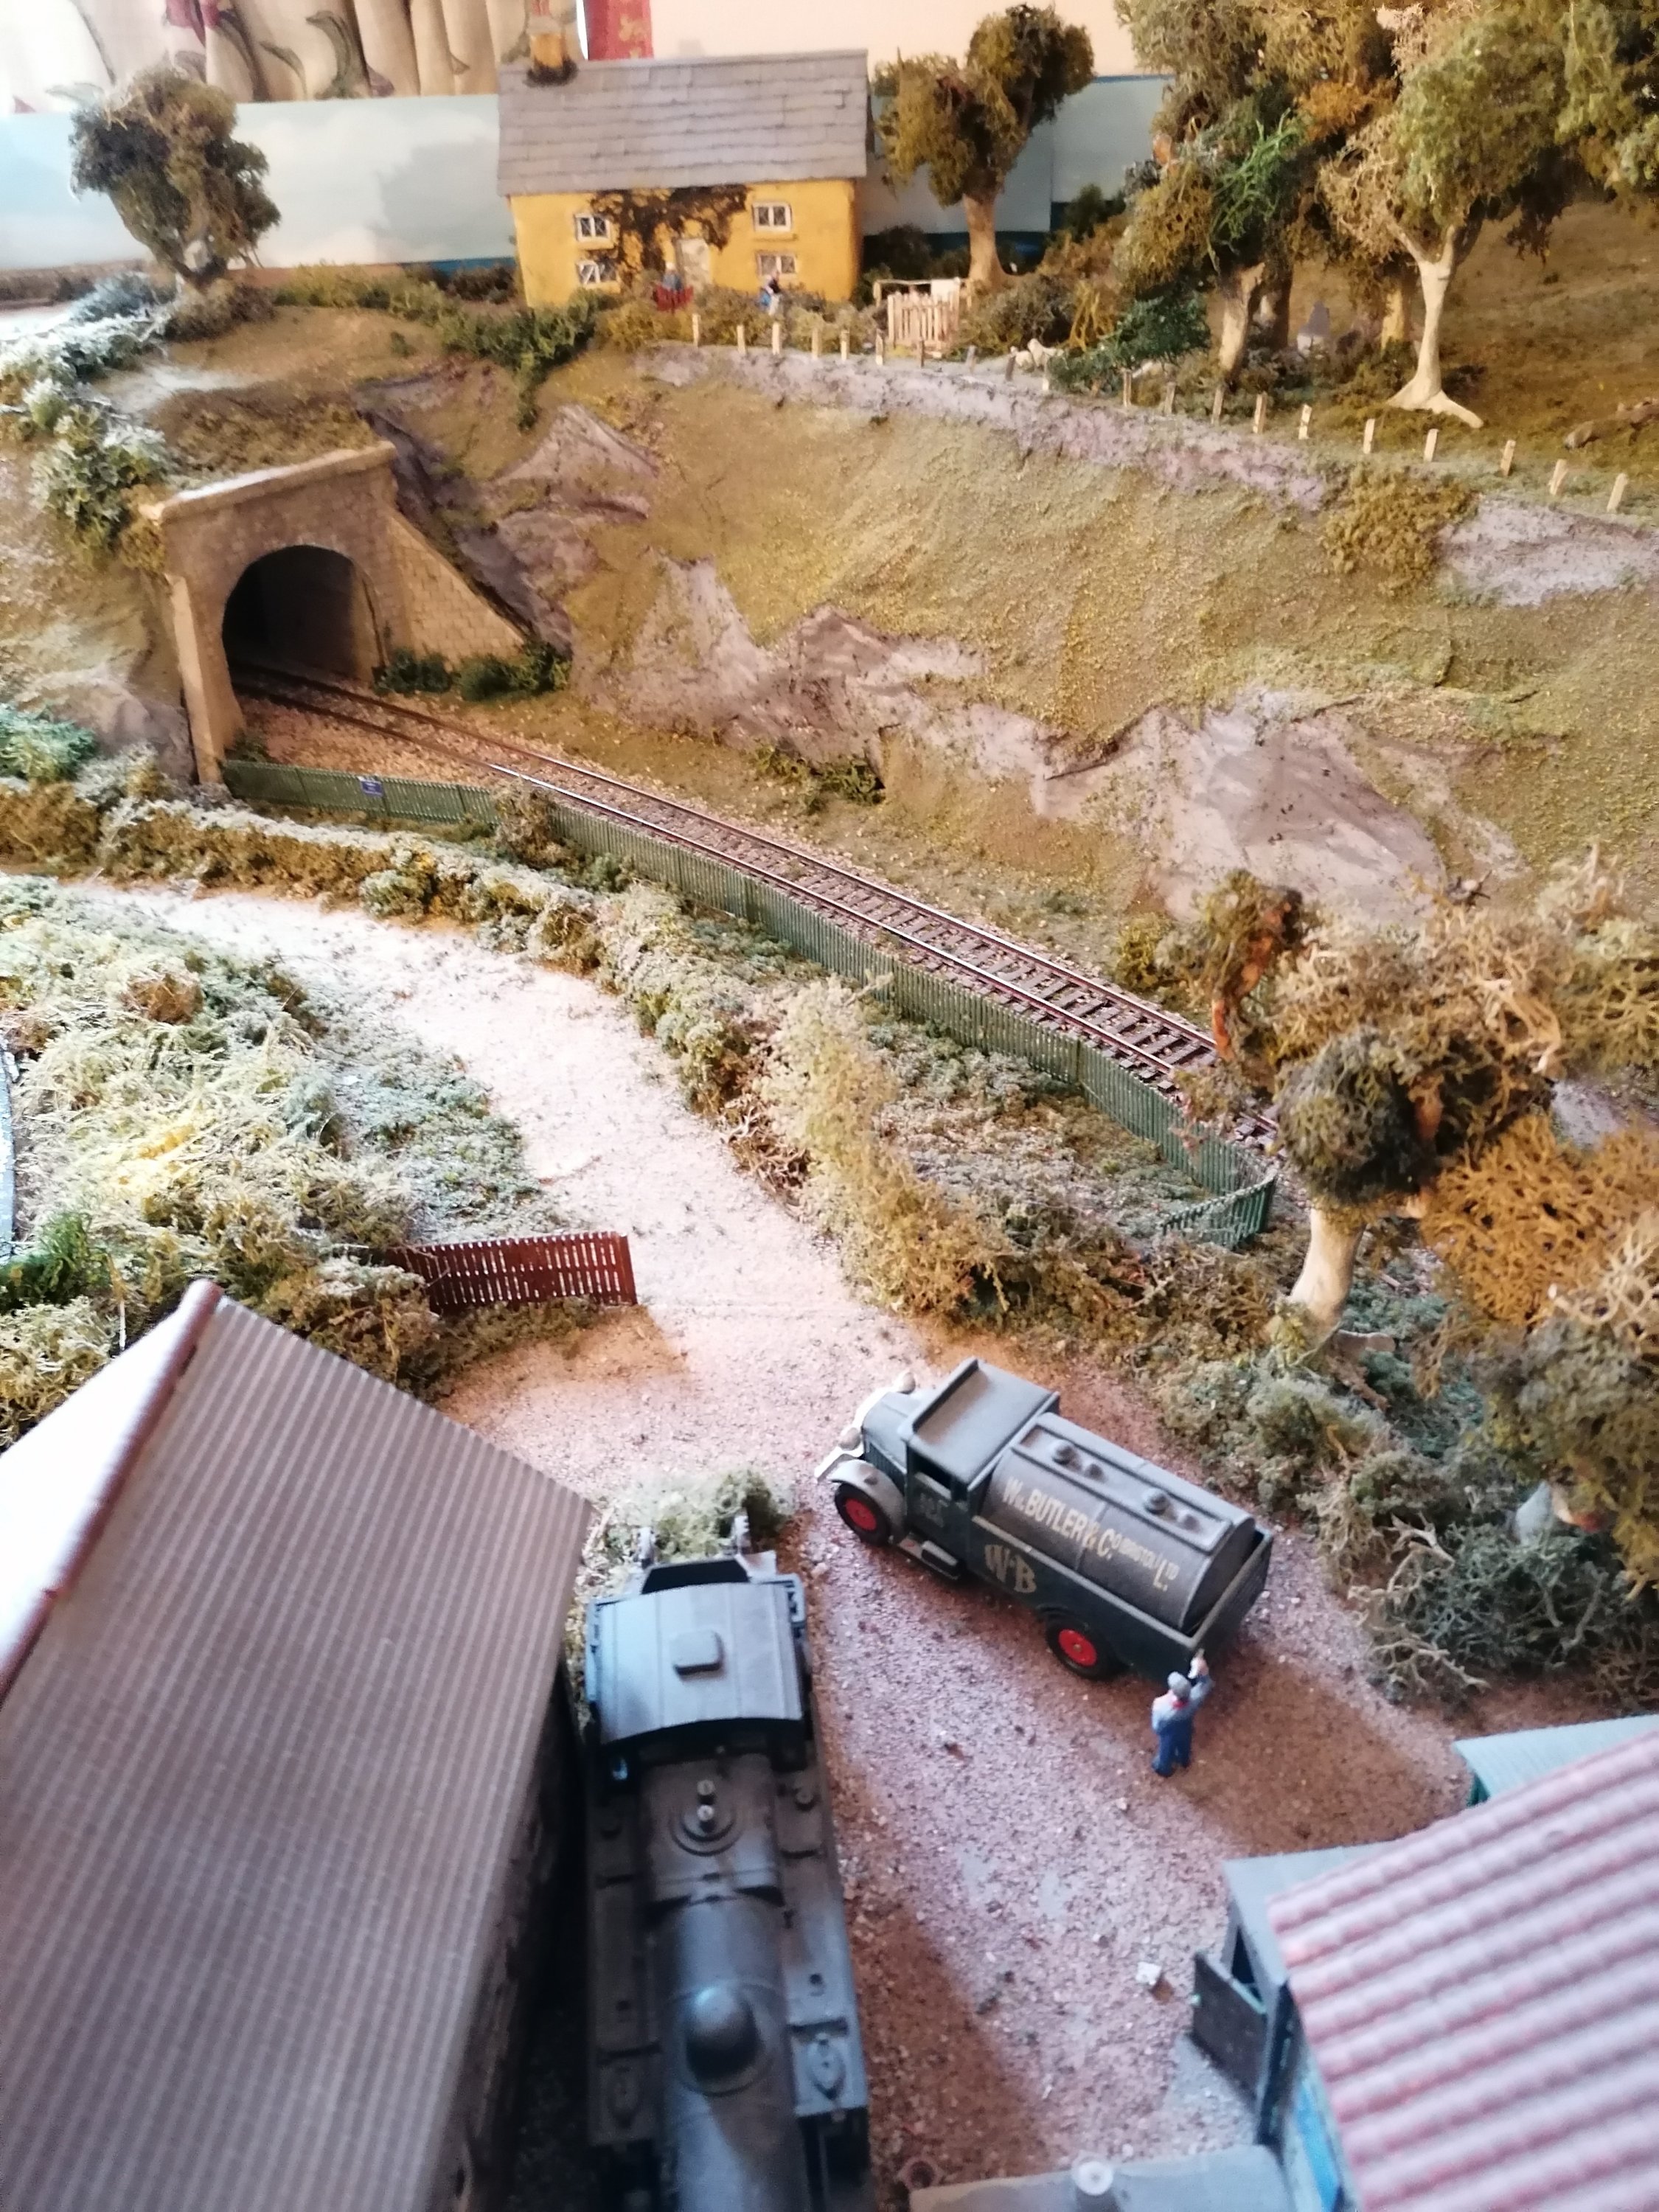
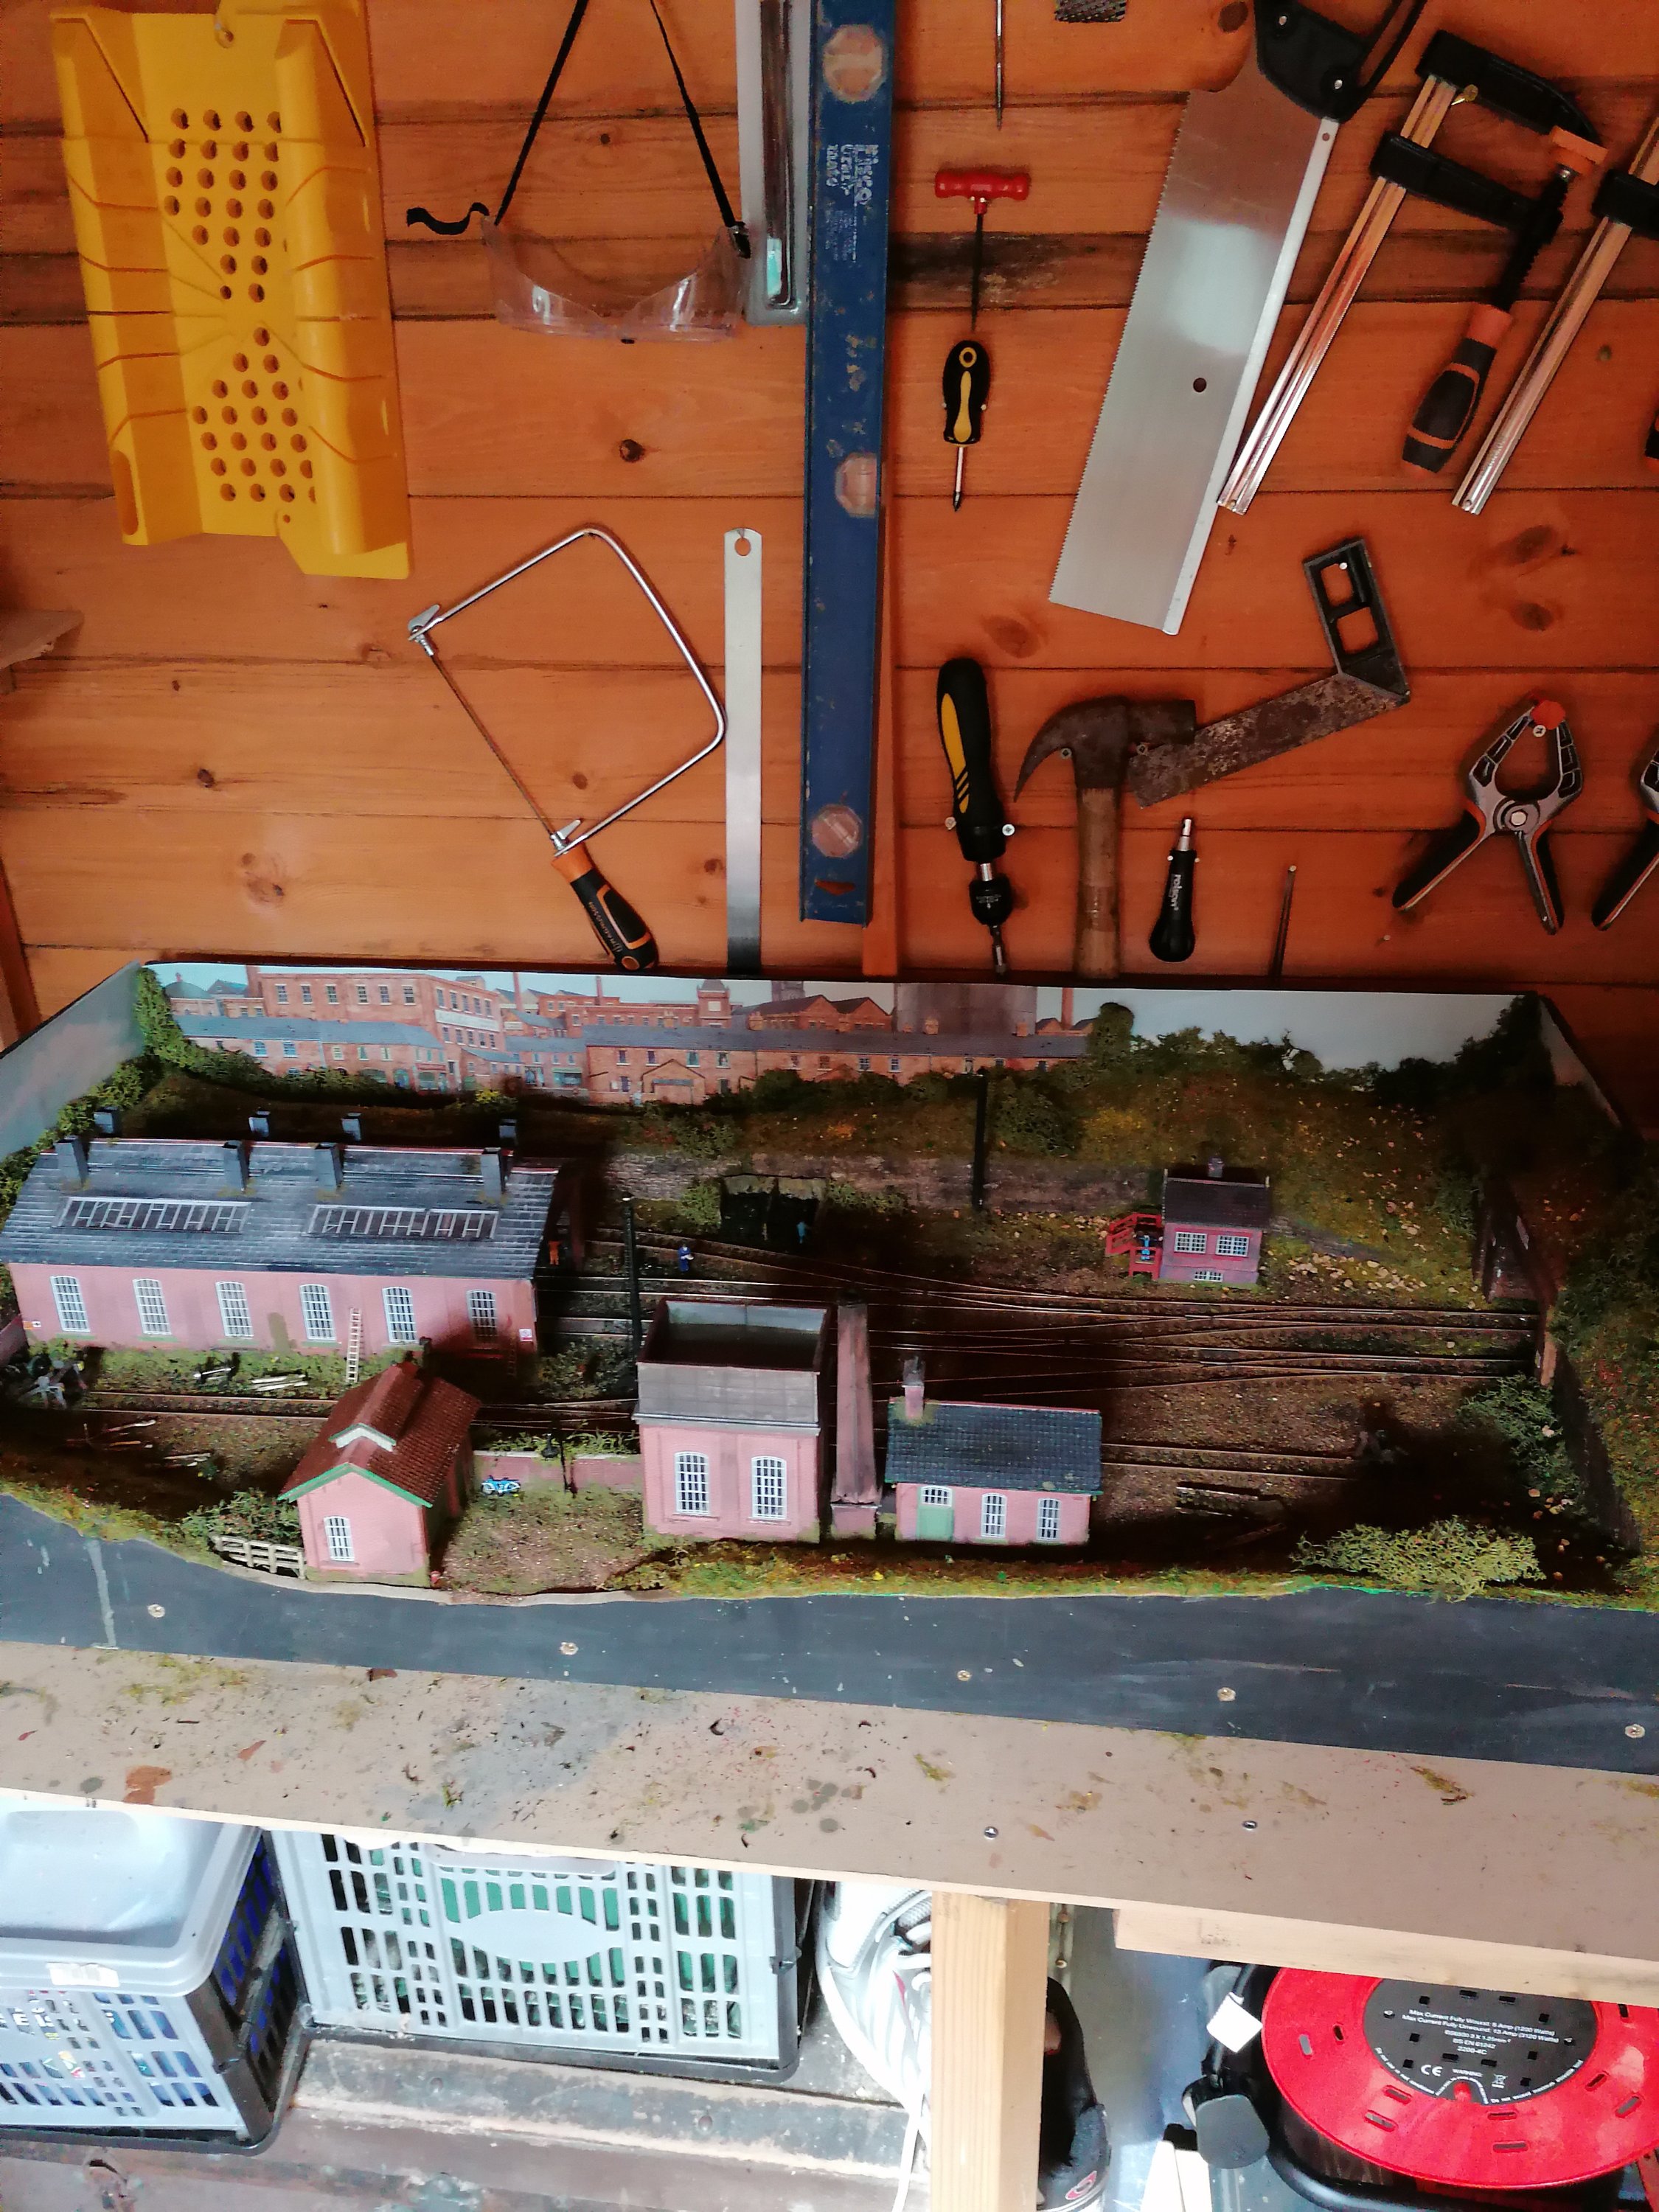
I have quite a lot of rolling stock, engines and buildings sat in a box under HORBY. It’s N gauge however so a totally different proposition to OO gauge. As I’ve previously says the big advantage on N is the amount or railway you can get in a small space and to prove this I’m going to build a layout on the top of a book case.
The book case is at the top of our stairs on the landing, now you may be thinking why us he telling me this? Well to show just what you can do in a space that you may very well have at home which would suit that elusive space for a layout.
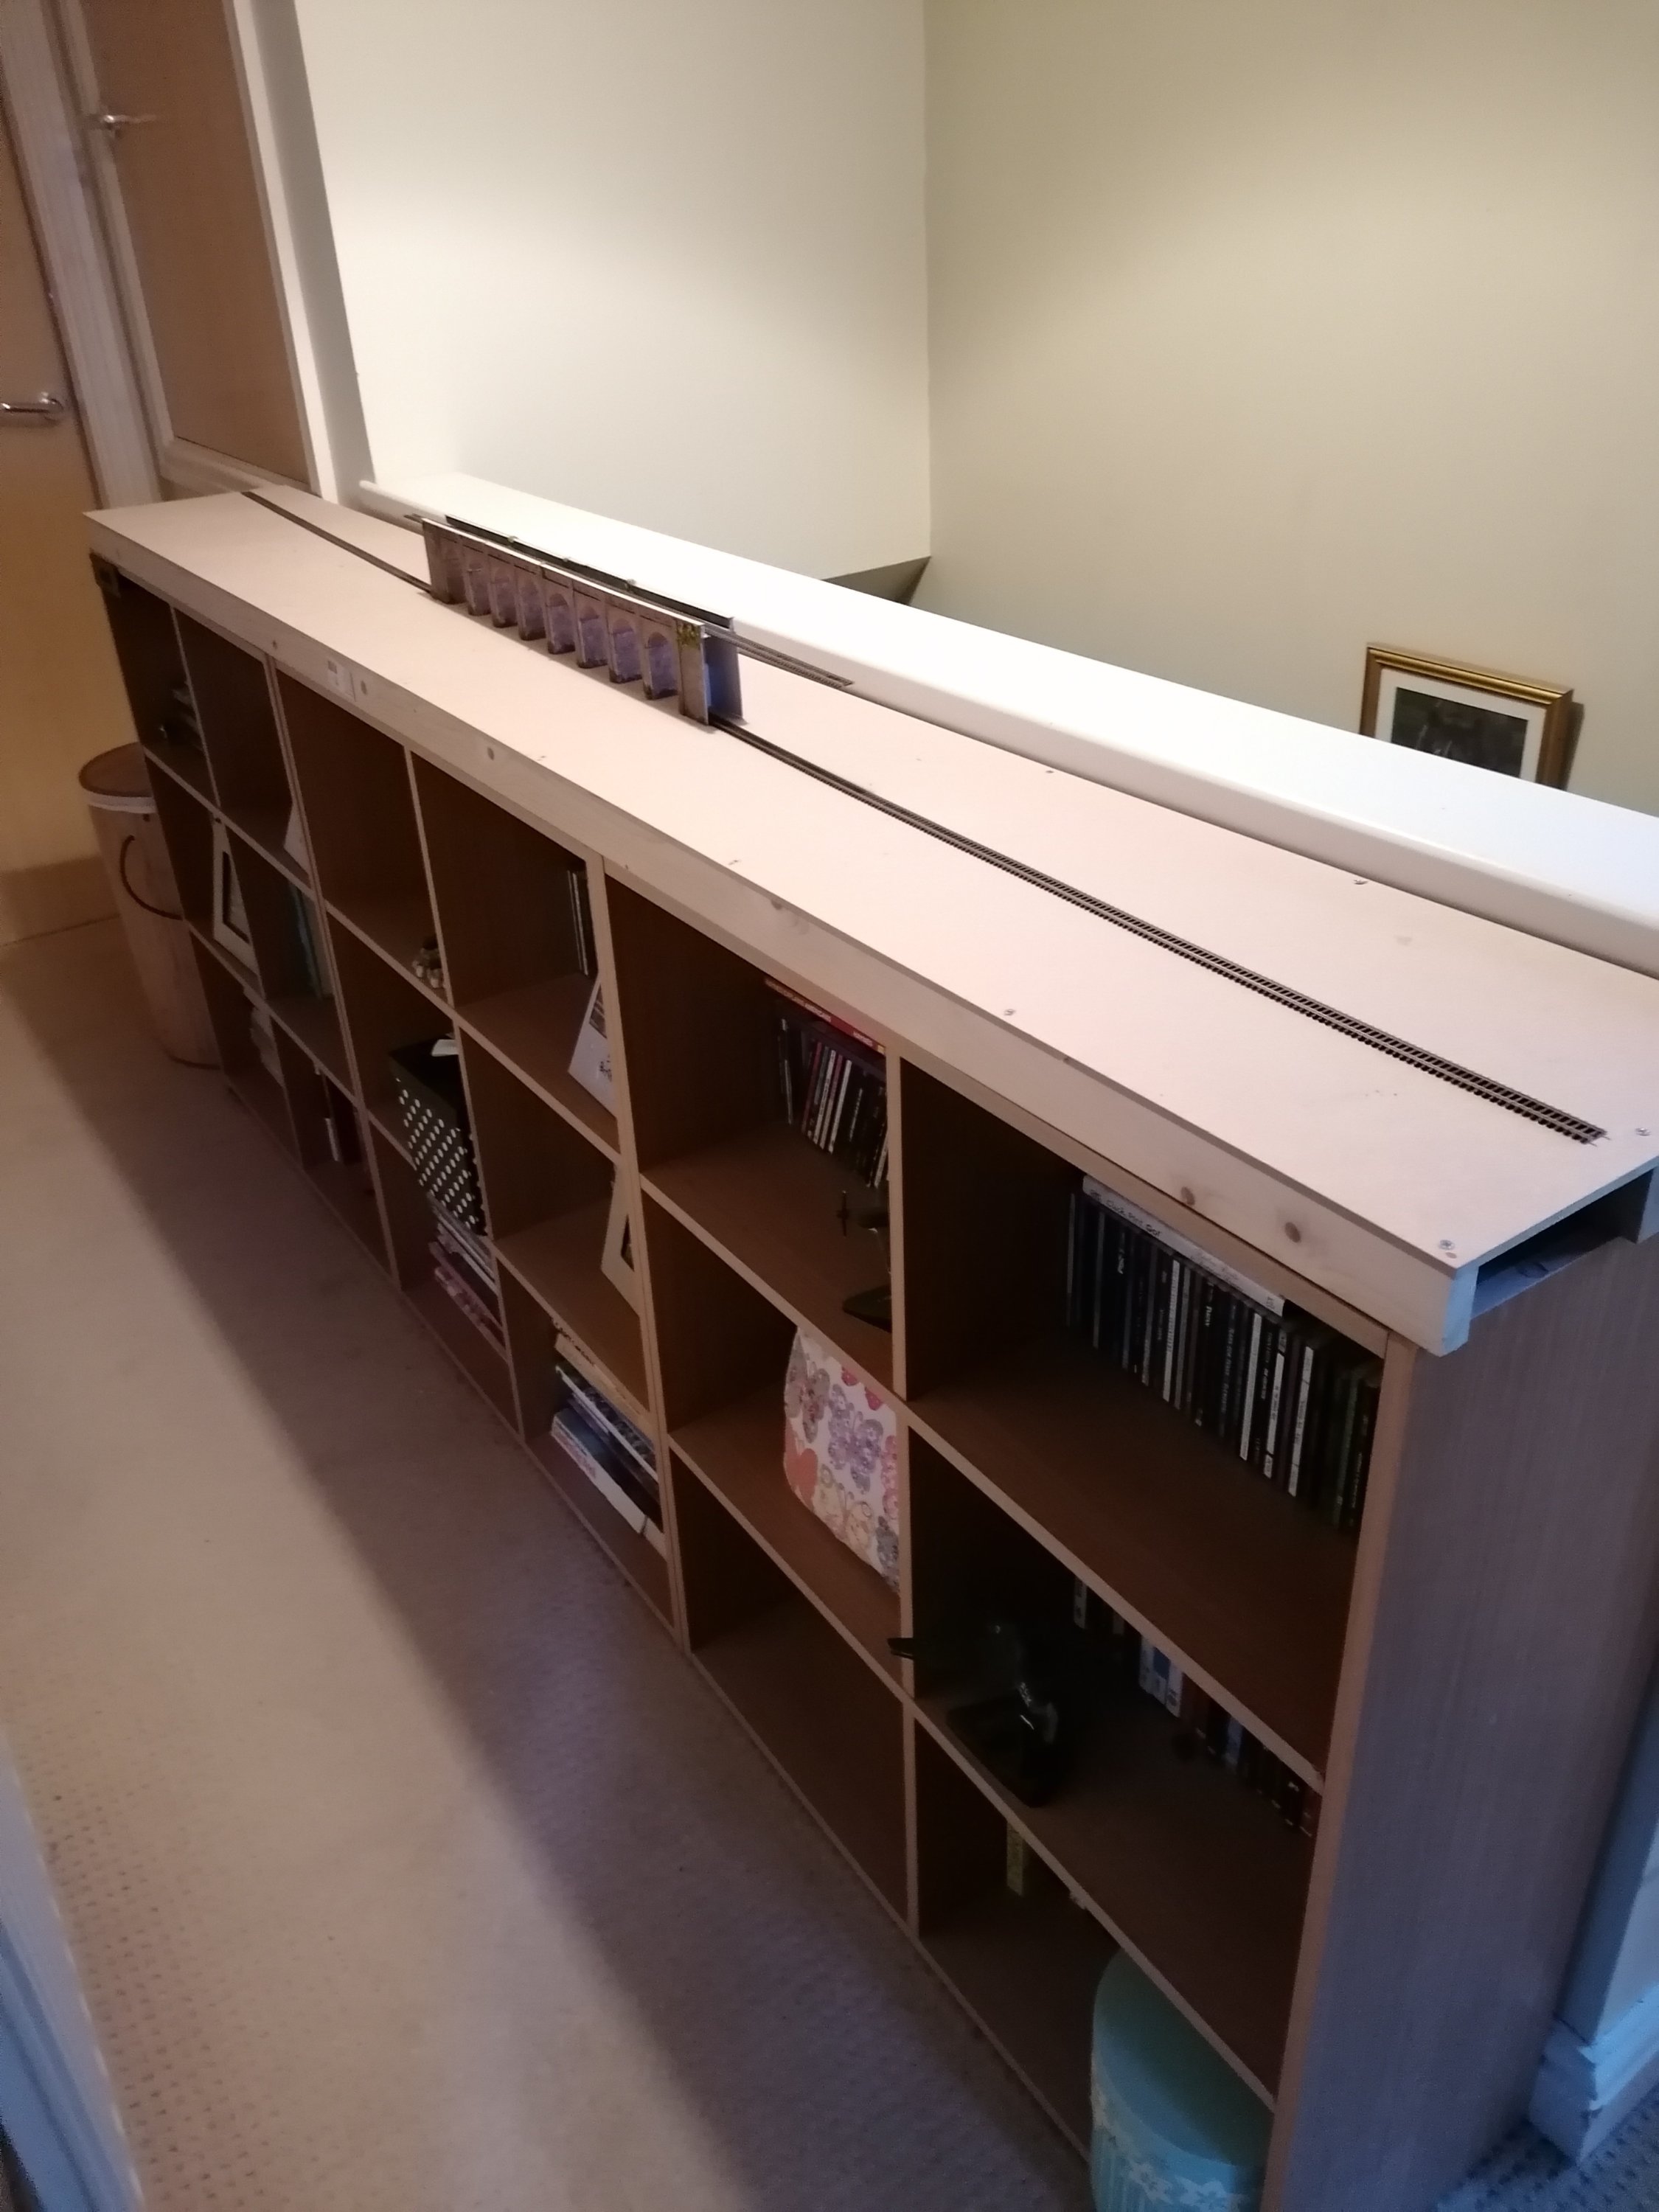
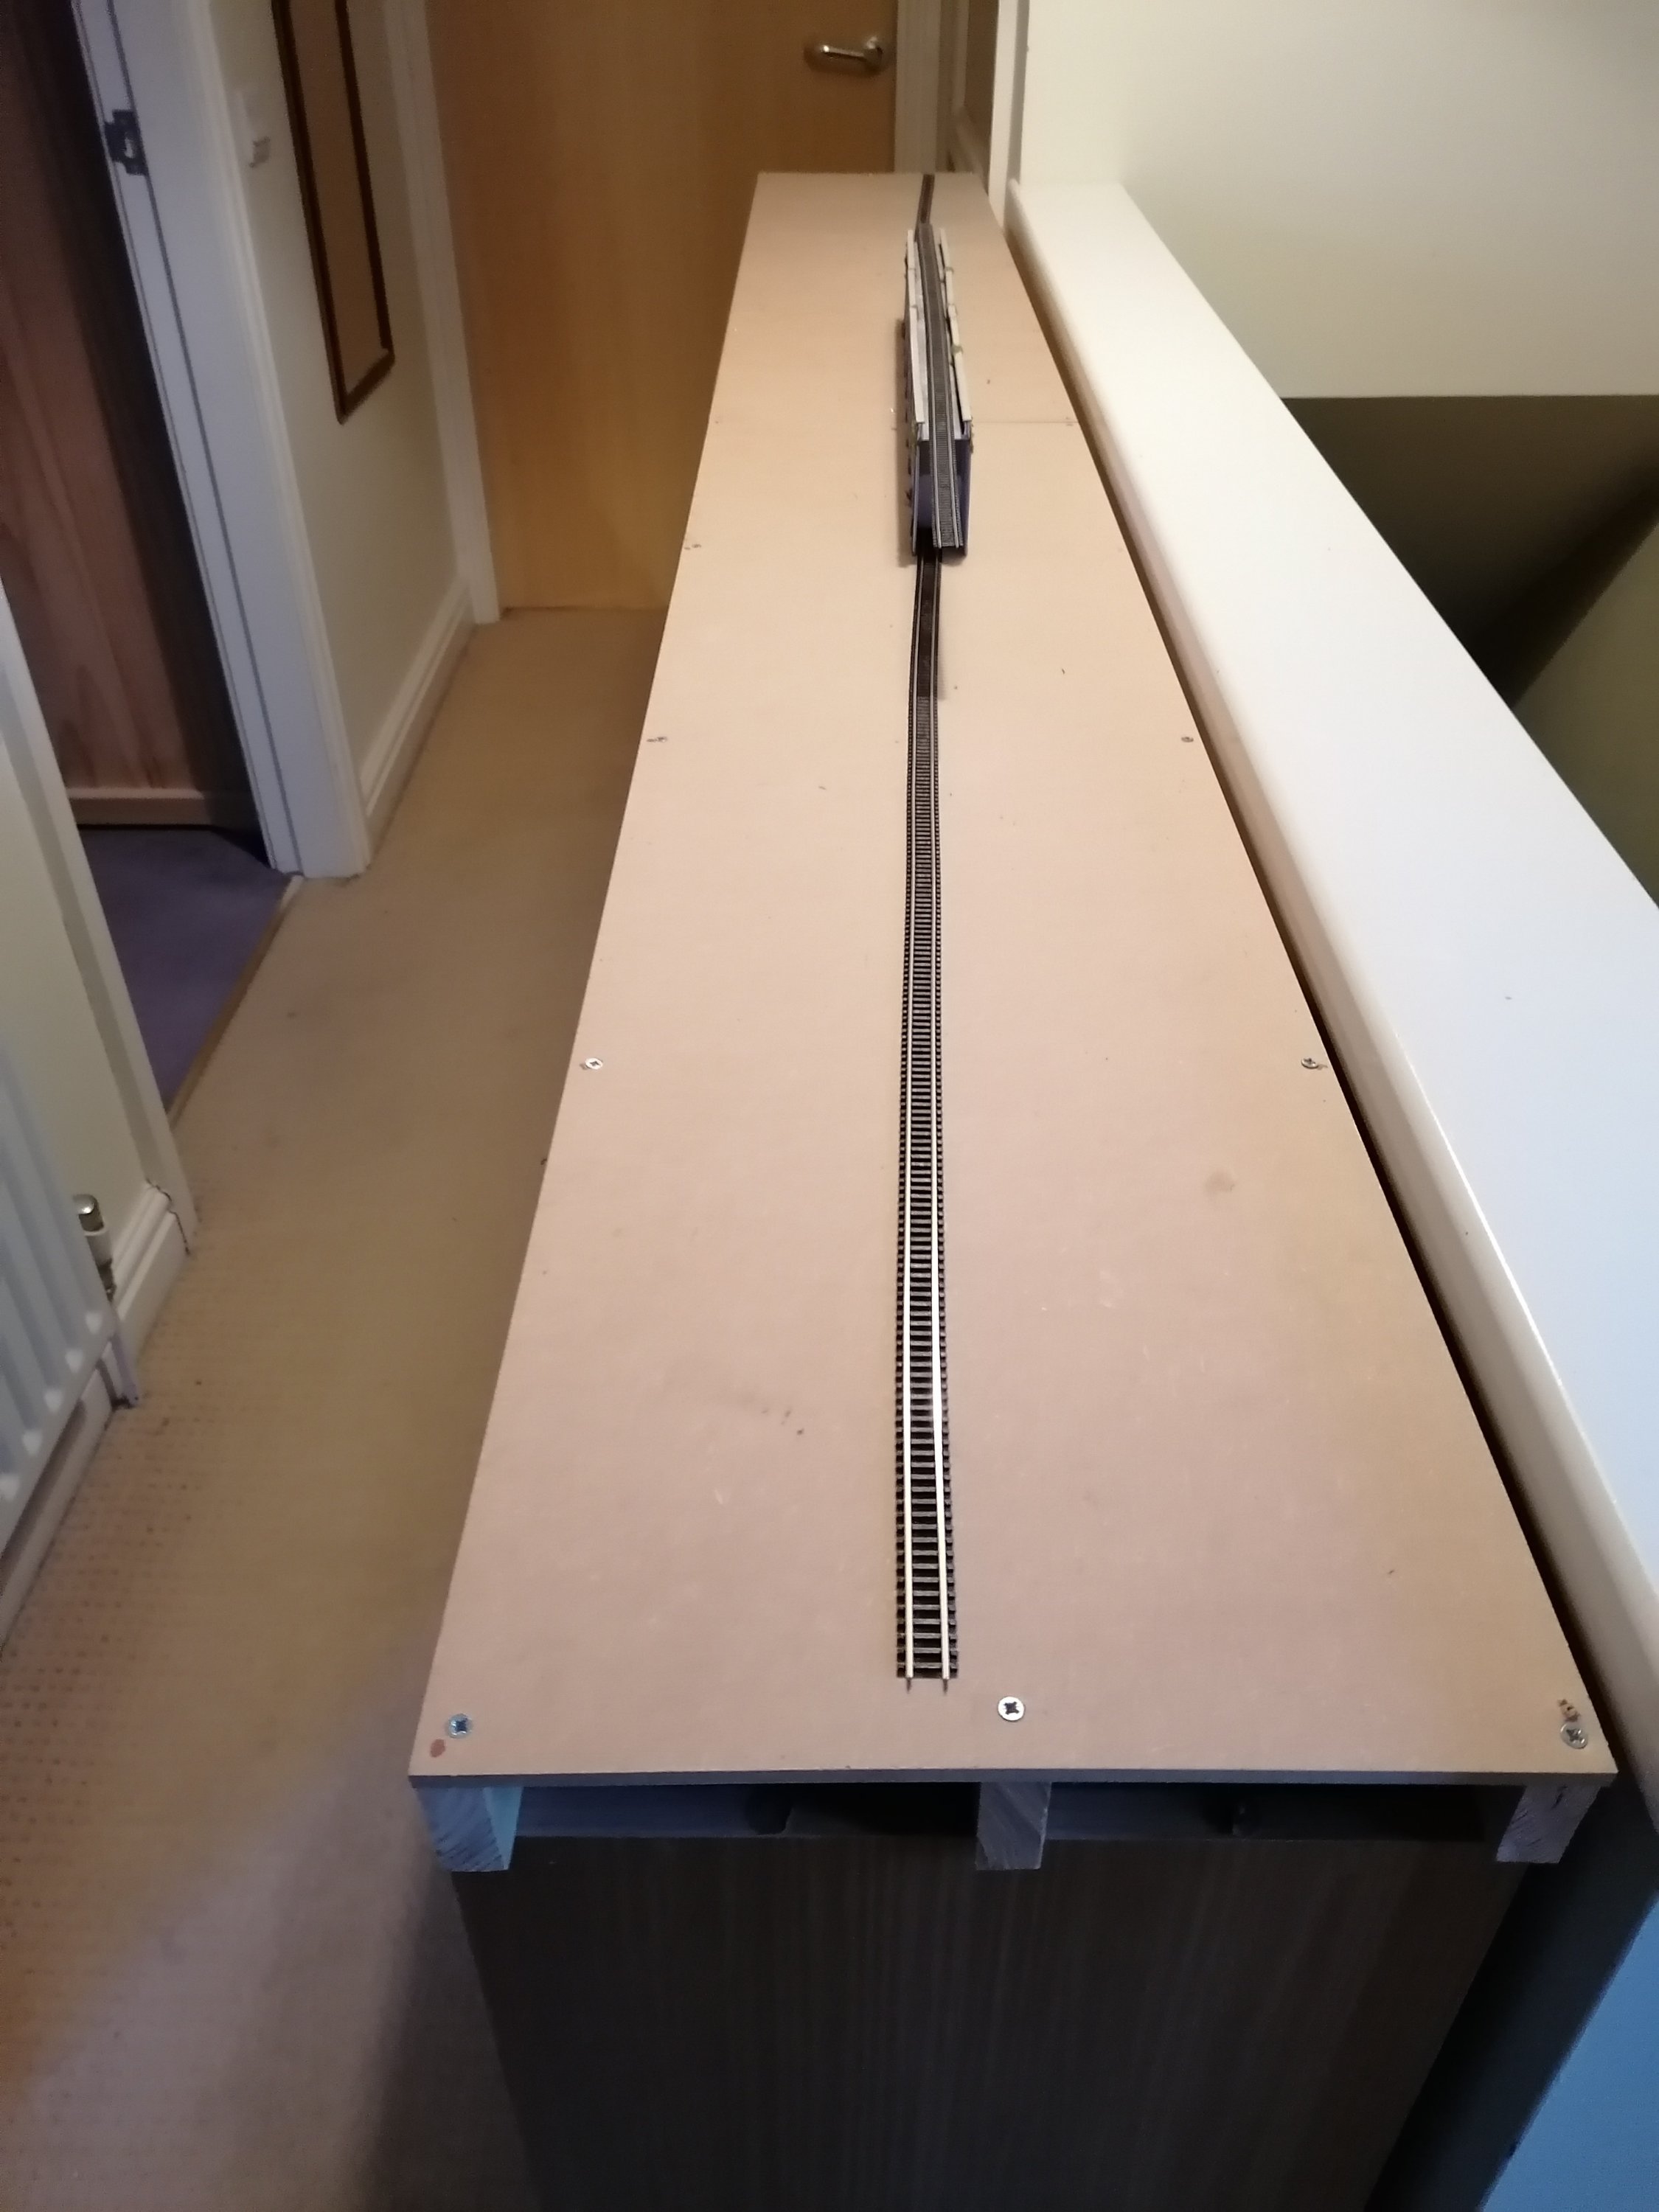
So as you can see it’s not the biggest but let’s see what we can do with it.
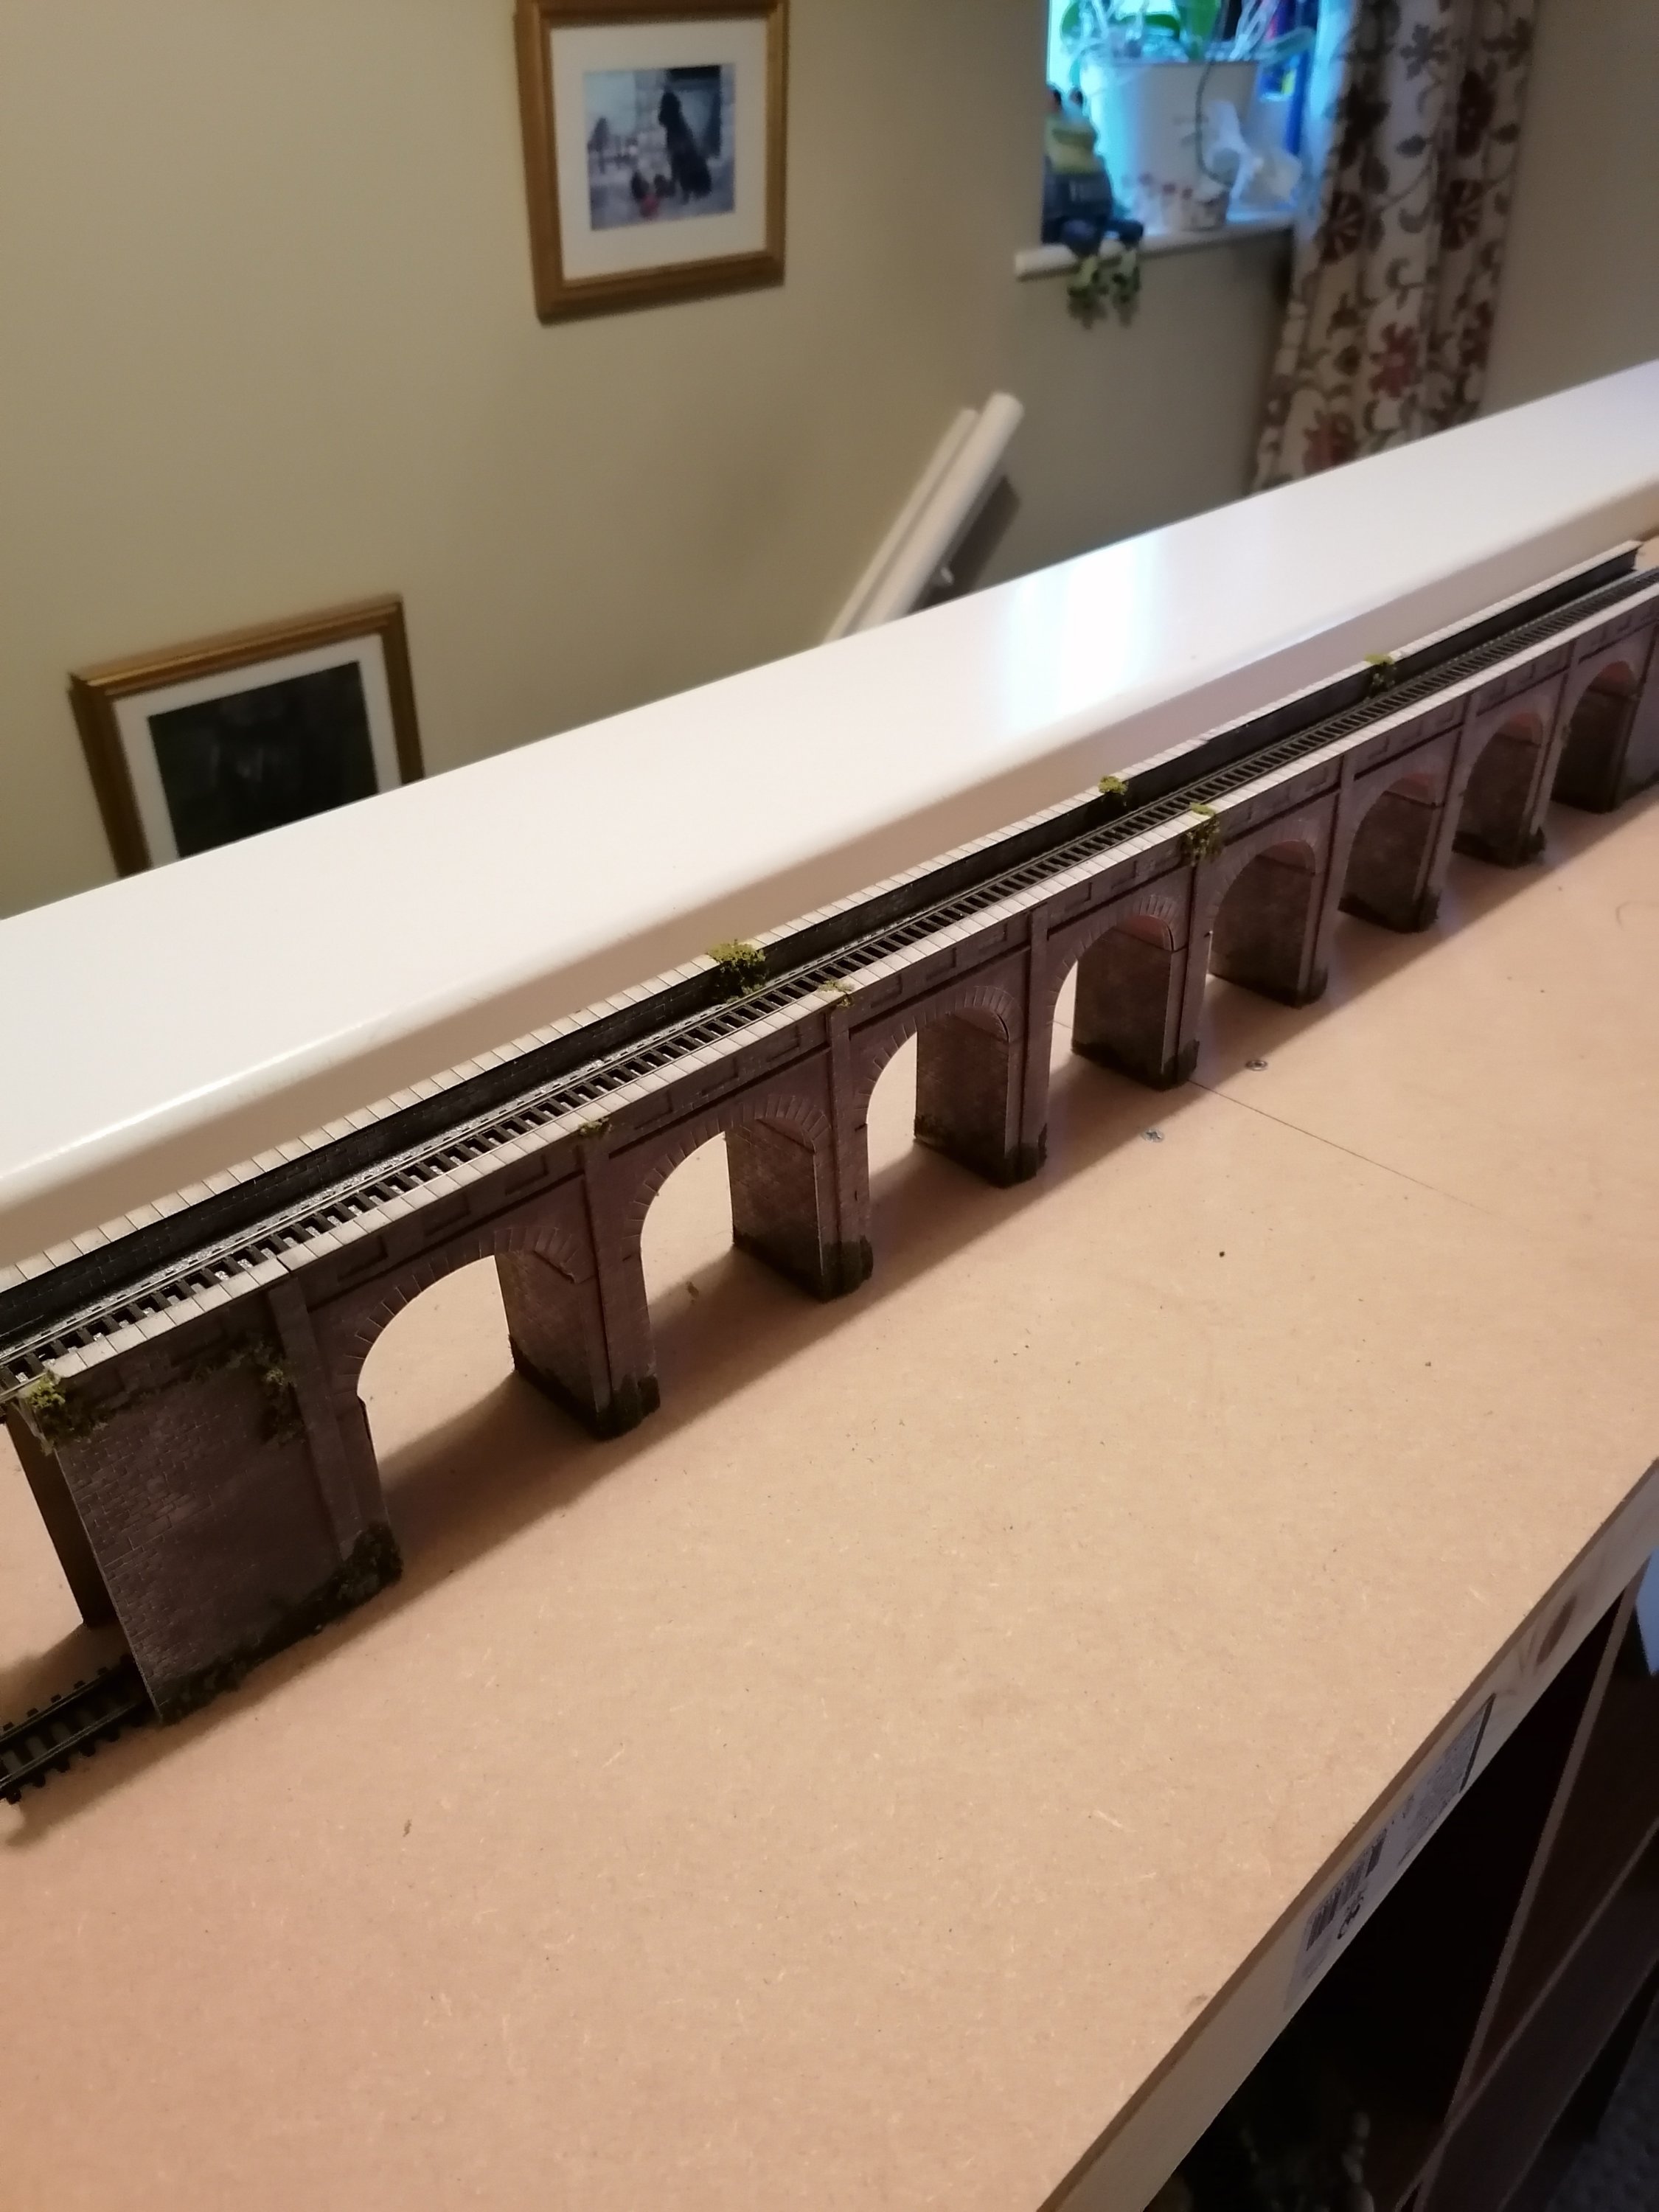
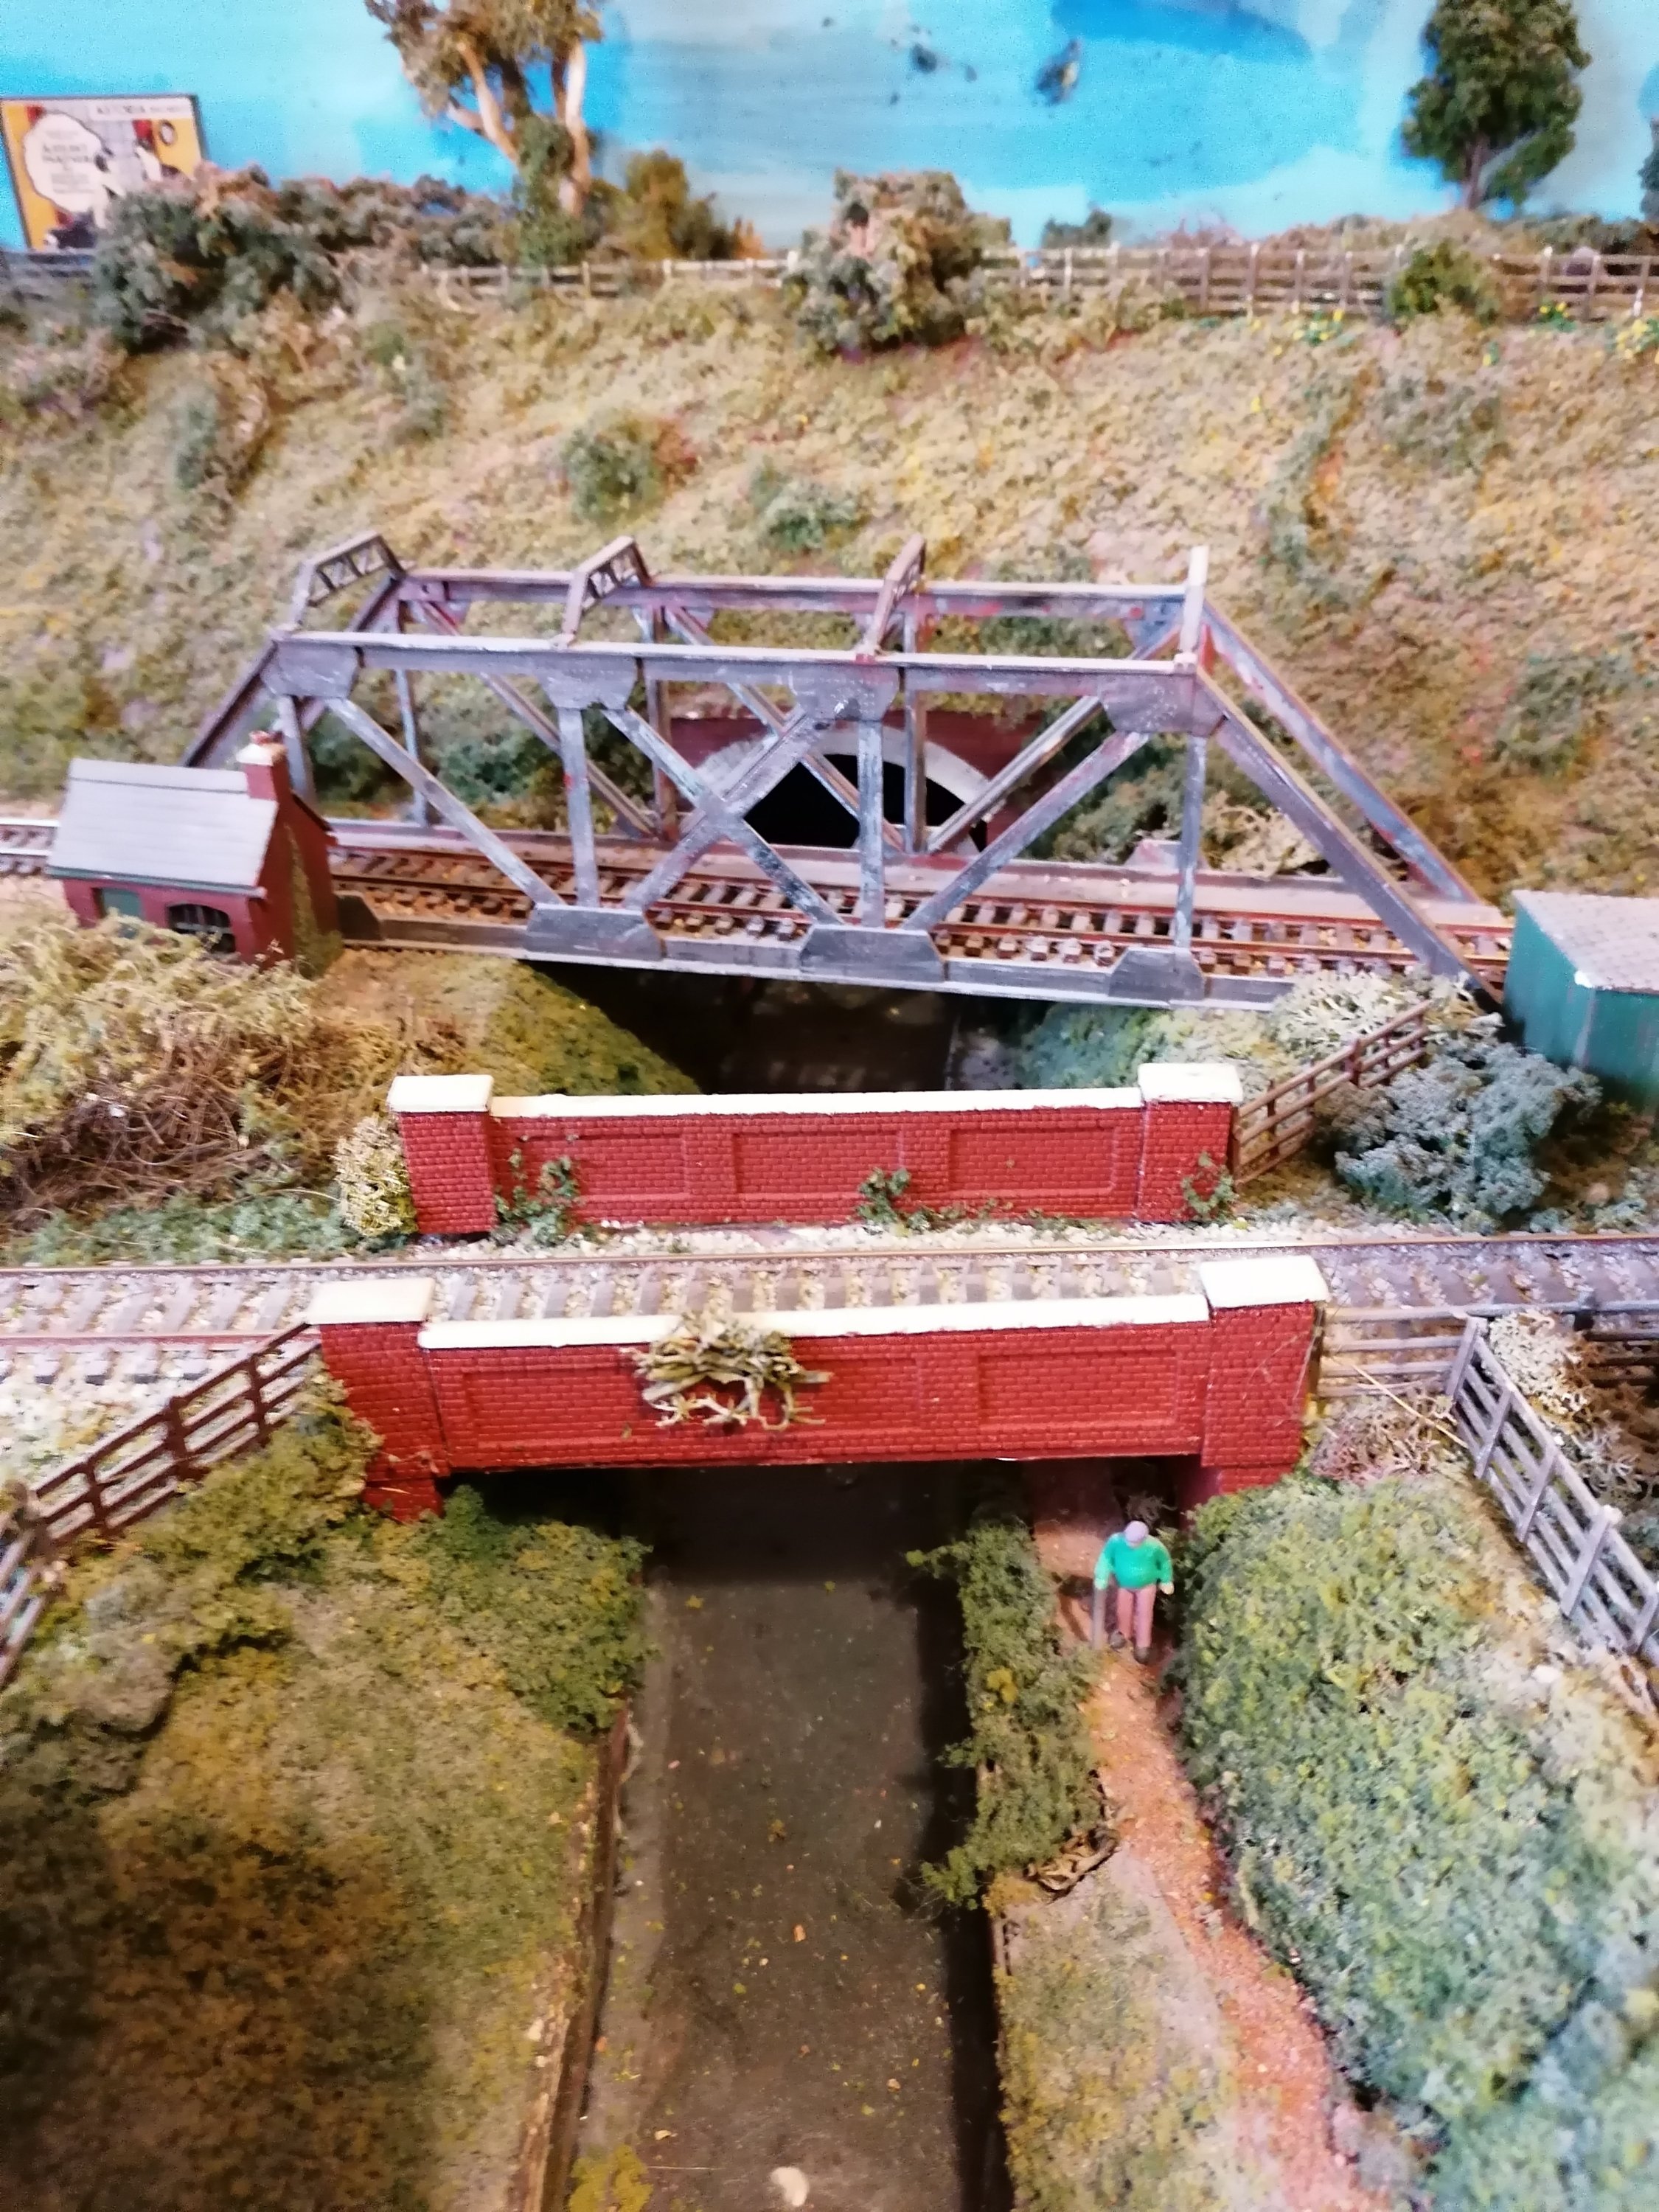
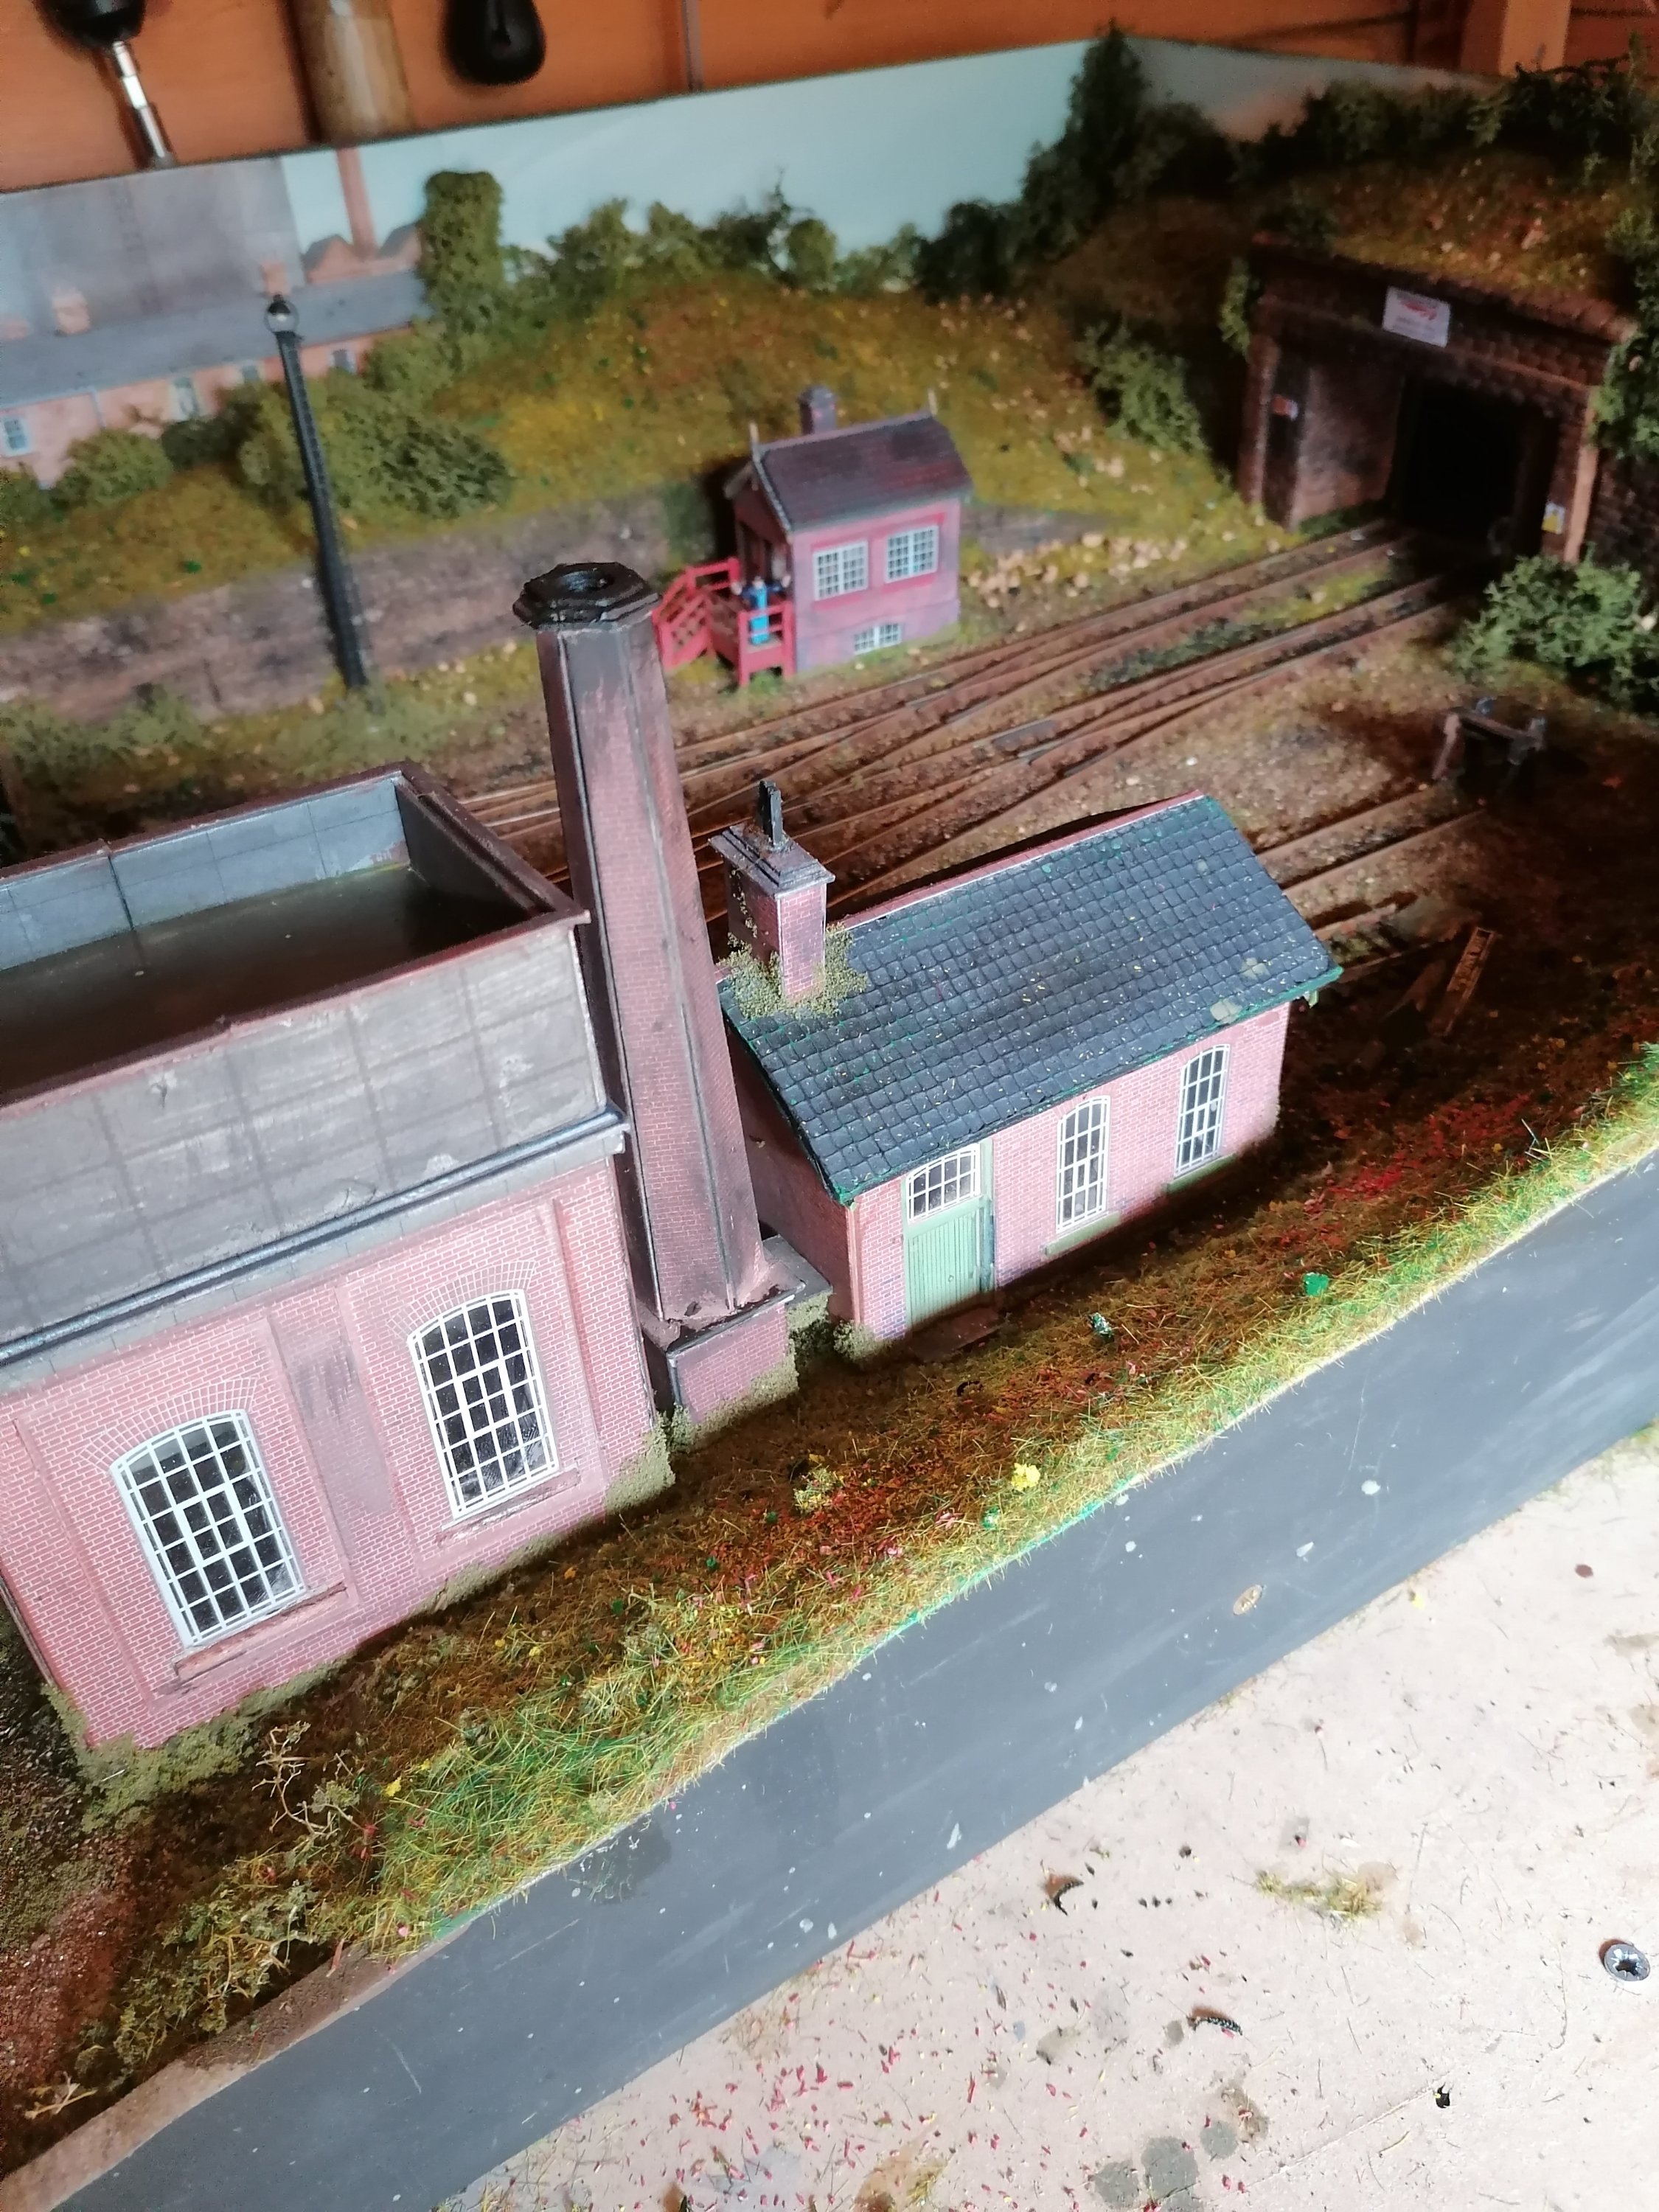
Whenever I see N layouts the best ones are those that show trains running through hillsides, cuttings, going over bridges and coming out of tunnels. The first thing I found in this Pandora’s box was a Metcalfe viaduct kit which got me thinking of a country scene with a river and viaduct being the centre piece of the layout. Tunnels at either end allow for various trains to run through the layout, one track, no points just a train running a cross a viaduct. Simple but I hope effective so like you do I spent last night building the viaduct and me thinks it will work.
Doesn’t look much now but in a few weeks time?…. I’ll keep you in The loop.
To end this blog I just wanted to mention SHIREBROOK COALING STATION. This will be the third layout in the range and will depict a busy coaling yard with an upper track bringing coal into the coal Shute and then at the lower track side level room for enough space to have a lot of train movements, water, coal and an engine shed.
So that’s it for this week’s blog. Hope you are feeling inspired.
Is a model railway ever really finished? Probably not, you will always look at it whilst running trains and see something you could tweak here and there but I have to say my layout in the workshop is for all intence and purpose finished!
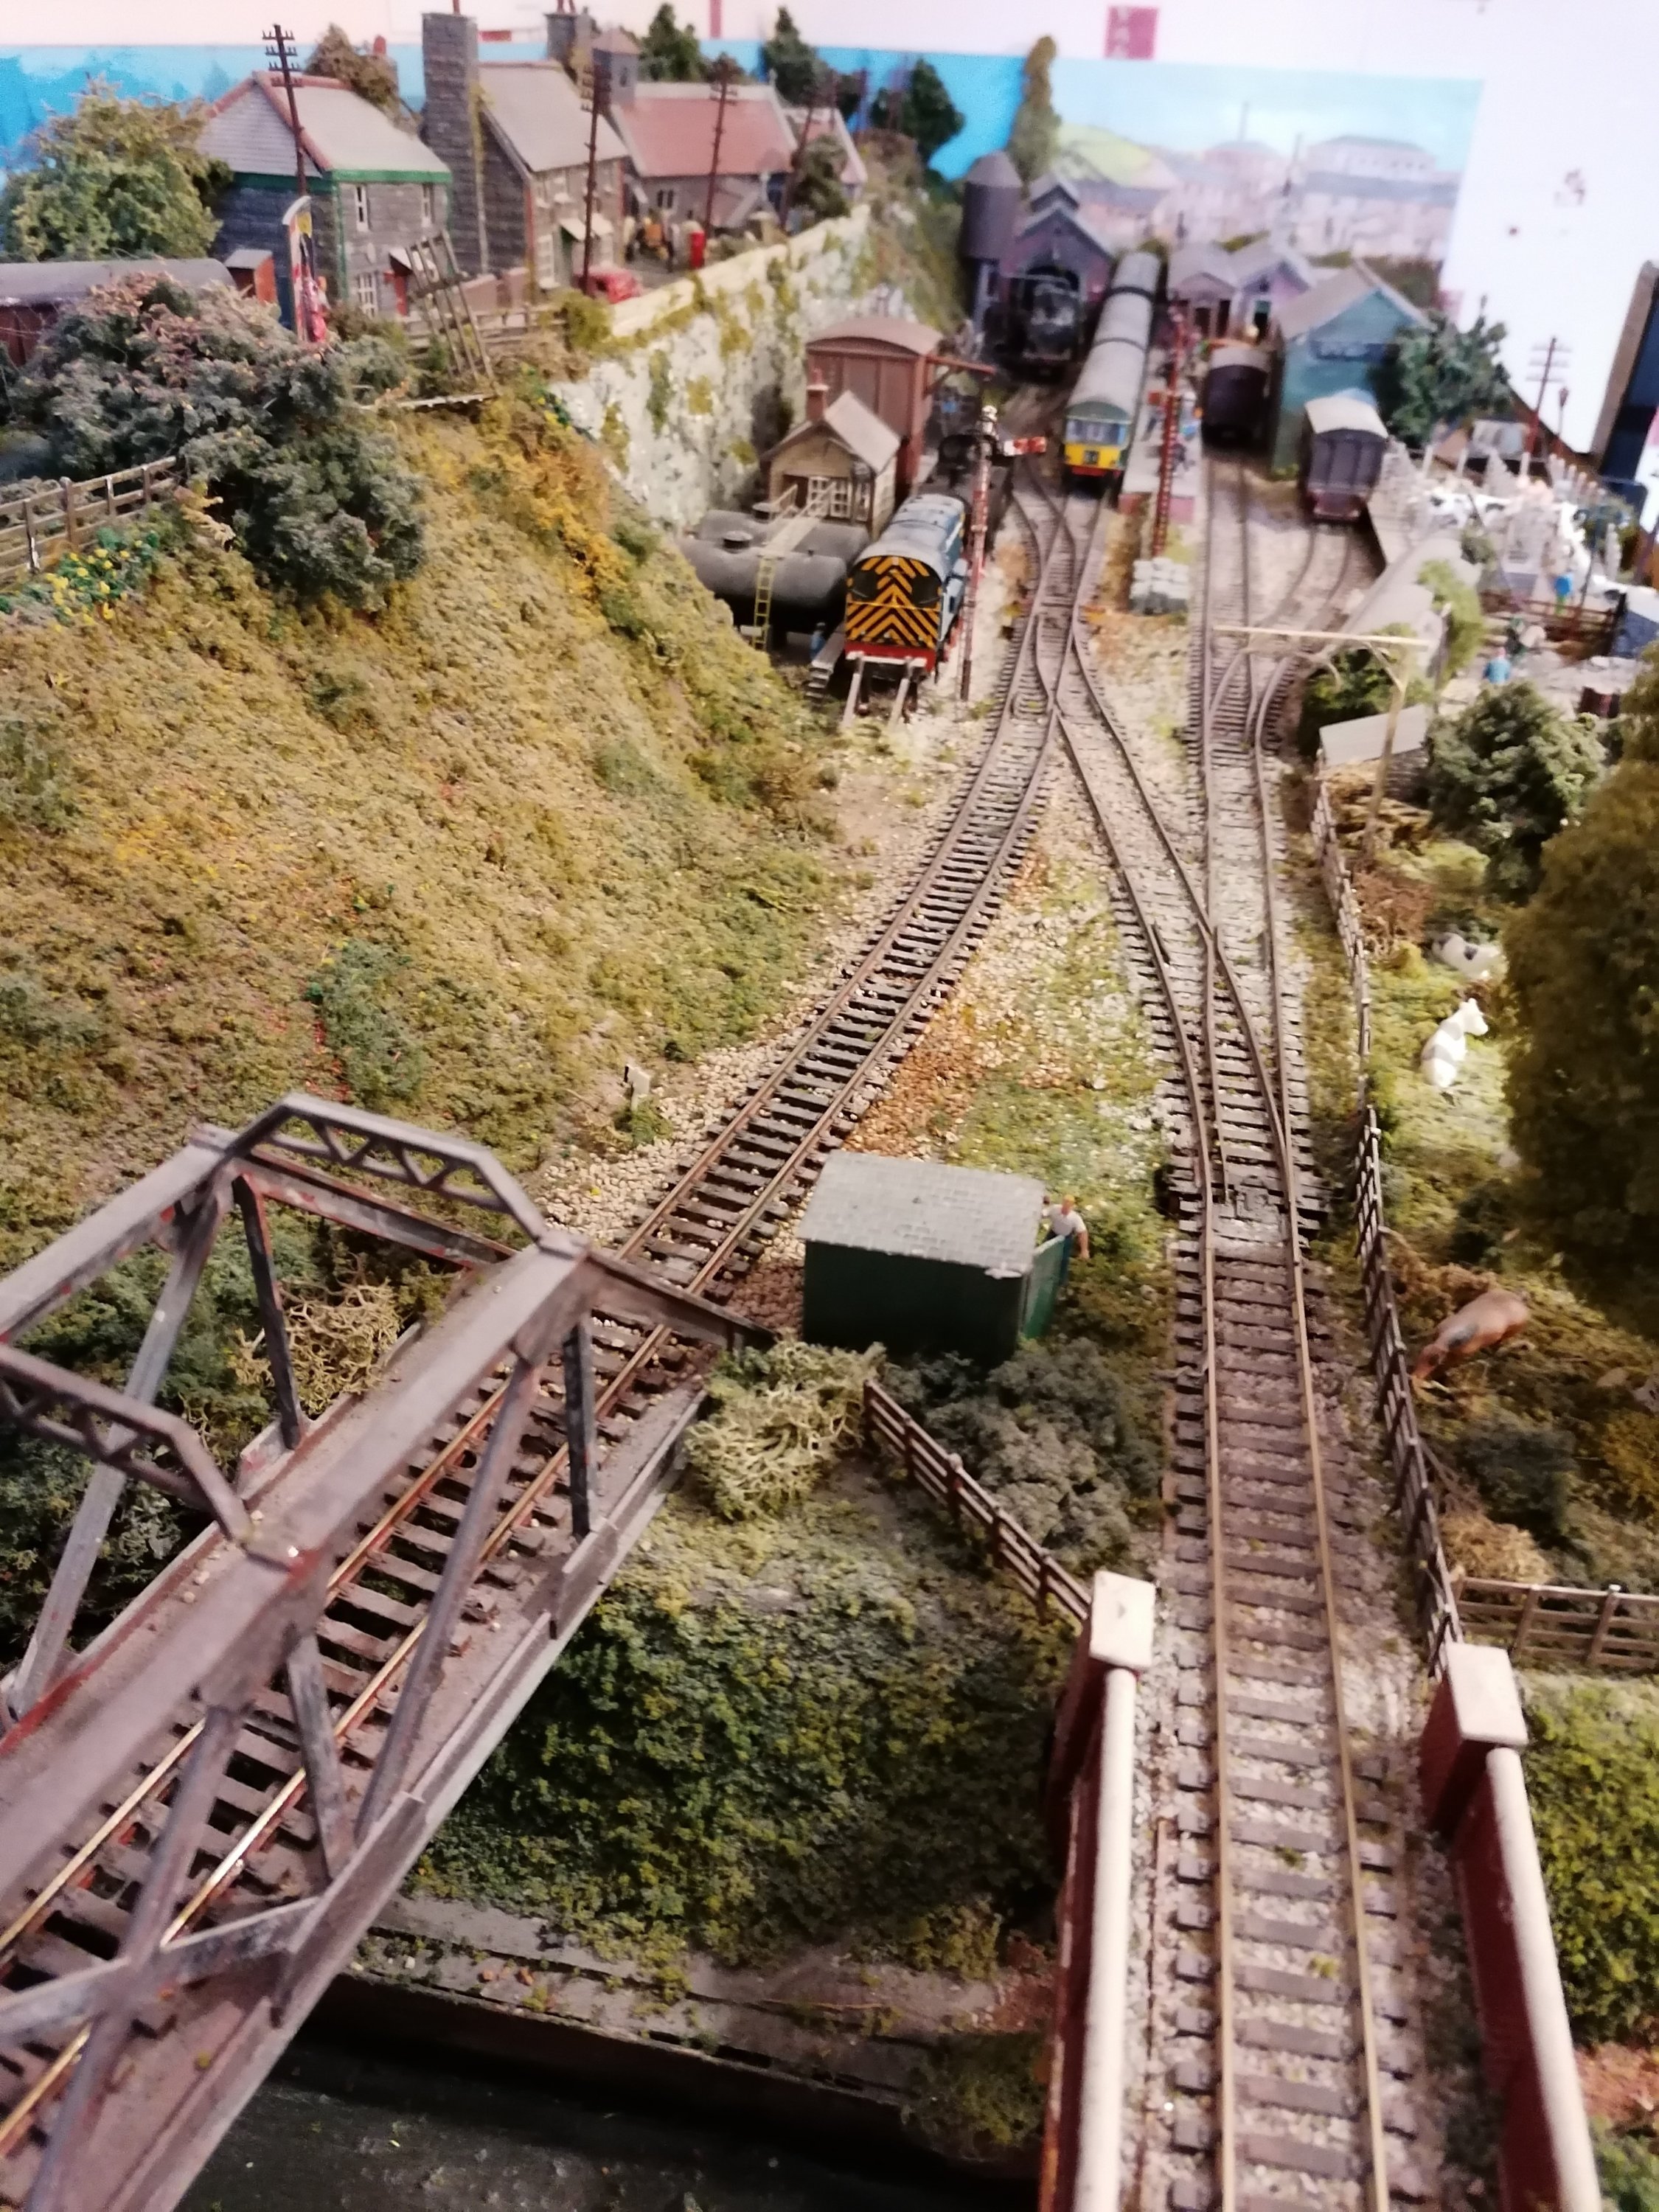
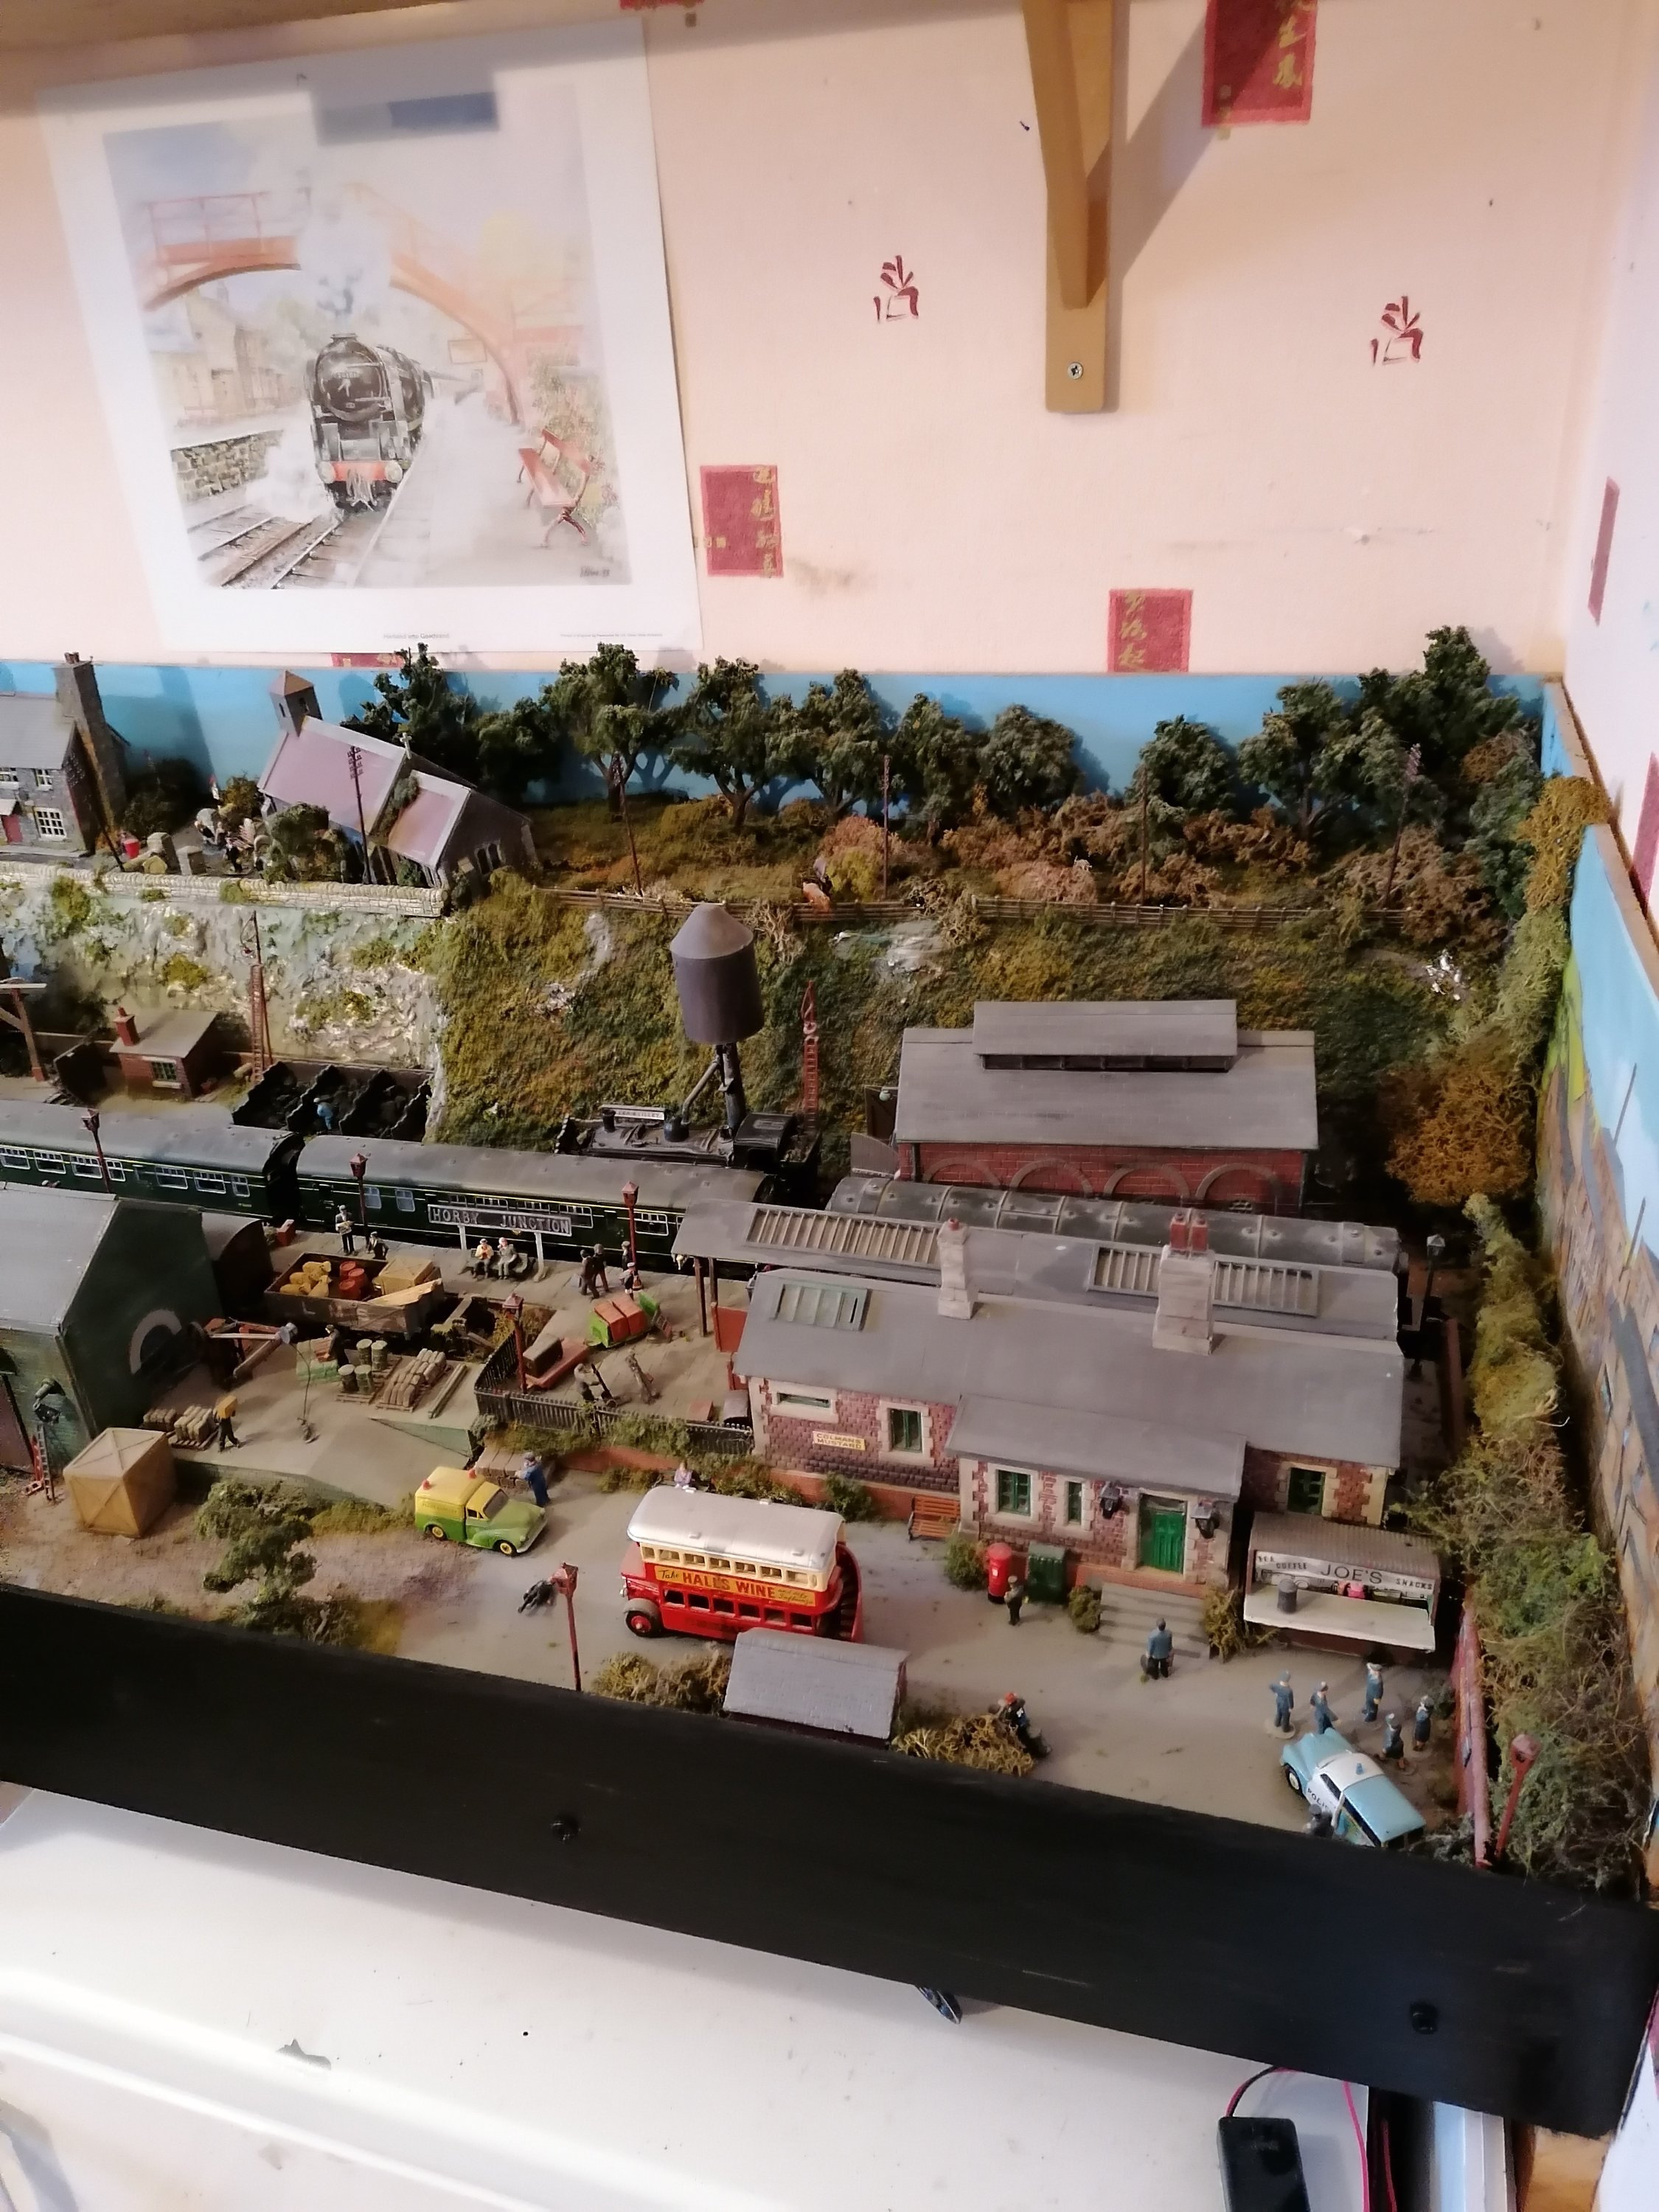
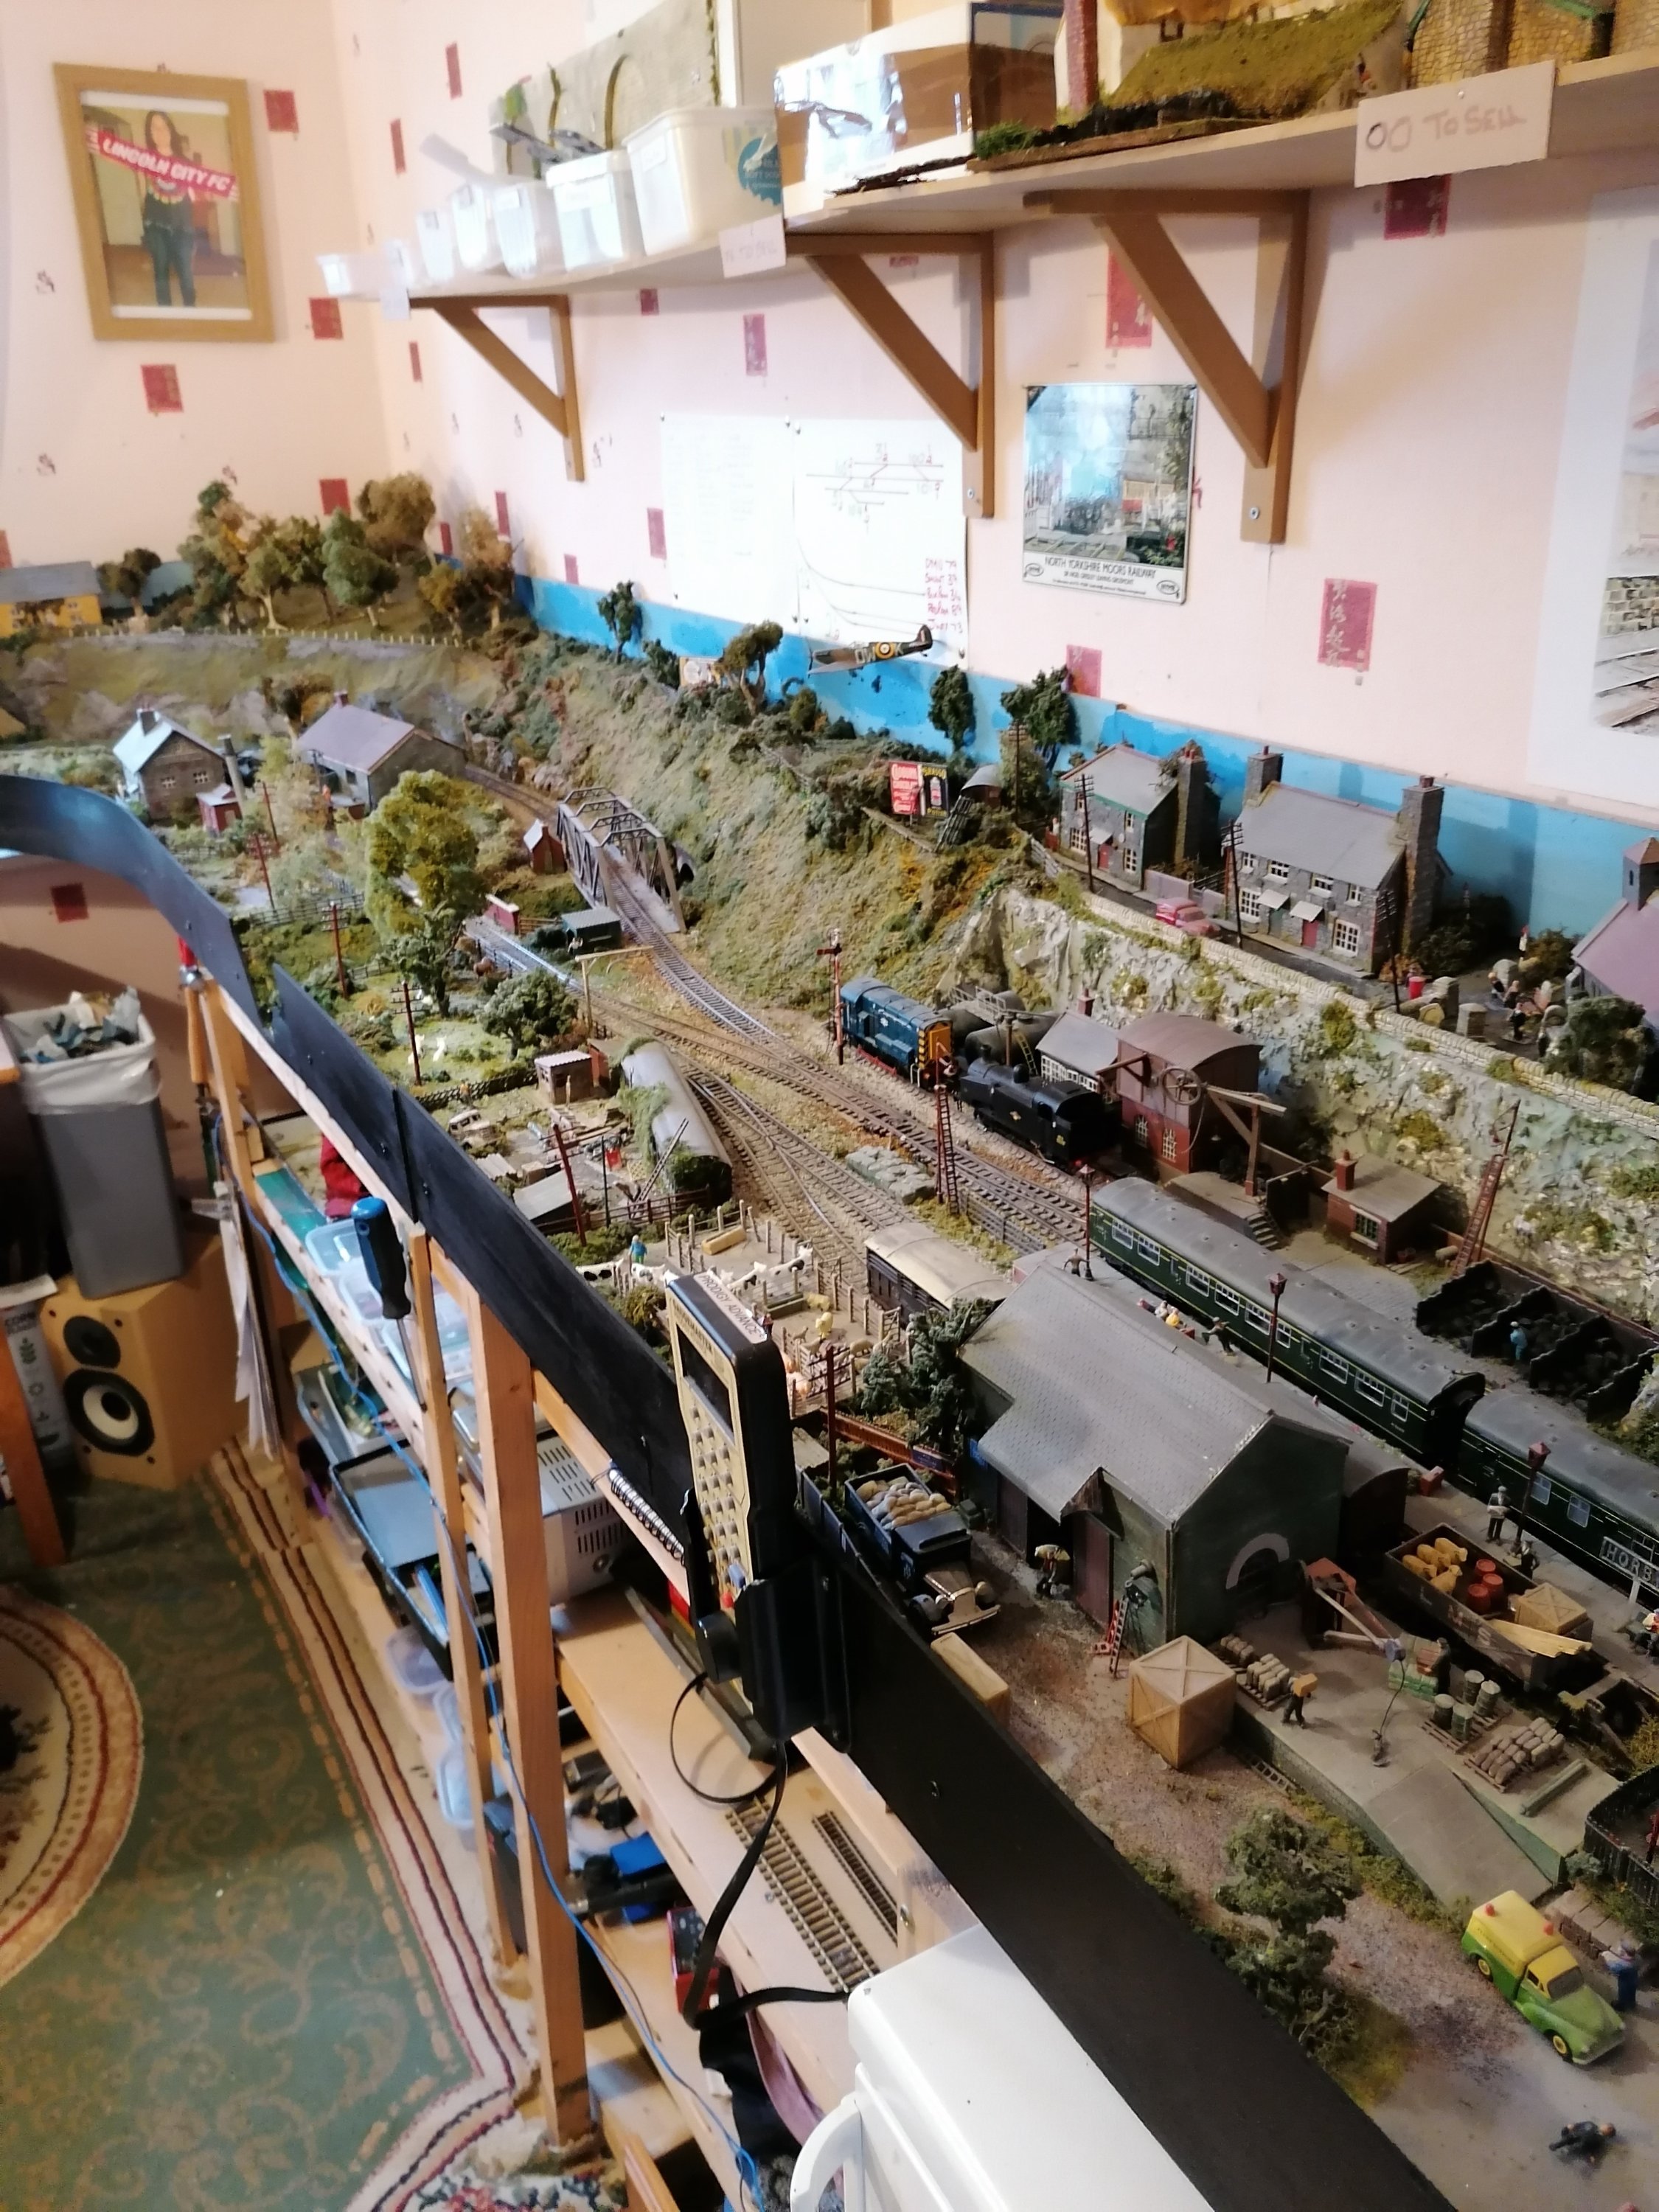
Overall veiw HORBY
As you know space is an issue so it’s a country branch line based in the early 1960’s and is about 12 feet in length and at its widest point 2 foot. As you can see I’ve tried to pack as much on as possible without overcrowding the layout.
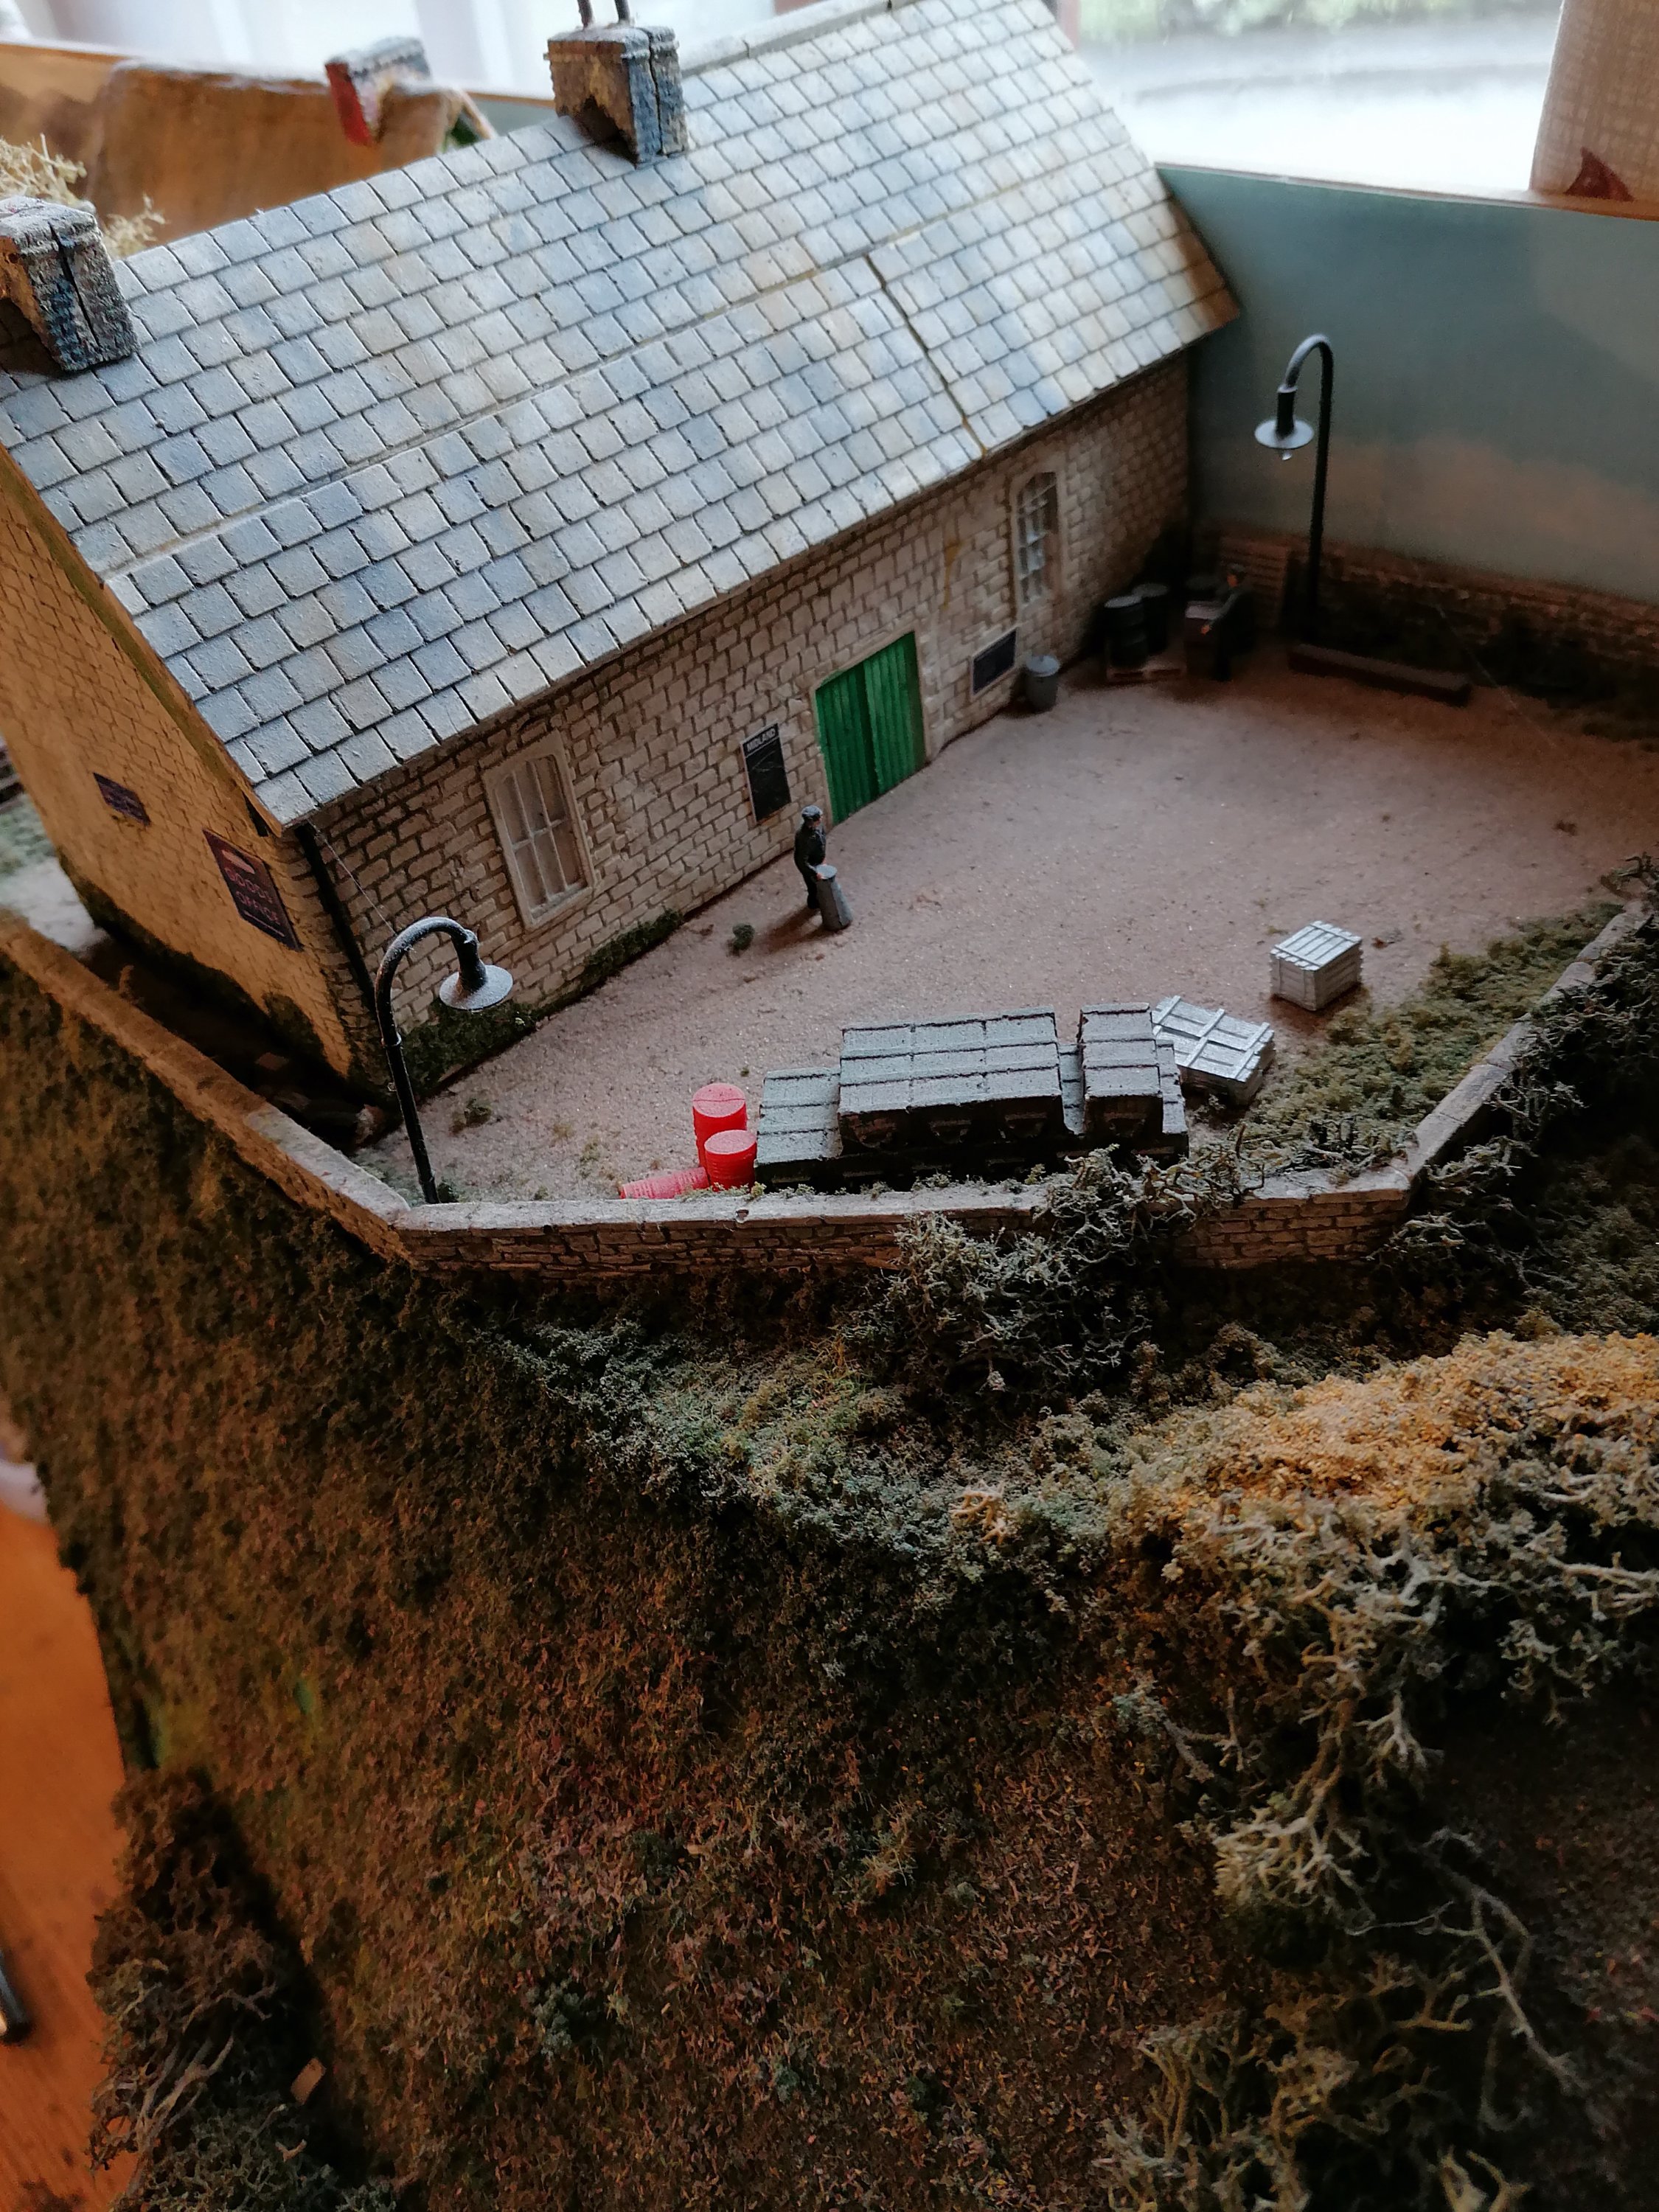
So above you can see the main station area of HORBY and guess this shows what you can pack into a small space. As well as the station you can see engine shed, coal staithe, water tower, good shed and cattle Dock!
Oh and a yard!
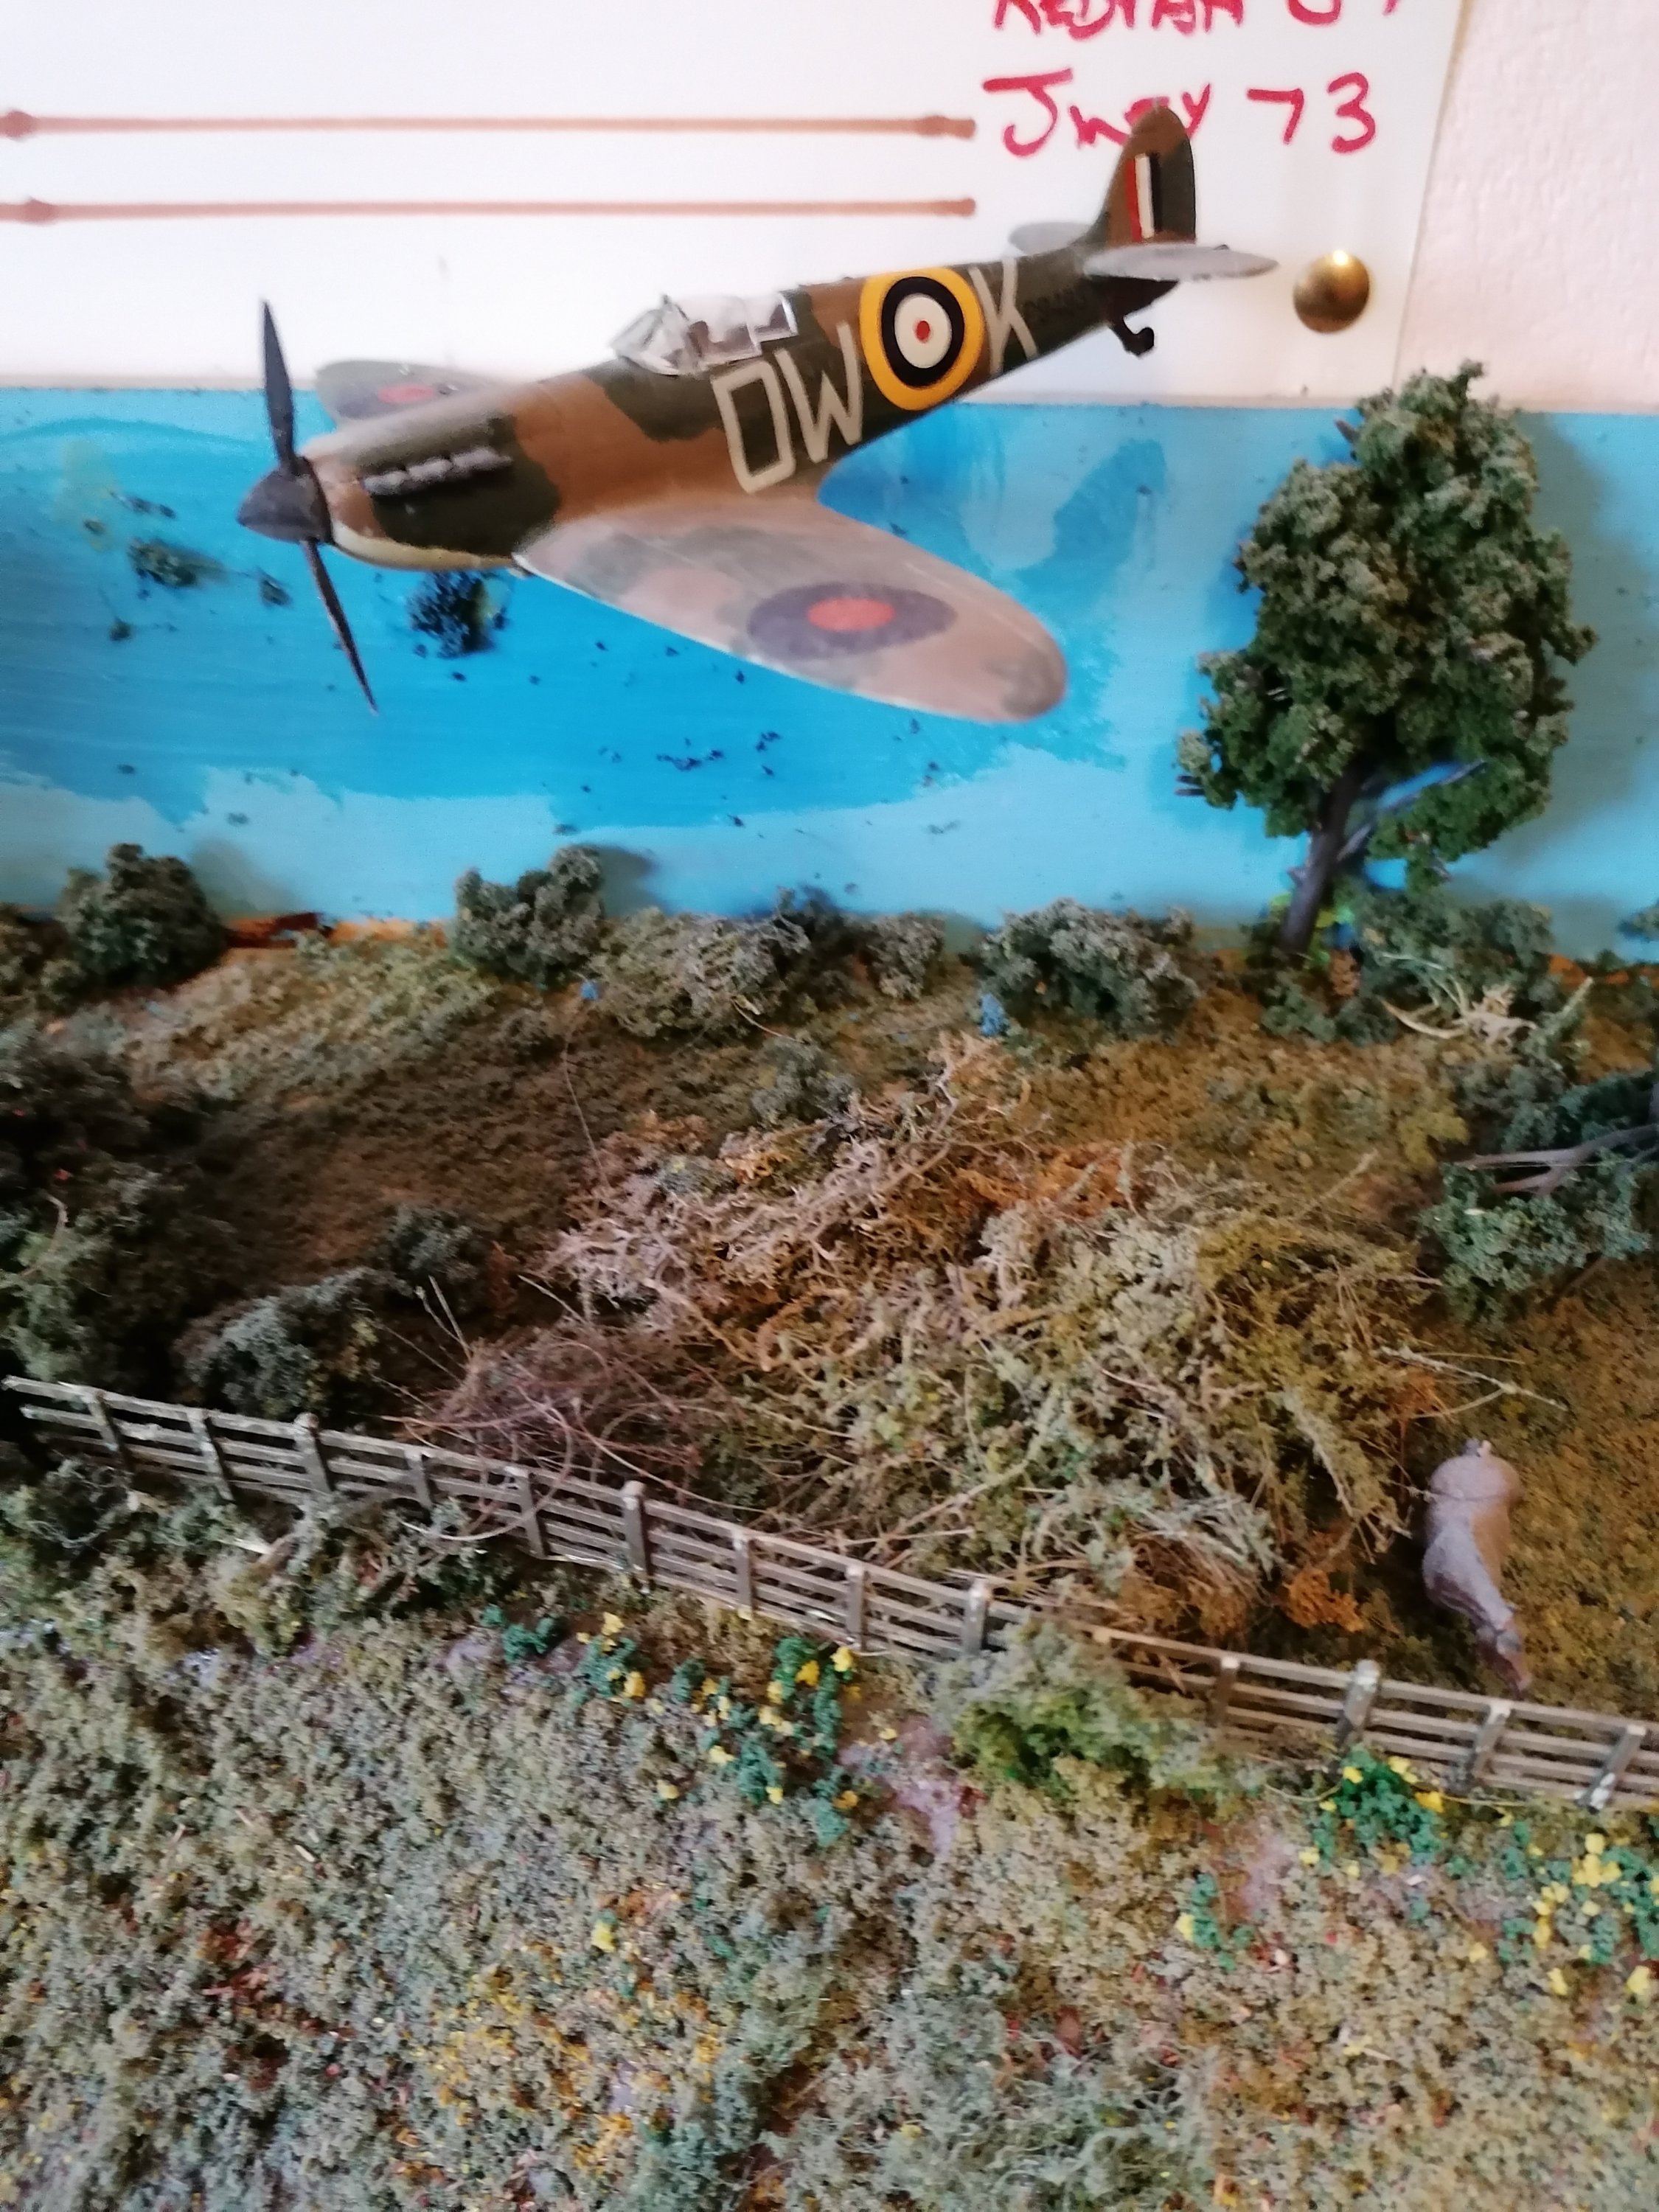
Bridges accross the river. Milk dock.Mill. Another view of the milk dock on the bend. Looking back from the River. Station forecourt Seems we have an iconic interloper!
Couldn’t resist putting this iconic Supermarine Spitfire on the layout, incase your wondering it says Jinty 73 behind which is the engine number loaded in to my controller.
So there you have it, probably taken countless man hours over around 4 years to get to where the layout is.
Next time, update on SHIREBROOKE STATION early thoughts on SHIREBROOK COALING STAGE and how about an N gauge shelf layout?
So having completed SHIREBROOKE YARD like all good modellers it’s streight on to the next project. I guess it’s a fairly short leap from a engine yard to a station, after all every train needs somewhere to stop!
Early planning
Offcourse being a micro layout space is the issue so with that in mind it only took seconds to come up with a simple country station, single track with a small engine shed. Now this could have been a goods shed but layout three will be a goods yard so that’s to come. Country stations back in the 60’s quite often would have mixed passenger and goods trains so as part of the platform there will be a goods Dock which will allow for a lot of operational options not only goods but engines heading to the shed for coal and water etc.
As with before the buildings will be METCALFE card kits with a bit on enhancement here and there, mainly the roofs. One thing that will be a lot different from SHIREBROOK YARD is the amount of detail needed expecially on the station but before all that track and scenery need finishing, more of which next time.
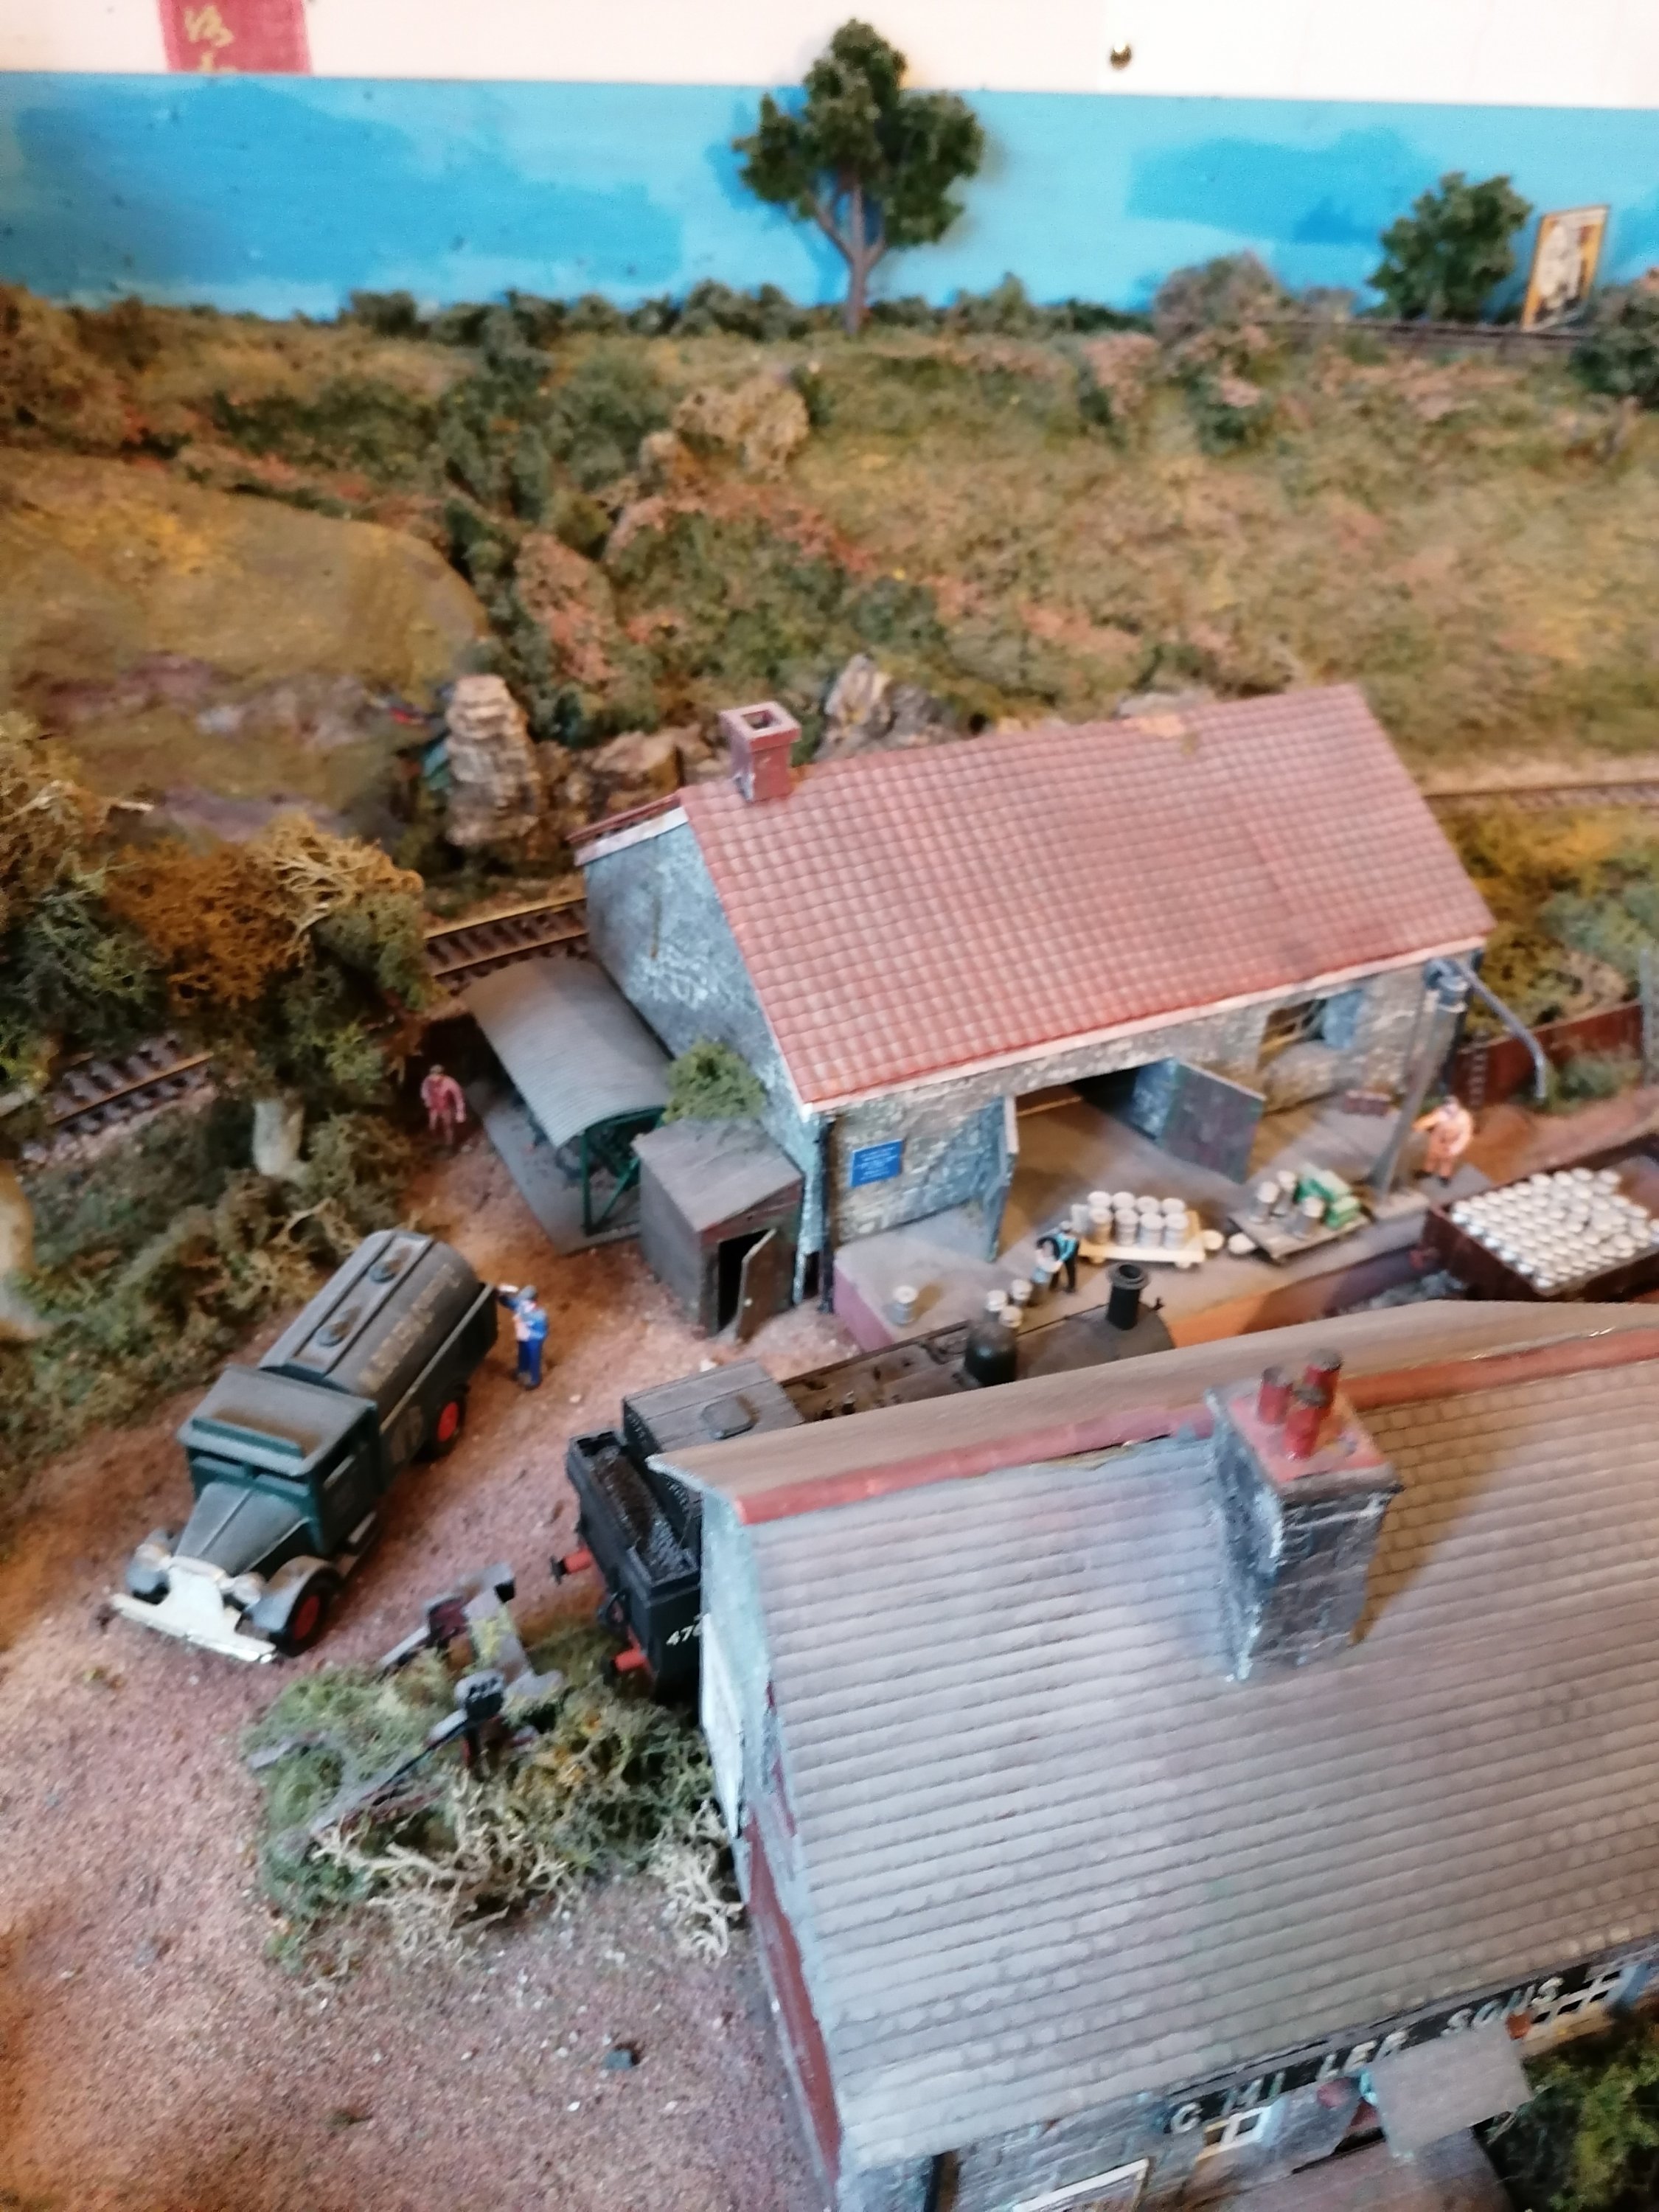
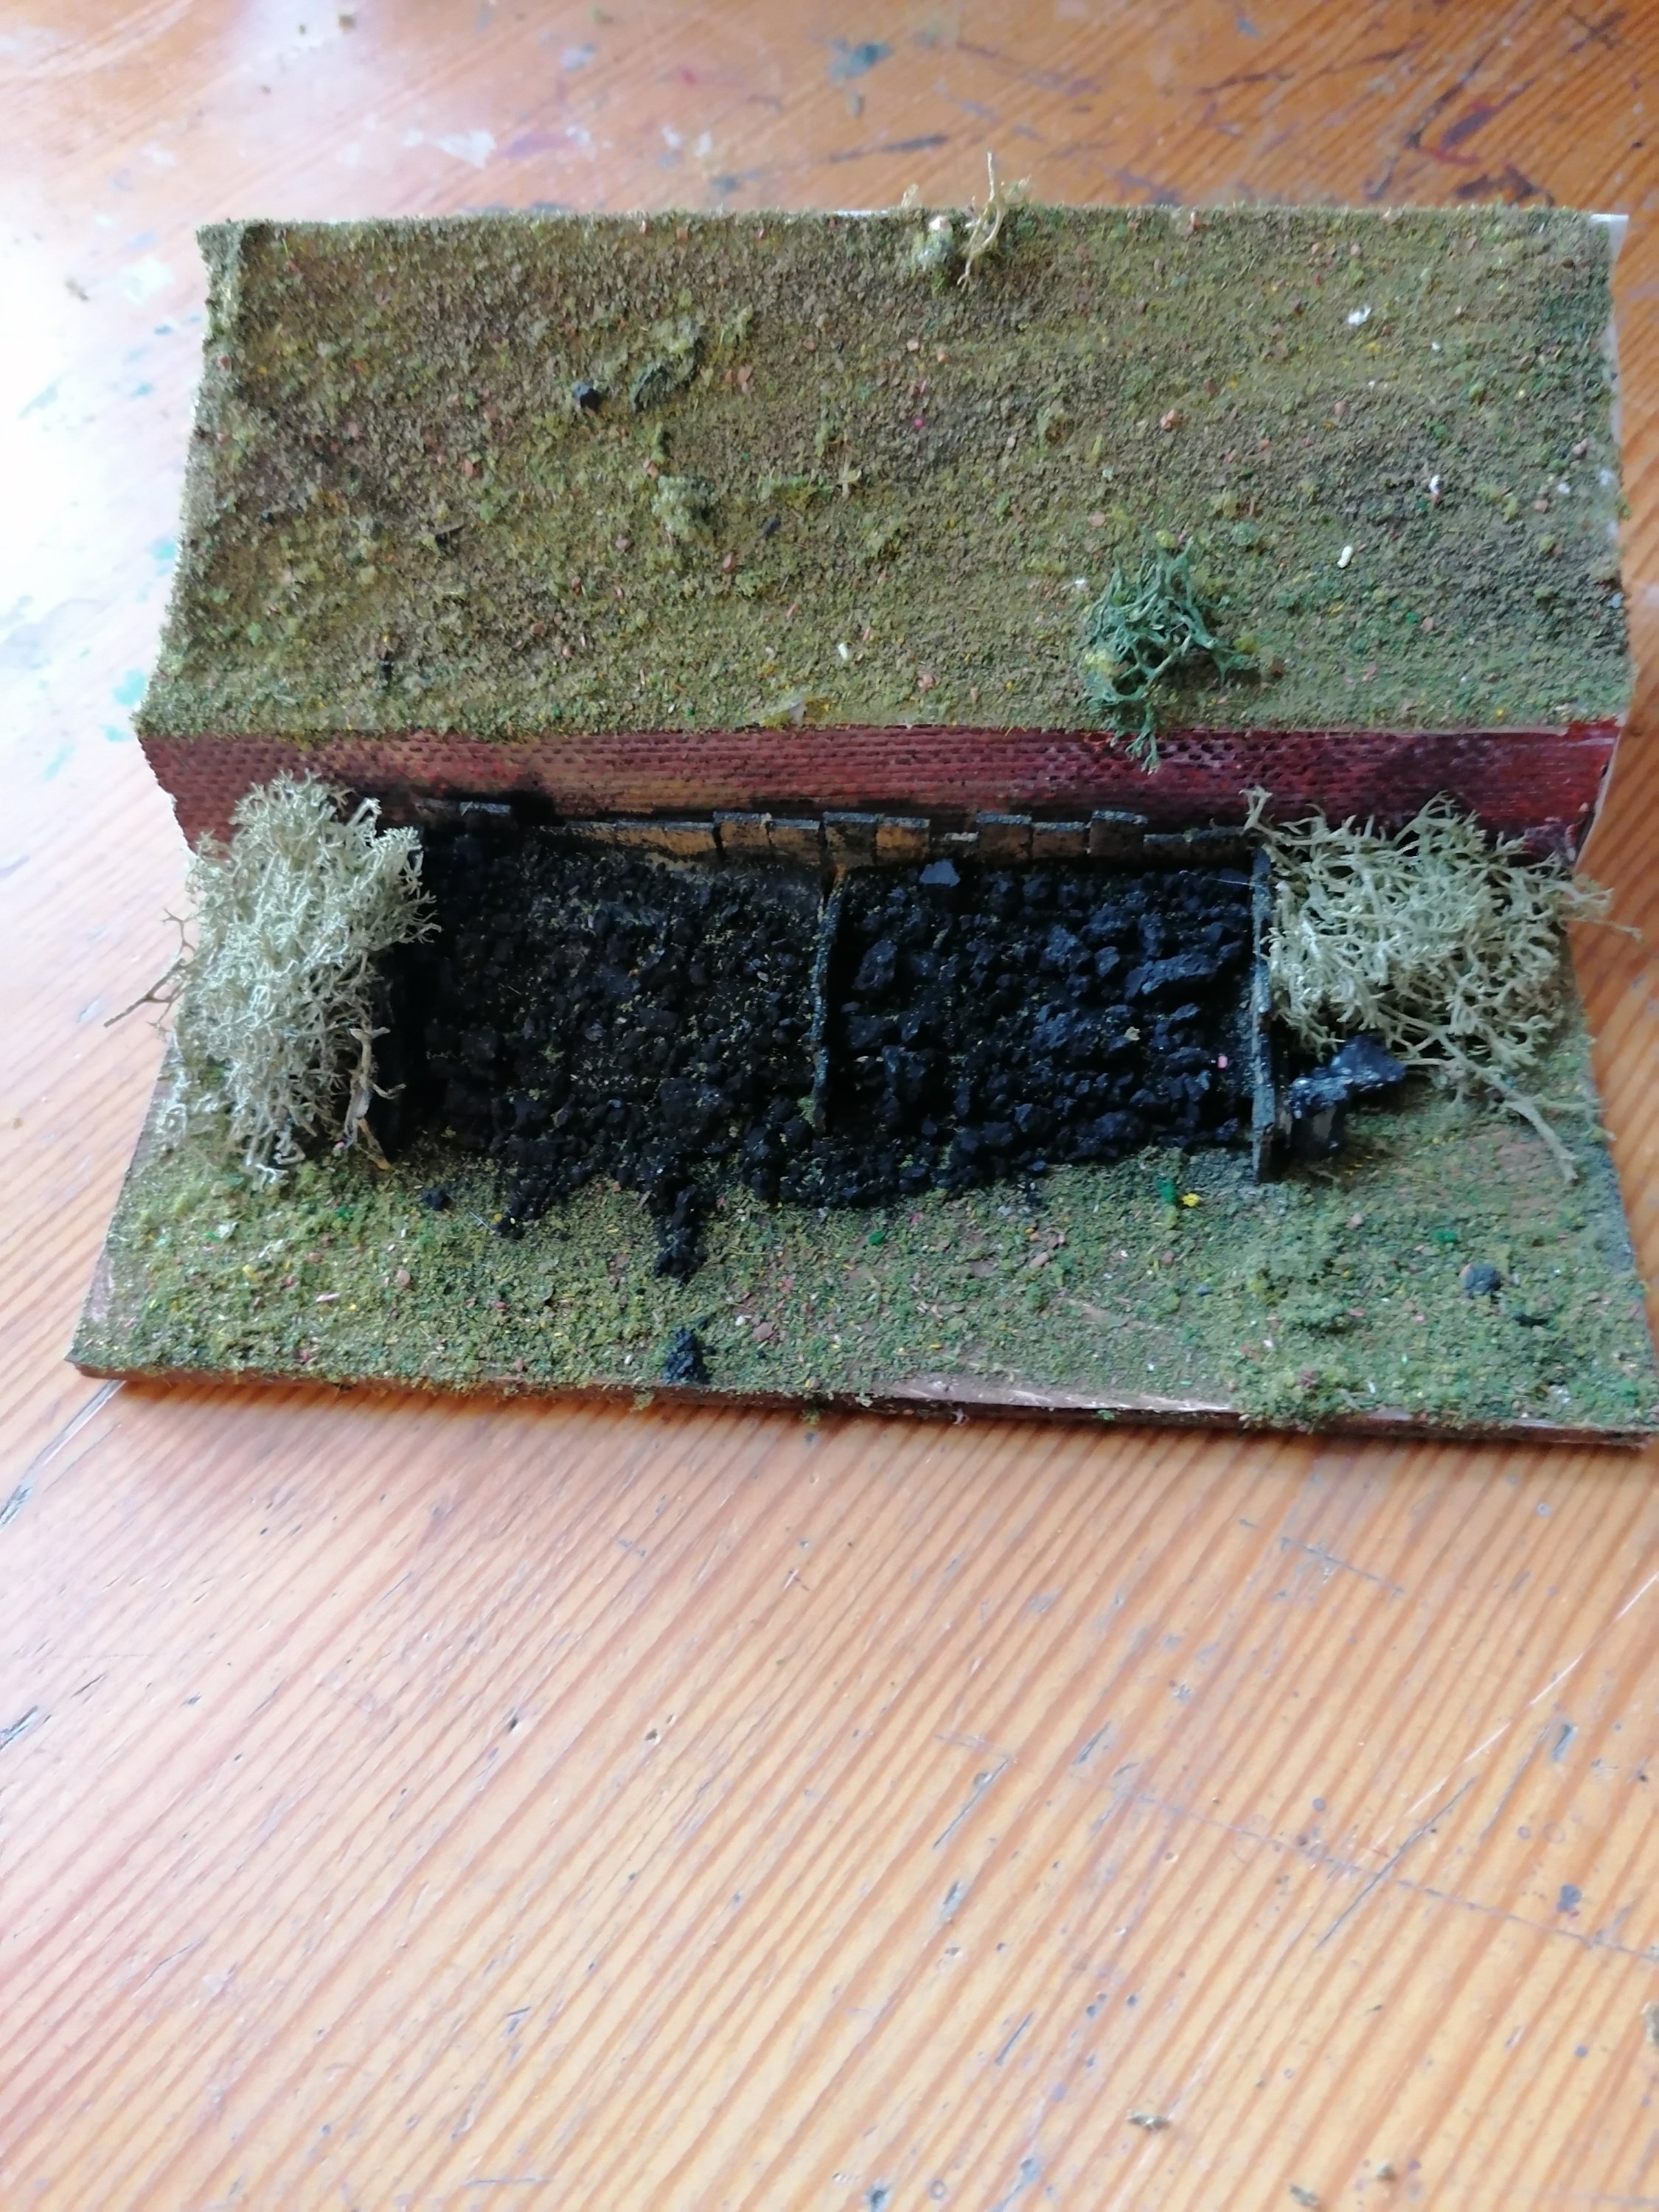
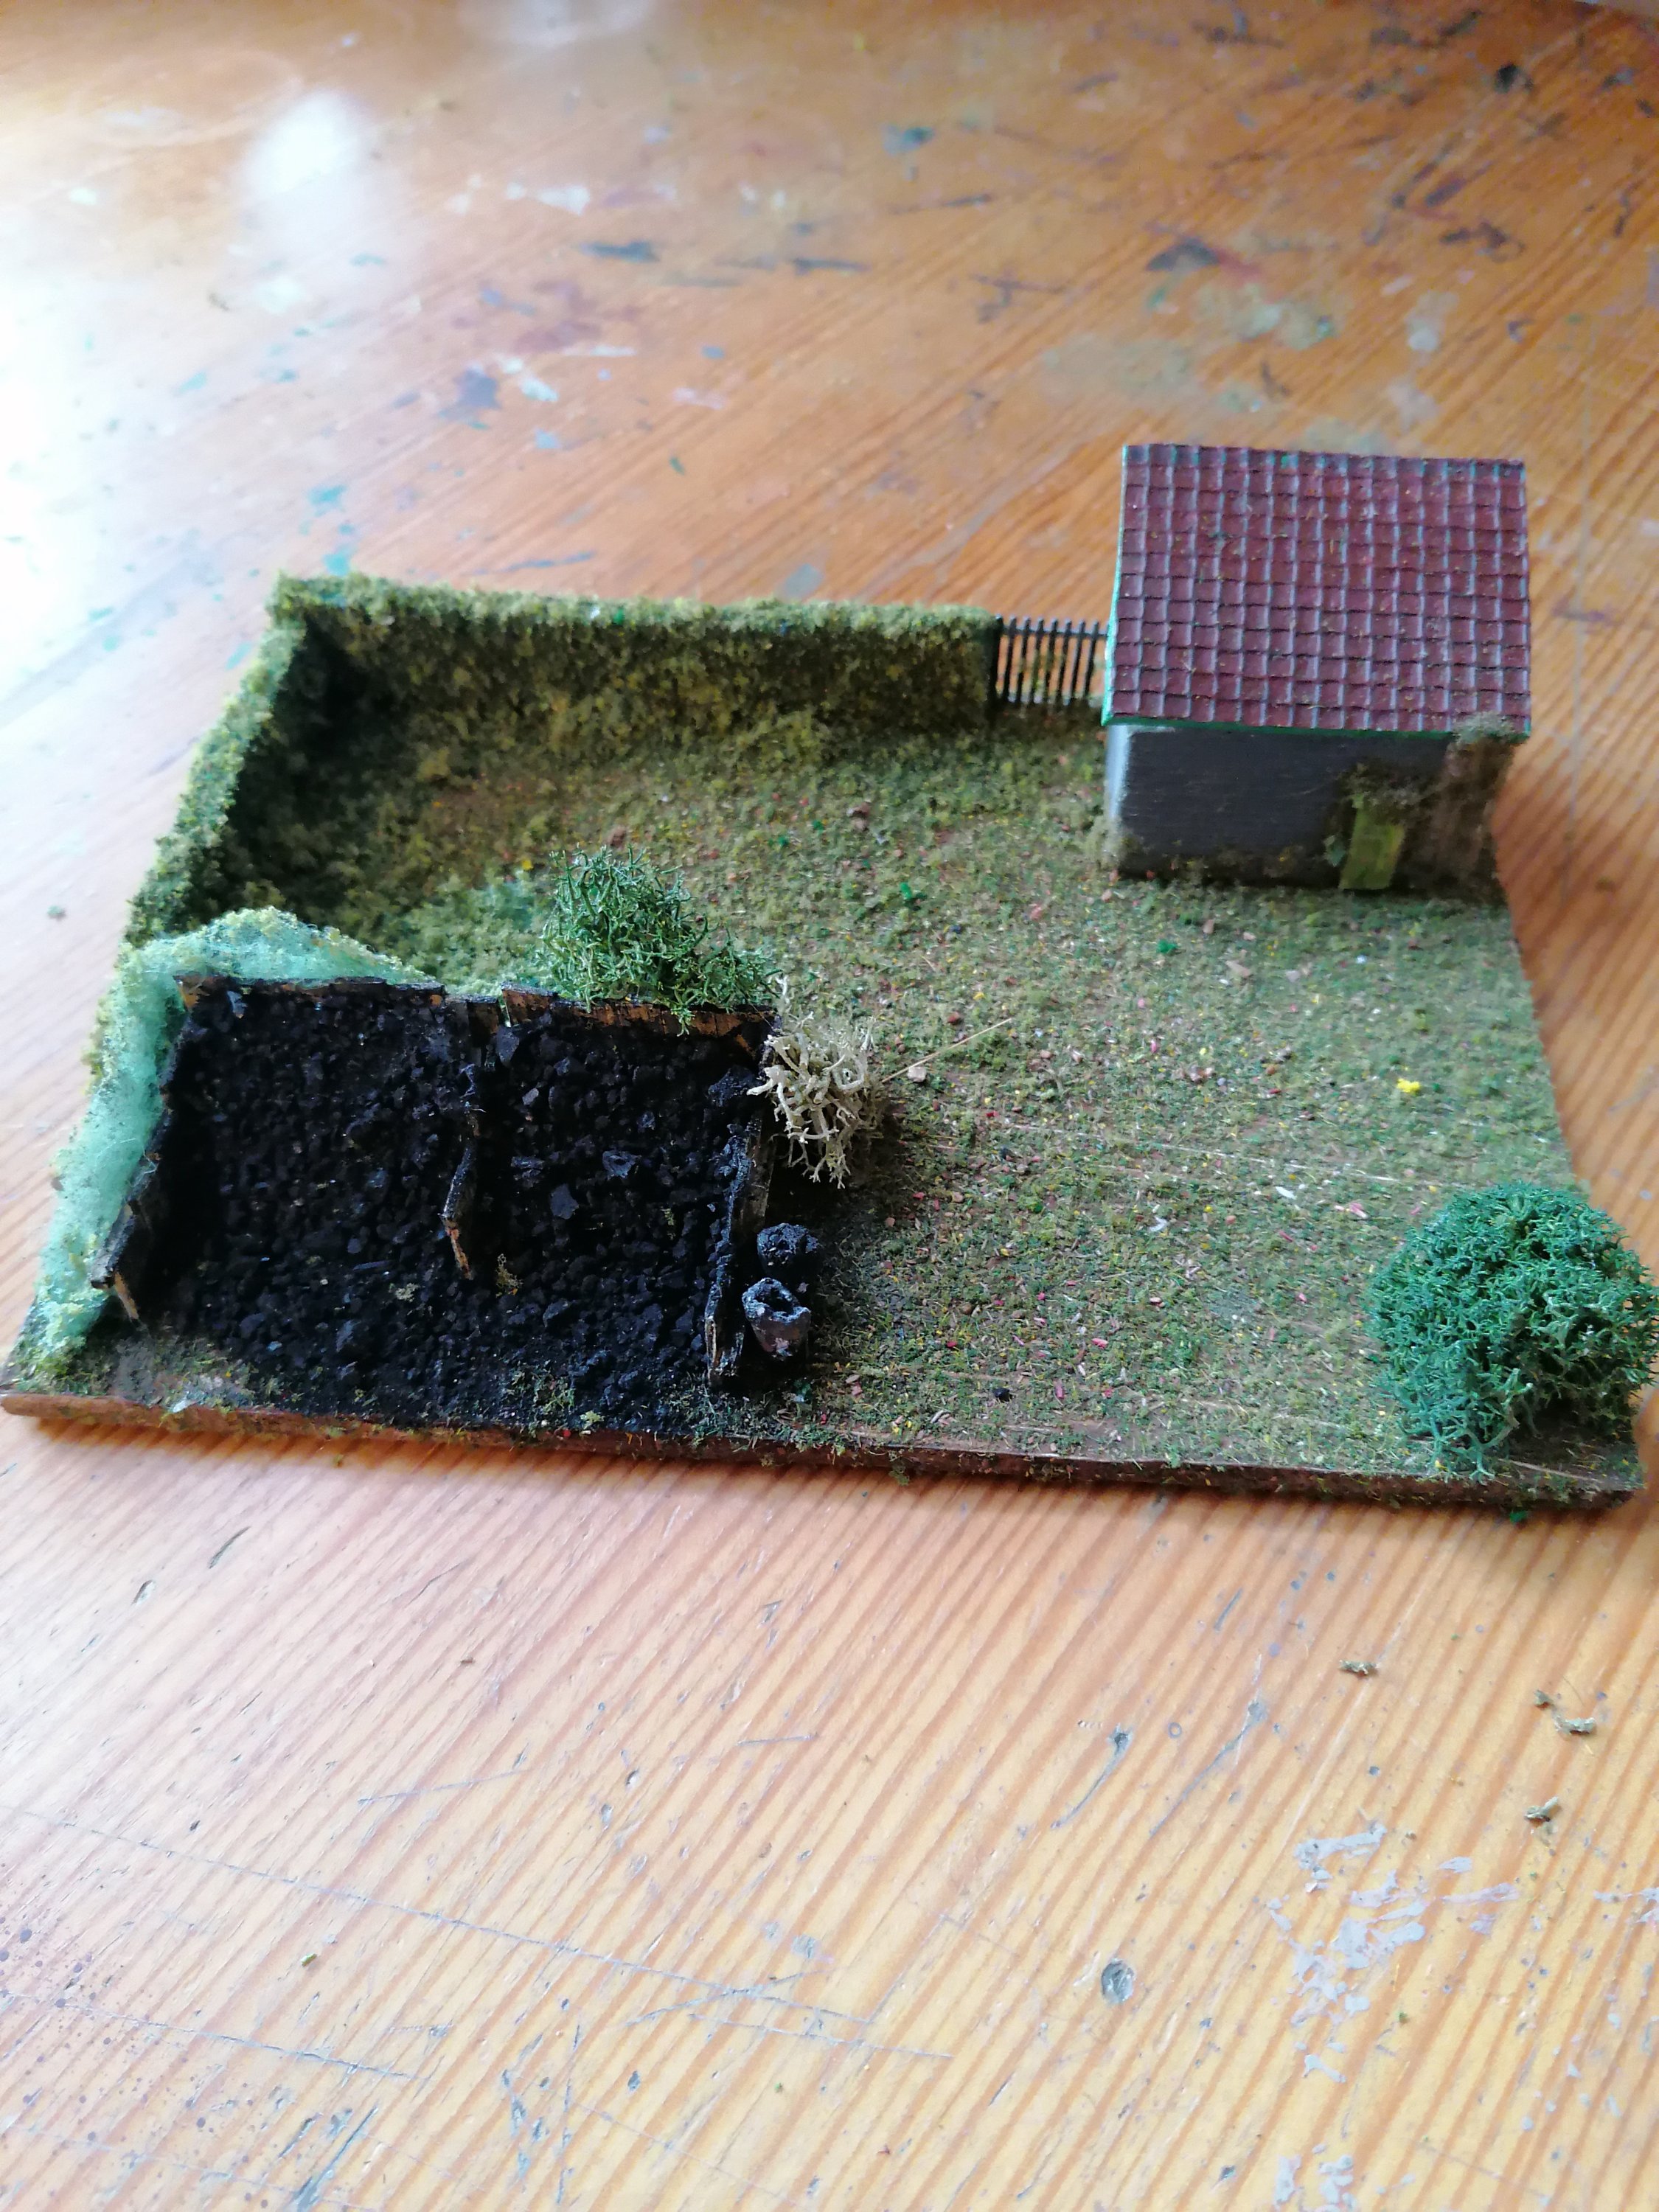
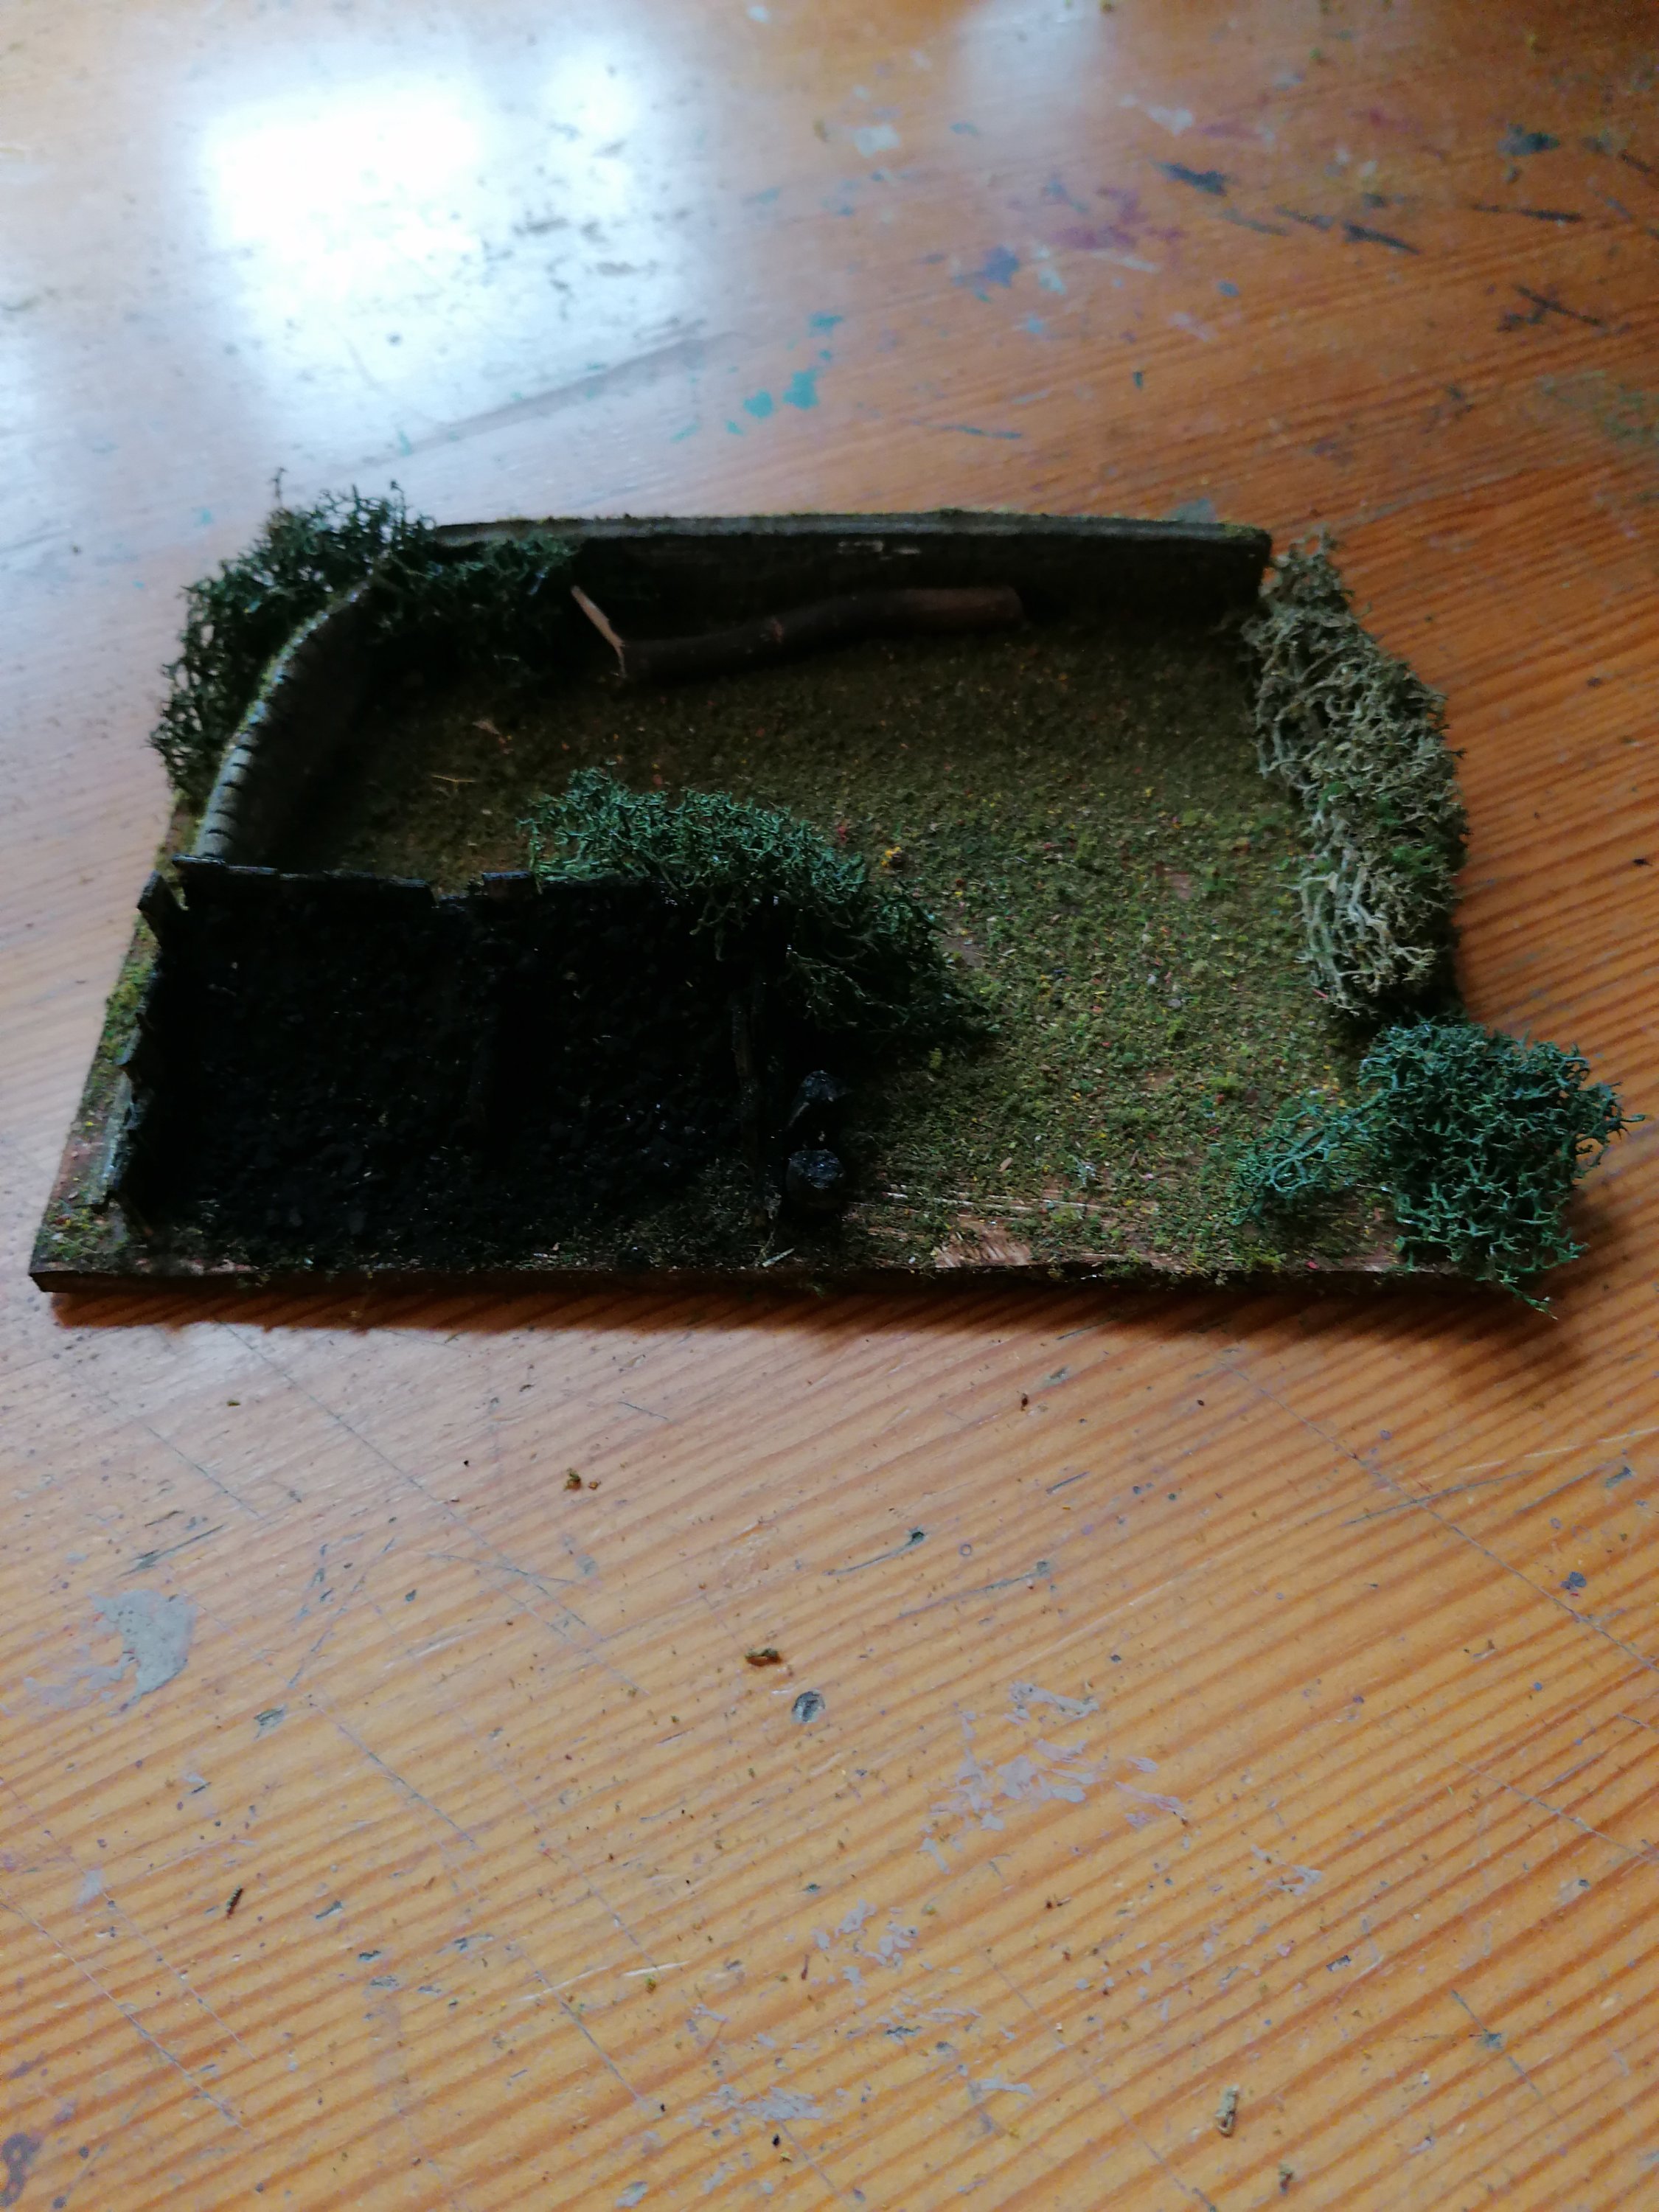
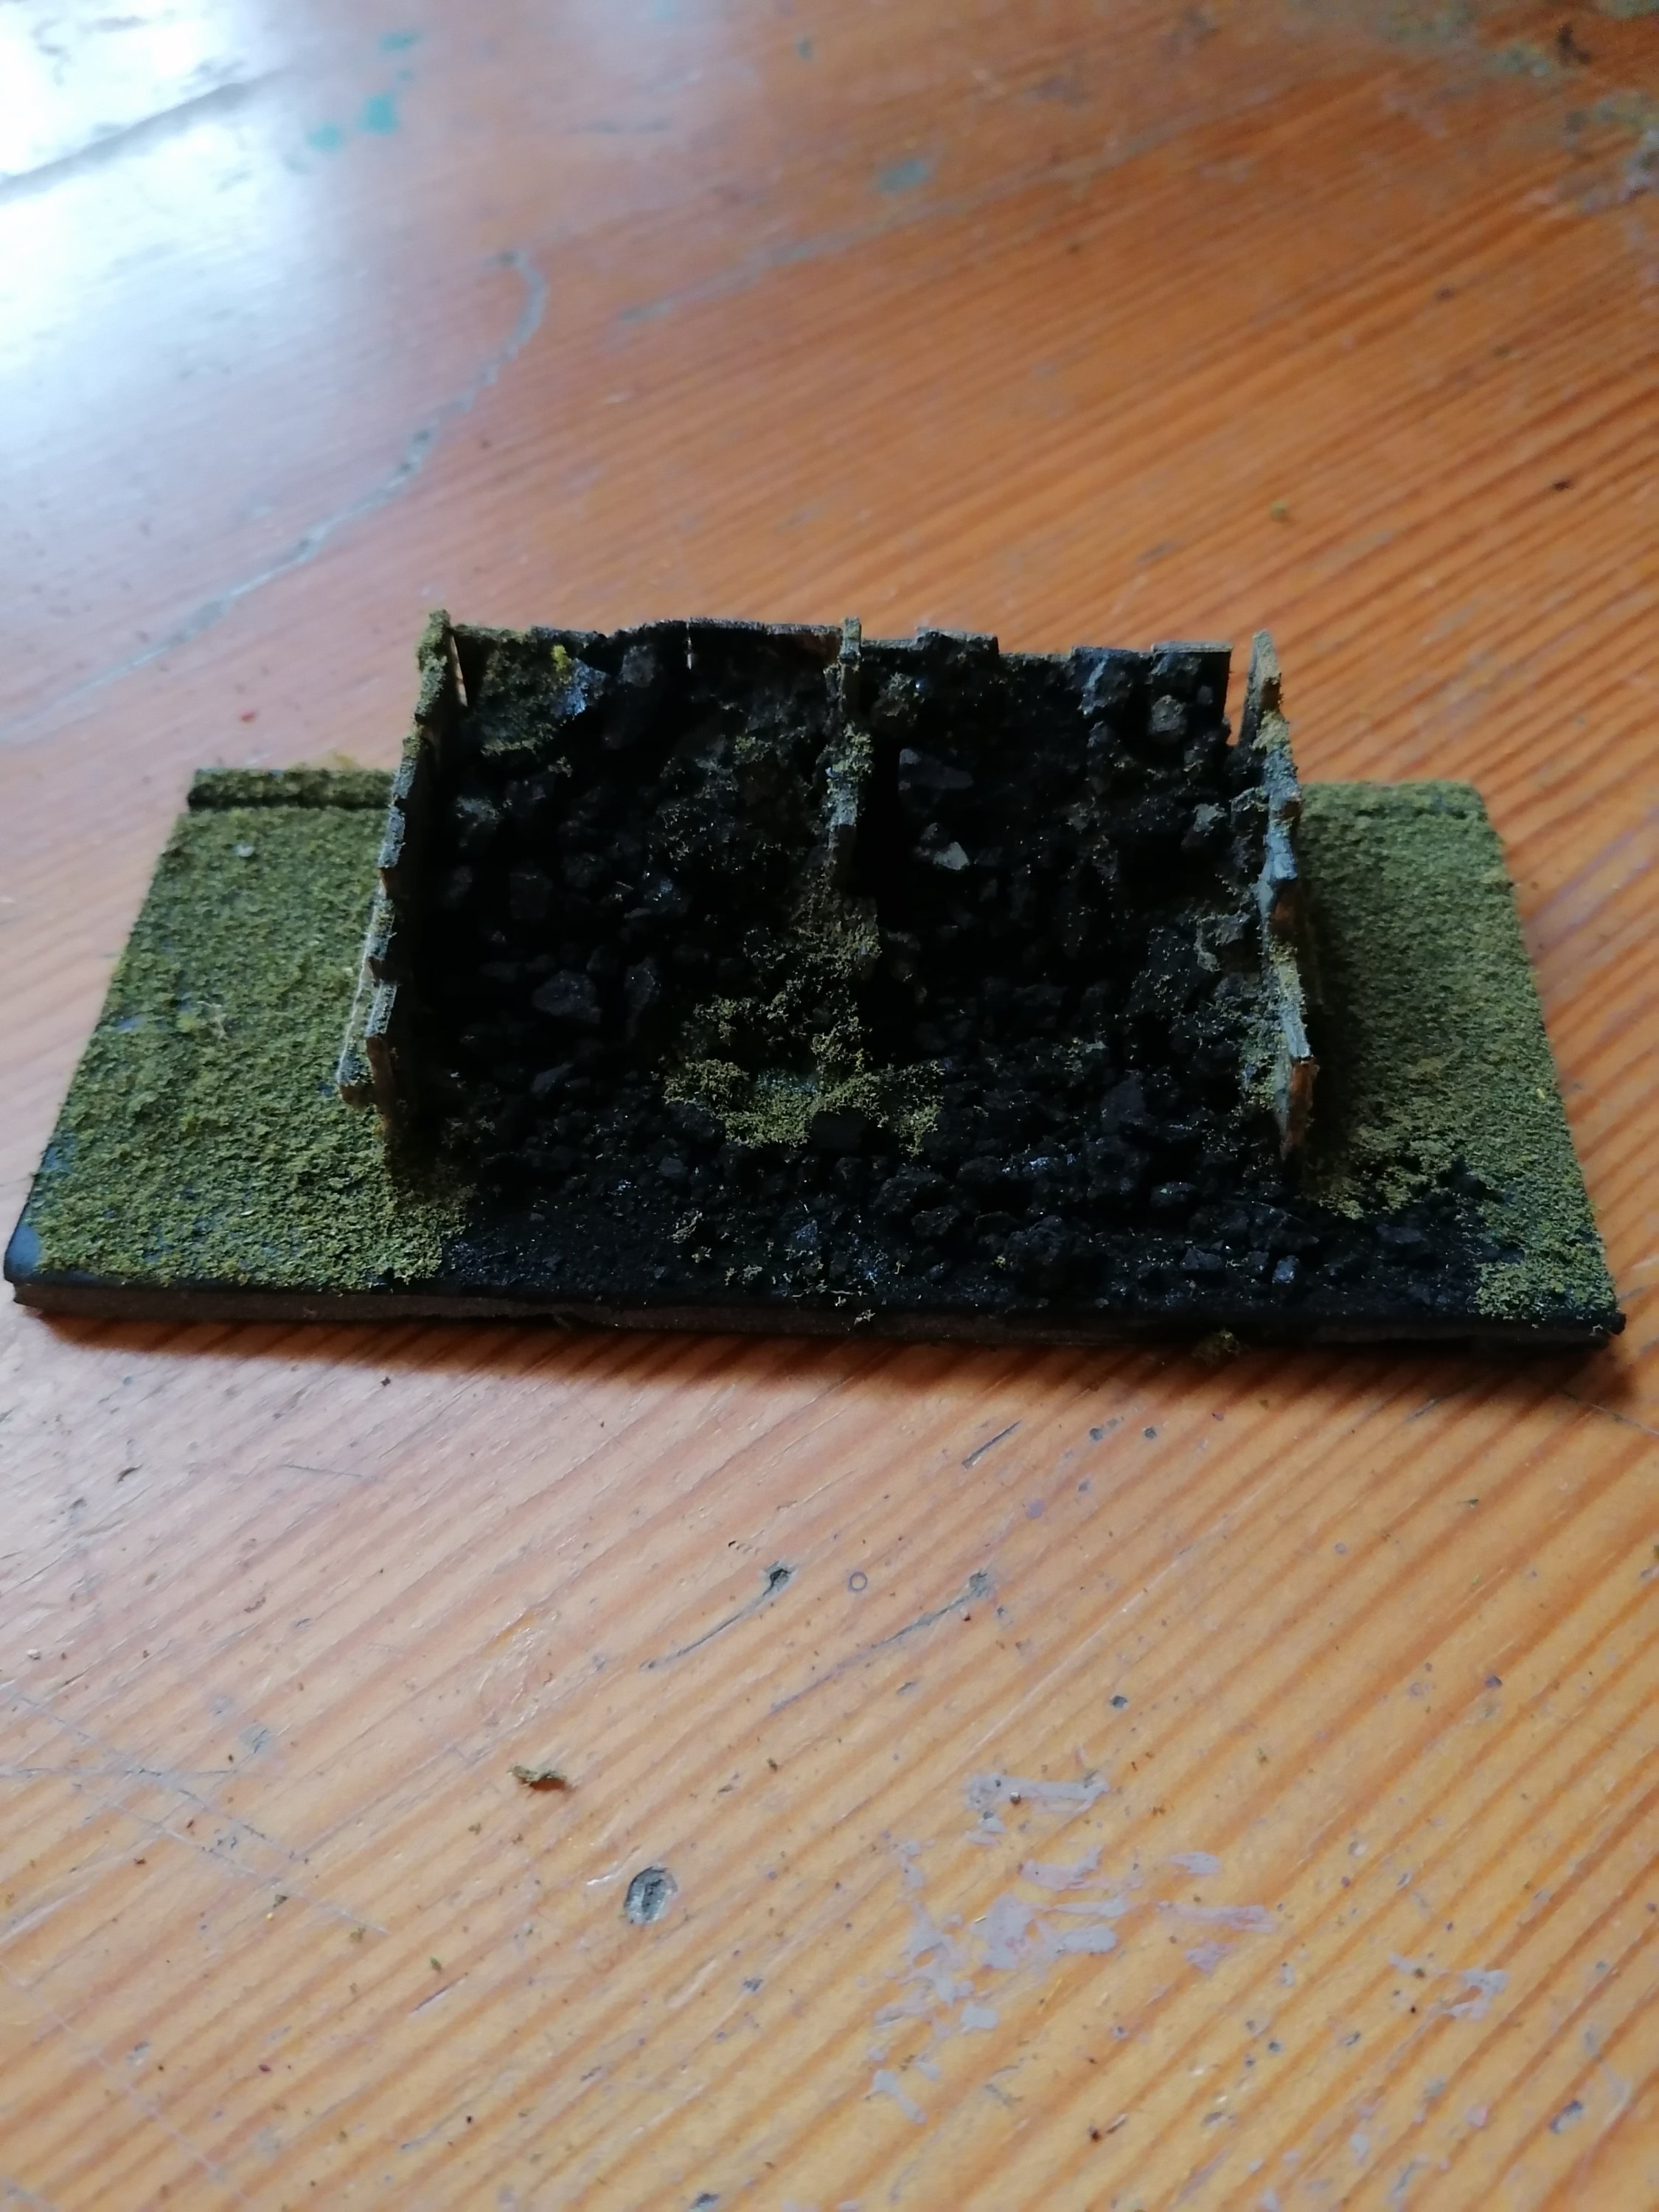
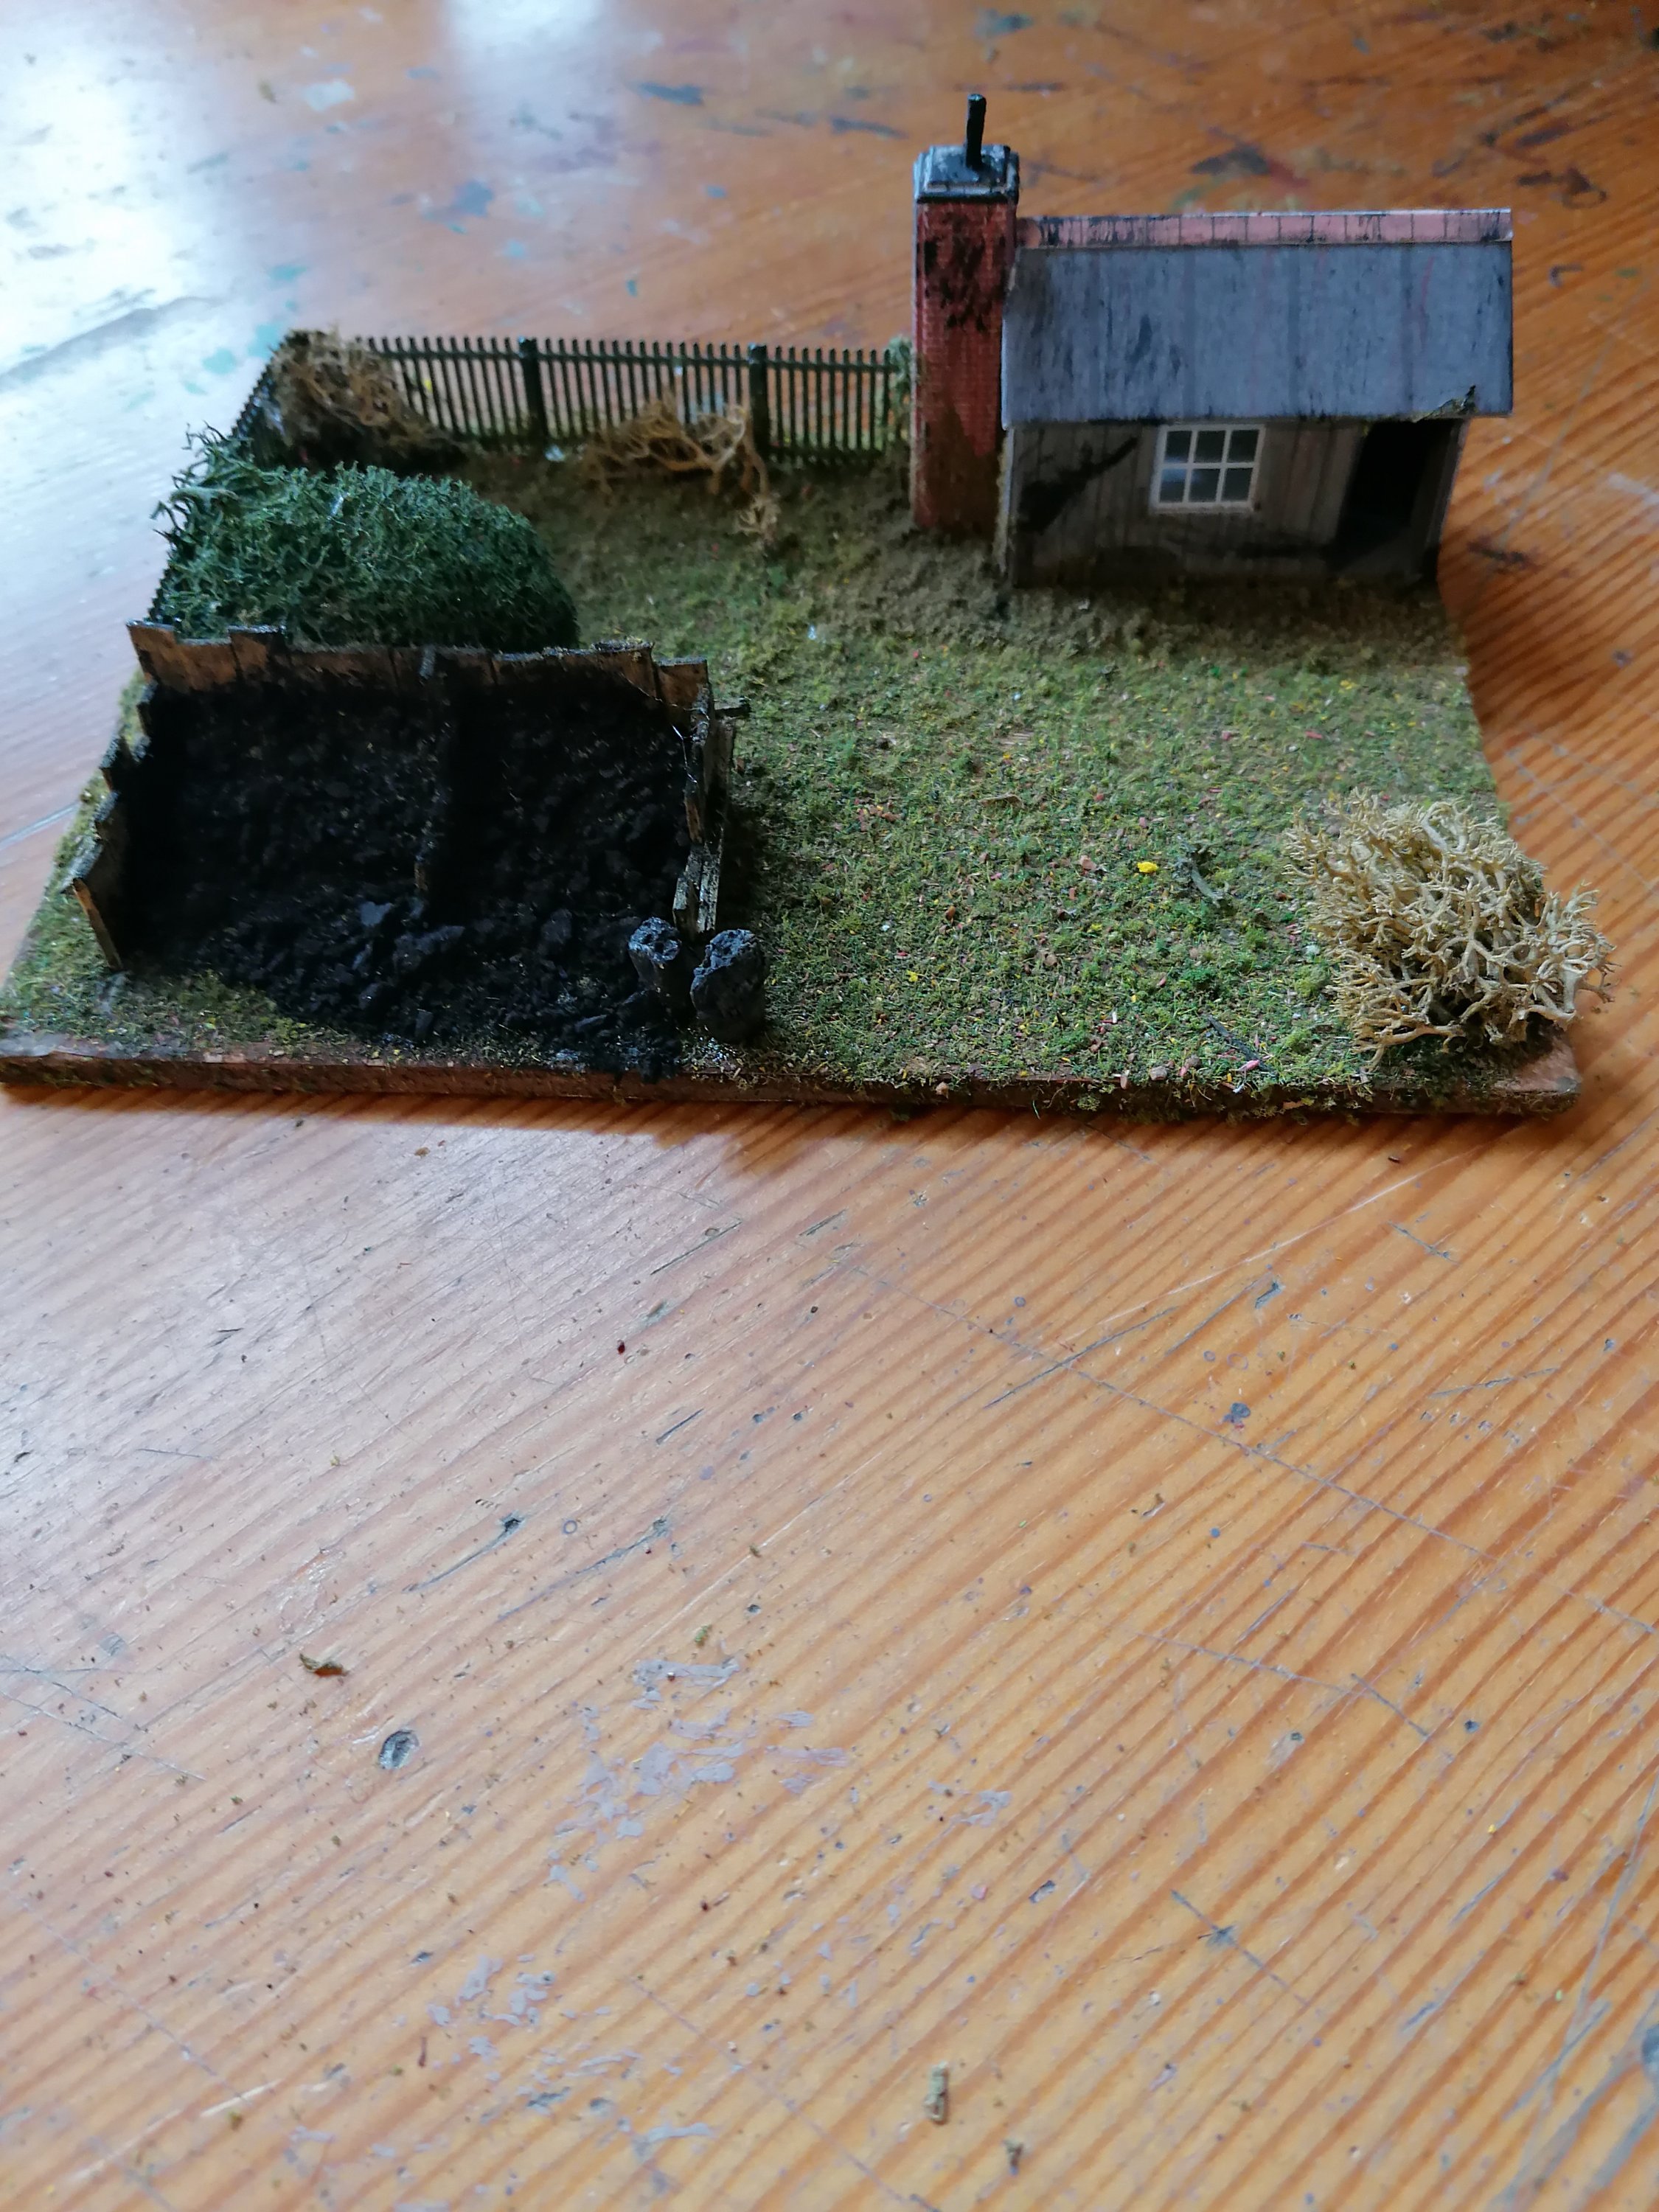
Also this week I’ve been completing my personal layout HORBY and building dioramas for selling. Coal Staithes are something you will see on every steam based layout and as I’ve said before a picture paints a thousand words so here are some.
Staithe with retaining wall.
And another
Coal hut with hedge.
Walling.
Just a staithe.
Hut and fence.
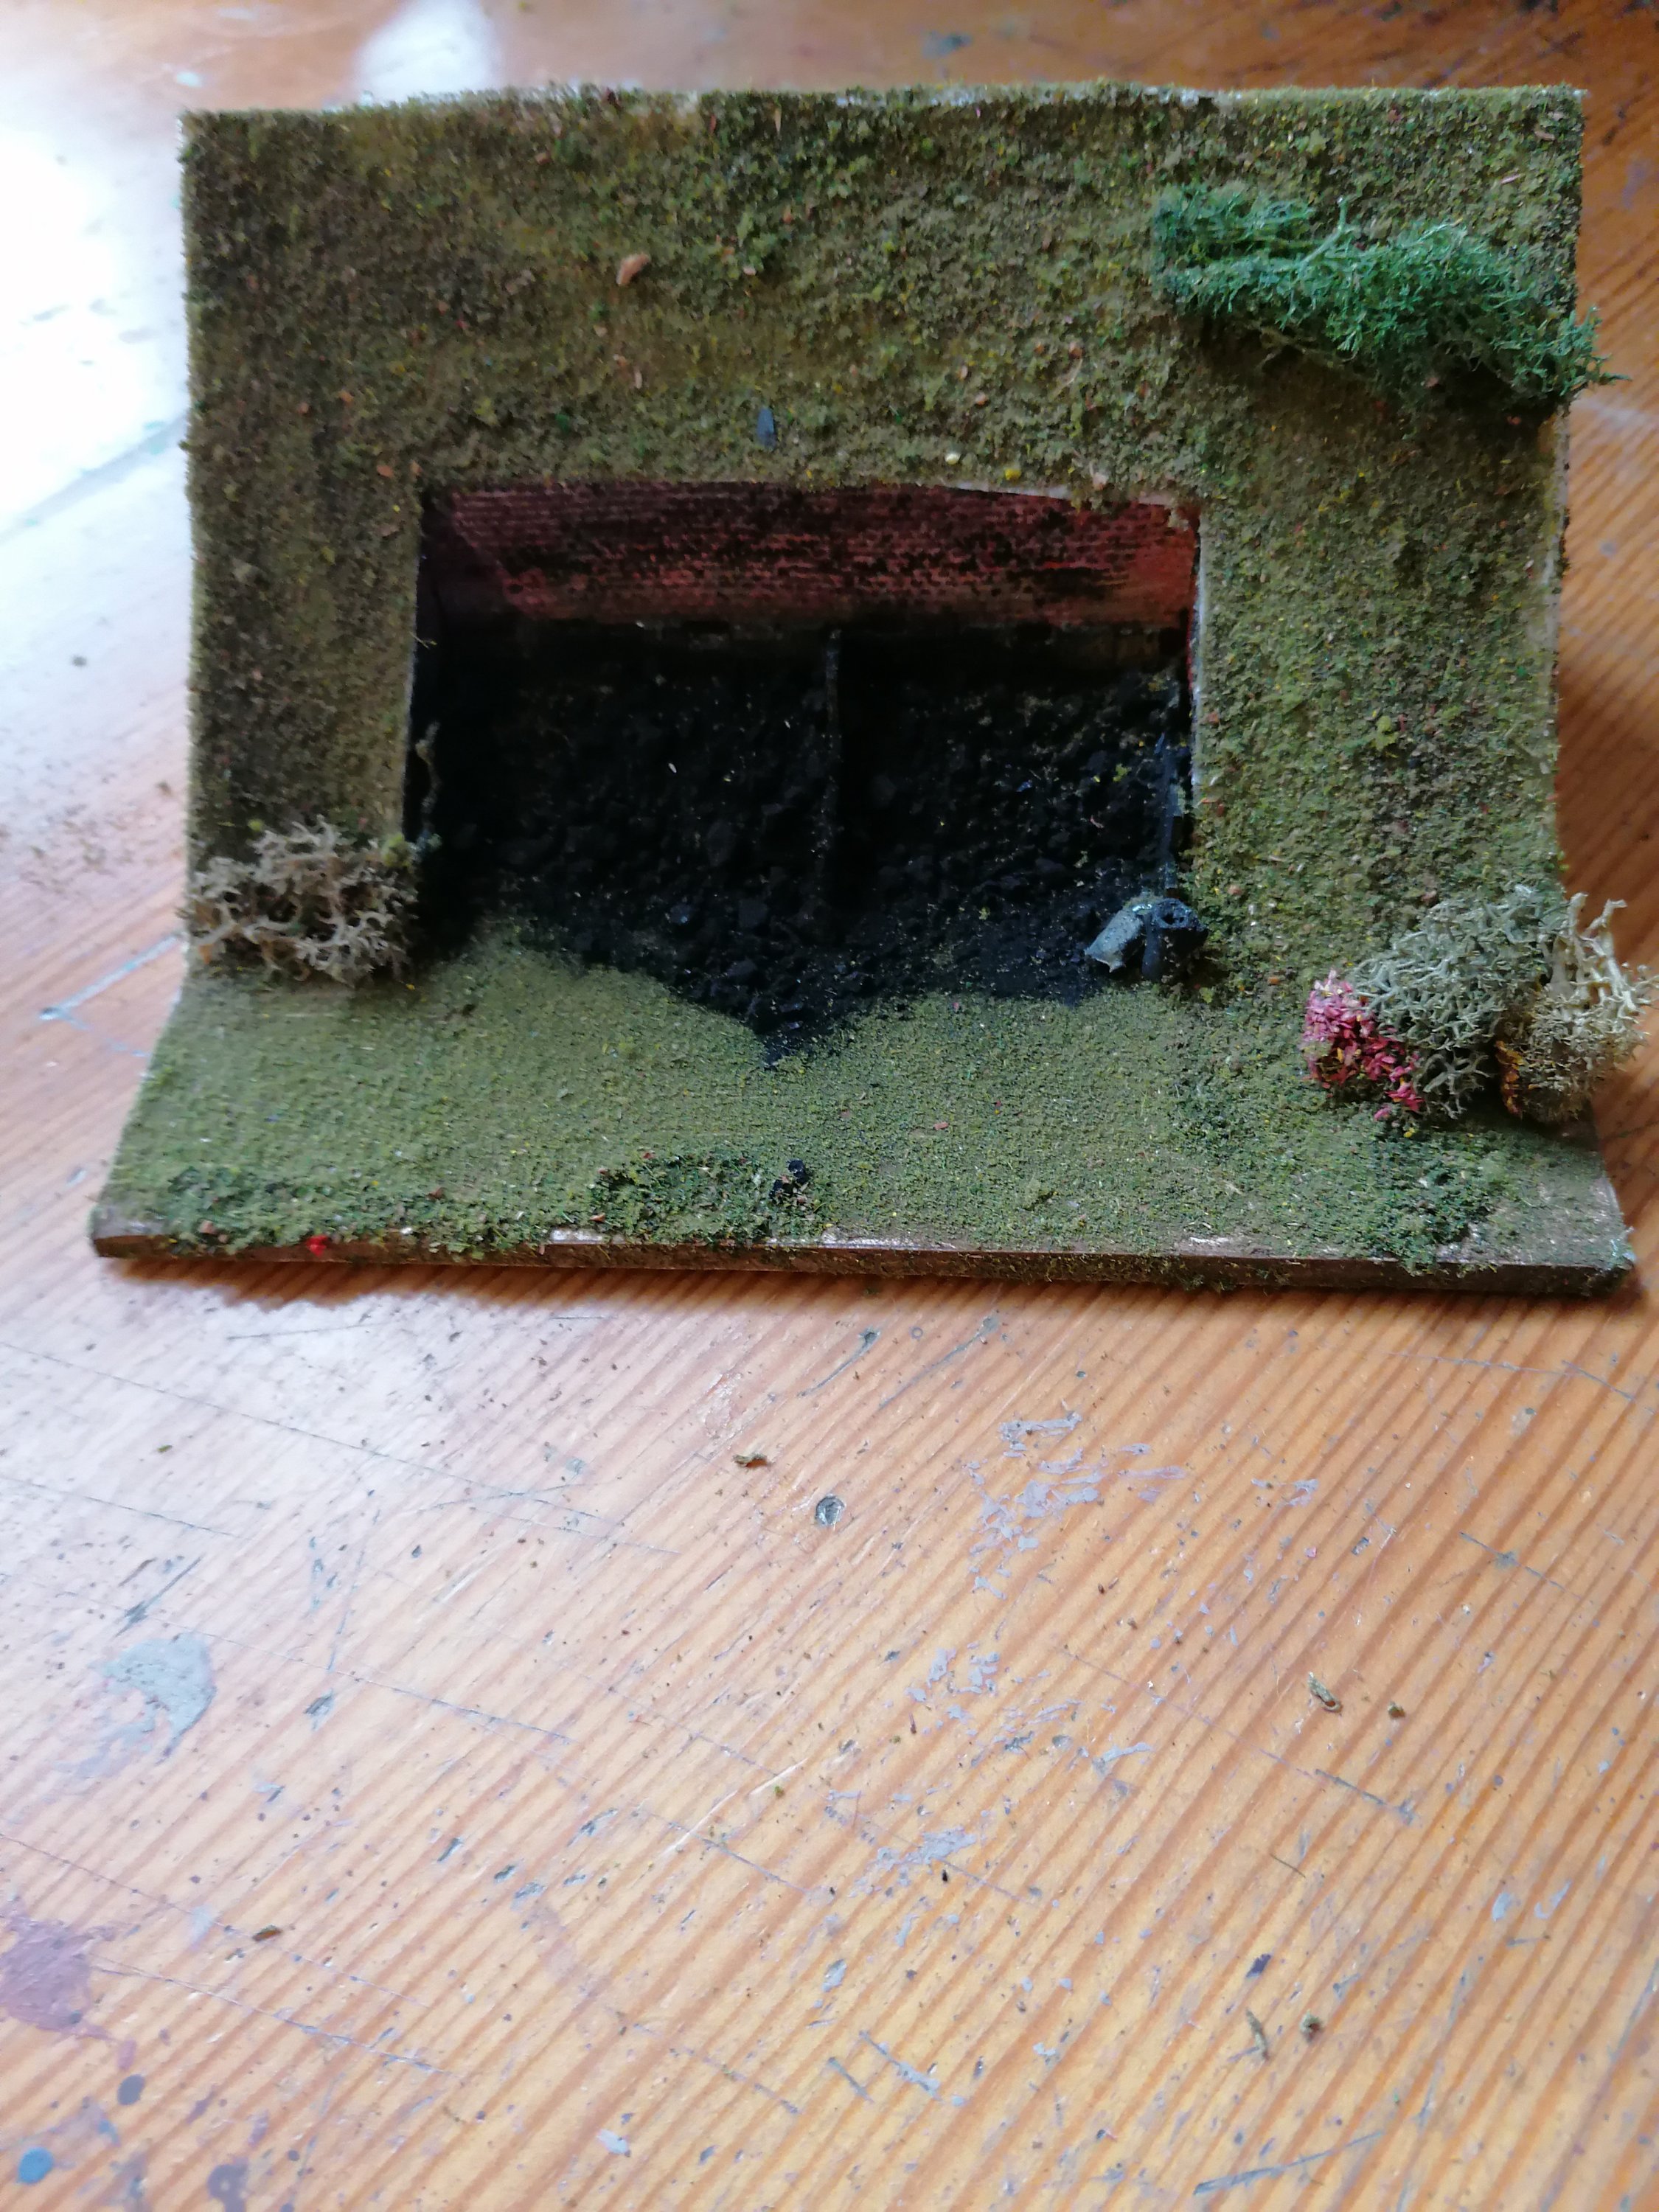
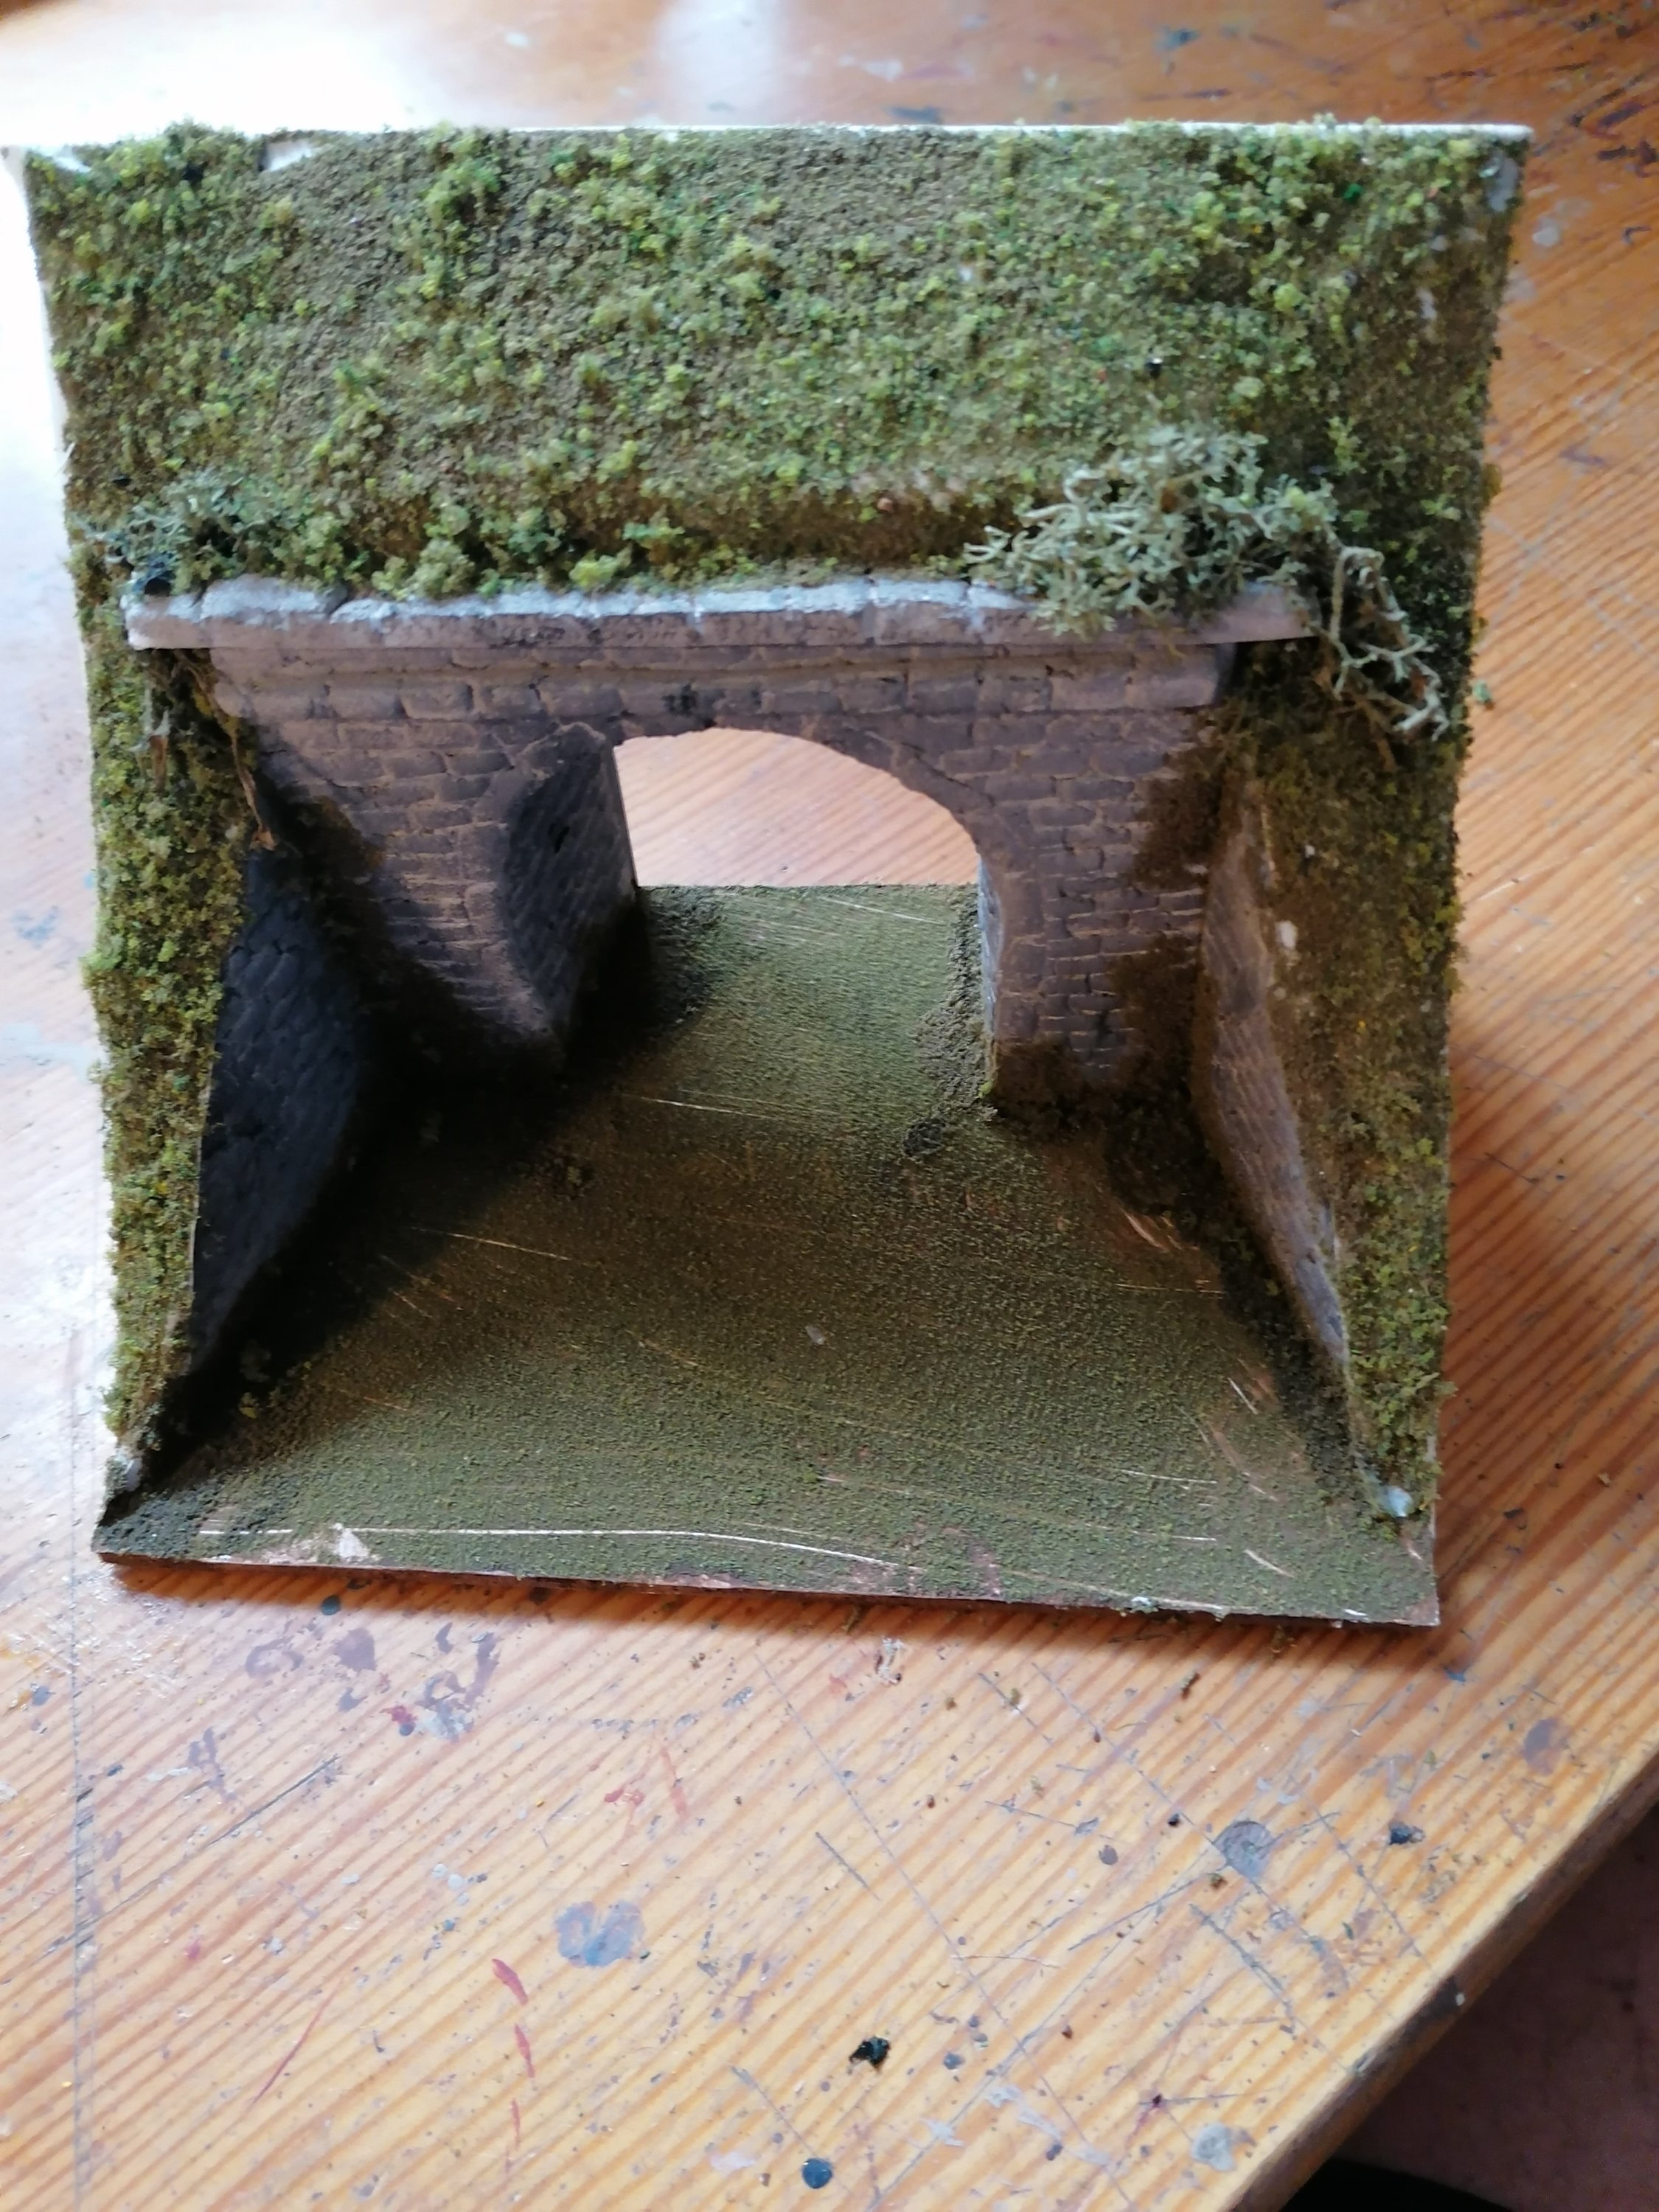
Just to be different, OO gauge single track tunnel mouth.
These dioramas are designed to slot streight onto a layout and are totally scratch built using real coal. One thing I hate when buying mass produced coal Staithes is plastic coal its just so damed unrealistic. Where can I buy these I hear you ask? EBay is the answer.
Like most things hindsight is a wonderful thing so if I could turn the clock back what would I do different?
Firstly leave a larger gap between the layout and fiddle yard so that trains don’t de rail by catching the back board. Talking of the fiddle yard, for some reason I cut the connecting power wires too short which meant its very fiddly to connect so had to rewire with longer power feed cables now, you may think why does it matter? Well it’s just an example of not thinking your plan through as longer cables make it so much easier to connect the fiddle yard to layout.
I did find that fixing power drop wires to the point blades made slow running over them much better and given SHIREBROOKE YARD is and engine shed this was a must.
One simple thing was the black paint for the front of the Backboards I did before scenery, next time it will be done last as I found I had to repaint them. Talking of black paint, I didn’t paint the fiddle yard and with hindsight this was a mistake as it just didn’t match the rest of the layout.
Finally SHIREBROOKE YARD is a DCC (digital) layout which for me is fine as I have a digital controller but given this layout is aimed at getting new modellers into the hobby this may be a mistake as DCC controllers, chips and engines are much more expensive so may be the next layout will be analogue that could be converted to DCC at a later date.
My best advice, as your constructing your layout keep check electrics and trains are running well, much better to identity problems now than after all the scenery is in place.
So there you have it, SHIREBROOKE YARD from start to finish, hope you’ve enjoyed reading about its progress and don’t forget if you want to get a foot on the model railway ladder then it could be yours as I’m glad to say you can now purchase it and indeed other layouts in the range of even design your own and have it built.
Will soon be available on EBAY or contact me direct on.
So we’re steaming (get it!) towards the completion of SHIREBROOKE YARD.
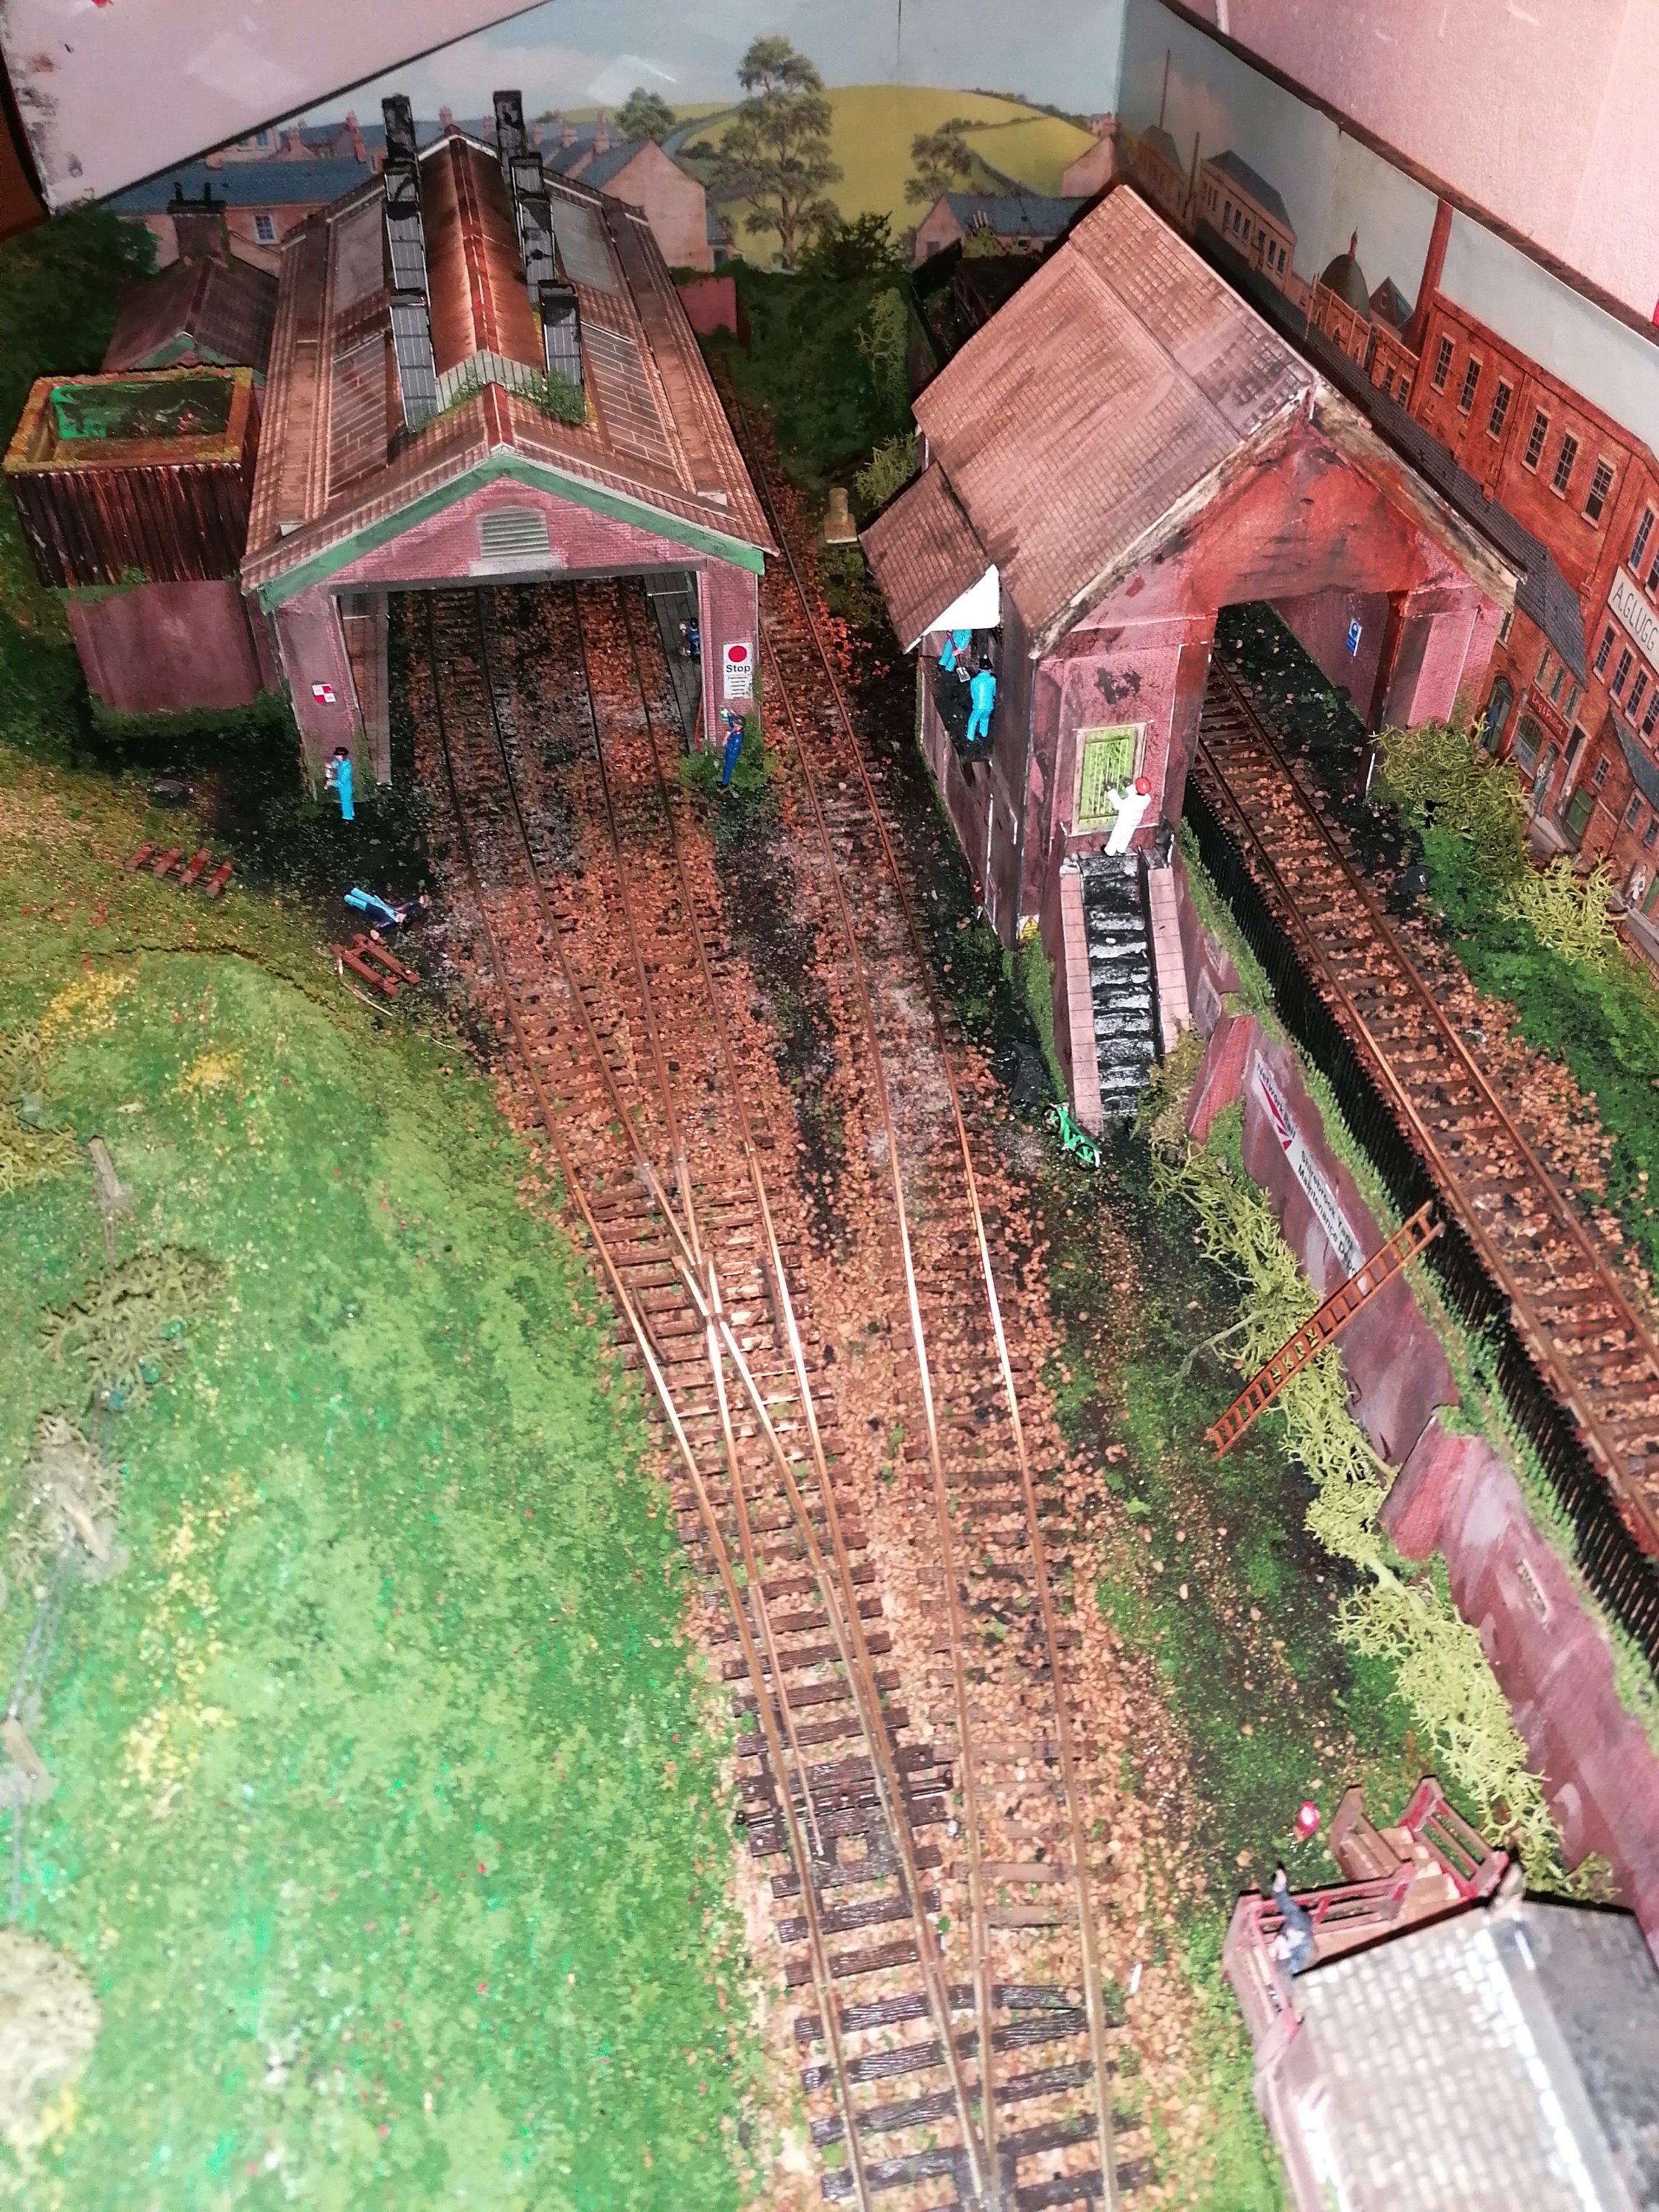
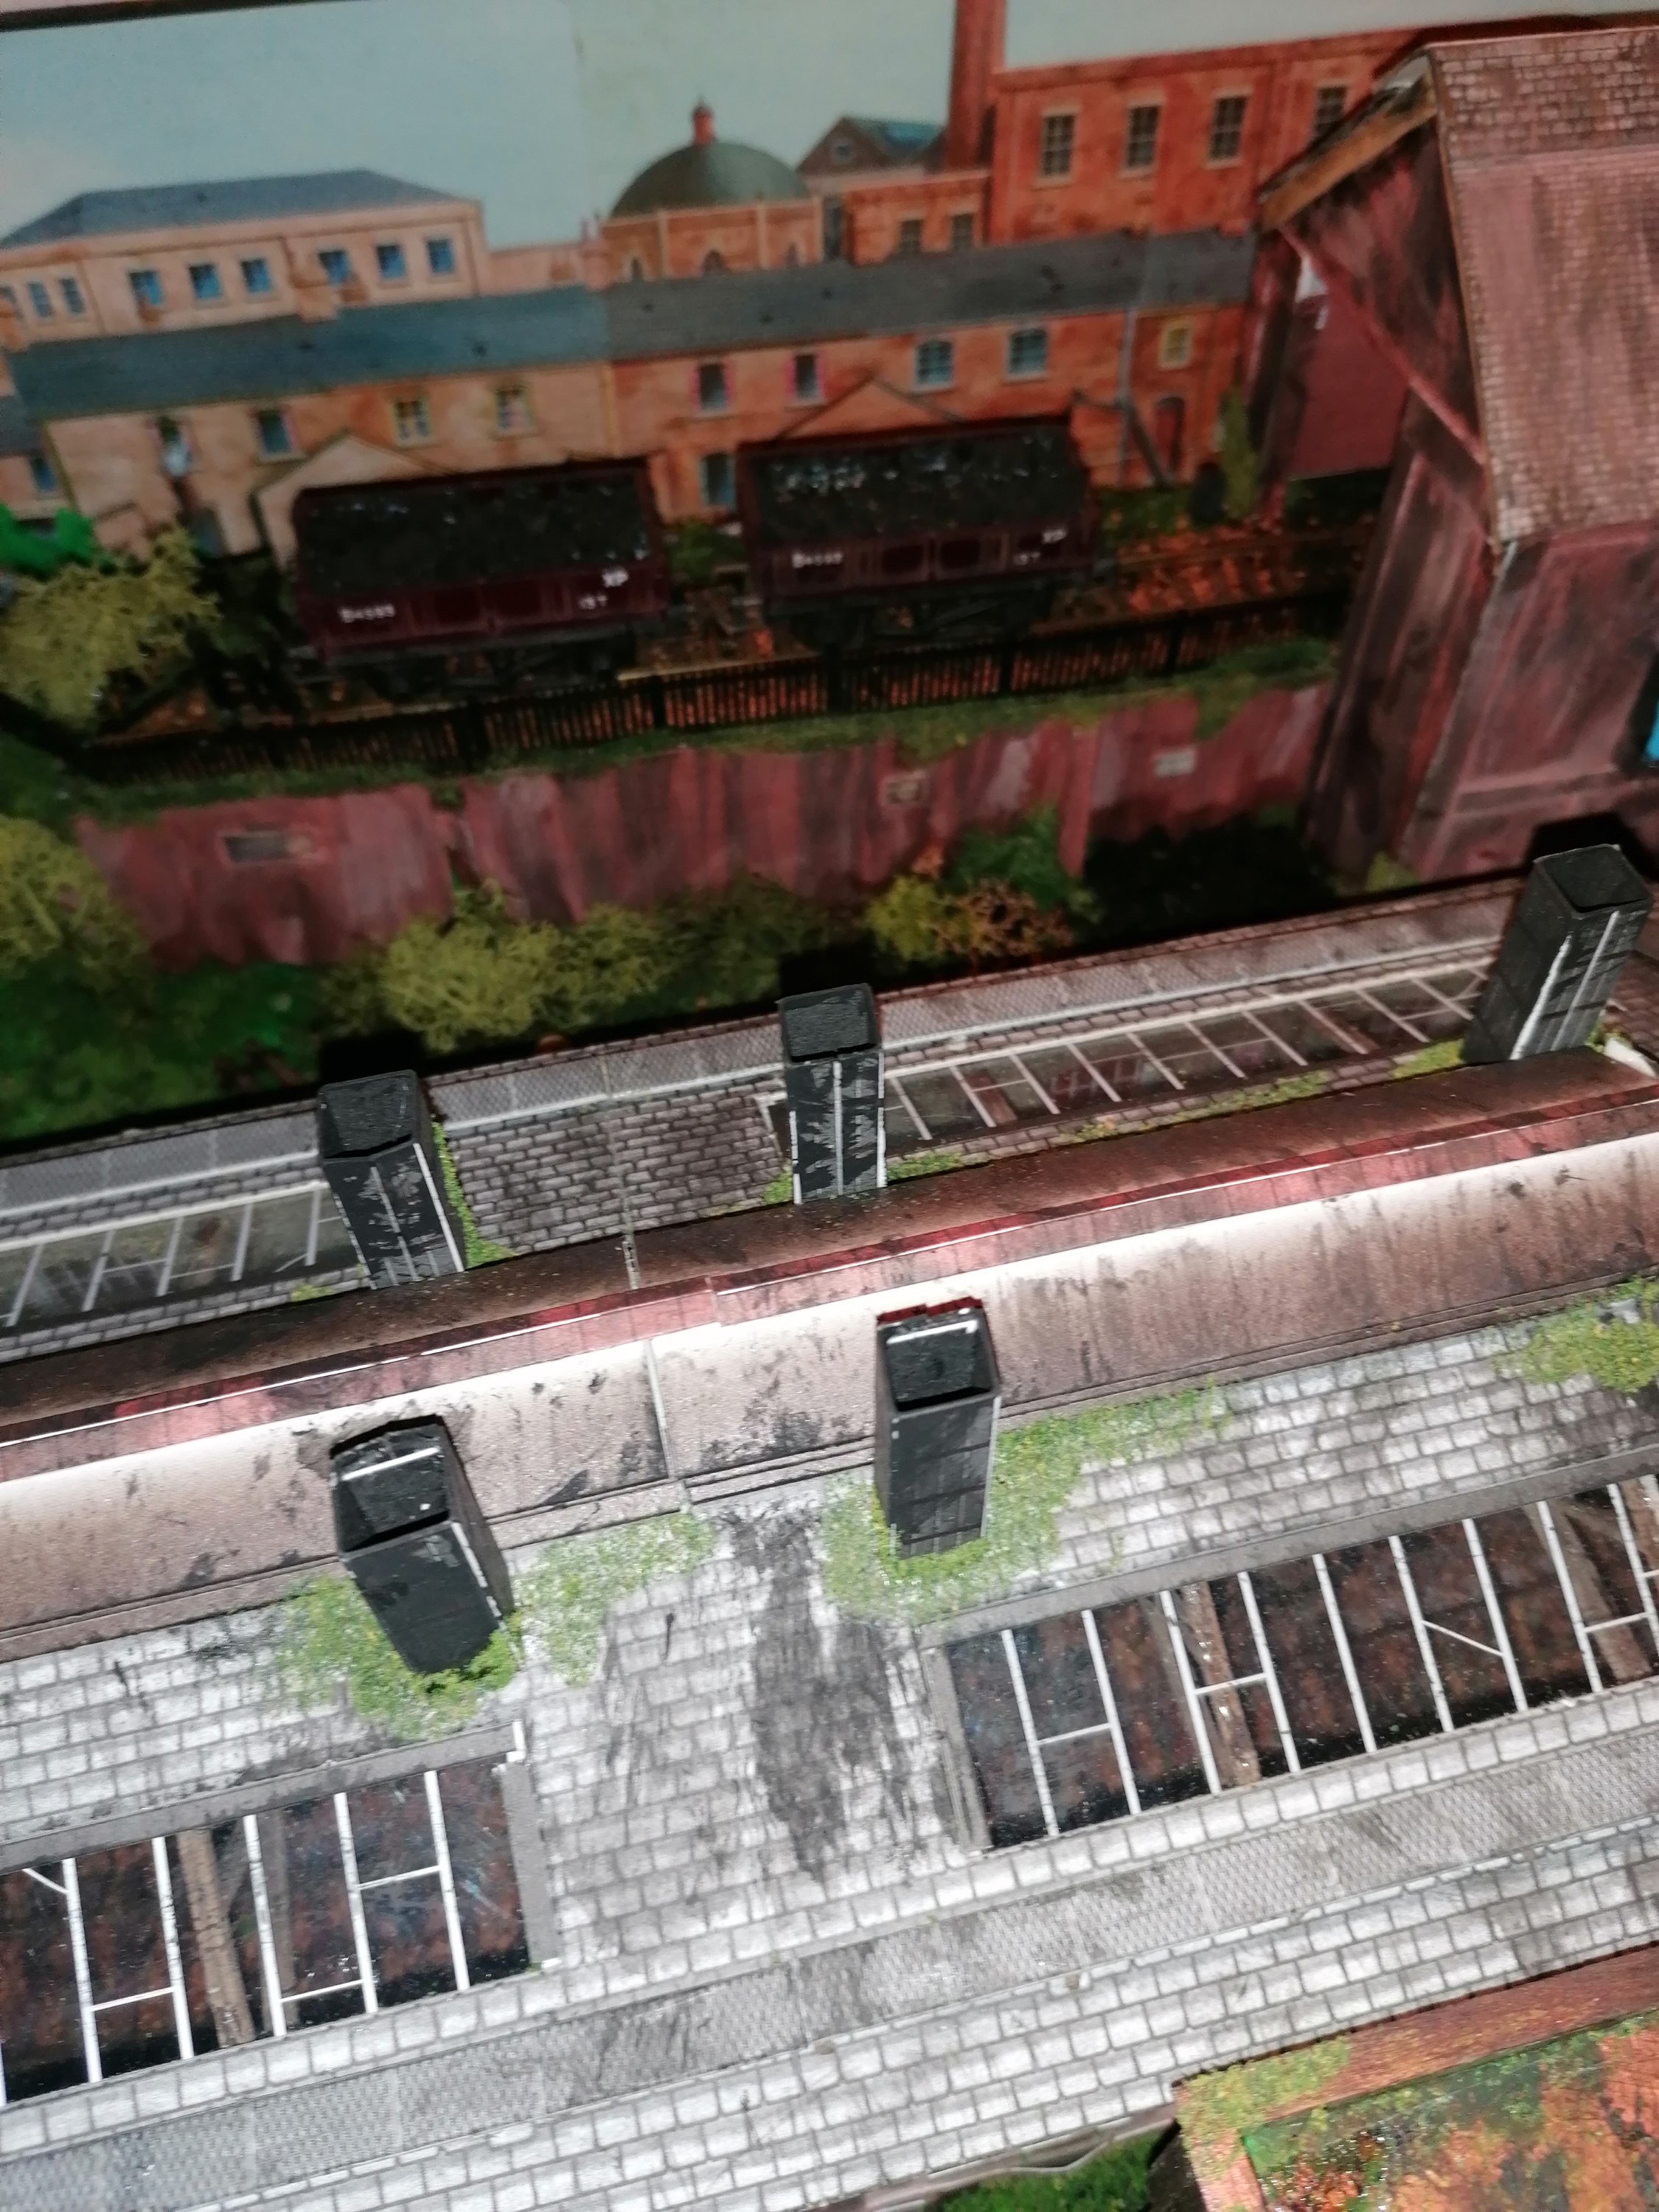
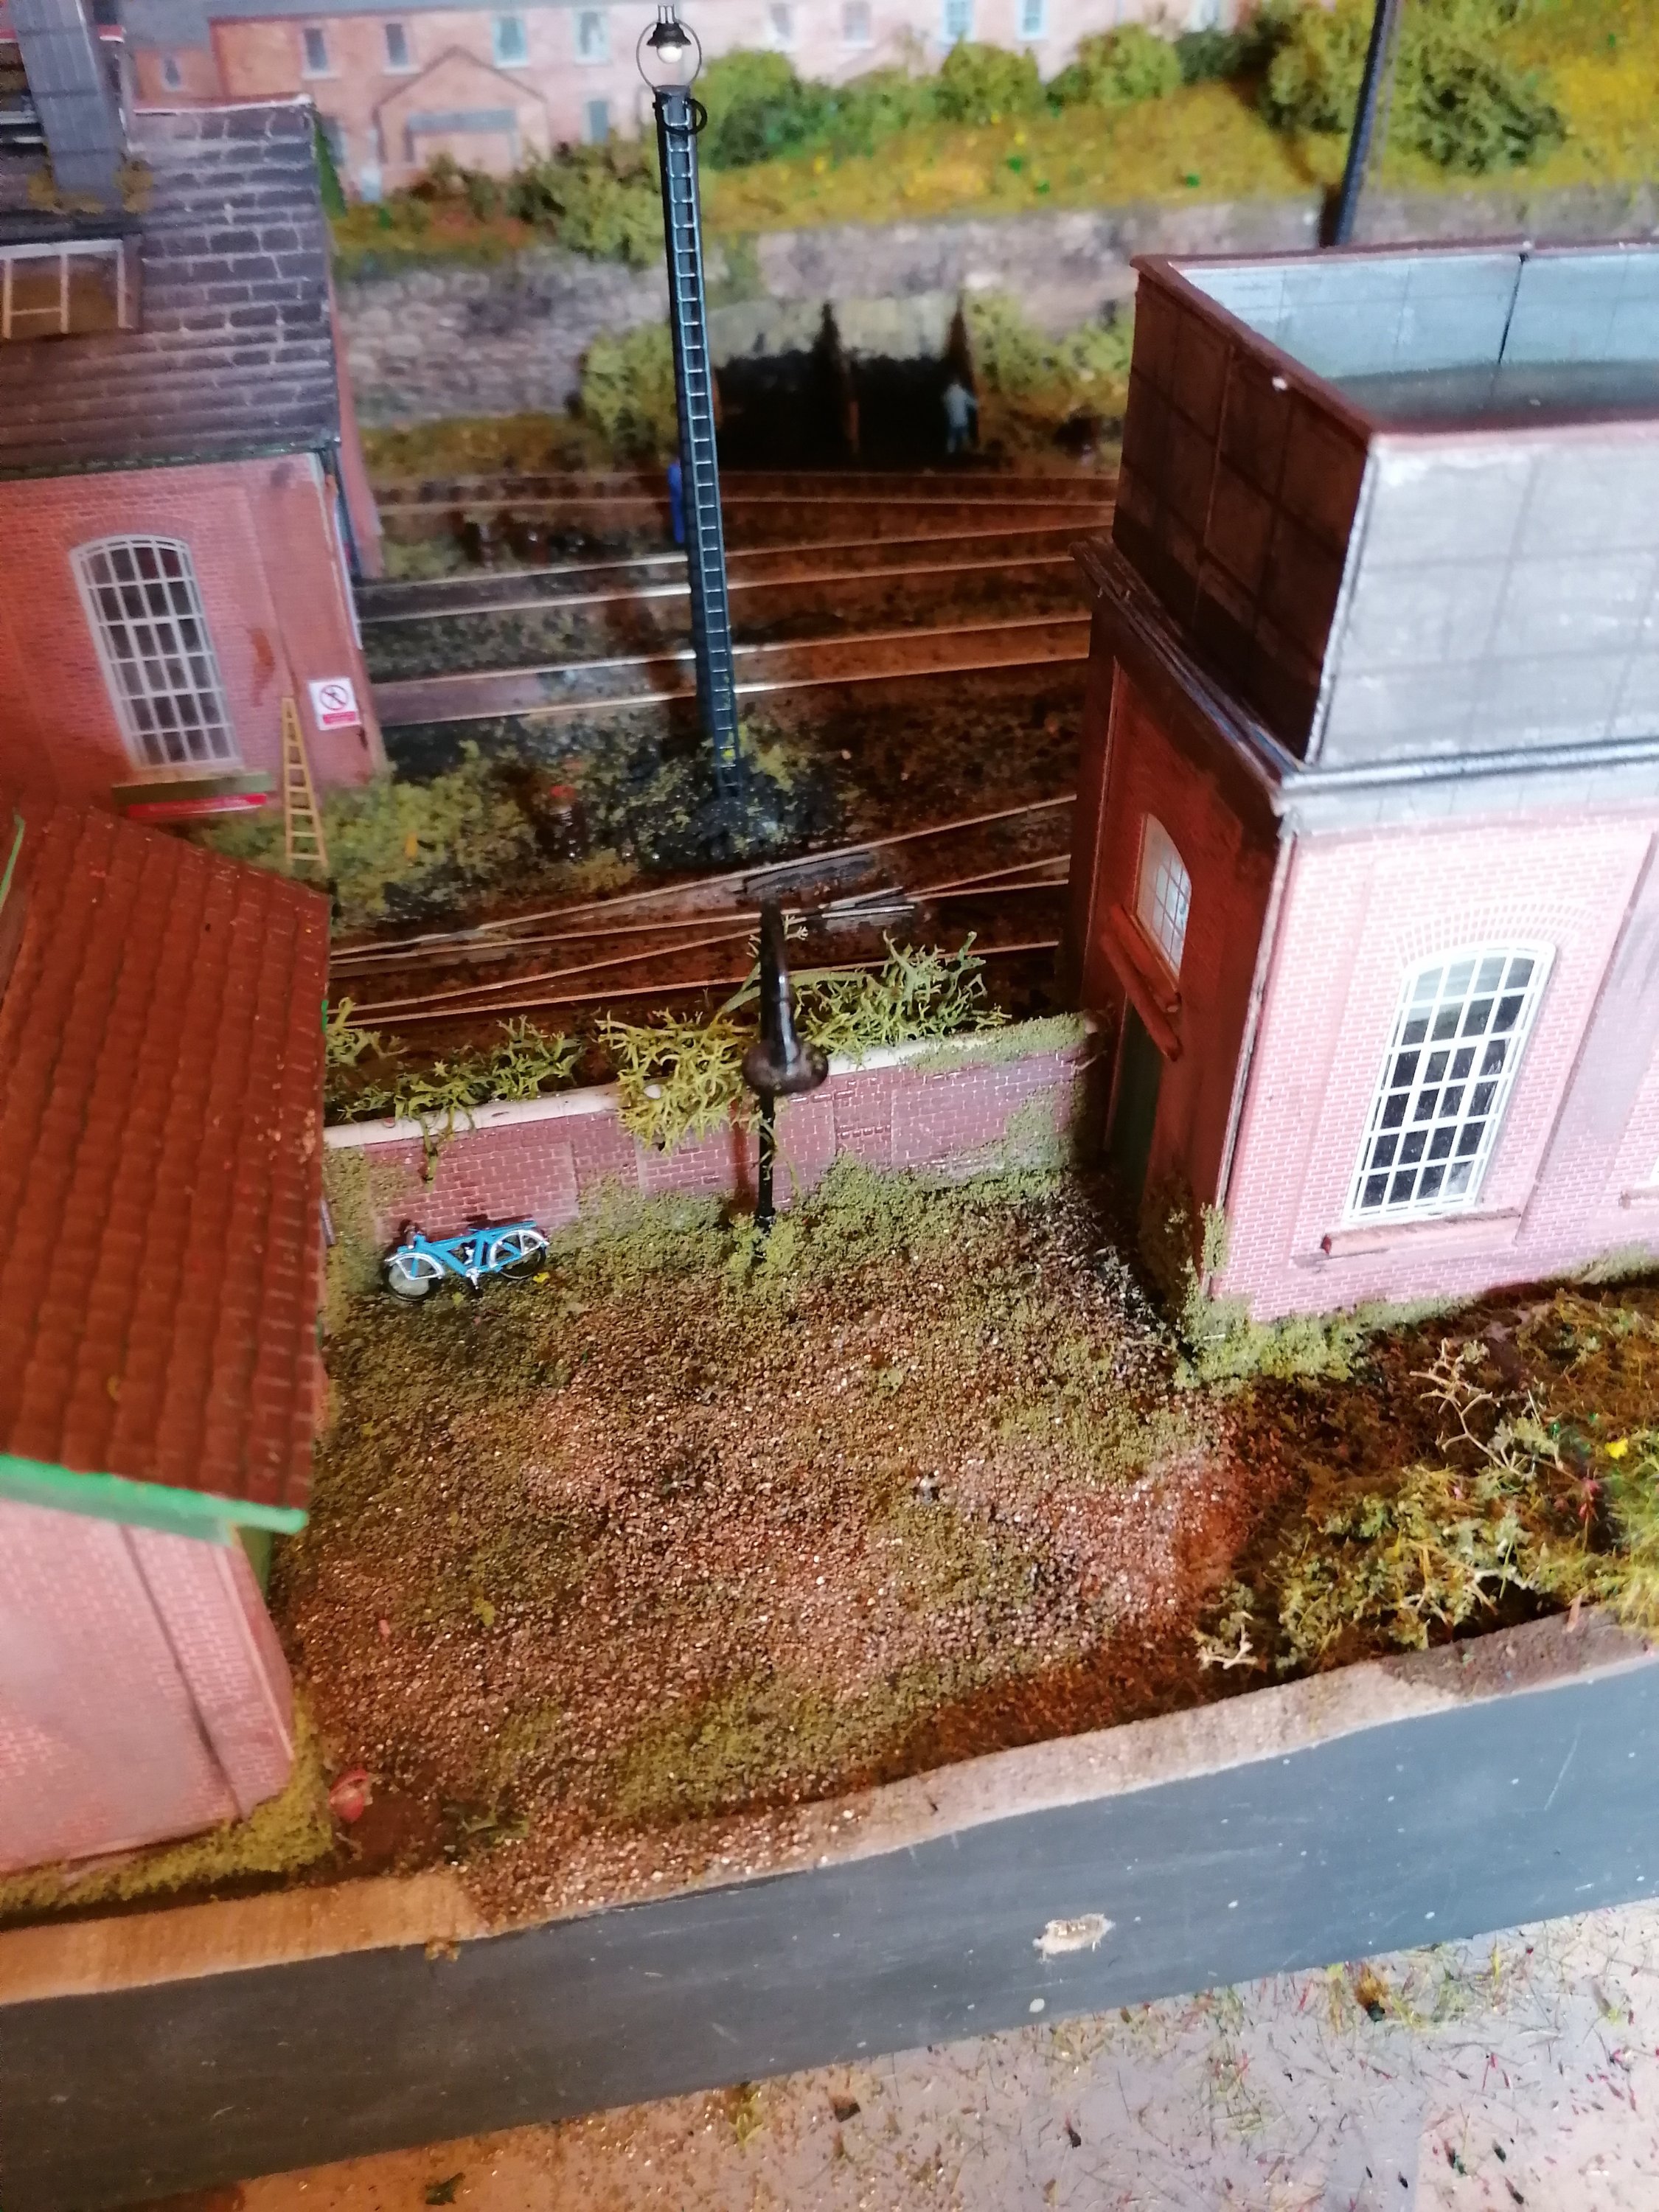
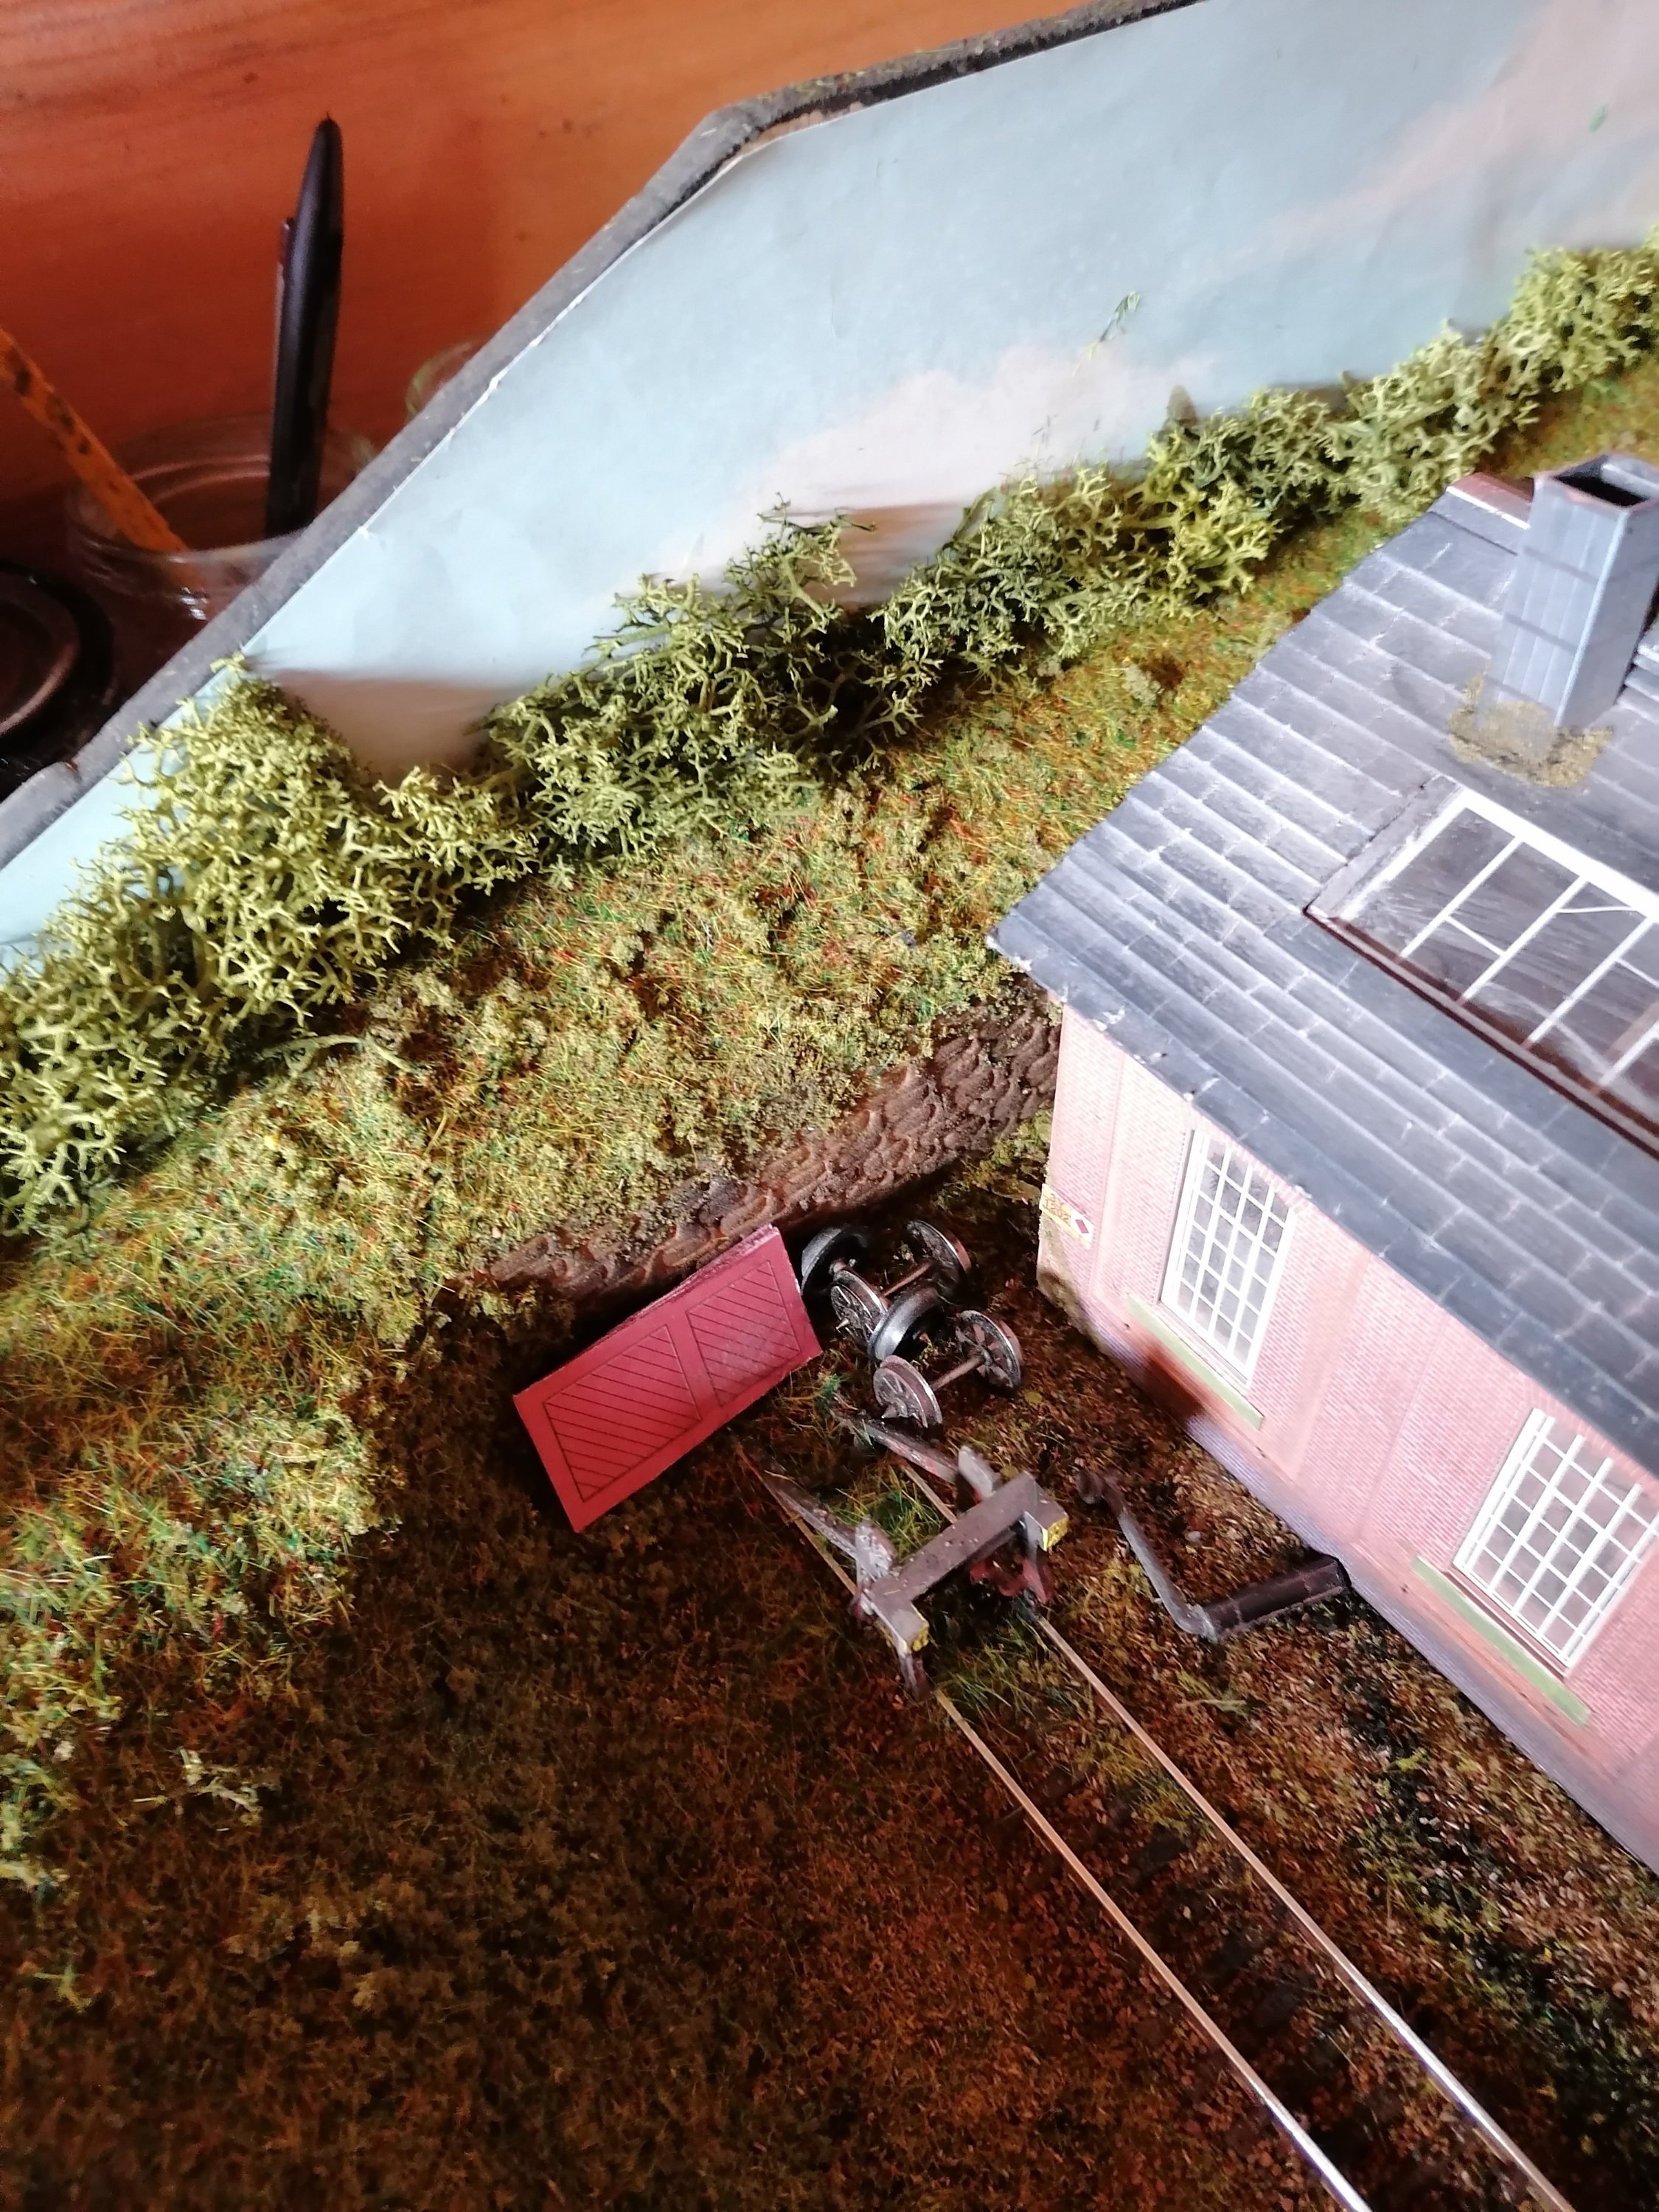
Now we’re adding the final details and in many ways this is the most important part of the construction of your layout. In the end you are trying to recreate the real thing weather its based on a real place or not. So many layouts I see at exhibitions don’t weather their layout for example. The real world is a dirty mucky place so why wouldn’t your layout reflect this? This layout is an engine shed which is a dirty place with bits of rubbish, old rusty rails and wheels, old oil drums…and so on. Don’t forget as well their are always figures, engine crews, station staff, lineside workers and passengers etc. Look at the coal staithe, just putting that there (with real crushed coal) with a worker shoveling coal gives you a focal point and realism. An old goods shed door and some rusty bogies behind the shed again adds realism. Put some weathering powder on the door and sprinkle some Flock over the bogies to give the impression of weeds growing over the long since disregarded wheels. For me you can’t do too much detailing because a model railway layout is more than just some trains going round and round.
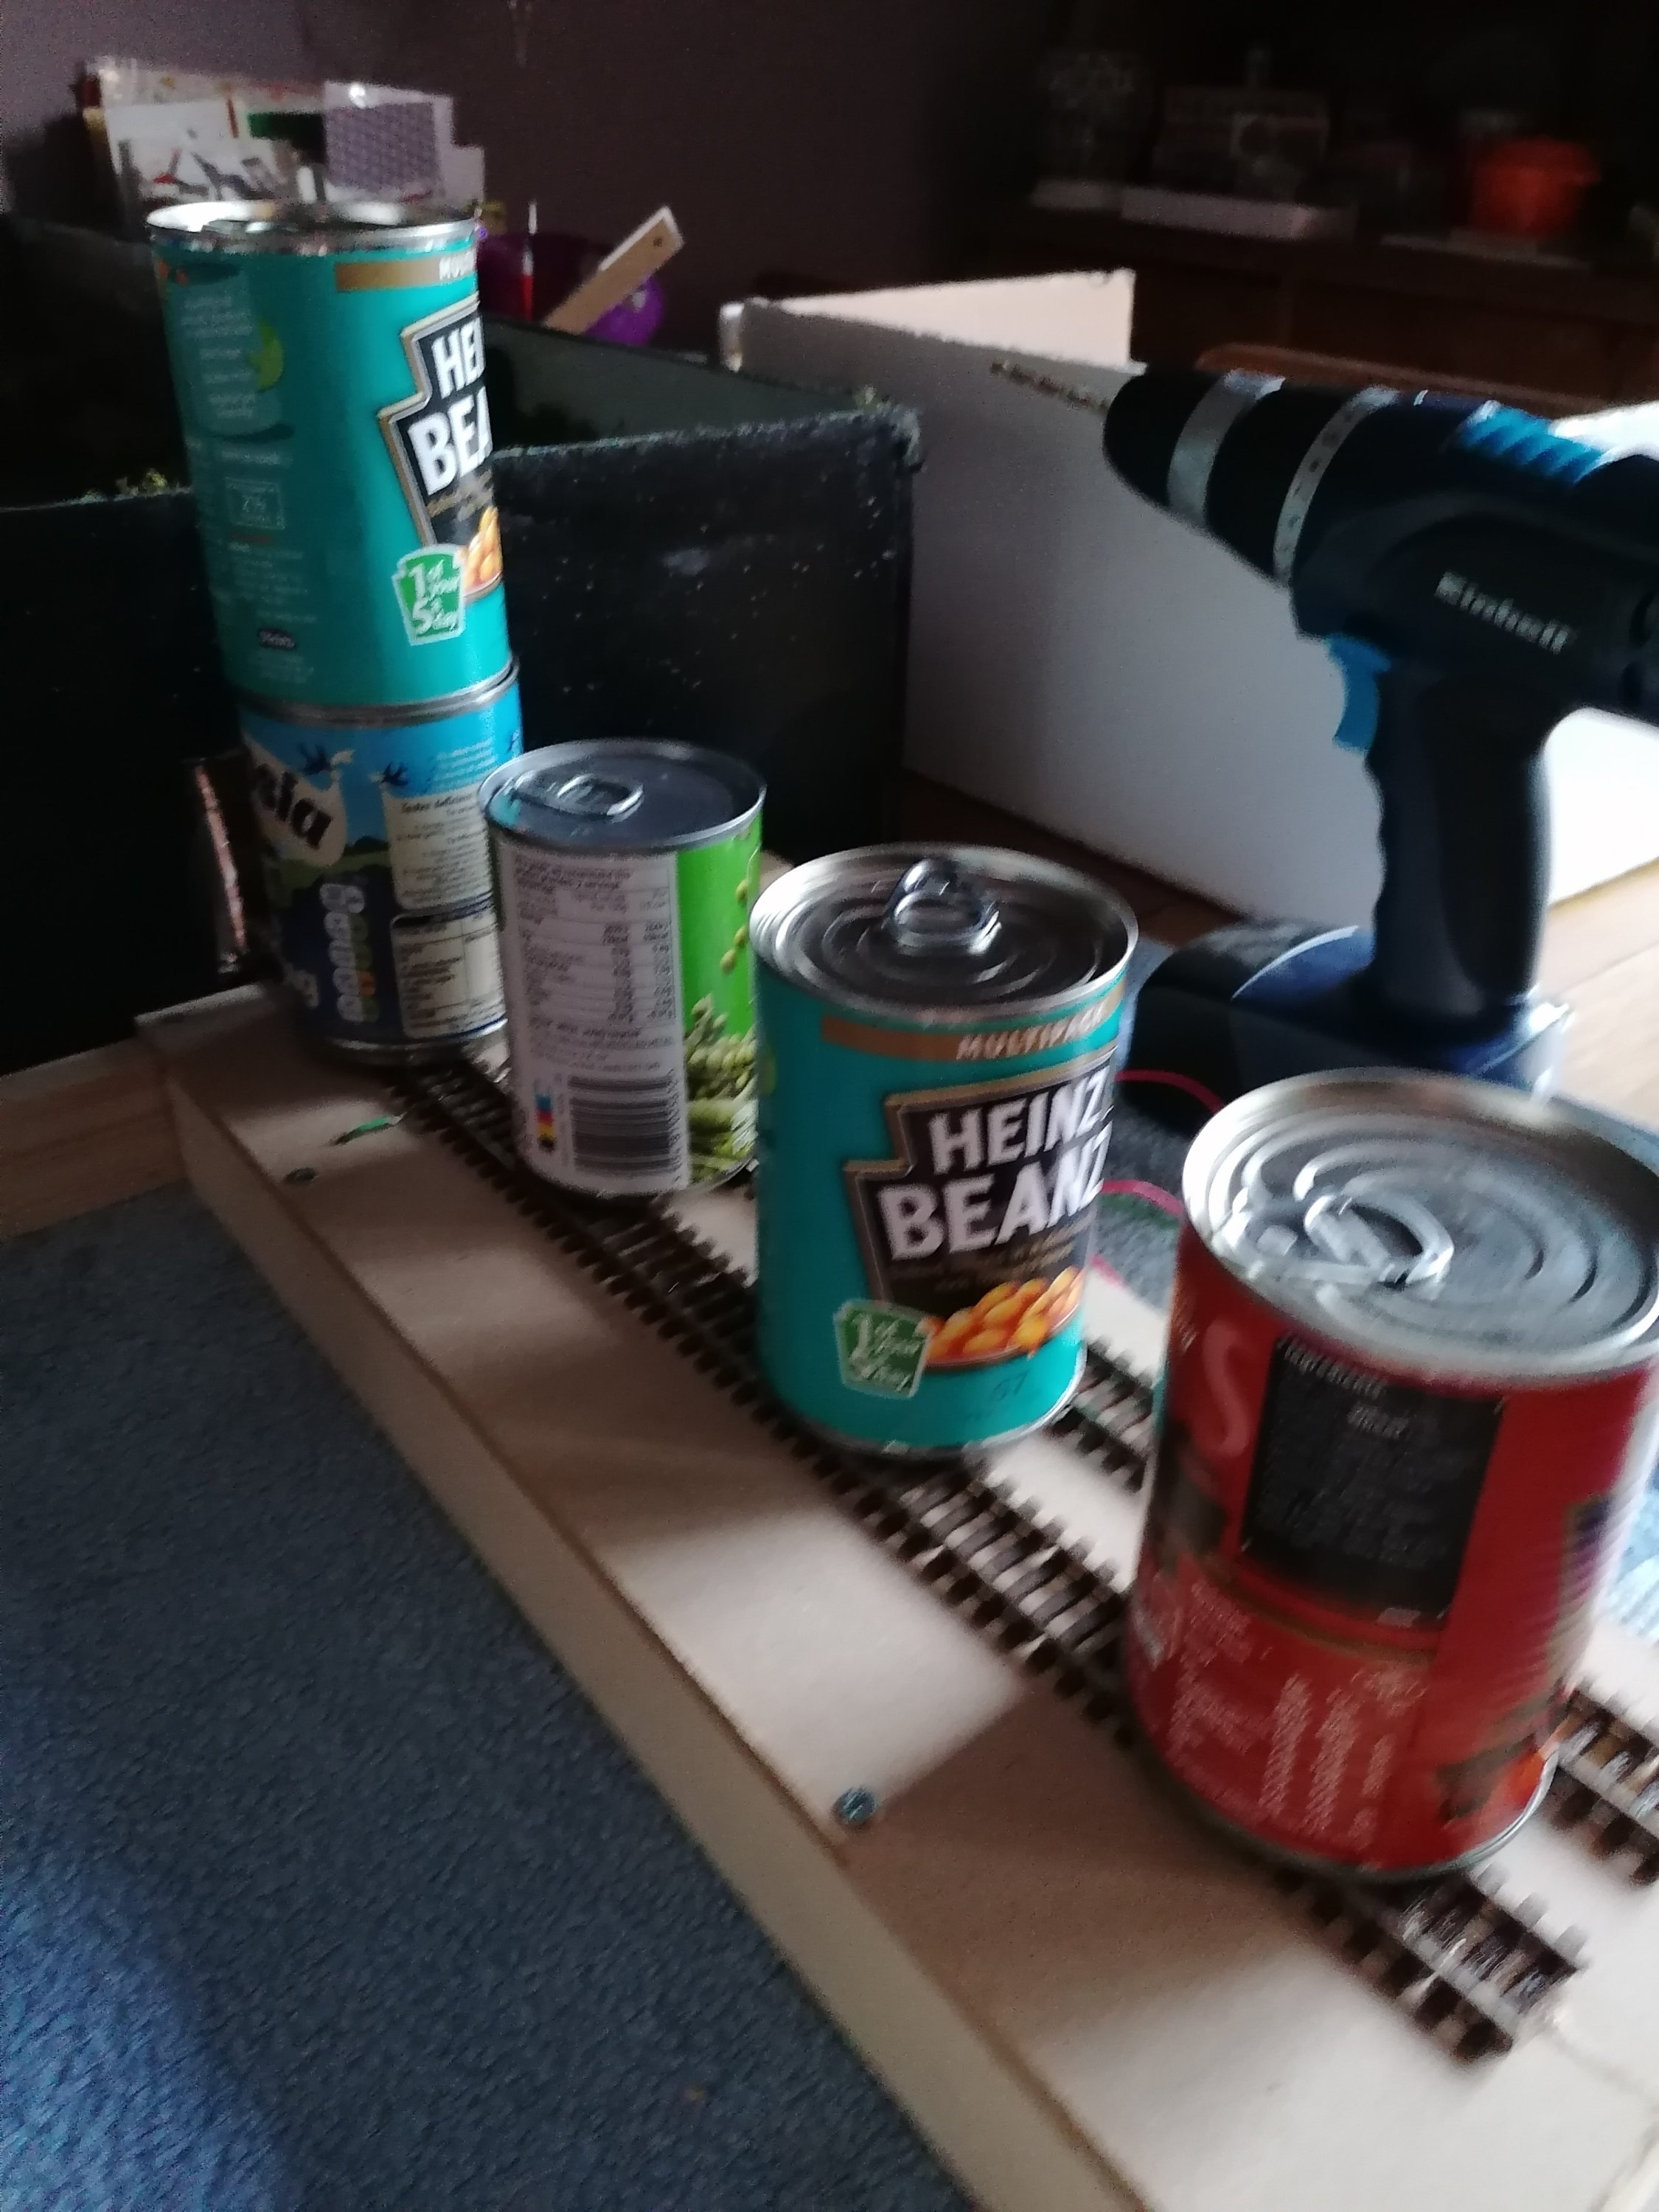
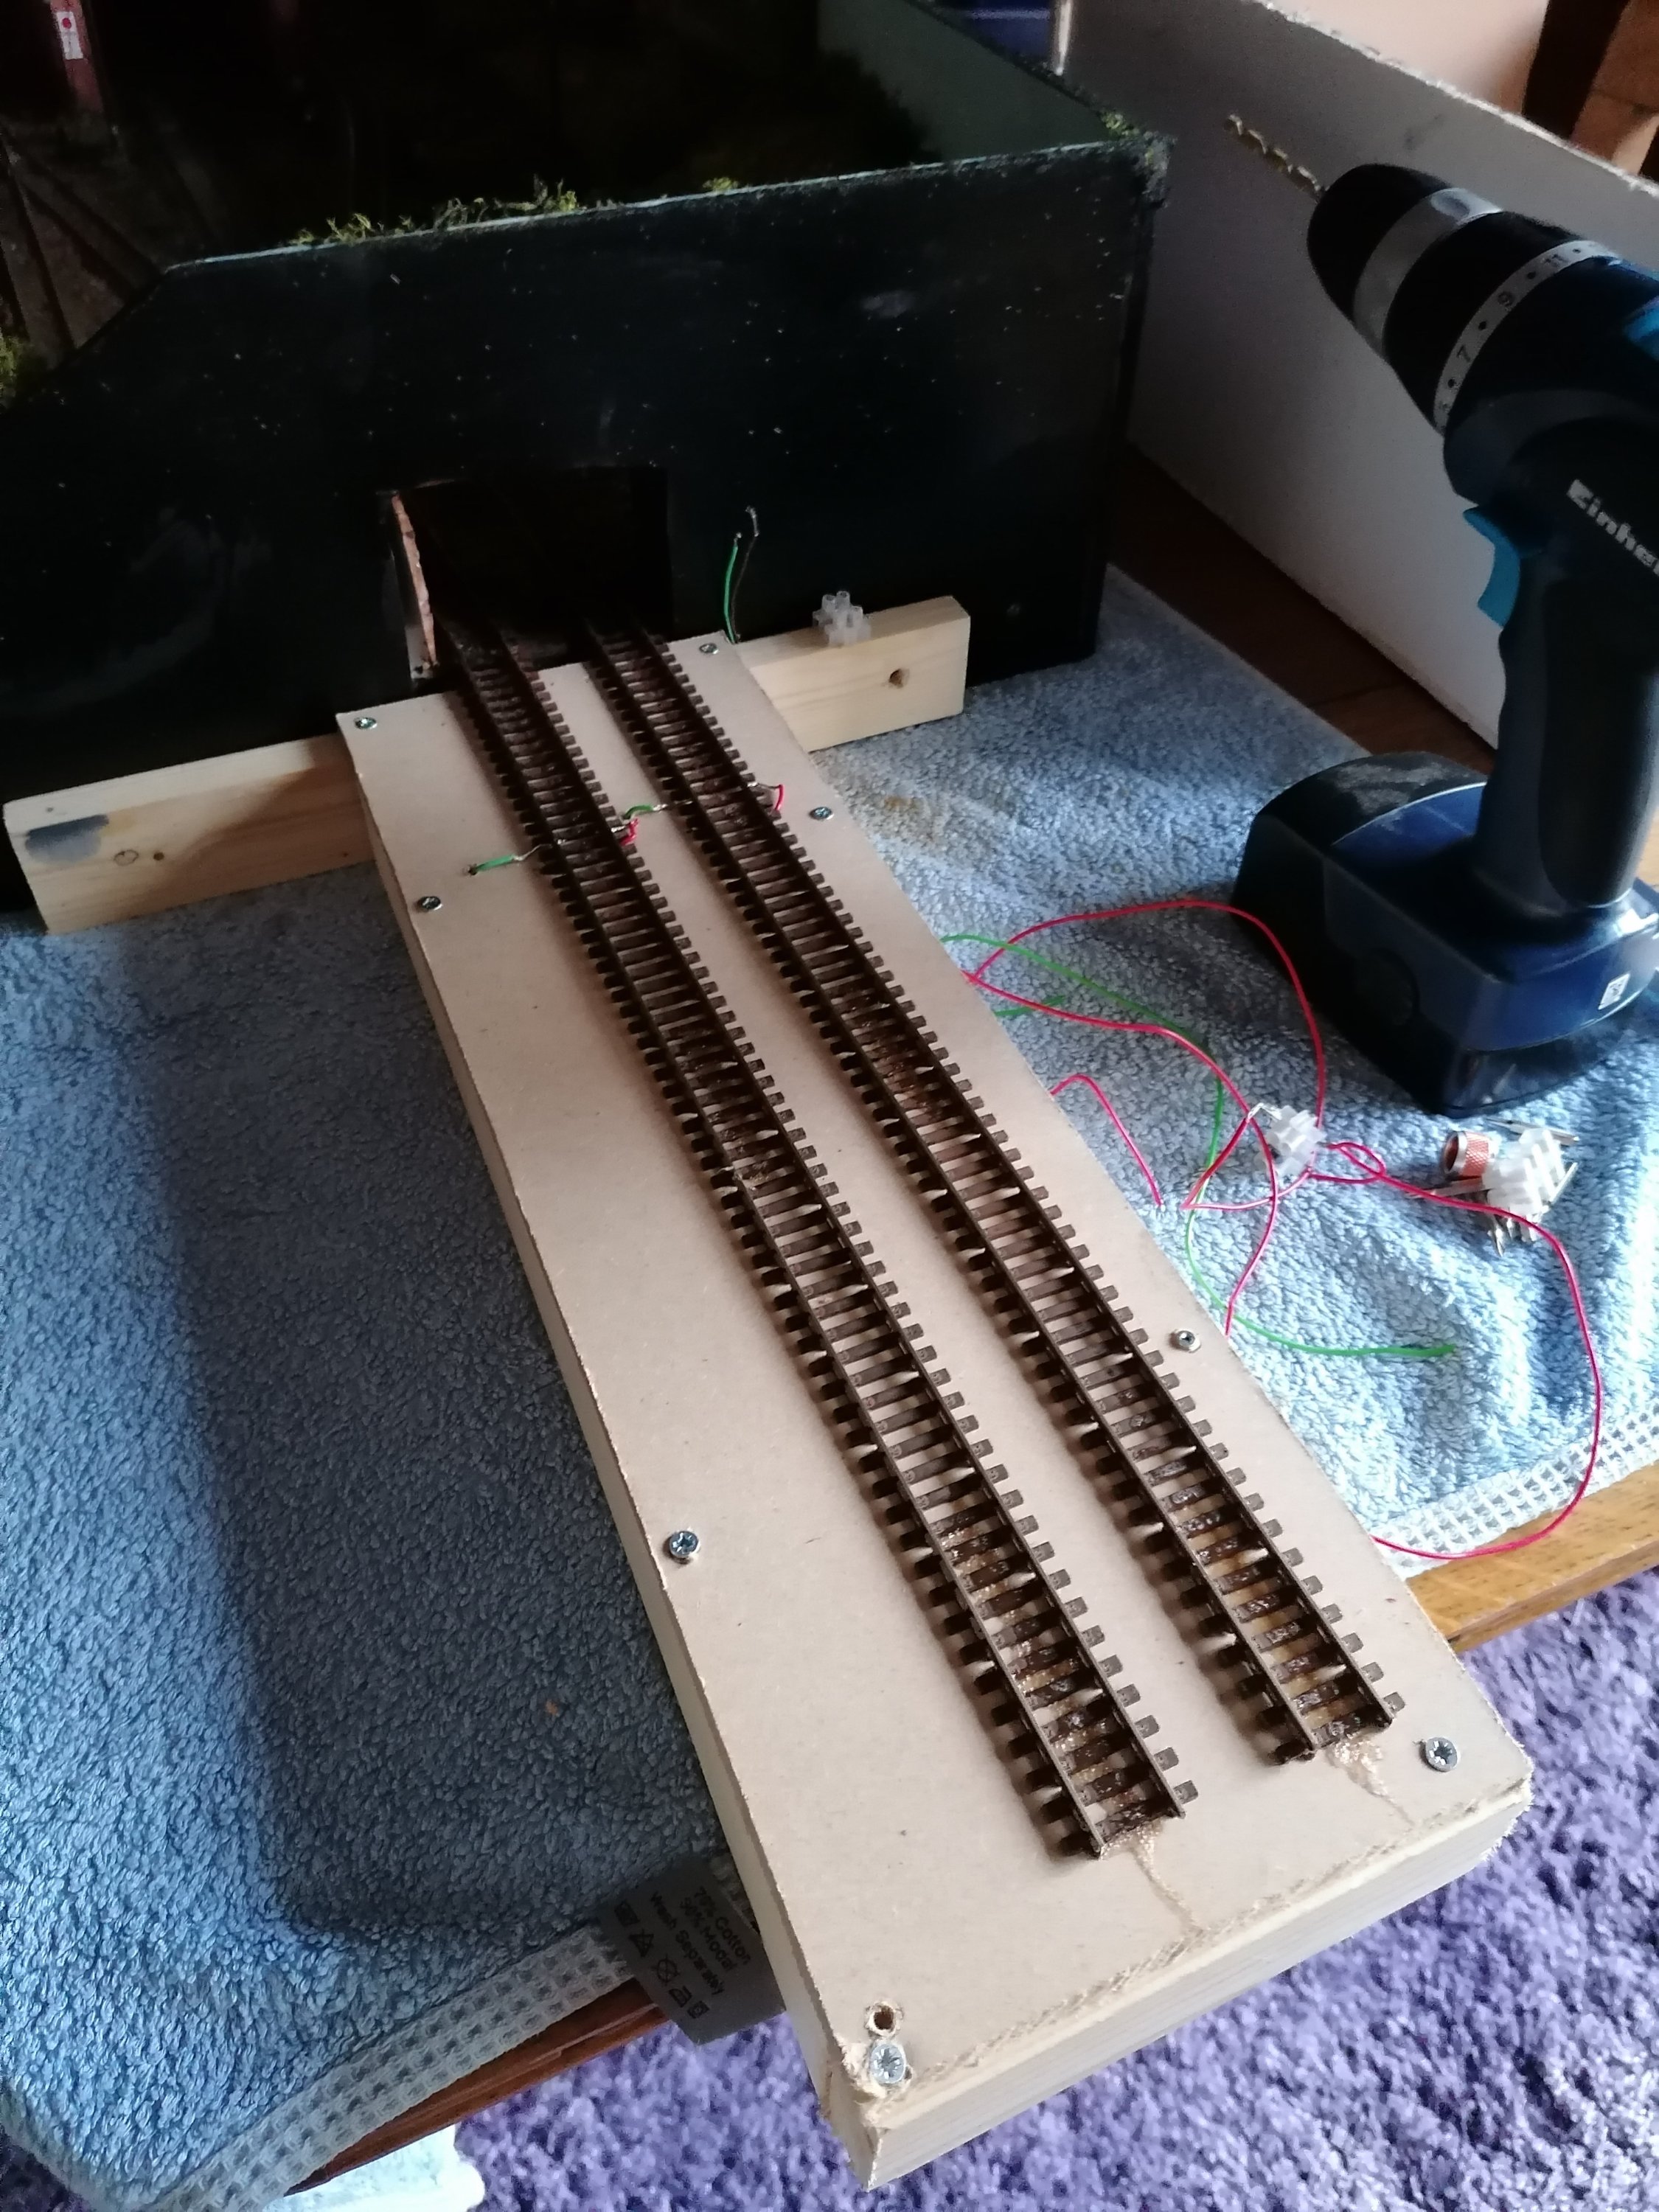
So to the fiddle yard, this is whare trains disappear into the “rest of the world”. From an operating point of view this allows in the case of SHIREBROOKE YARD to bring other engines into the yard area which allows plenty of operating opportunitys. As this is a layout exclusively for engines to operate in a simple two track fiddle yard is all thats required. Once in the fiddle yard. This is where the baked beans come in! (weigh down track until glue is dry).
So it seems we are ready to power up and see if it all works. Obviously this is the moment of truth.
Firstly connect the power bus from the layout to the fiddle yard and then connect your power bus to your controller. Then turn on the power, the first thing you want is no short circuits or wires connected up wrong as this will cut out your controller. Hopefully this is not the case you have a green light.
Luckily for me my wiring was sound and my tank engine ran first time…. Phew!!!
Only problem I came across was one of the points didn’t have an electrical connection so trains stopped running when going over that point. This can be very frustrating as there are many reasons for this. It could be paint from when I weathered the track or a grain of ballast stopping the points making an electrical connection. Hopefully it’s not a dodgy point as this would mean a replacement.
In my case it was just a matter of cleaning the paint and removing some ballast and it was fine.
Now I would be lying if I said there weren’t some issues over the course of the build and next time I’ll come clean and tell you what they were.
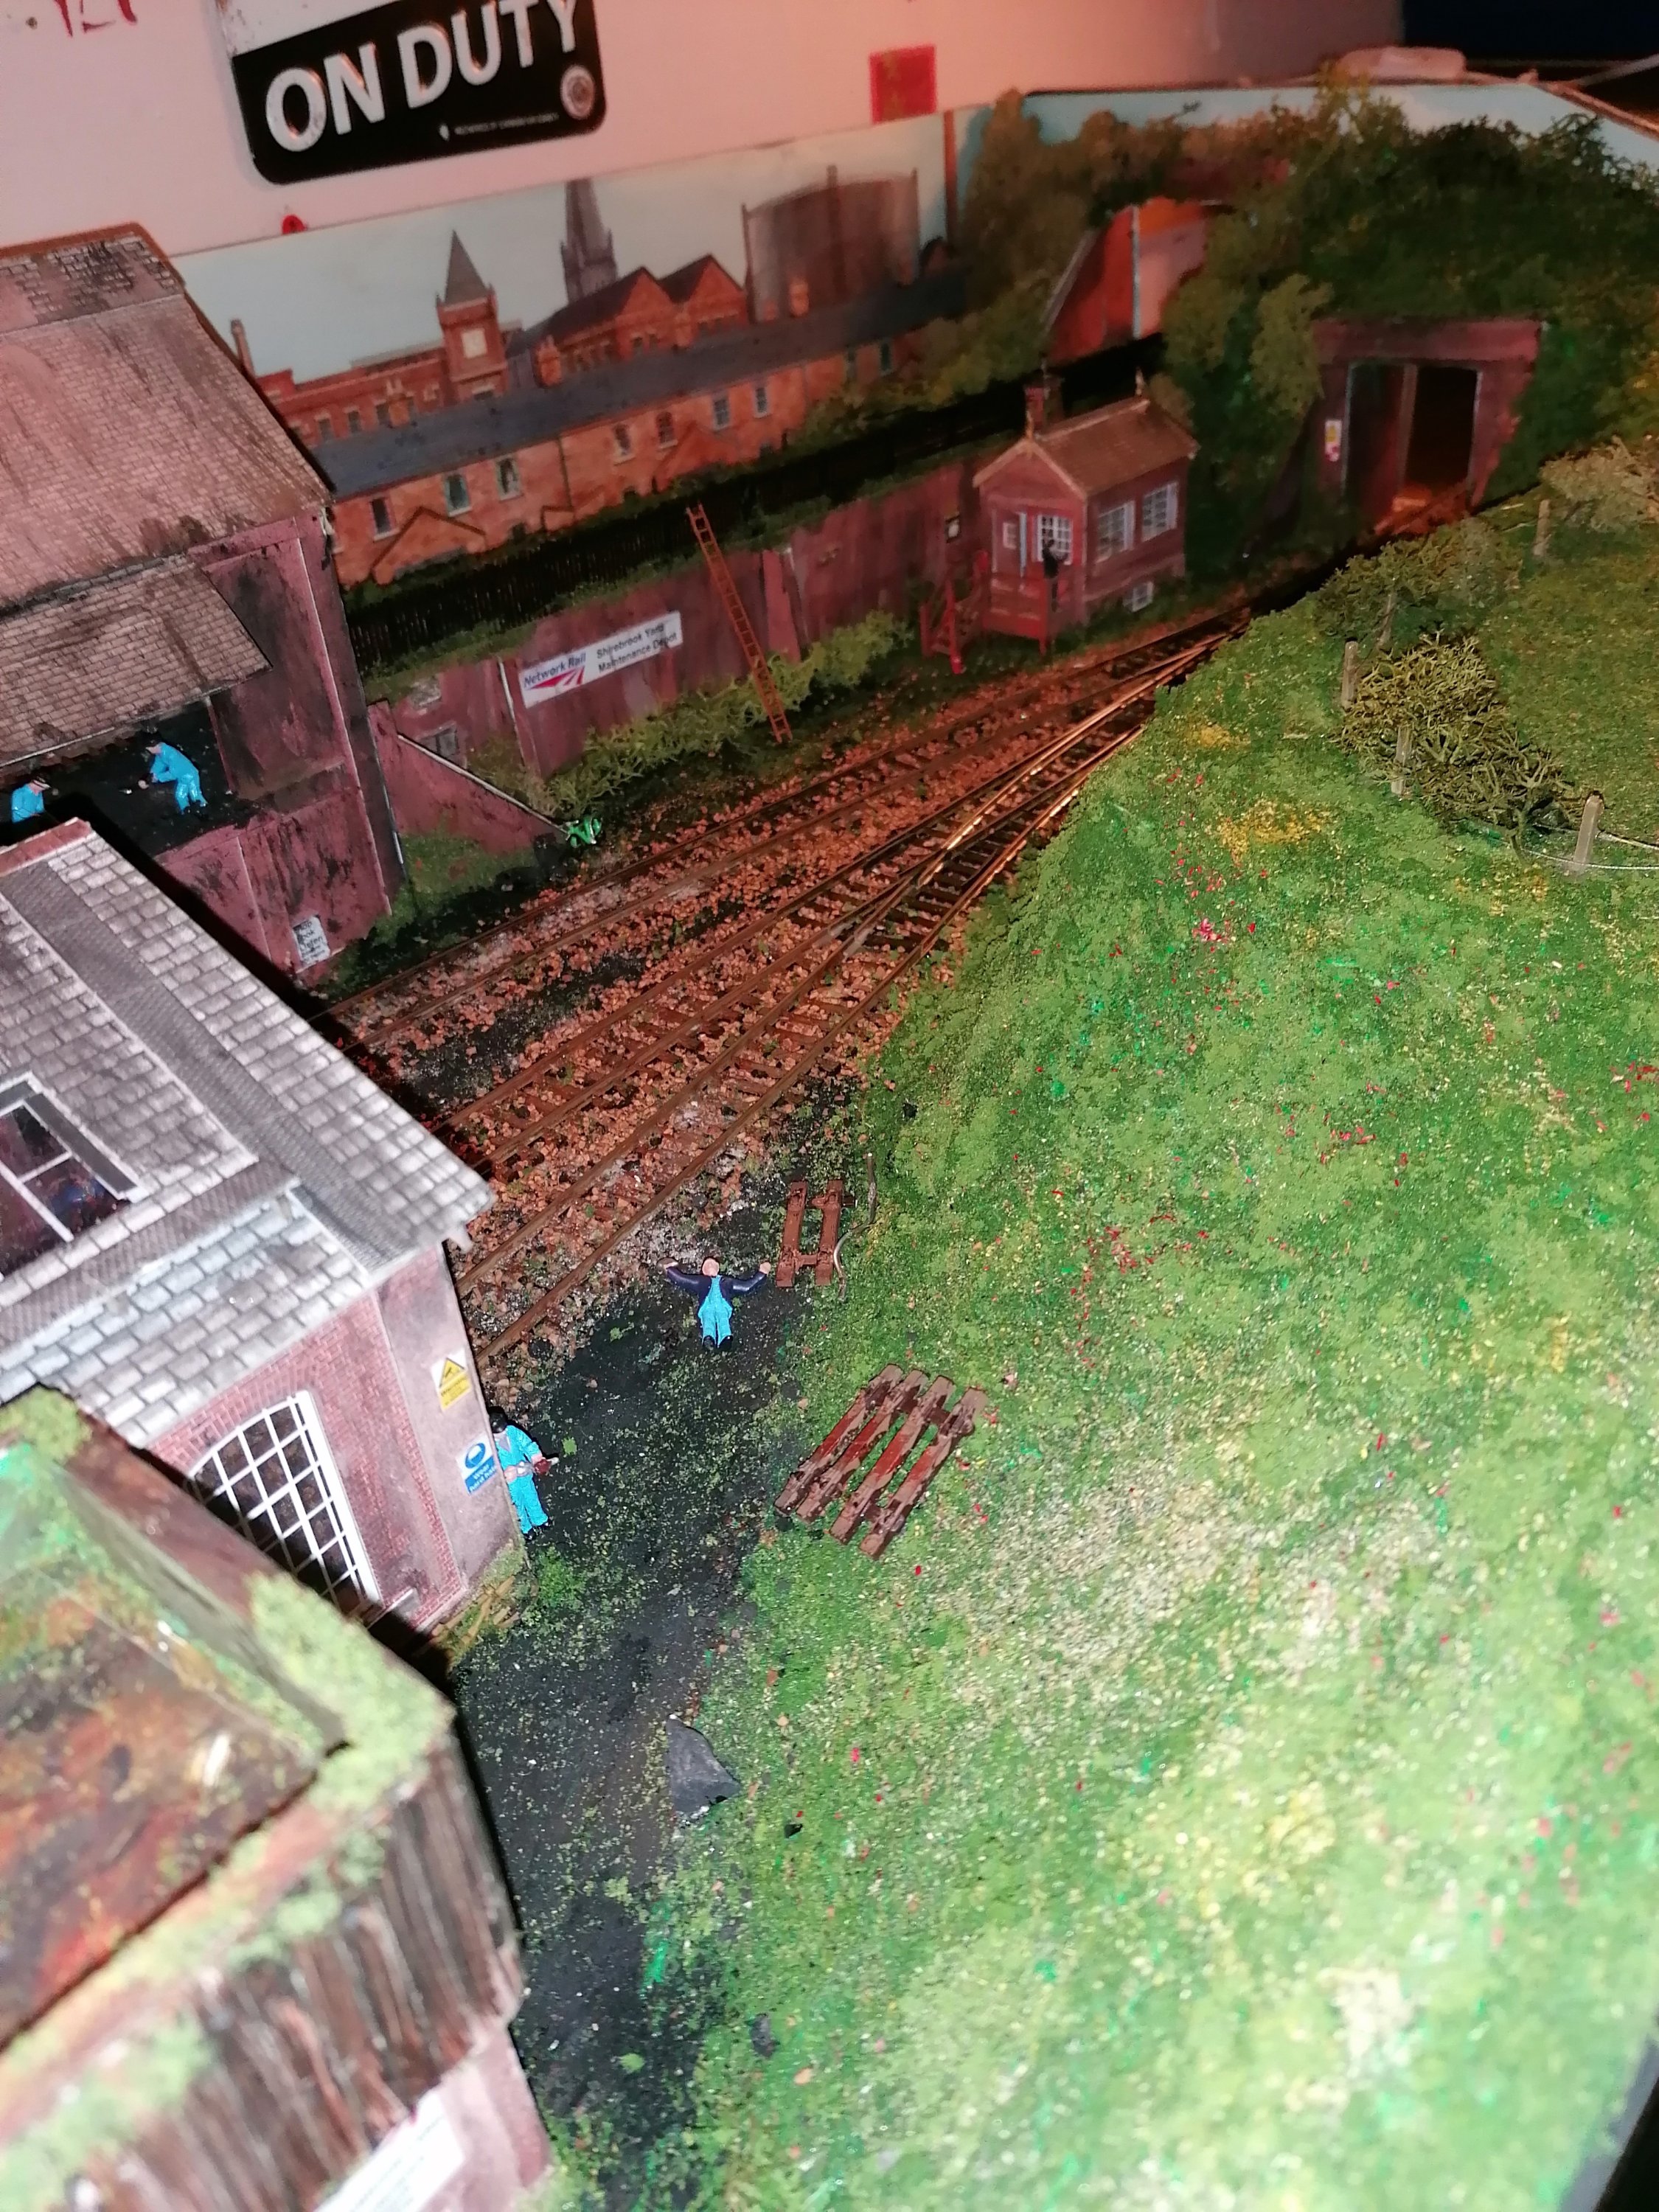
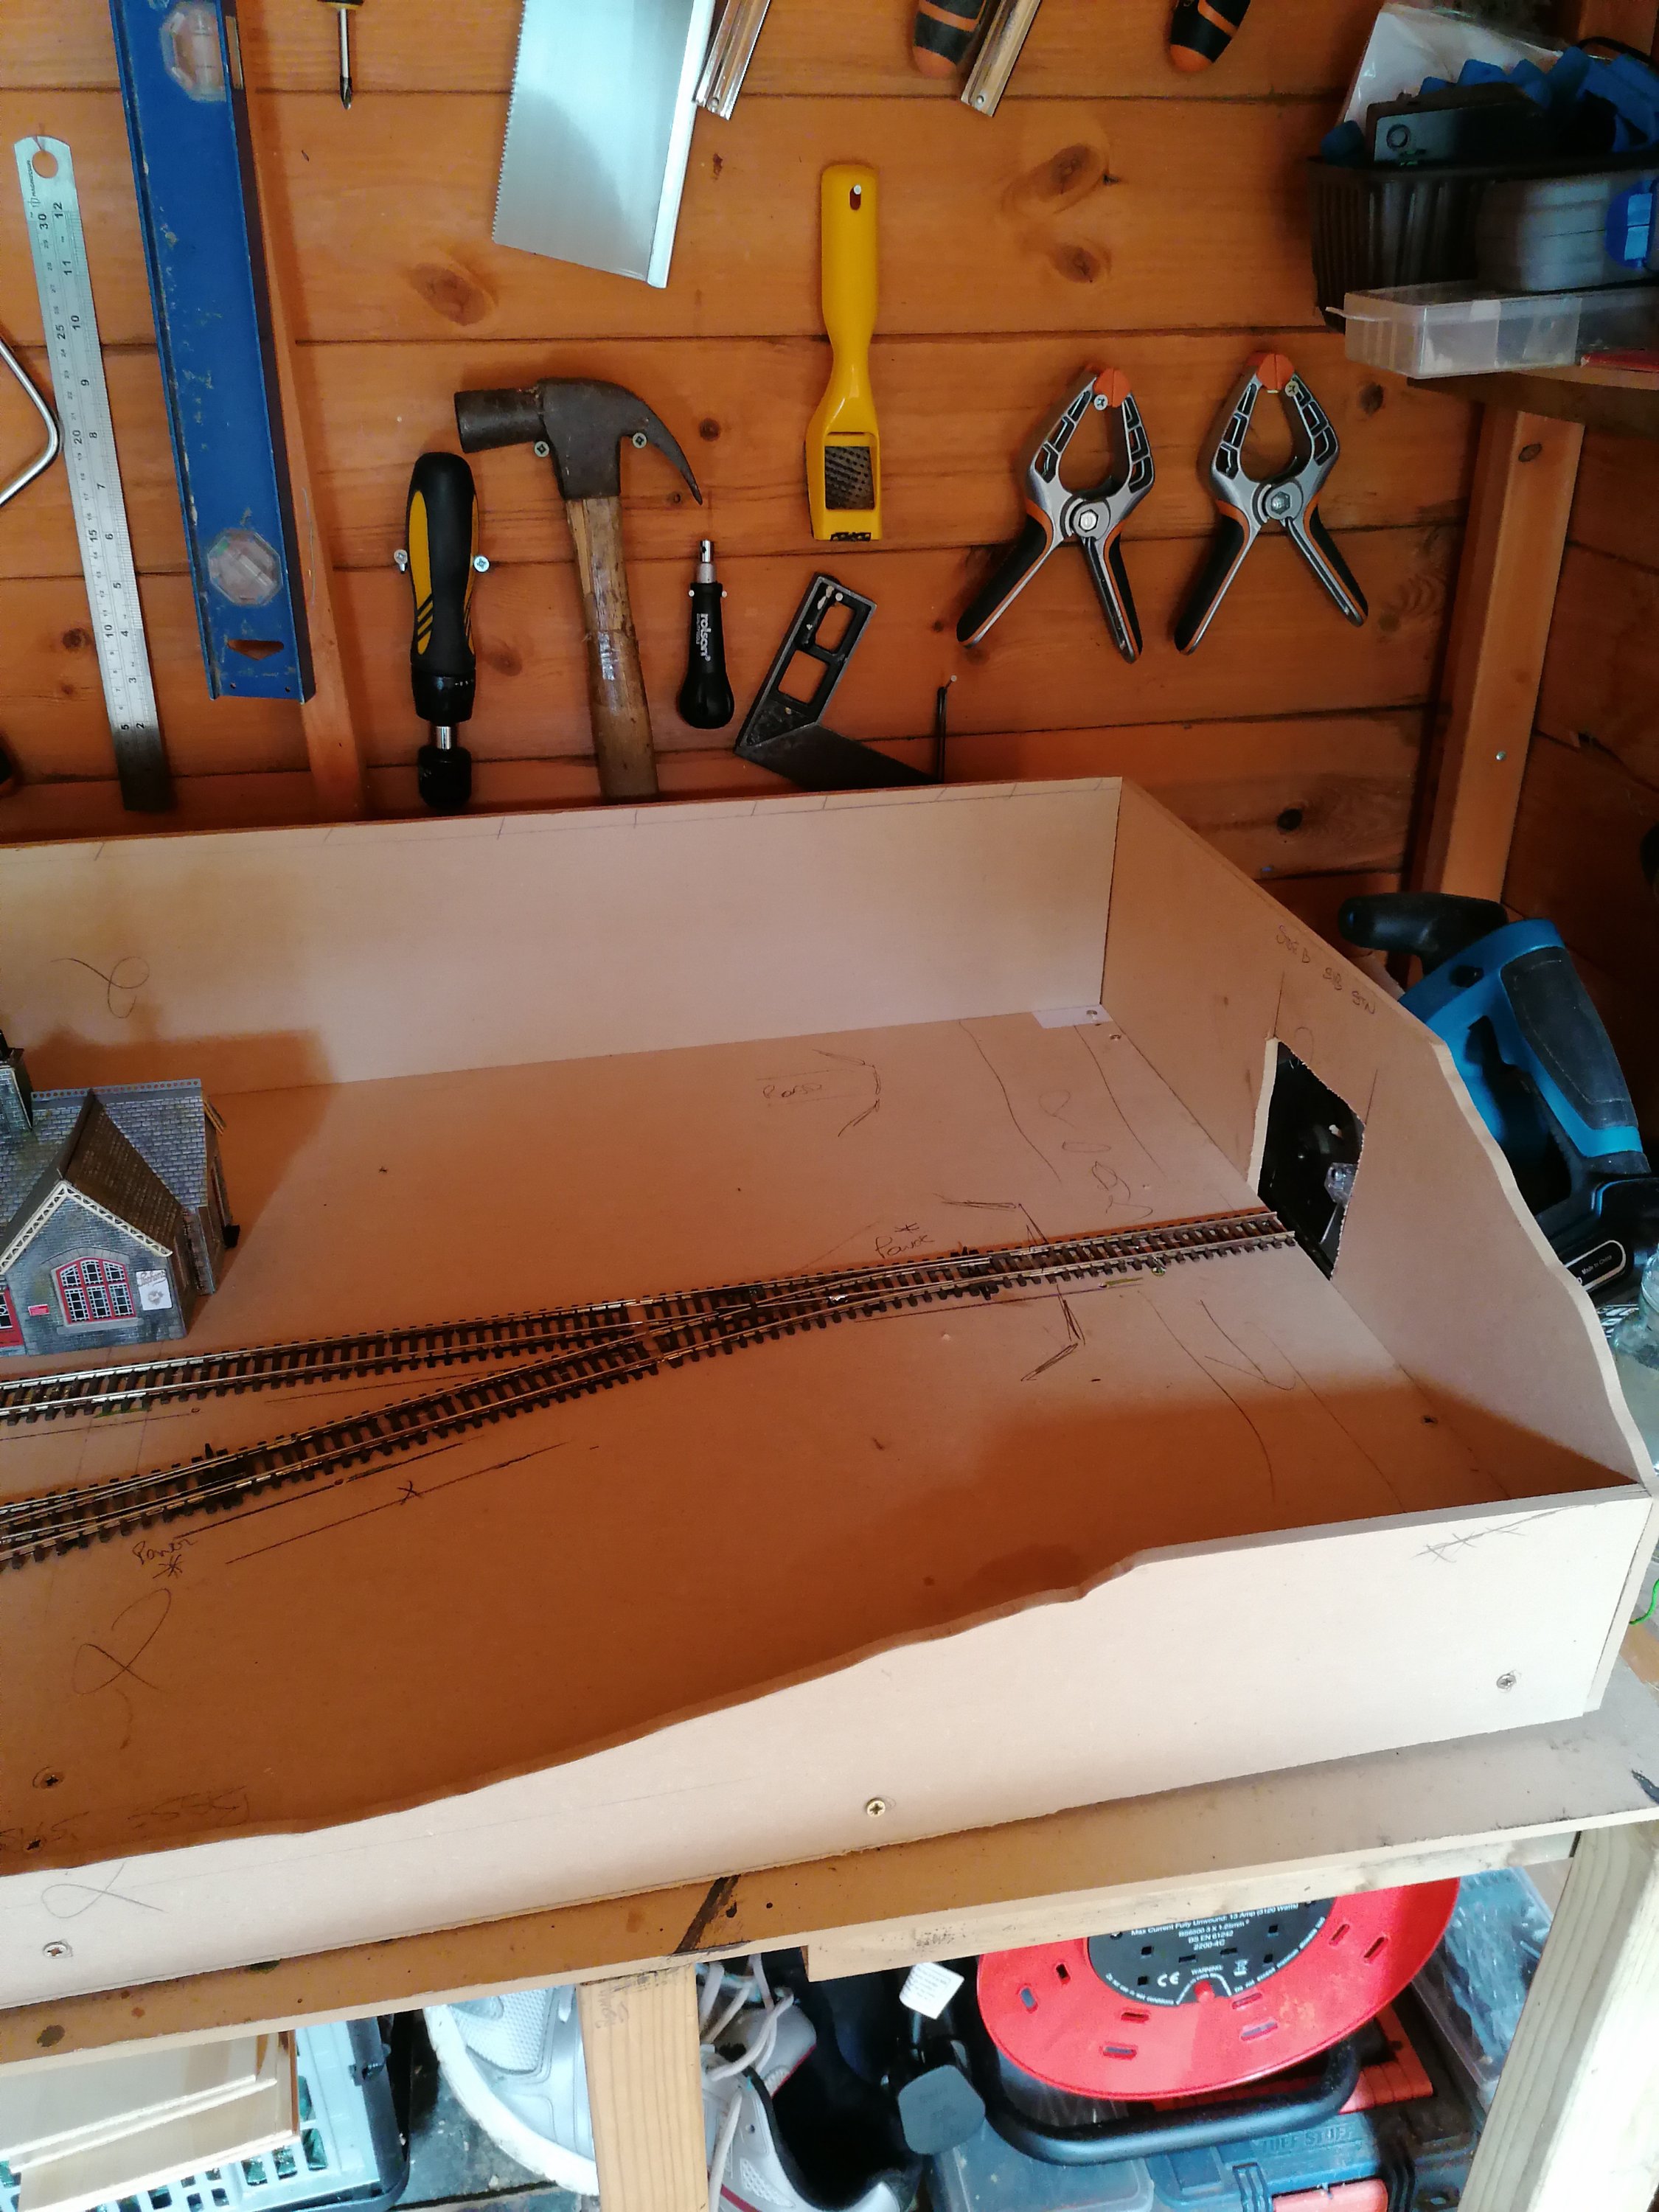
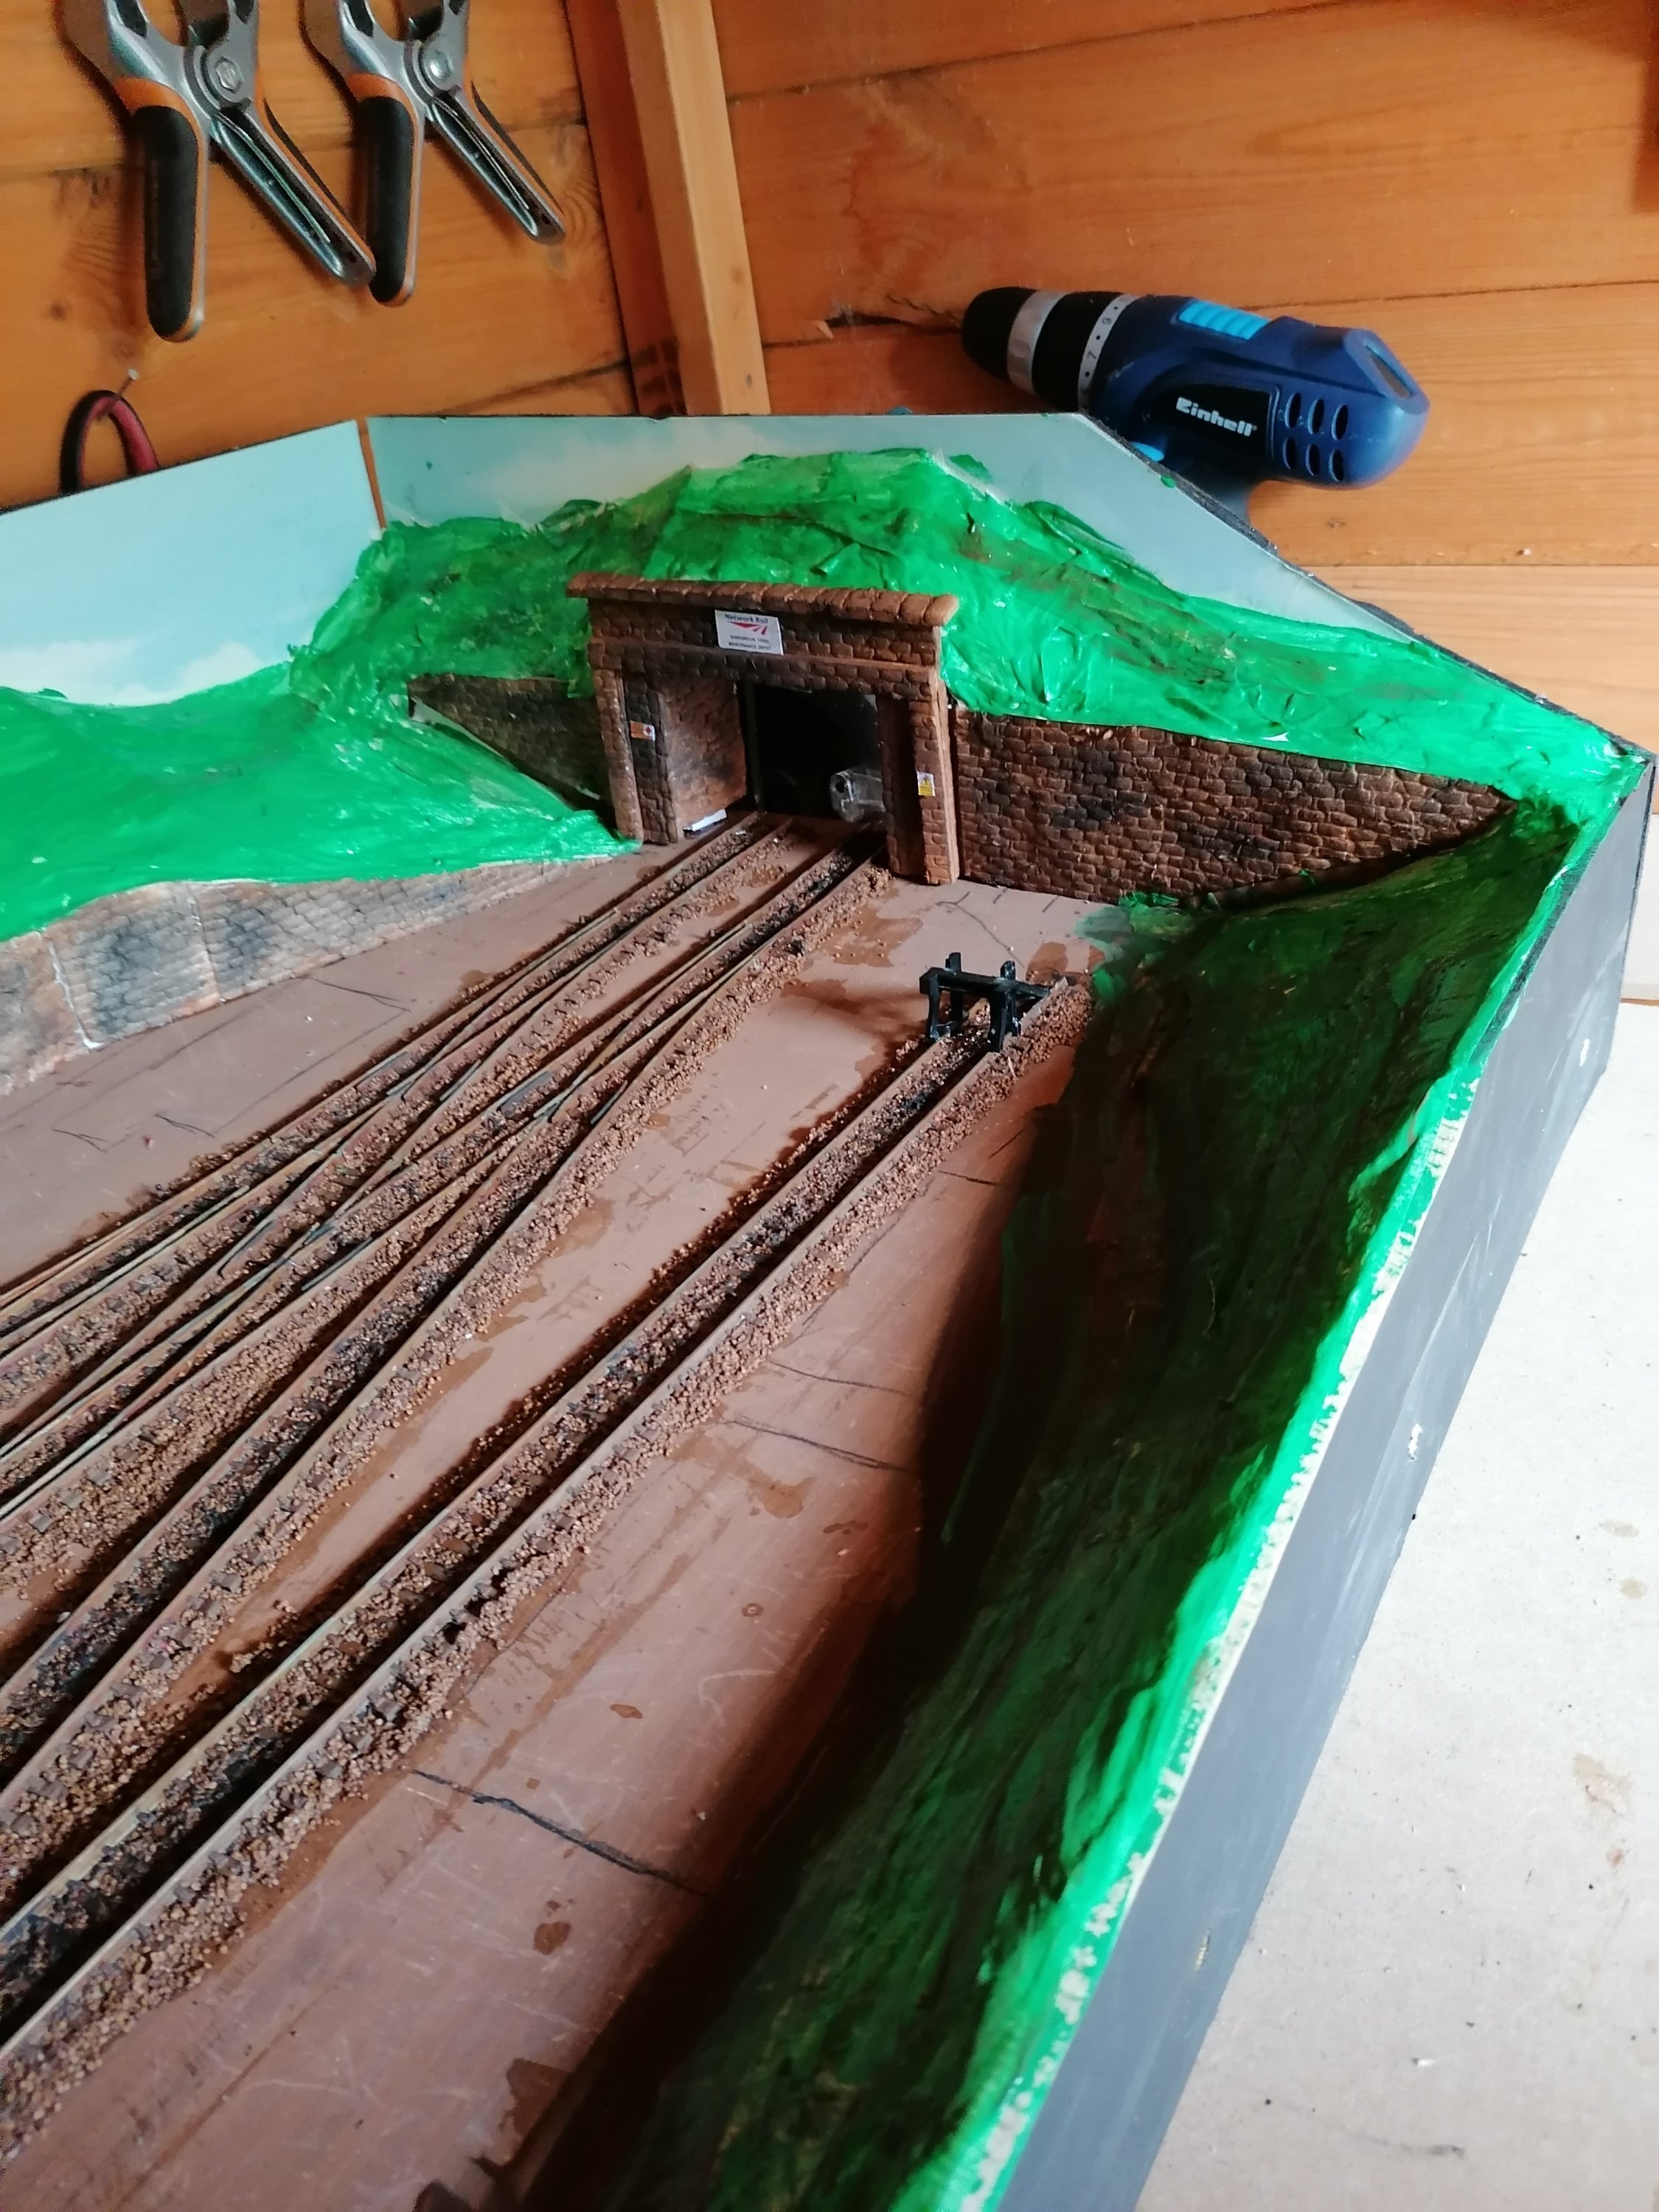
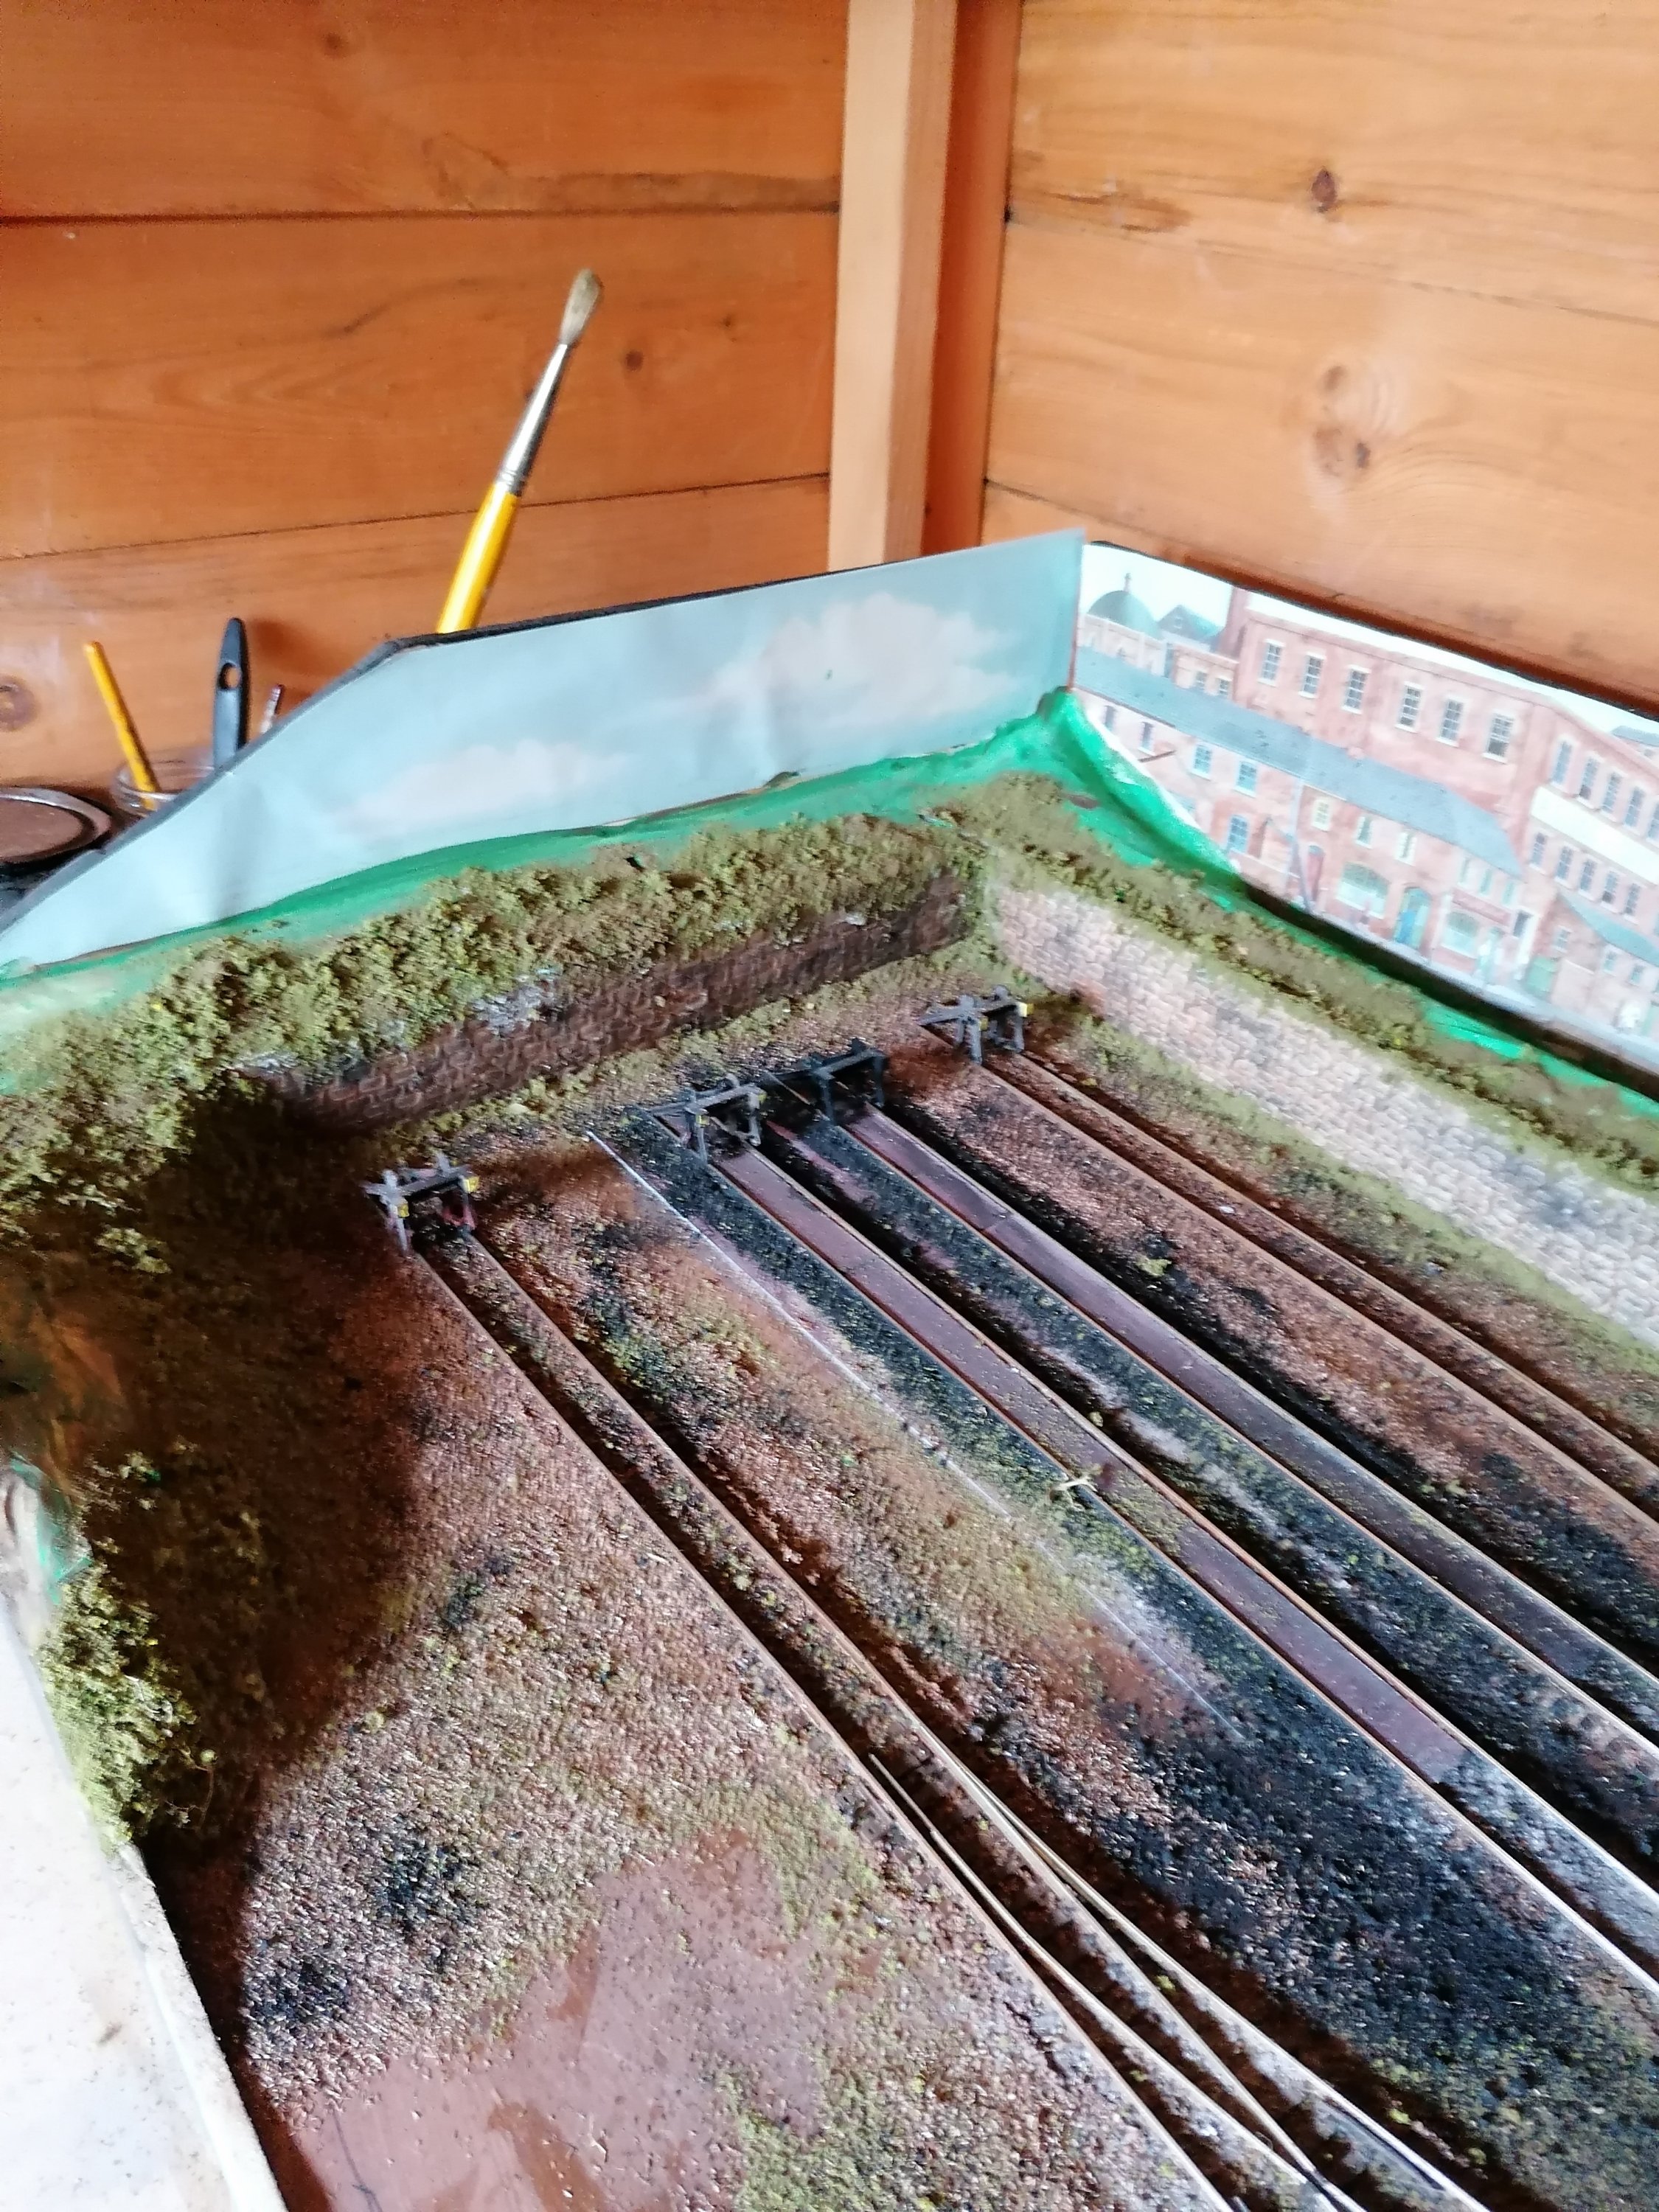
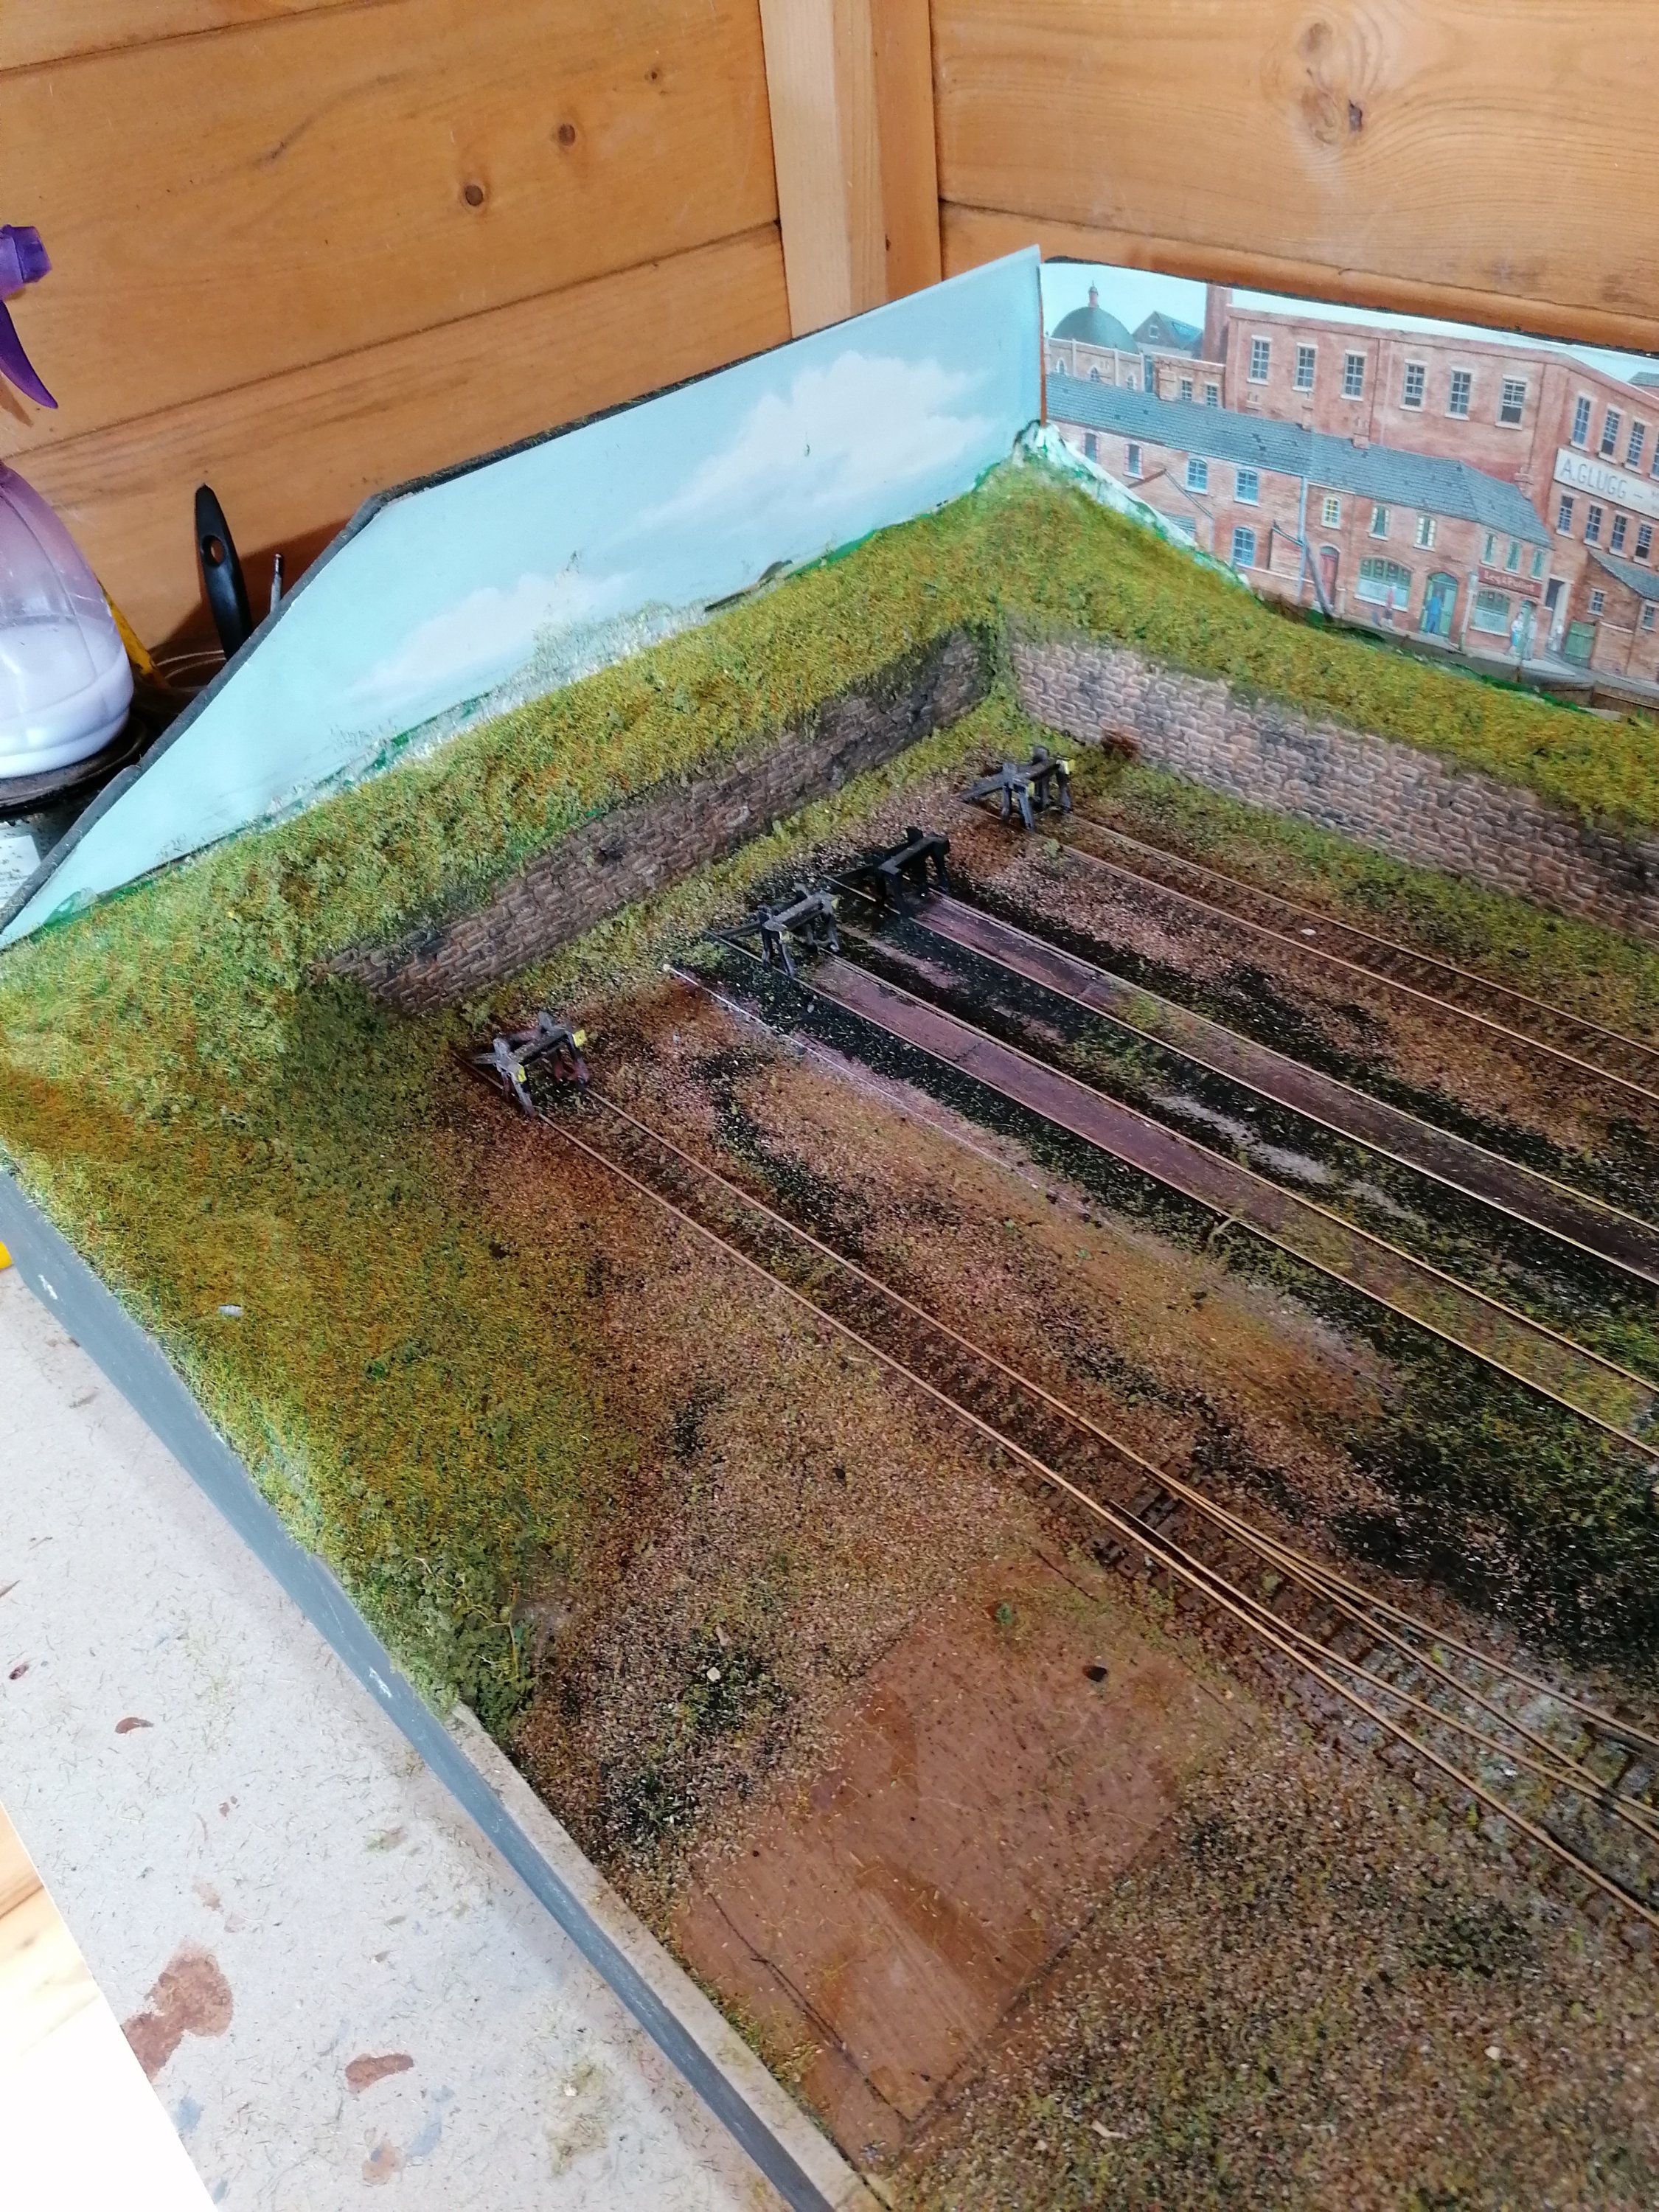
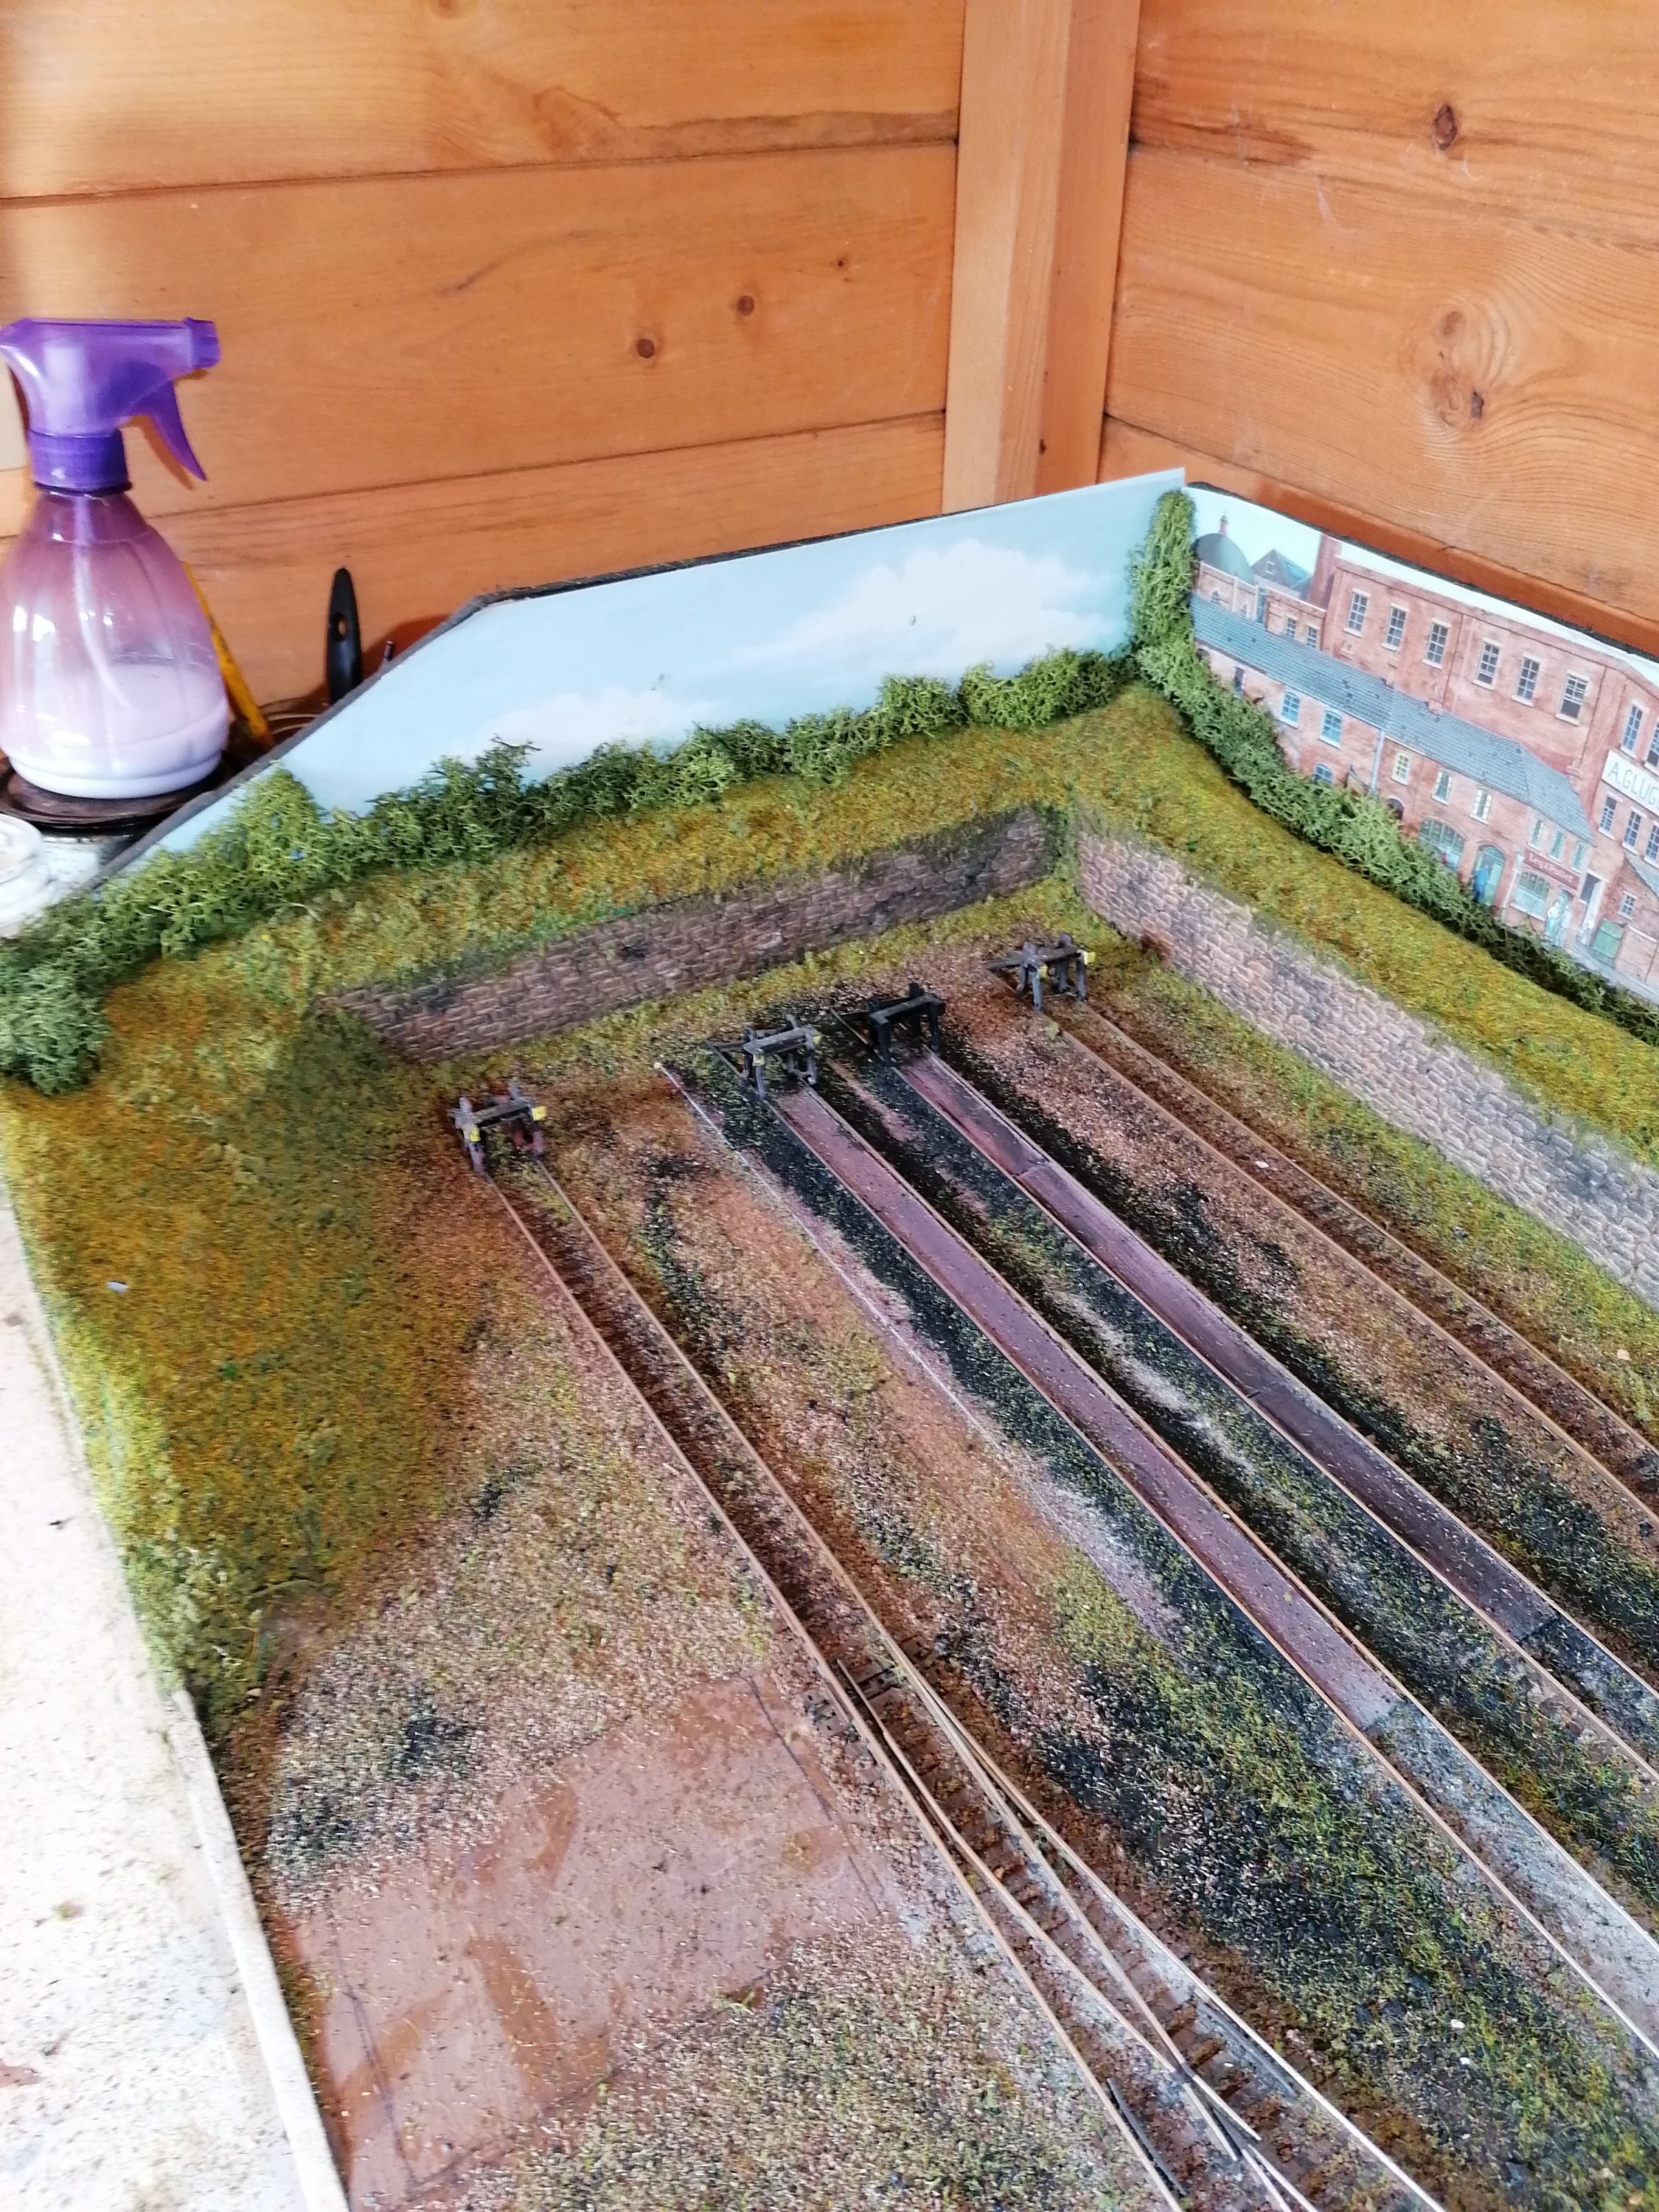
So just to remind you where we left SHIREBROOKE YARD, track down, retaining walls up, cuttings built, painted and ready for flocking.
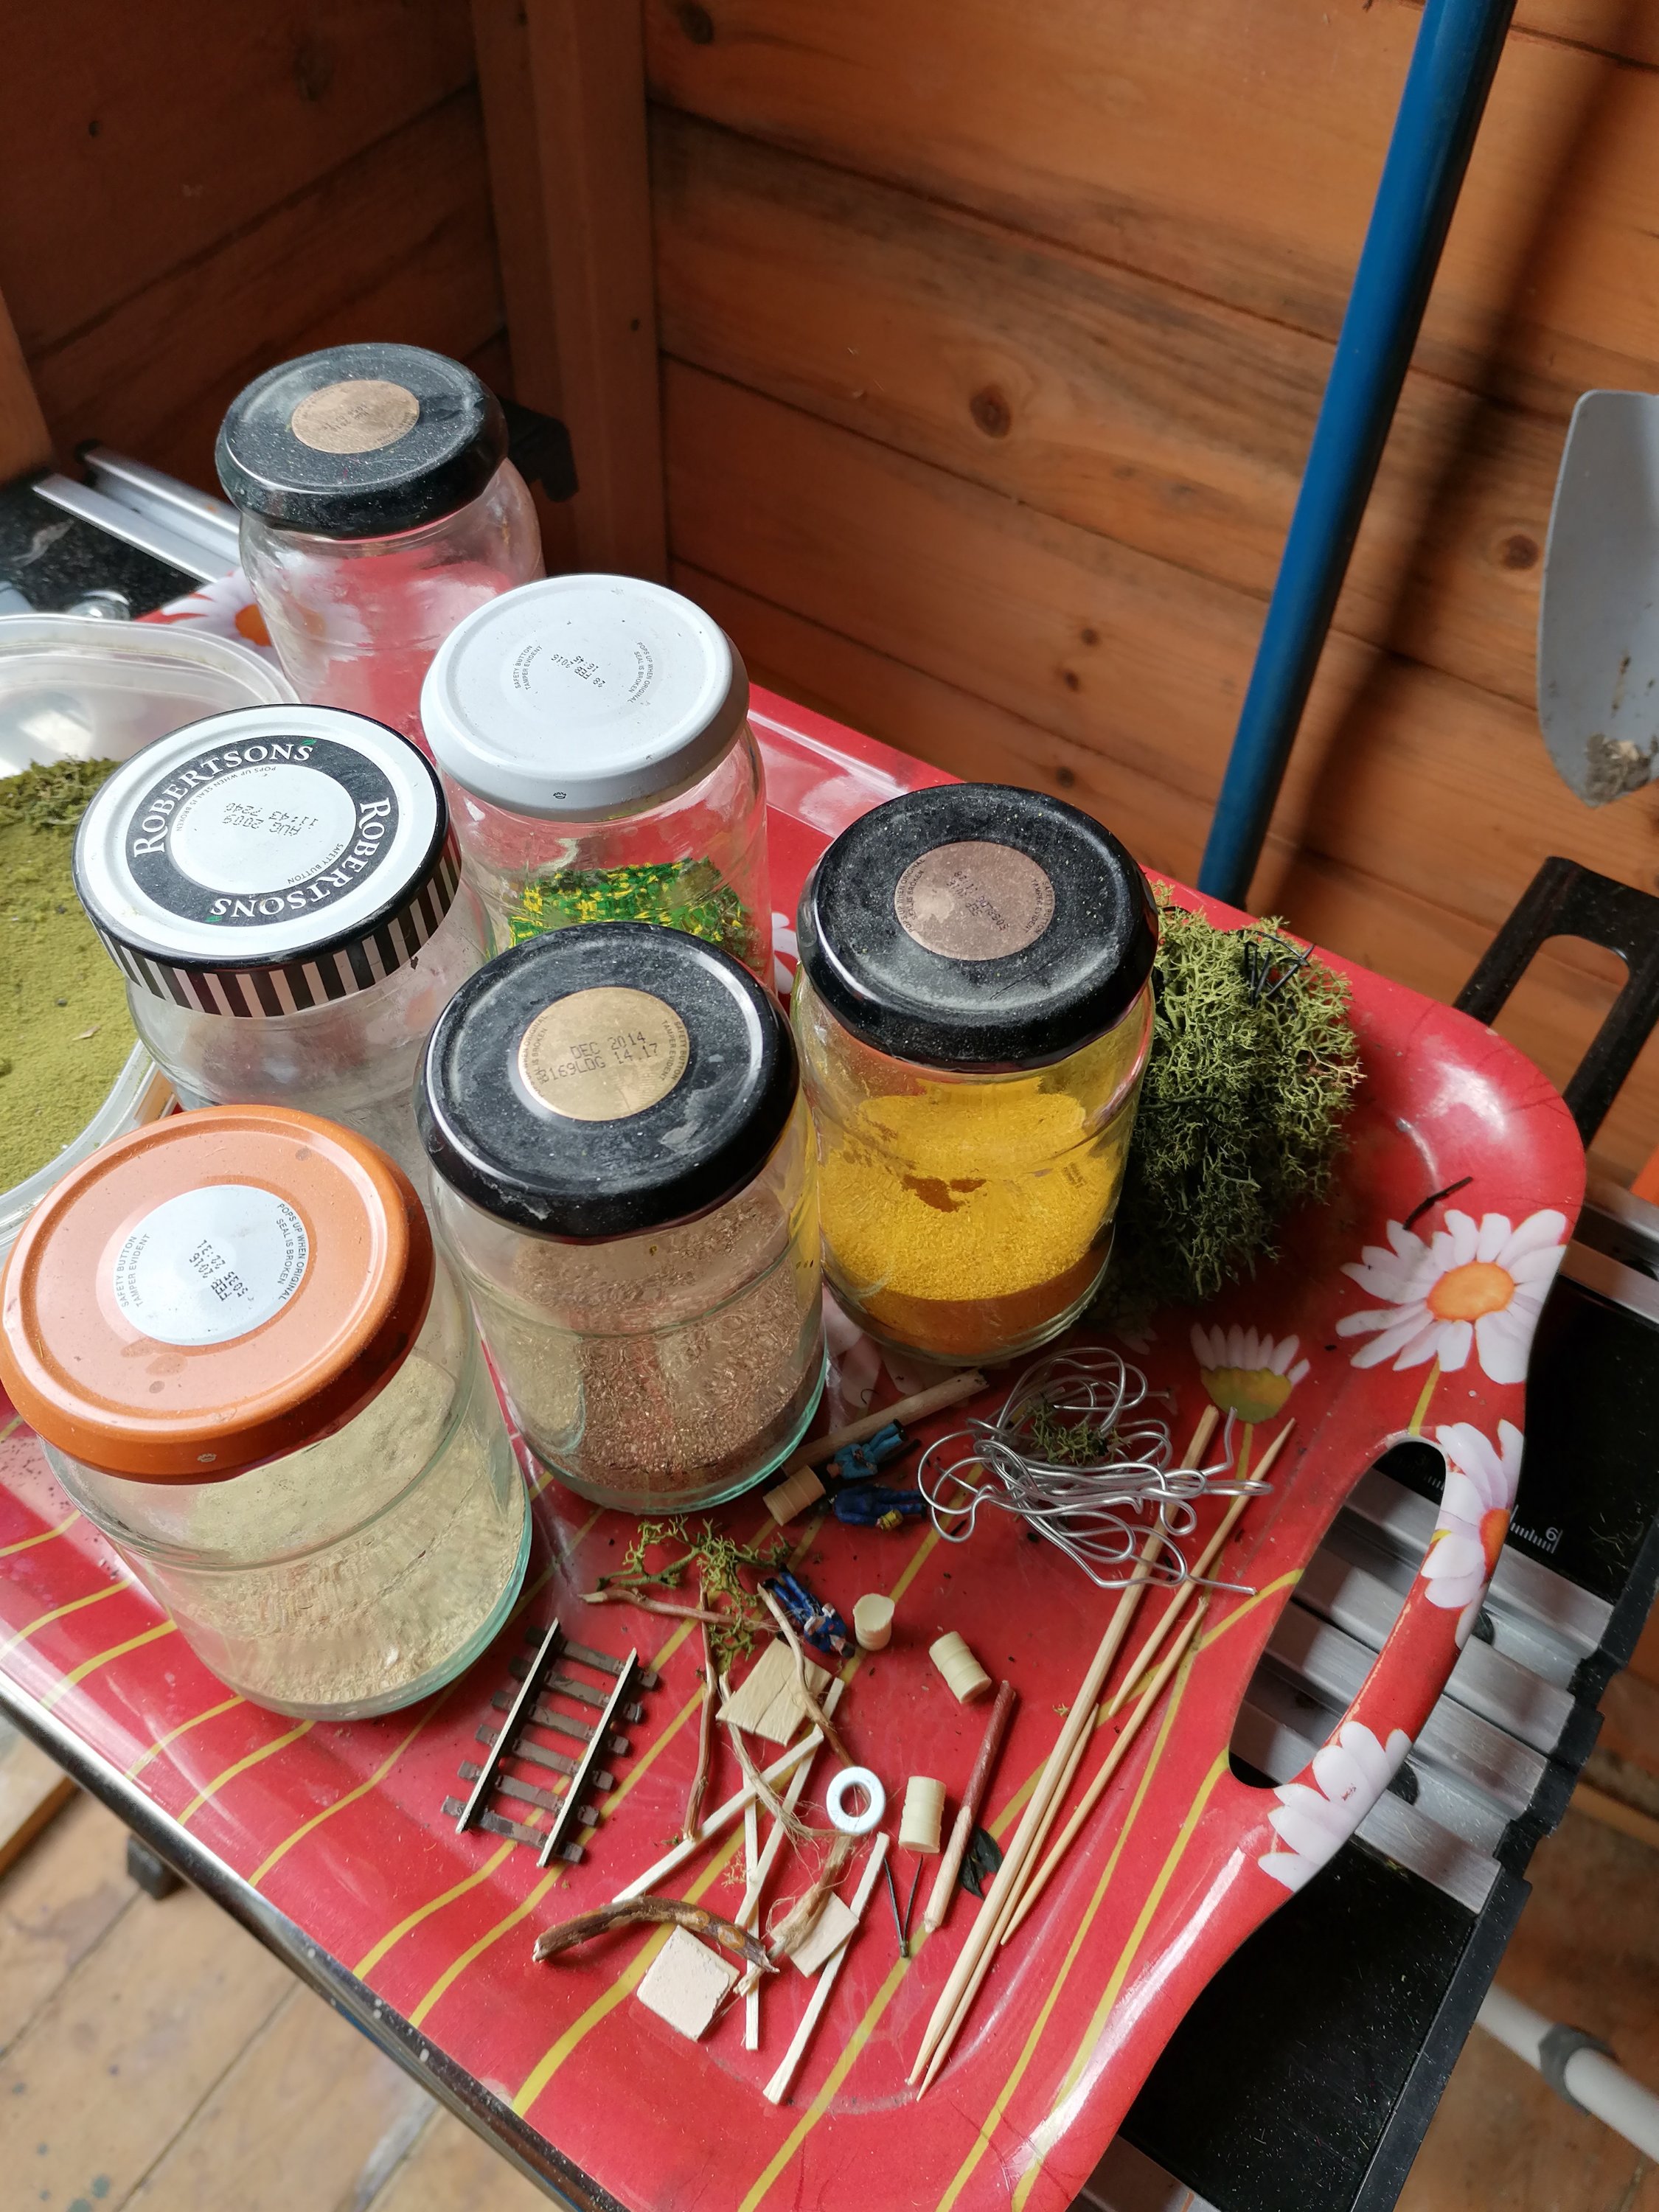
To the uninitiated Flock is coloured ground cover that you can buy from most model shops. To apply it you just put down a layer of PVA glue and sprinkle it on using different shades to add tone and texture. You can see the results of this on the two pictures below.
Another option is what is known as static grass which again can be bought from most stockist. The difference with this option is you need a static grass applicator to put an electrical charge through the grass. (these will cost around £20). The advantage is that you will end up with grass that mimics the real thing by standing up. A bed of PVA glue again is applied and the static grass is sprinkled through the applicator which gives it the charge and on hitting the glue it will stand up. Using different lengths of static grass will give the grass a more realistic look. As you can see mixing these two Flock and static grass gives a realistic look.
Next some Vegetation is added to give the look of hedges, bushes and small trees. At this point it’s a good idea to use a 50/50 mix of PVA and water sprayed over the work you have don’t to seal and secure loose bits.
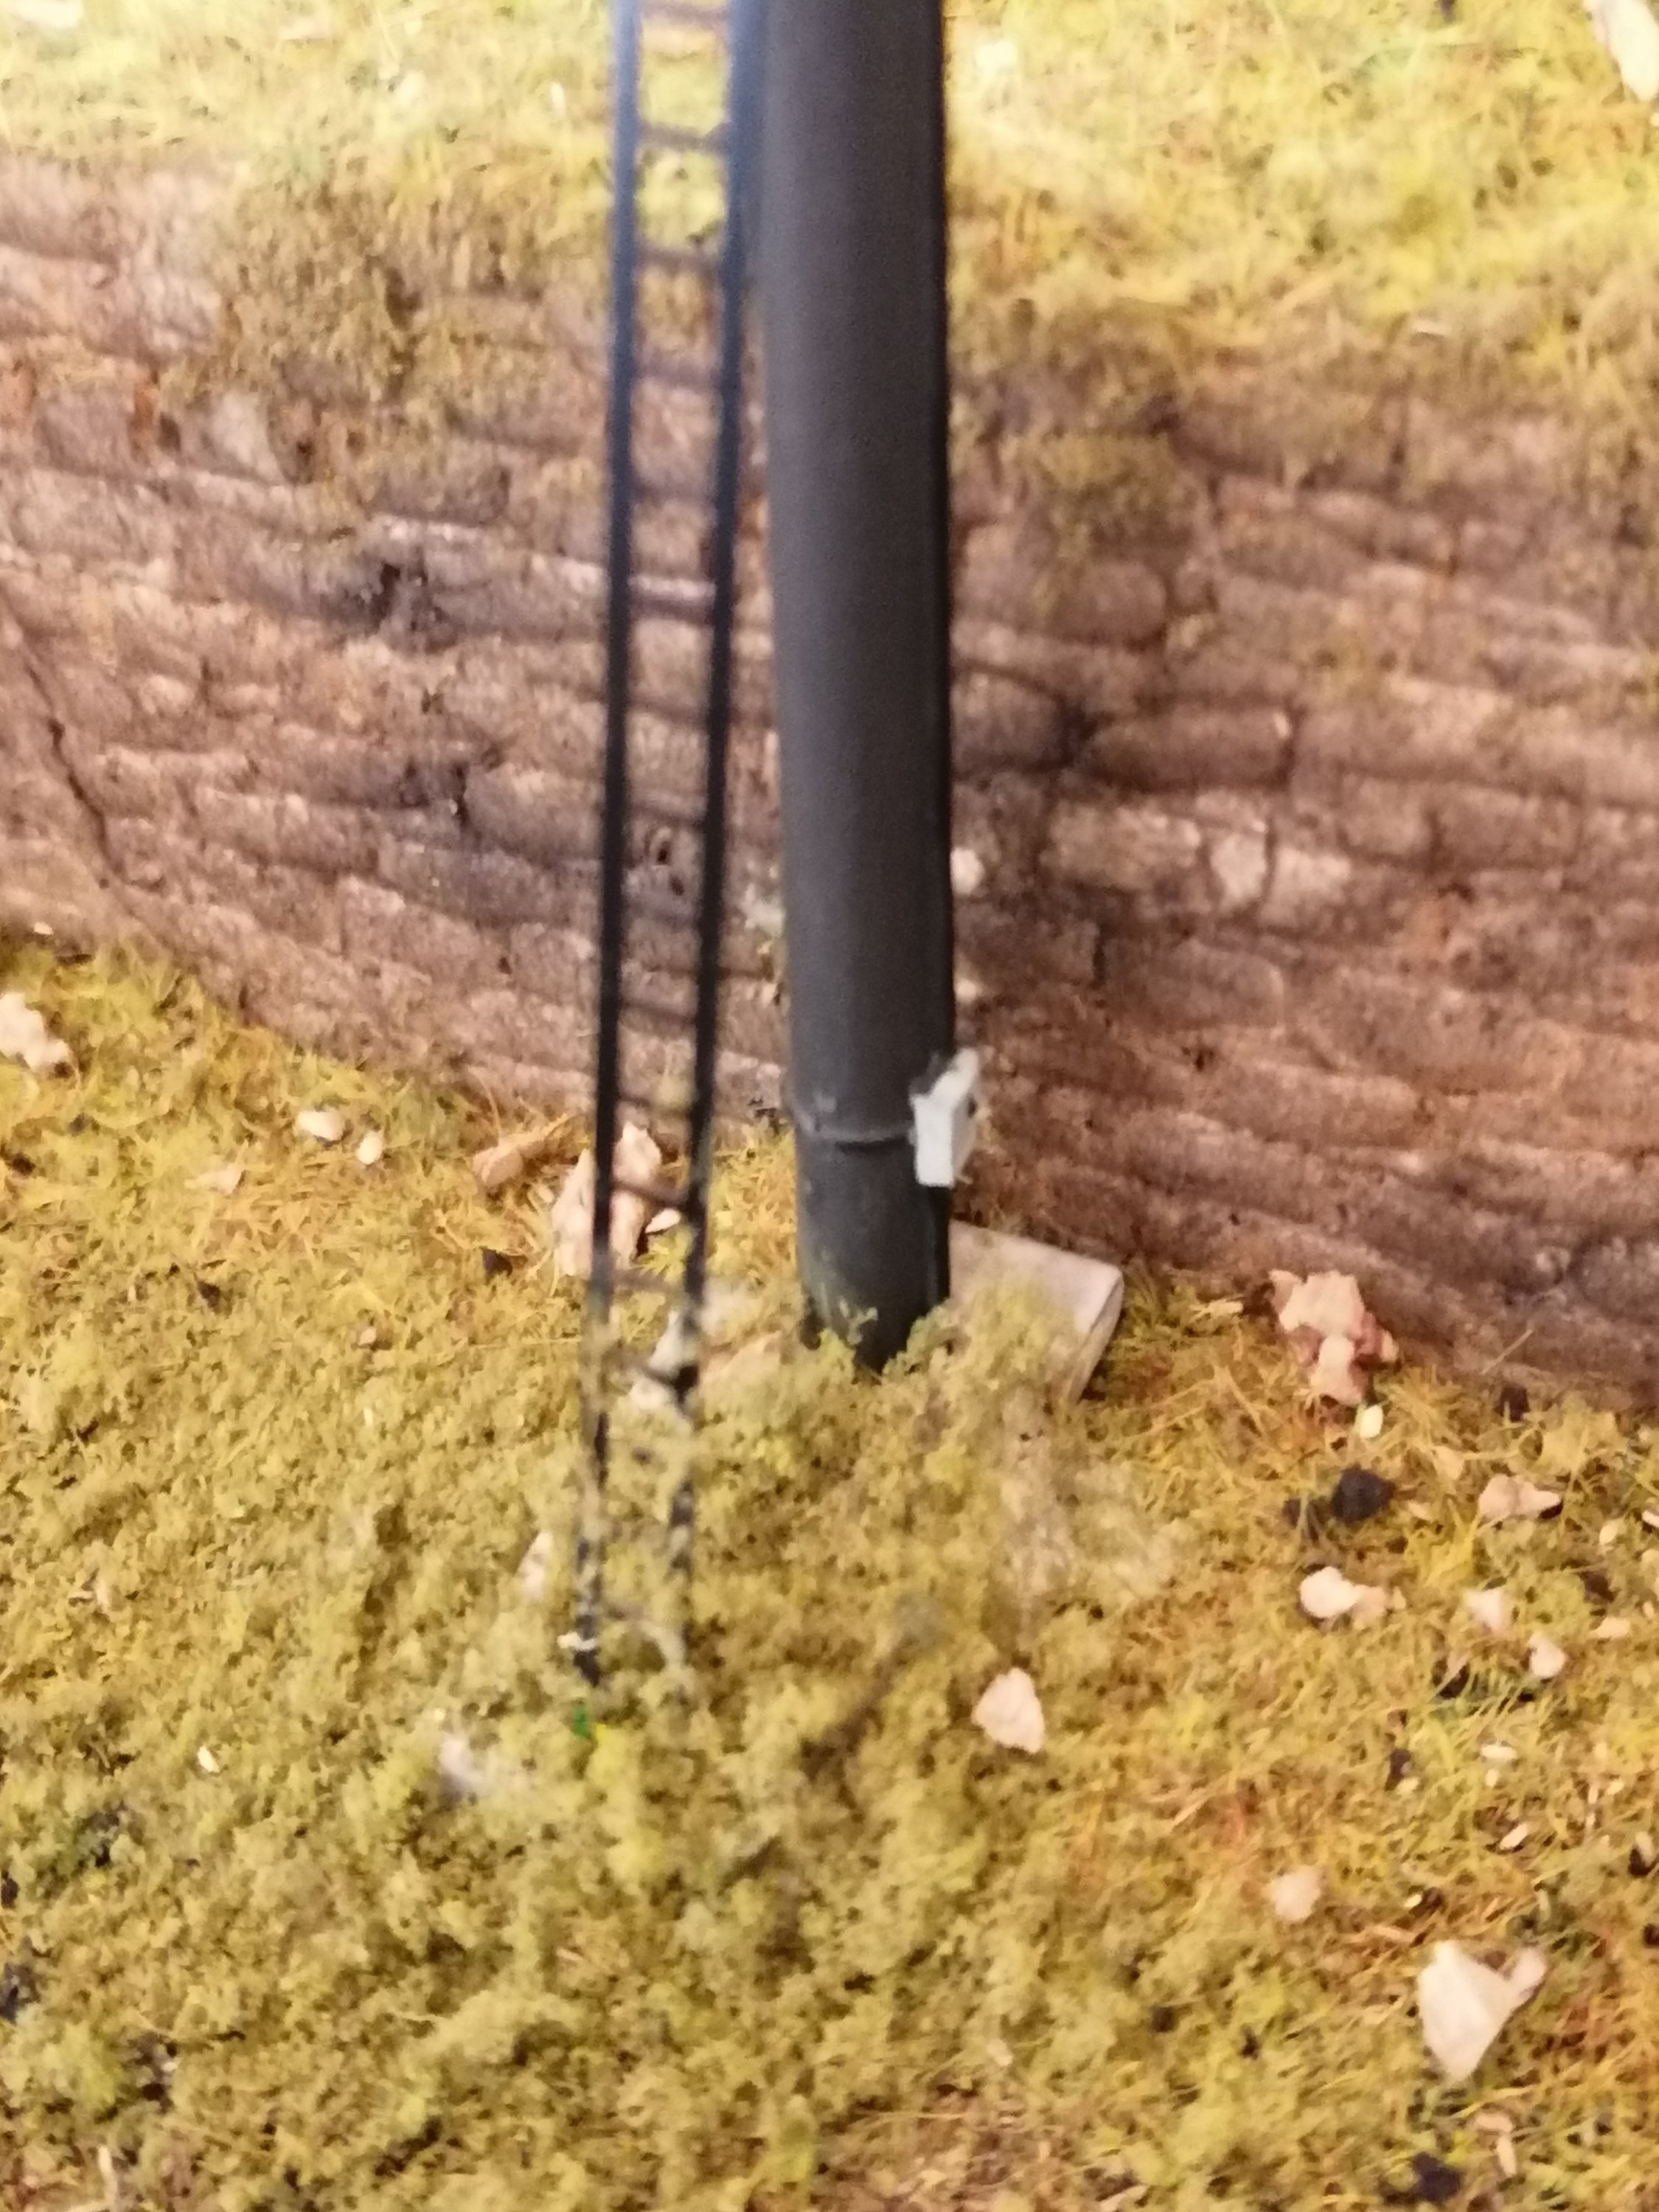
Now you can start to add finer details and buildings. There really is no end to the detailing you can do, coloured Flock, barrels, lamps, ladders, figures to name but a few. Remember your trying to re create the real world so let your imagination run wild!
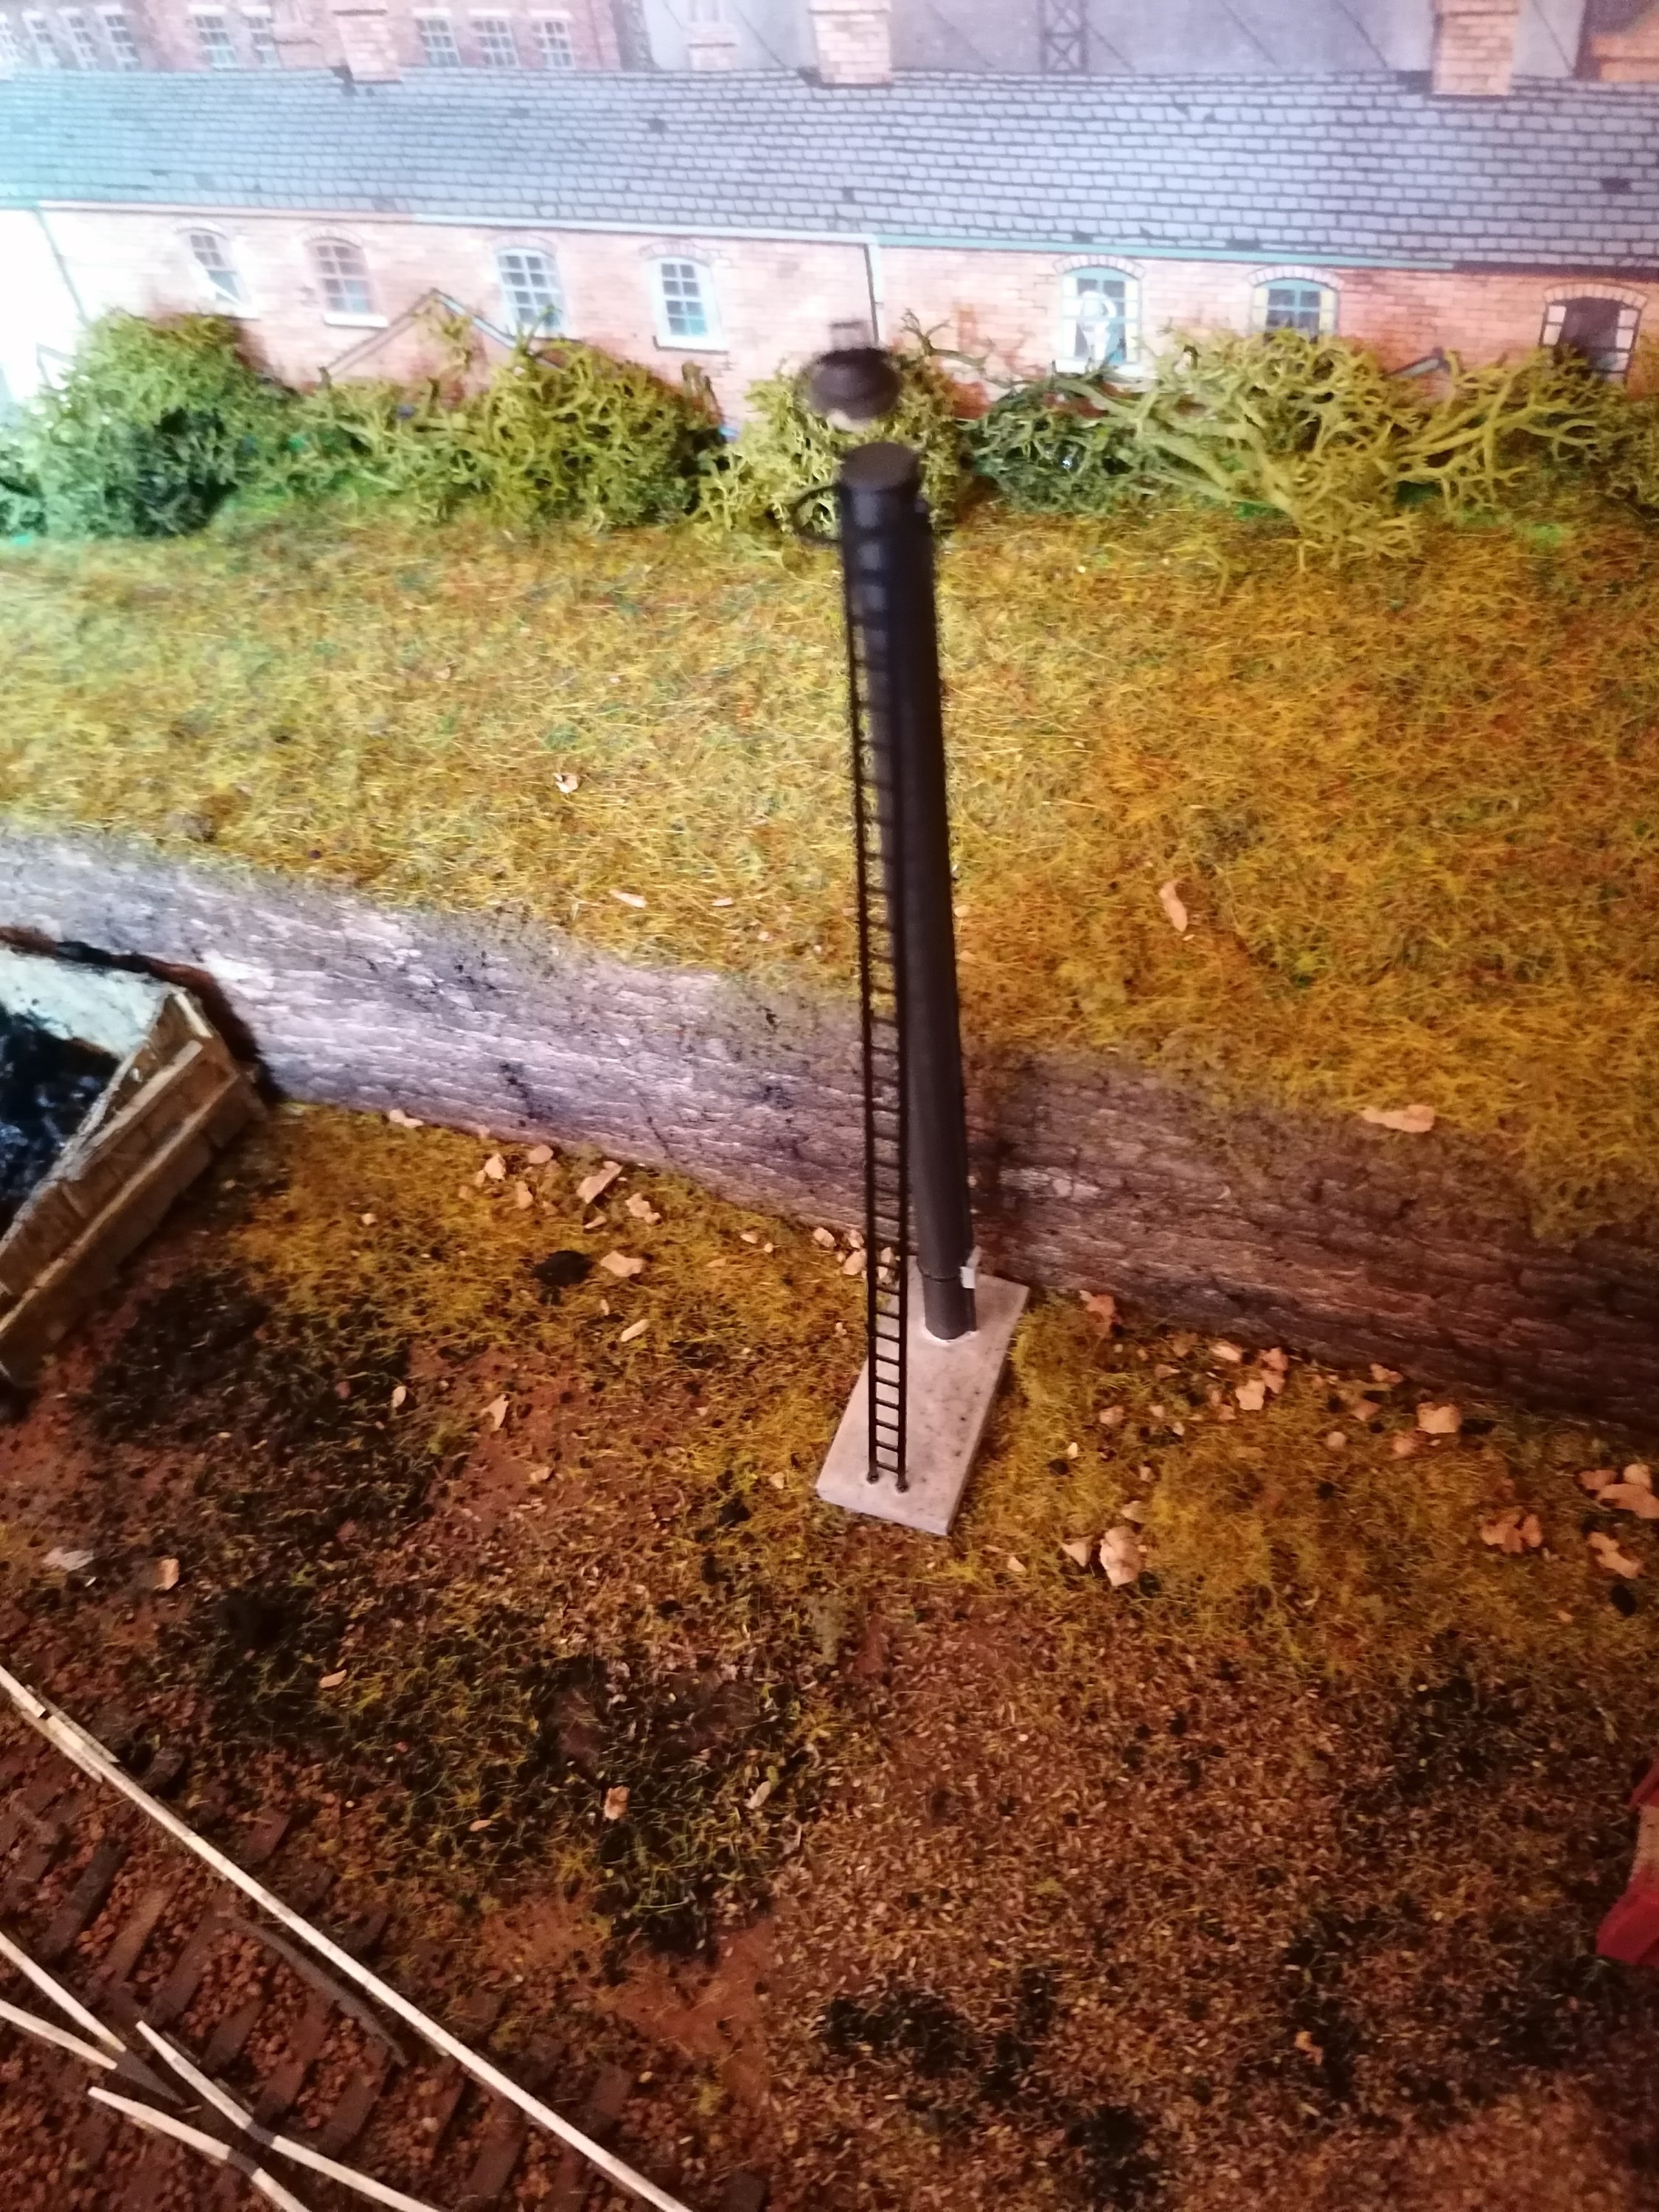
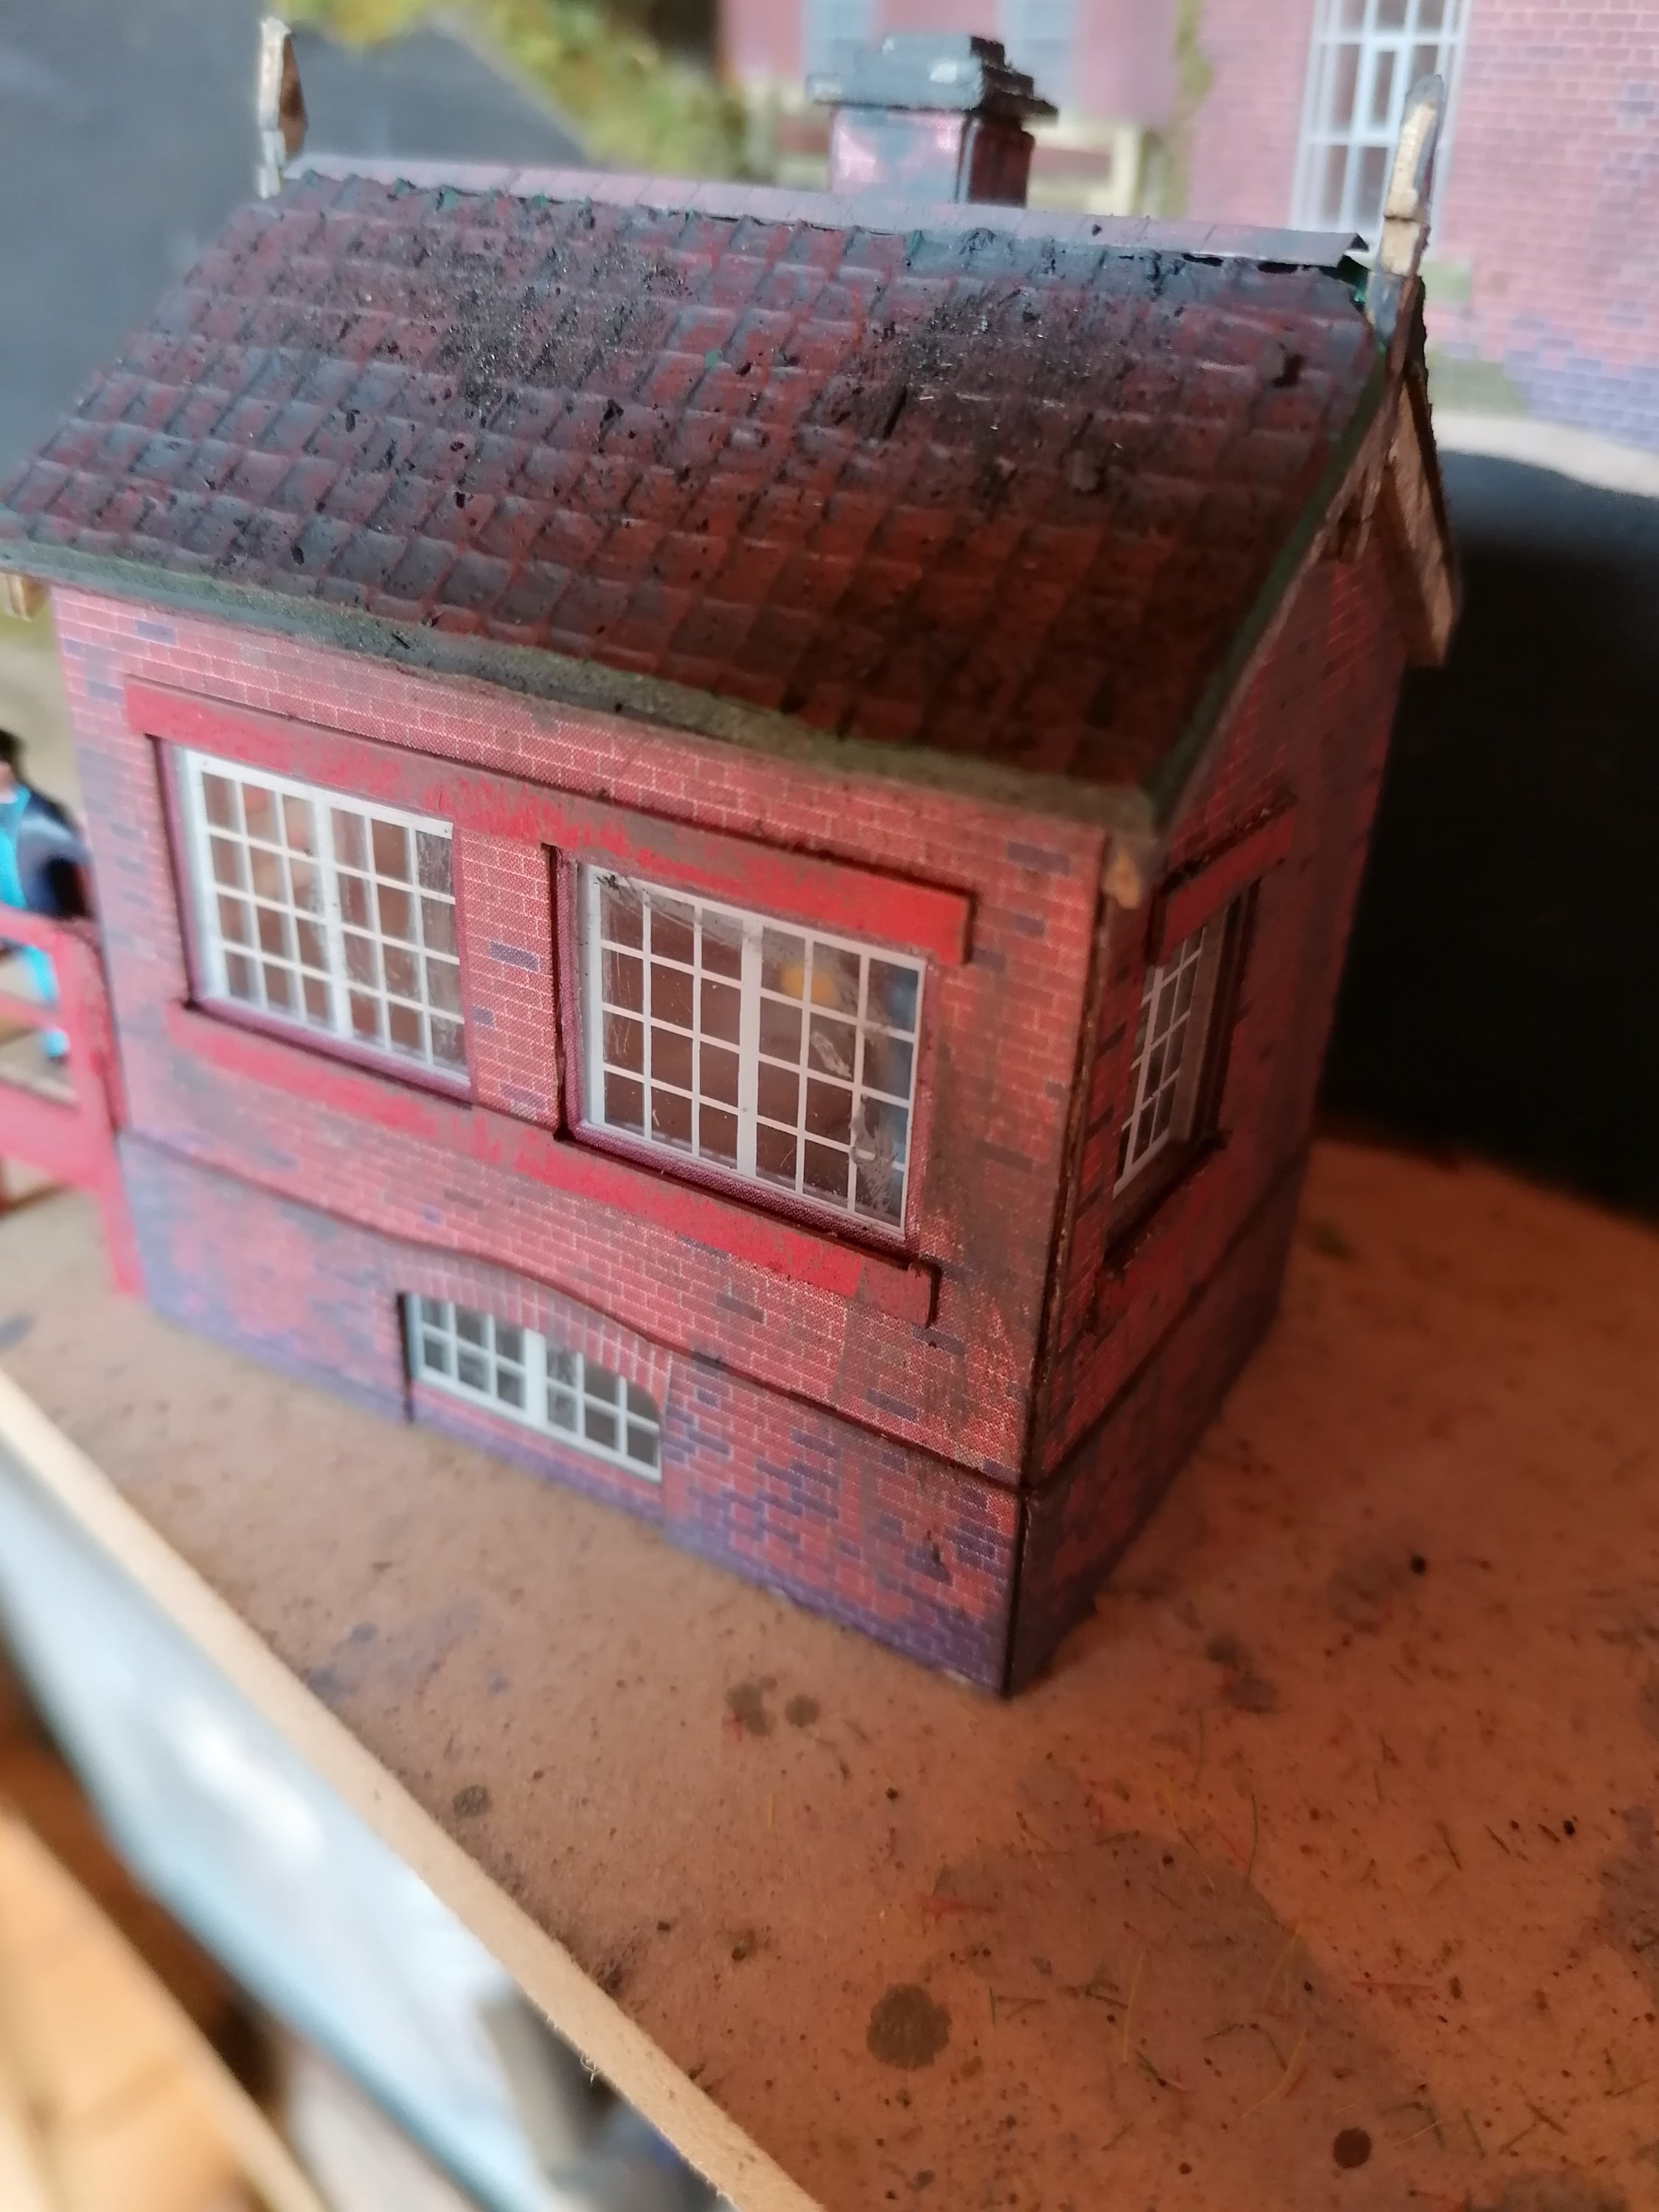
Let’s start with structures in this case a signal box. Before fixing to your baseboard libarally brush some glue around the base including steps and dip into your Flock. As you can see once the building is secured it looks like the Vegetation is growing around the building rather than the building sitting on the ground. The same method can be used for all of your detailing. Look at the two pictures of the yard lamp, one looks like it’s plonked on the layout and the other is buried in the Vegetation.
So SHIREBROOKE YARD is nearing completion and next time its finishing off and the moment of truth, does it work?
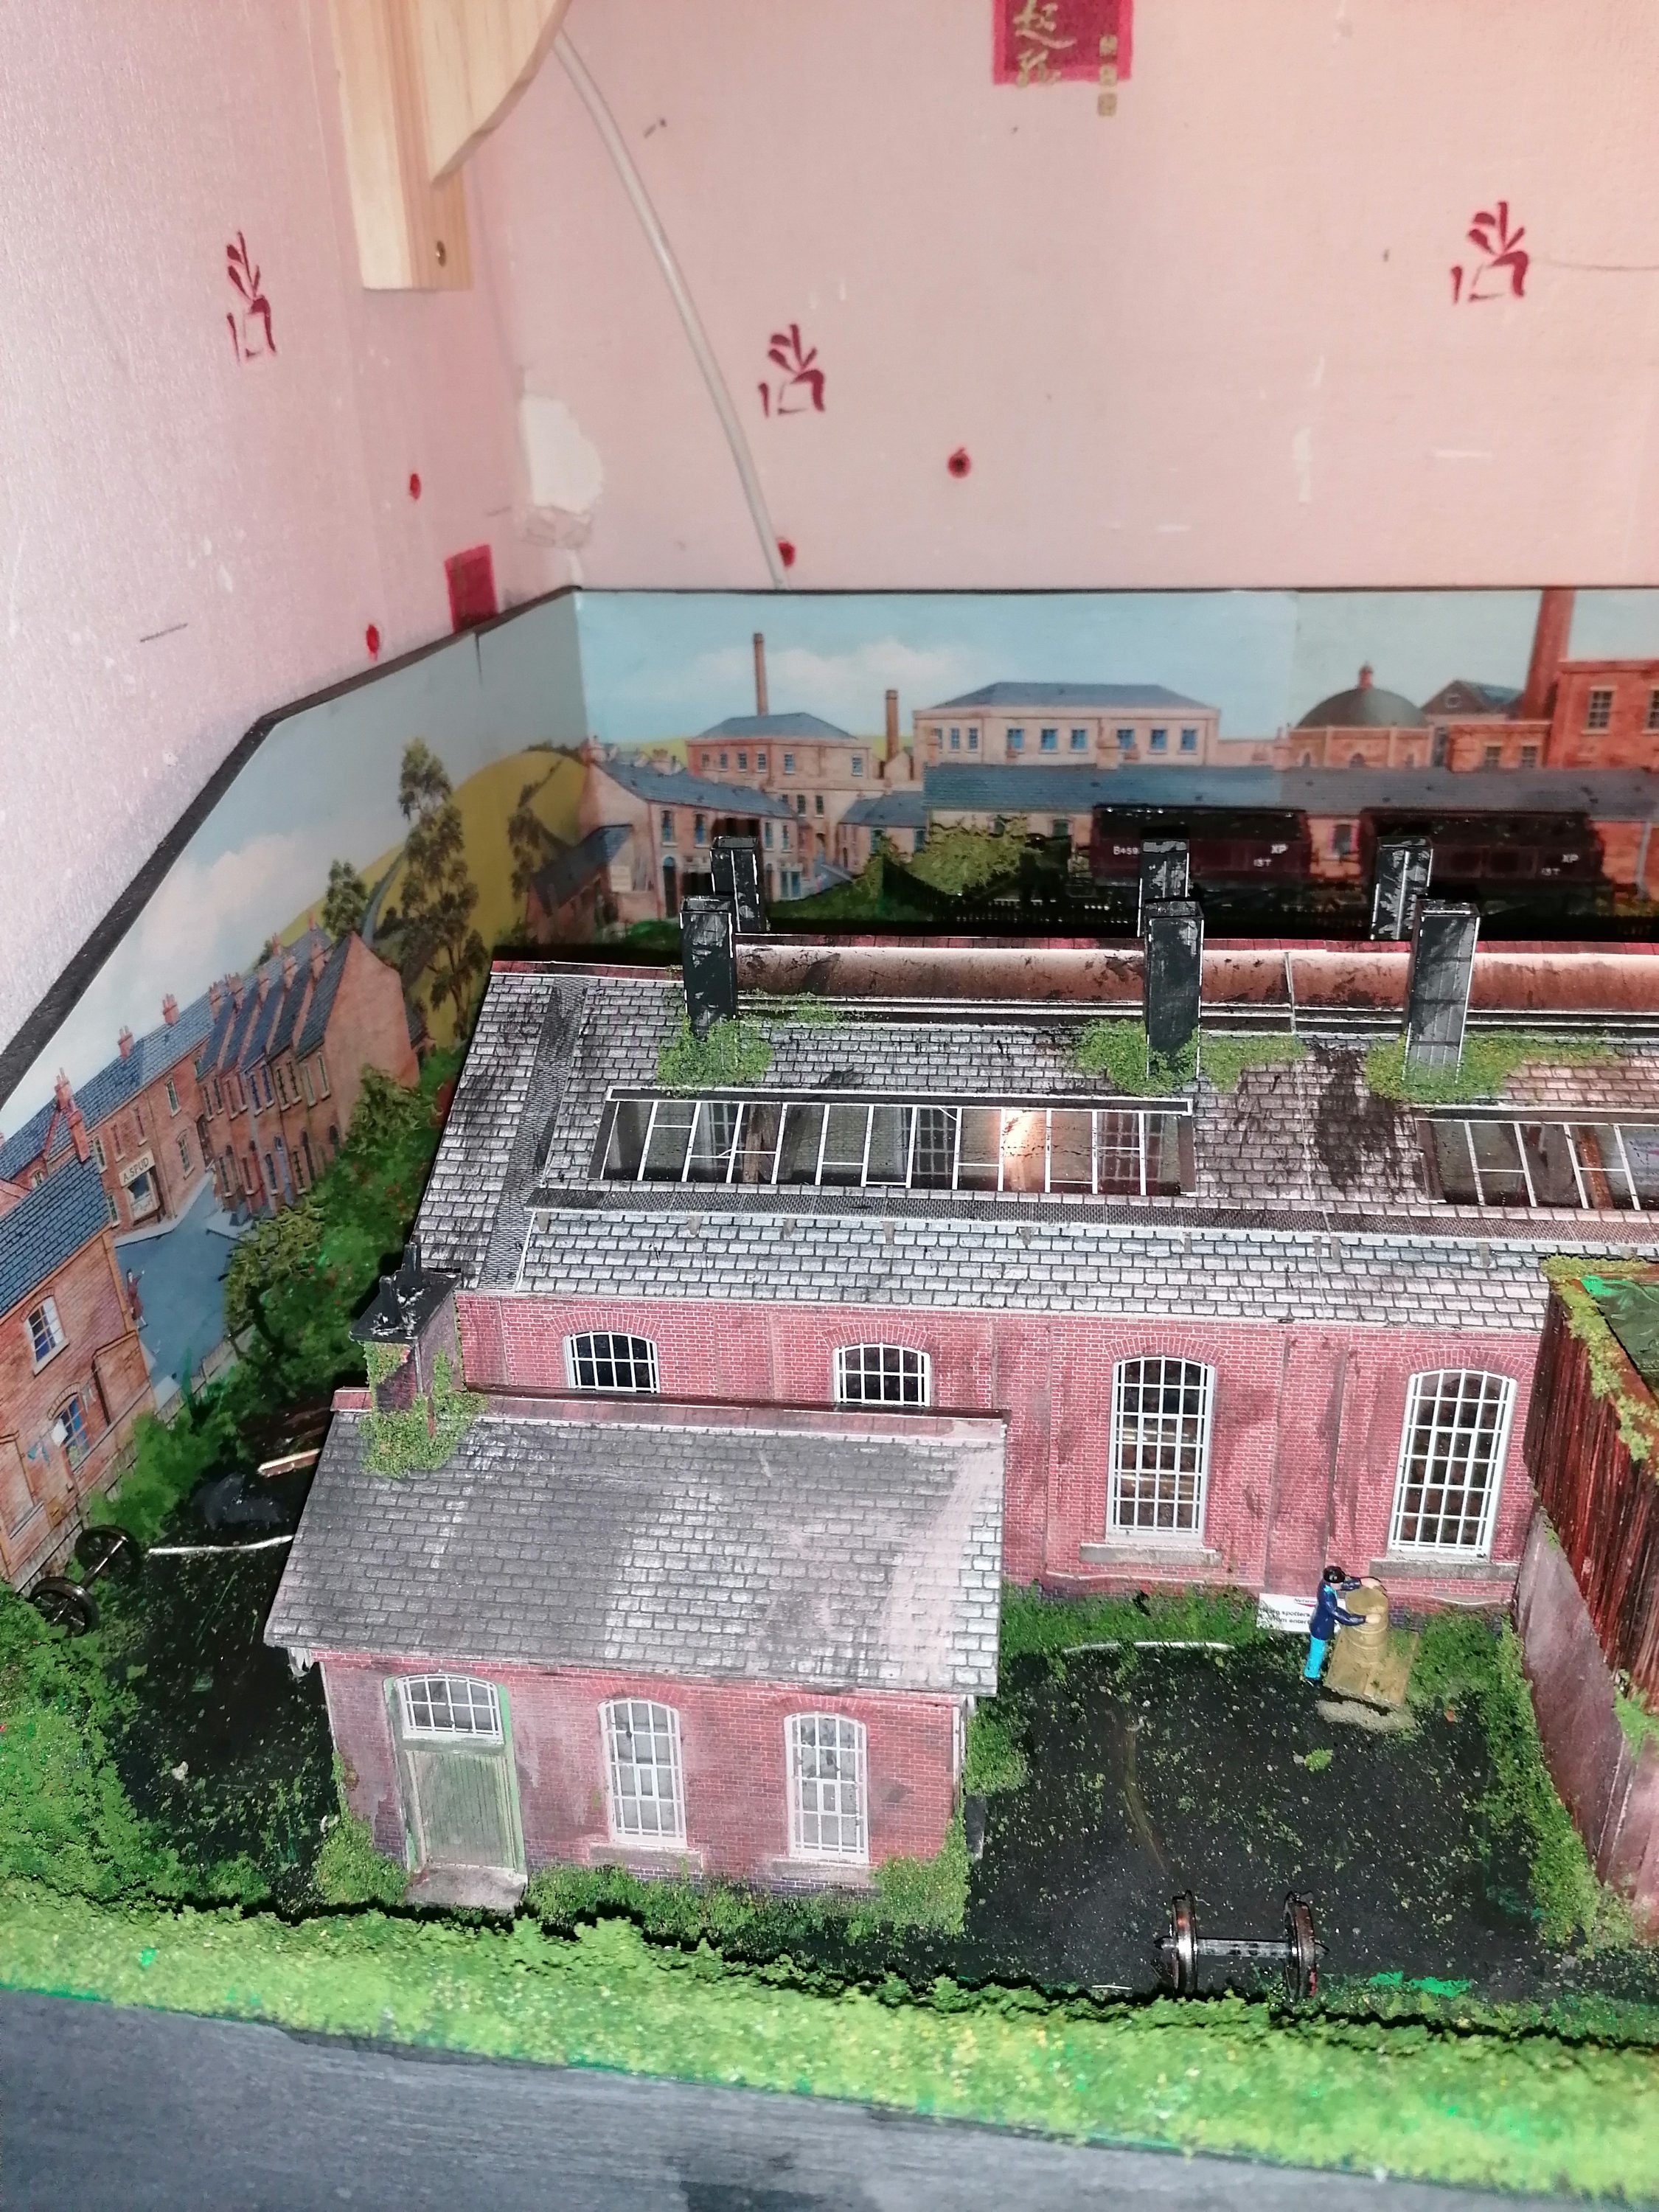
When planning my micro layout Shirebrook Yard quite early on I decided to go with Mectalfe card kits for my buildings, why I hear you ask?
Well to be honest I was going down the scratch built route and although cheaper, scratch built is more time consuming and indeed my micro layouts are designed in such a way that the buyer can use them to start a larger layout. Metcalfes card kits range is large and varied enabling the modeller to add to the layout fairly easily.
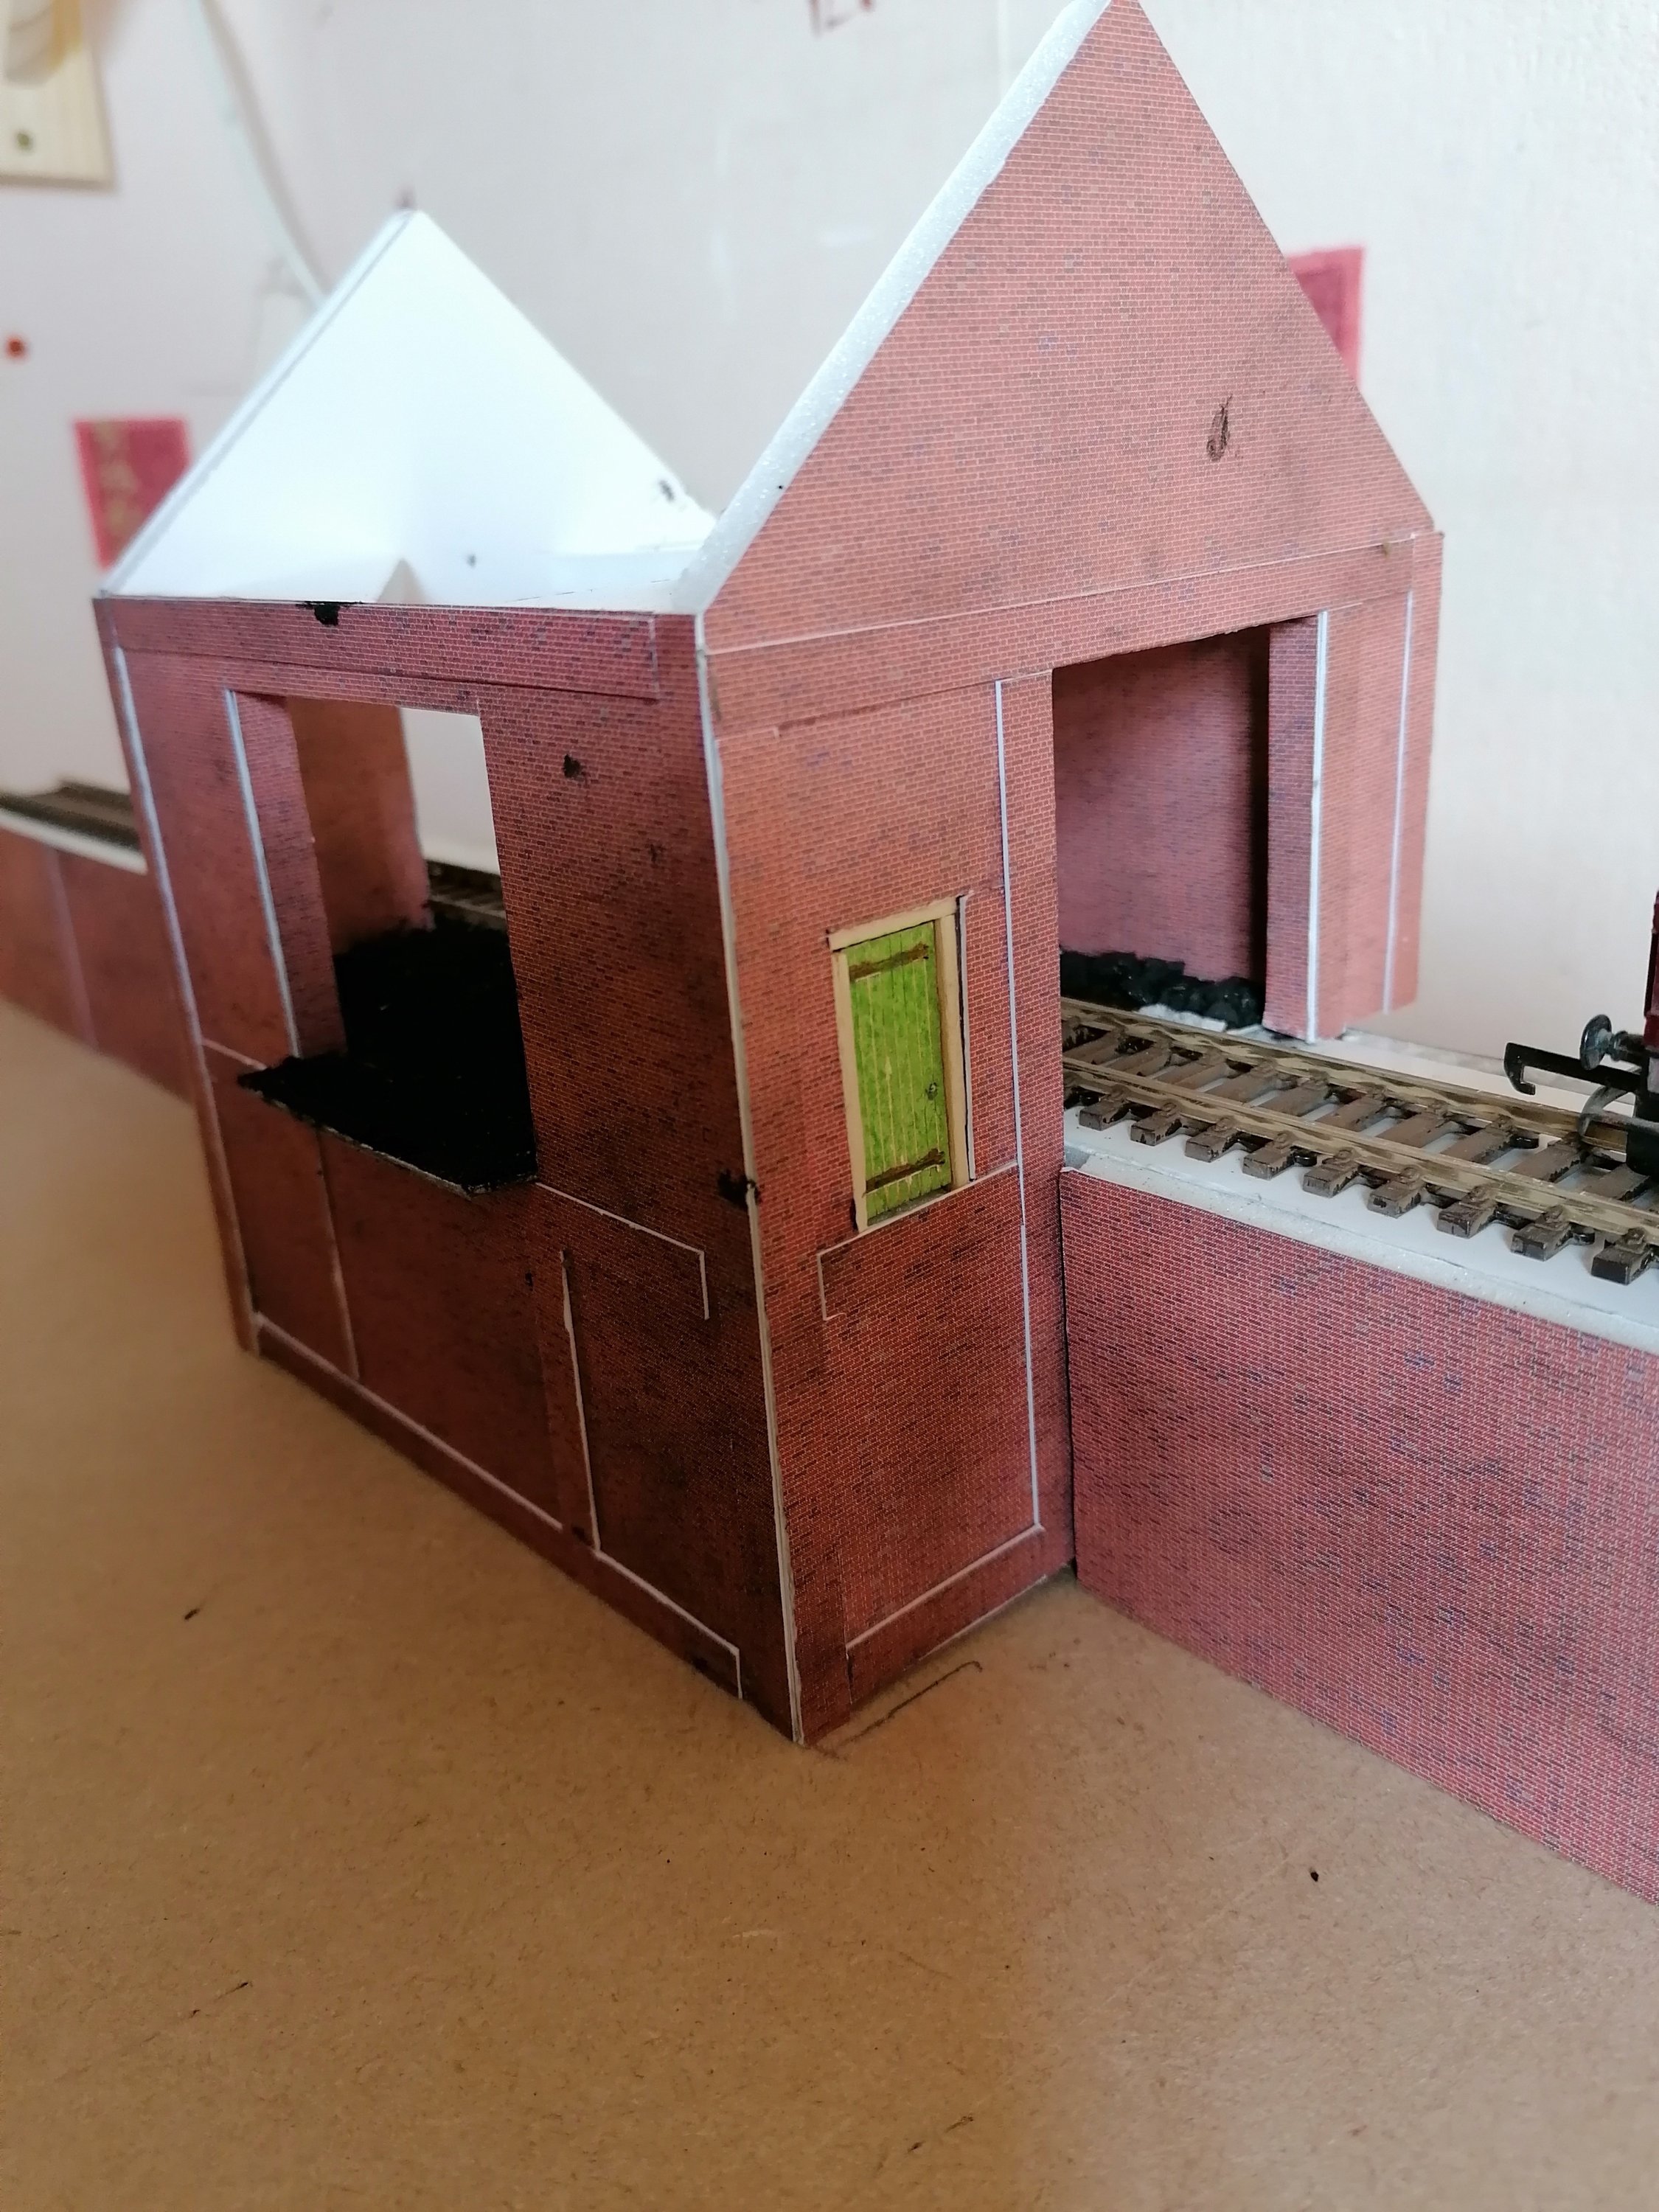
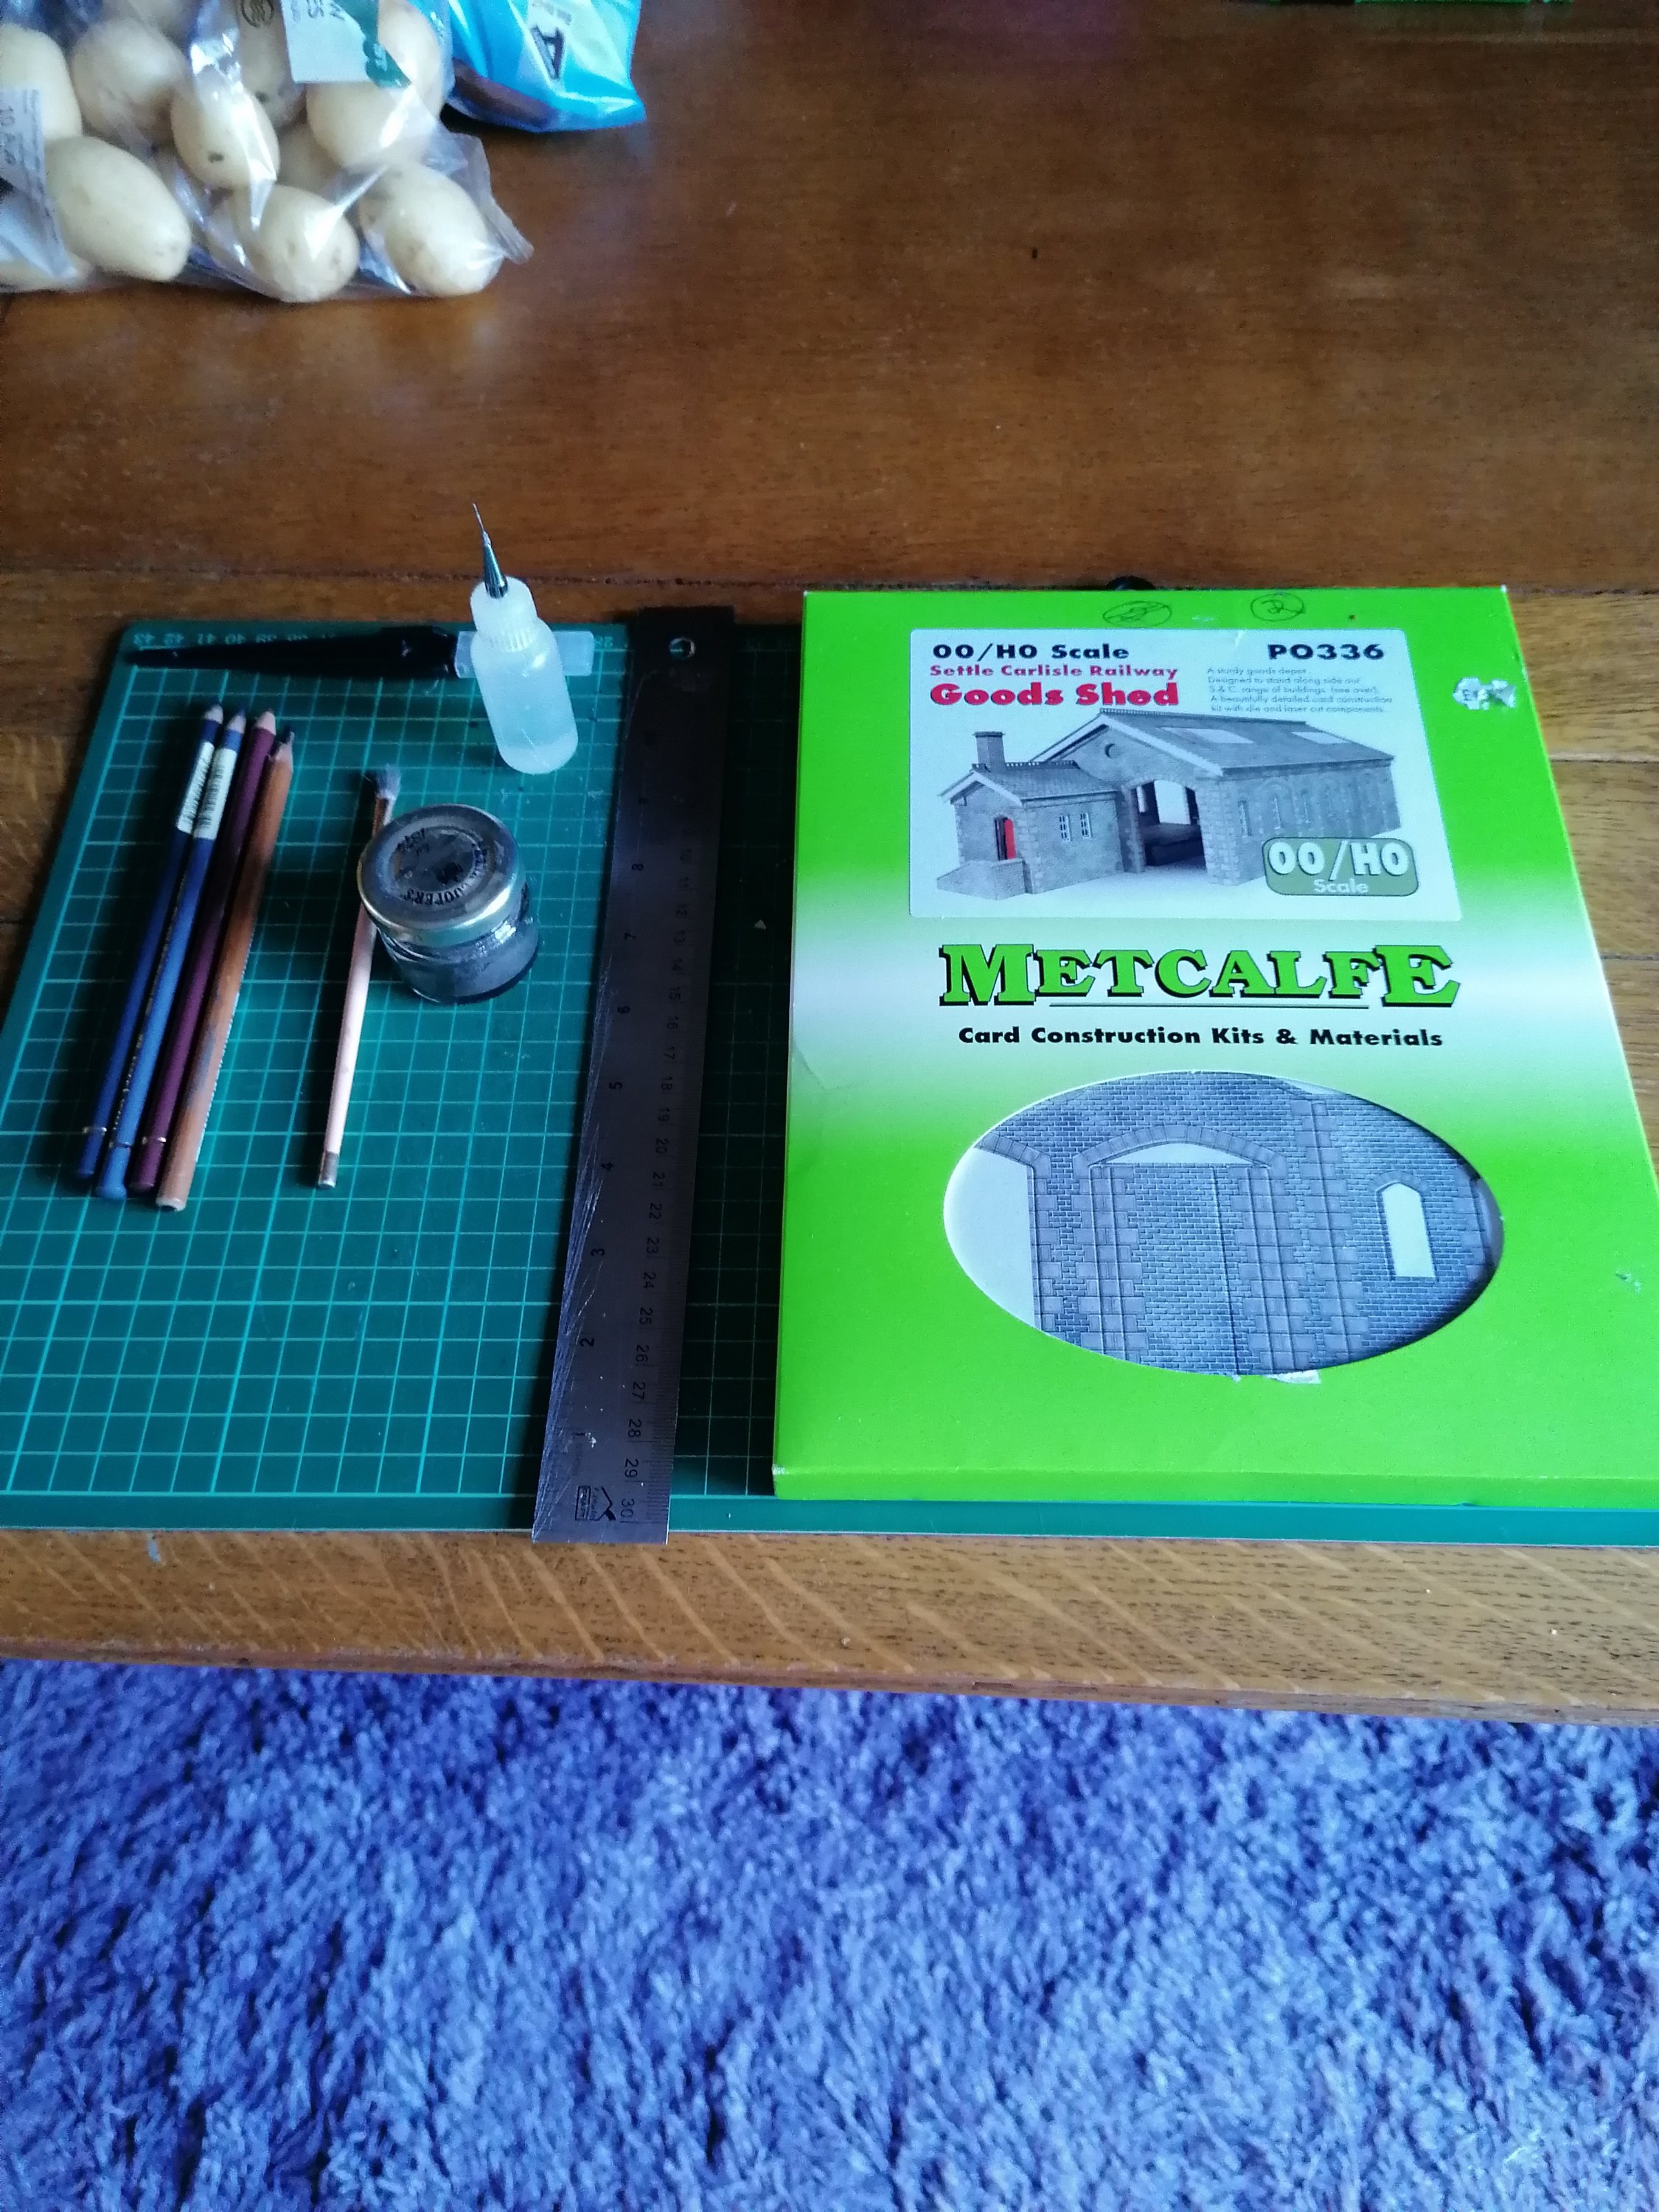
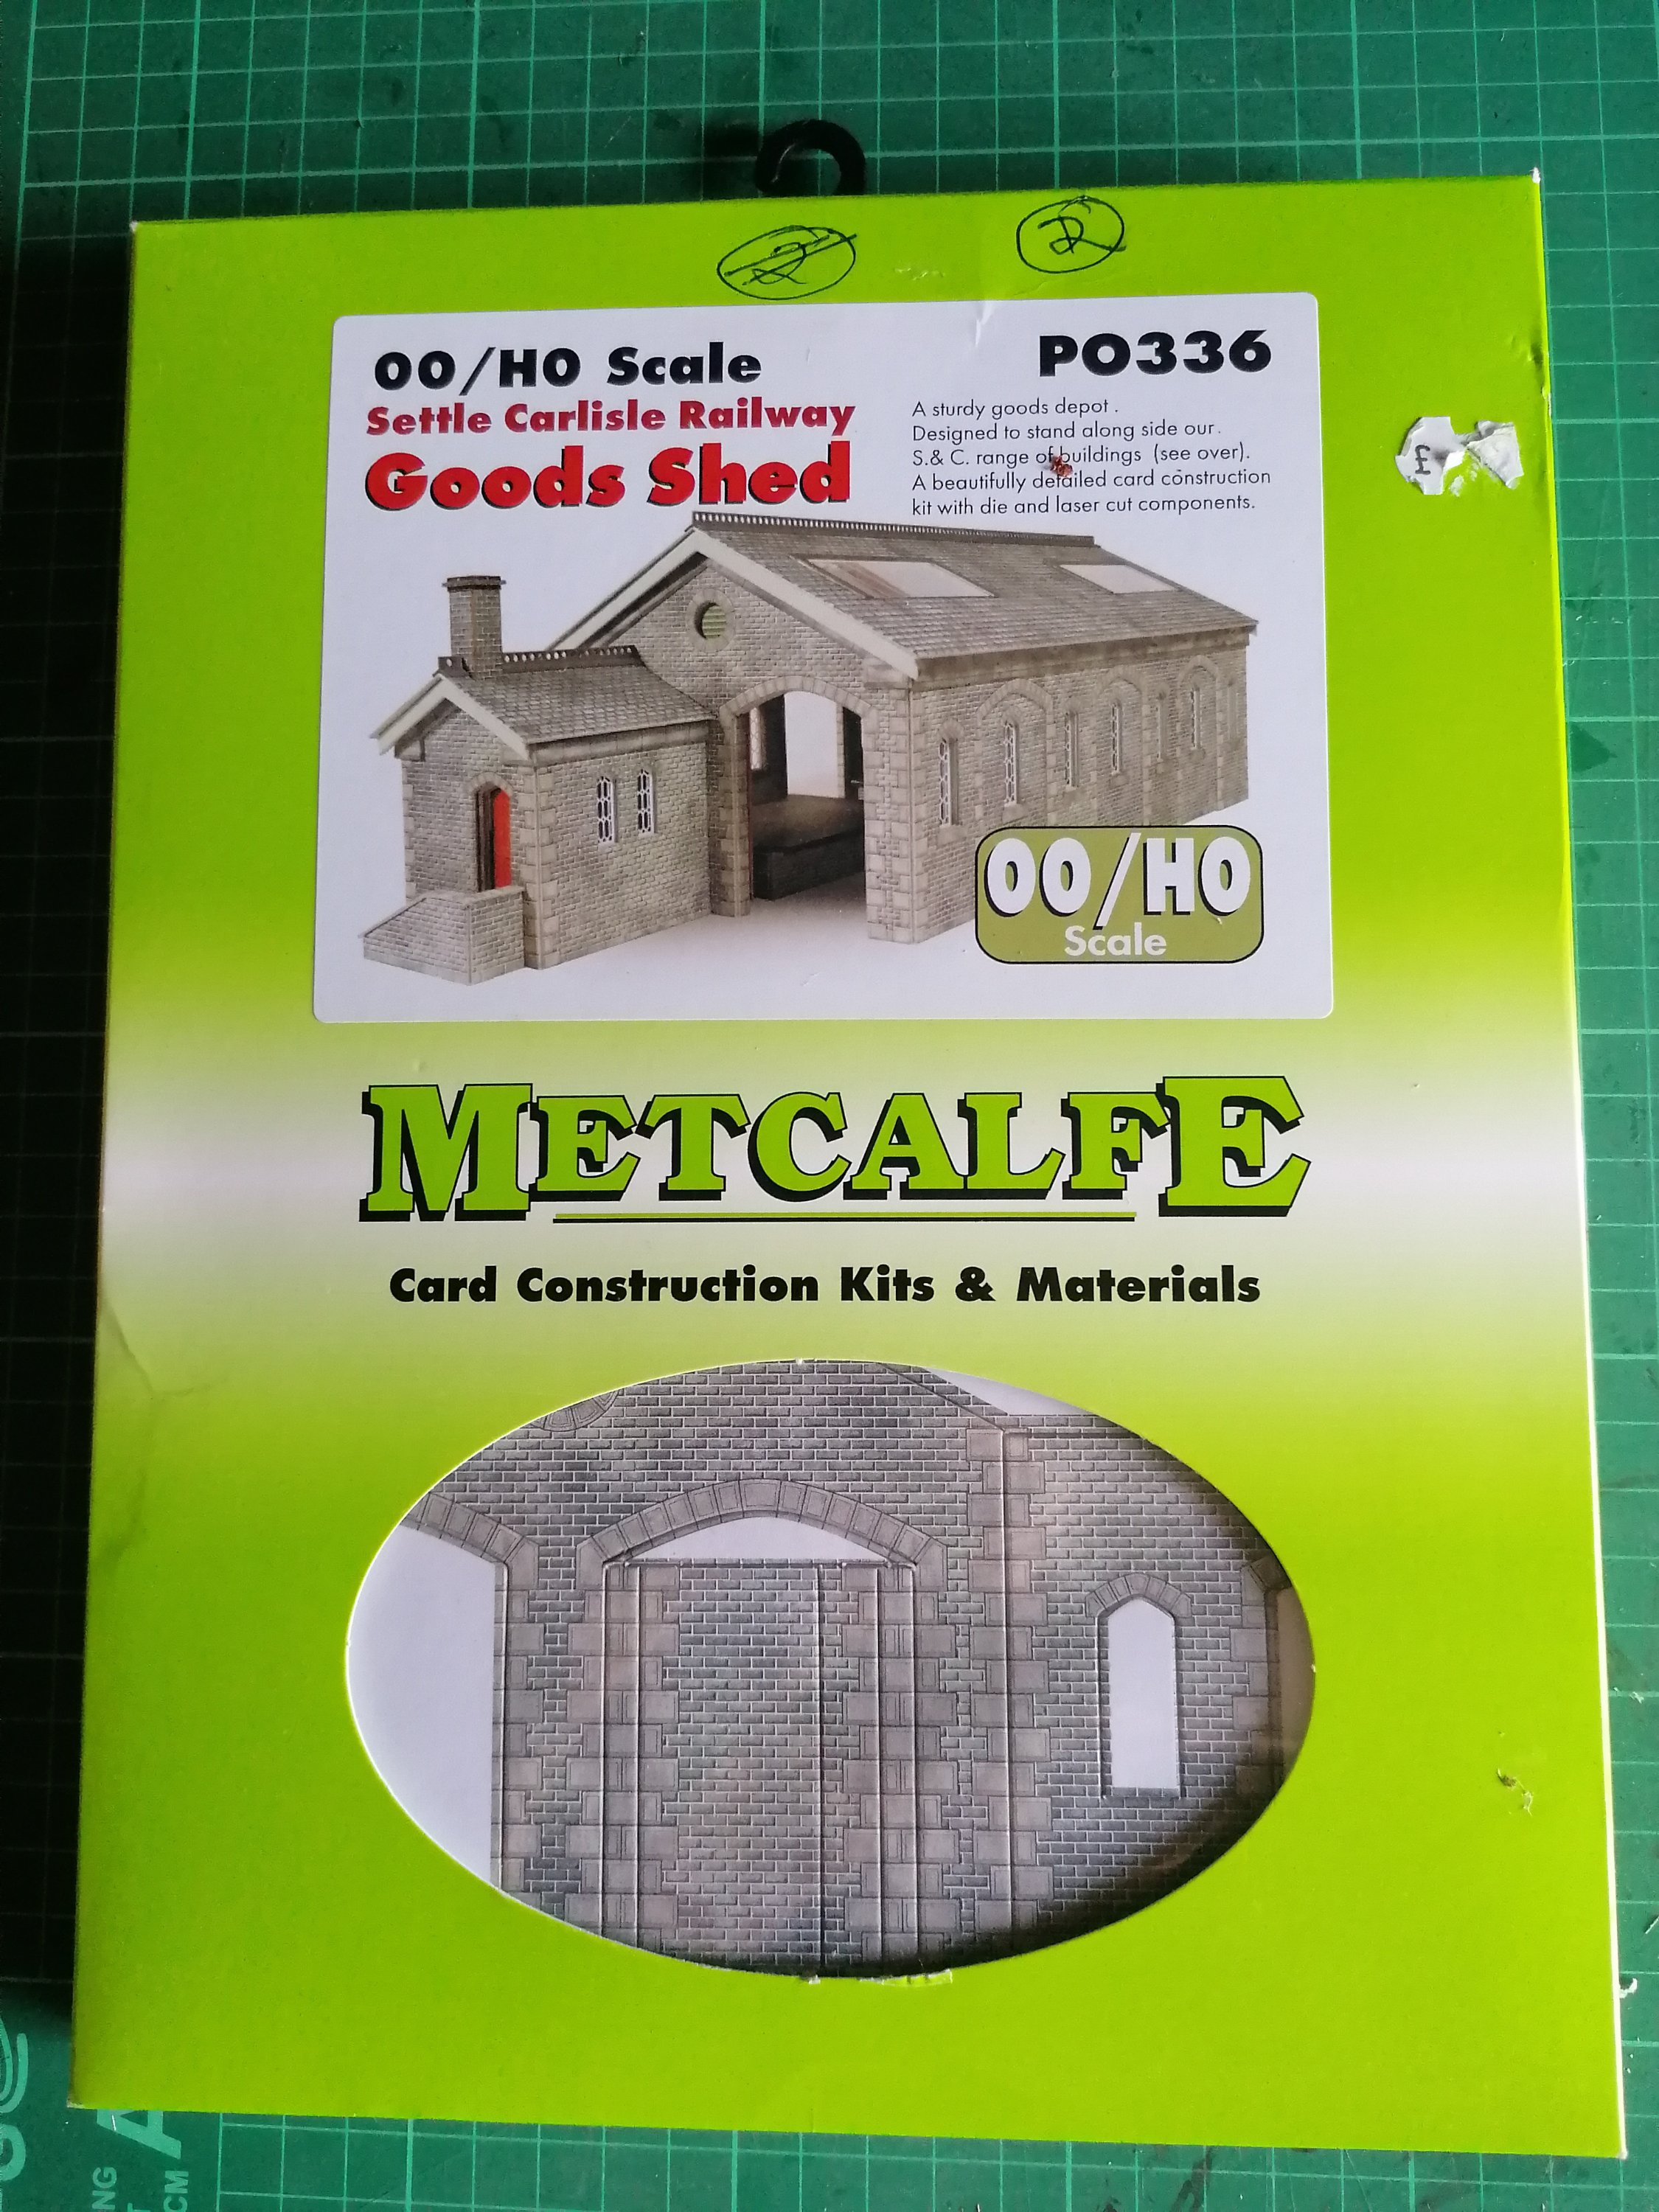
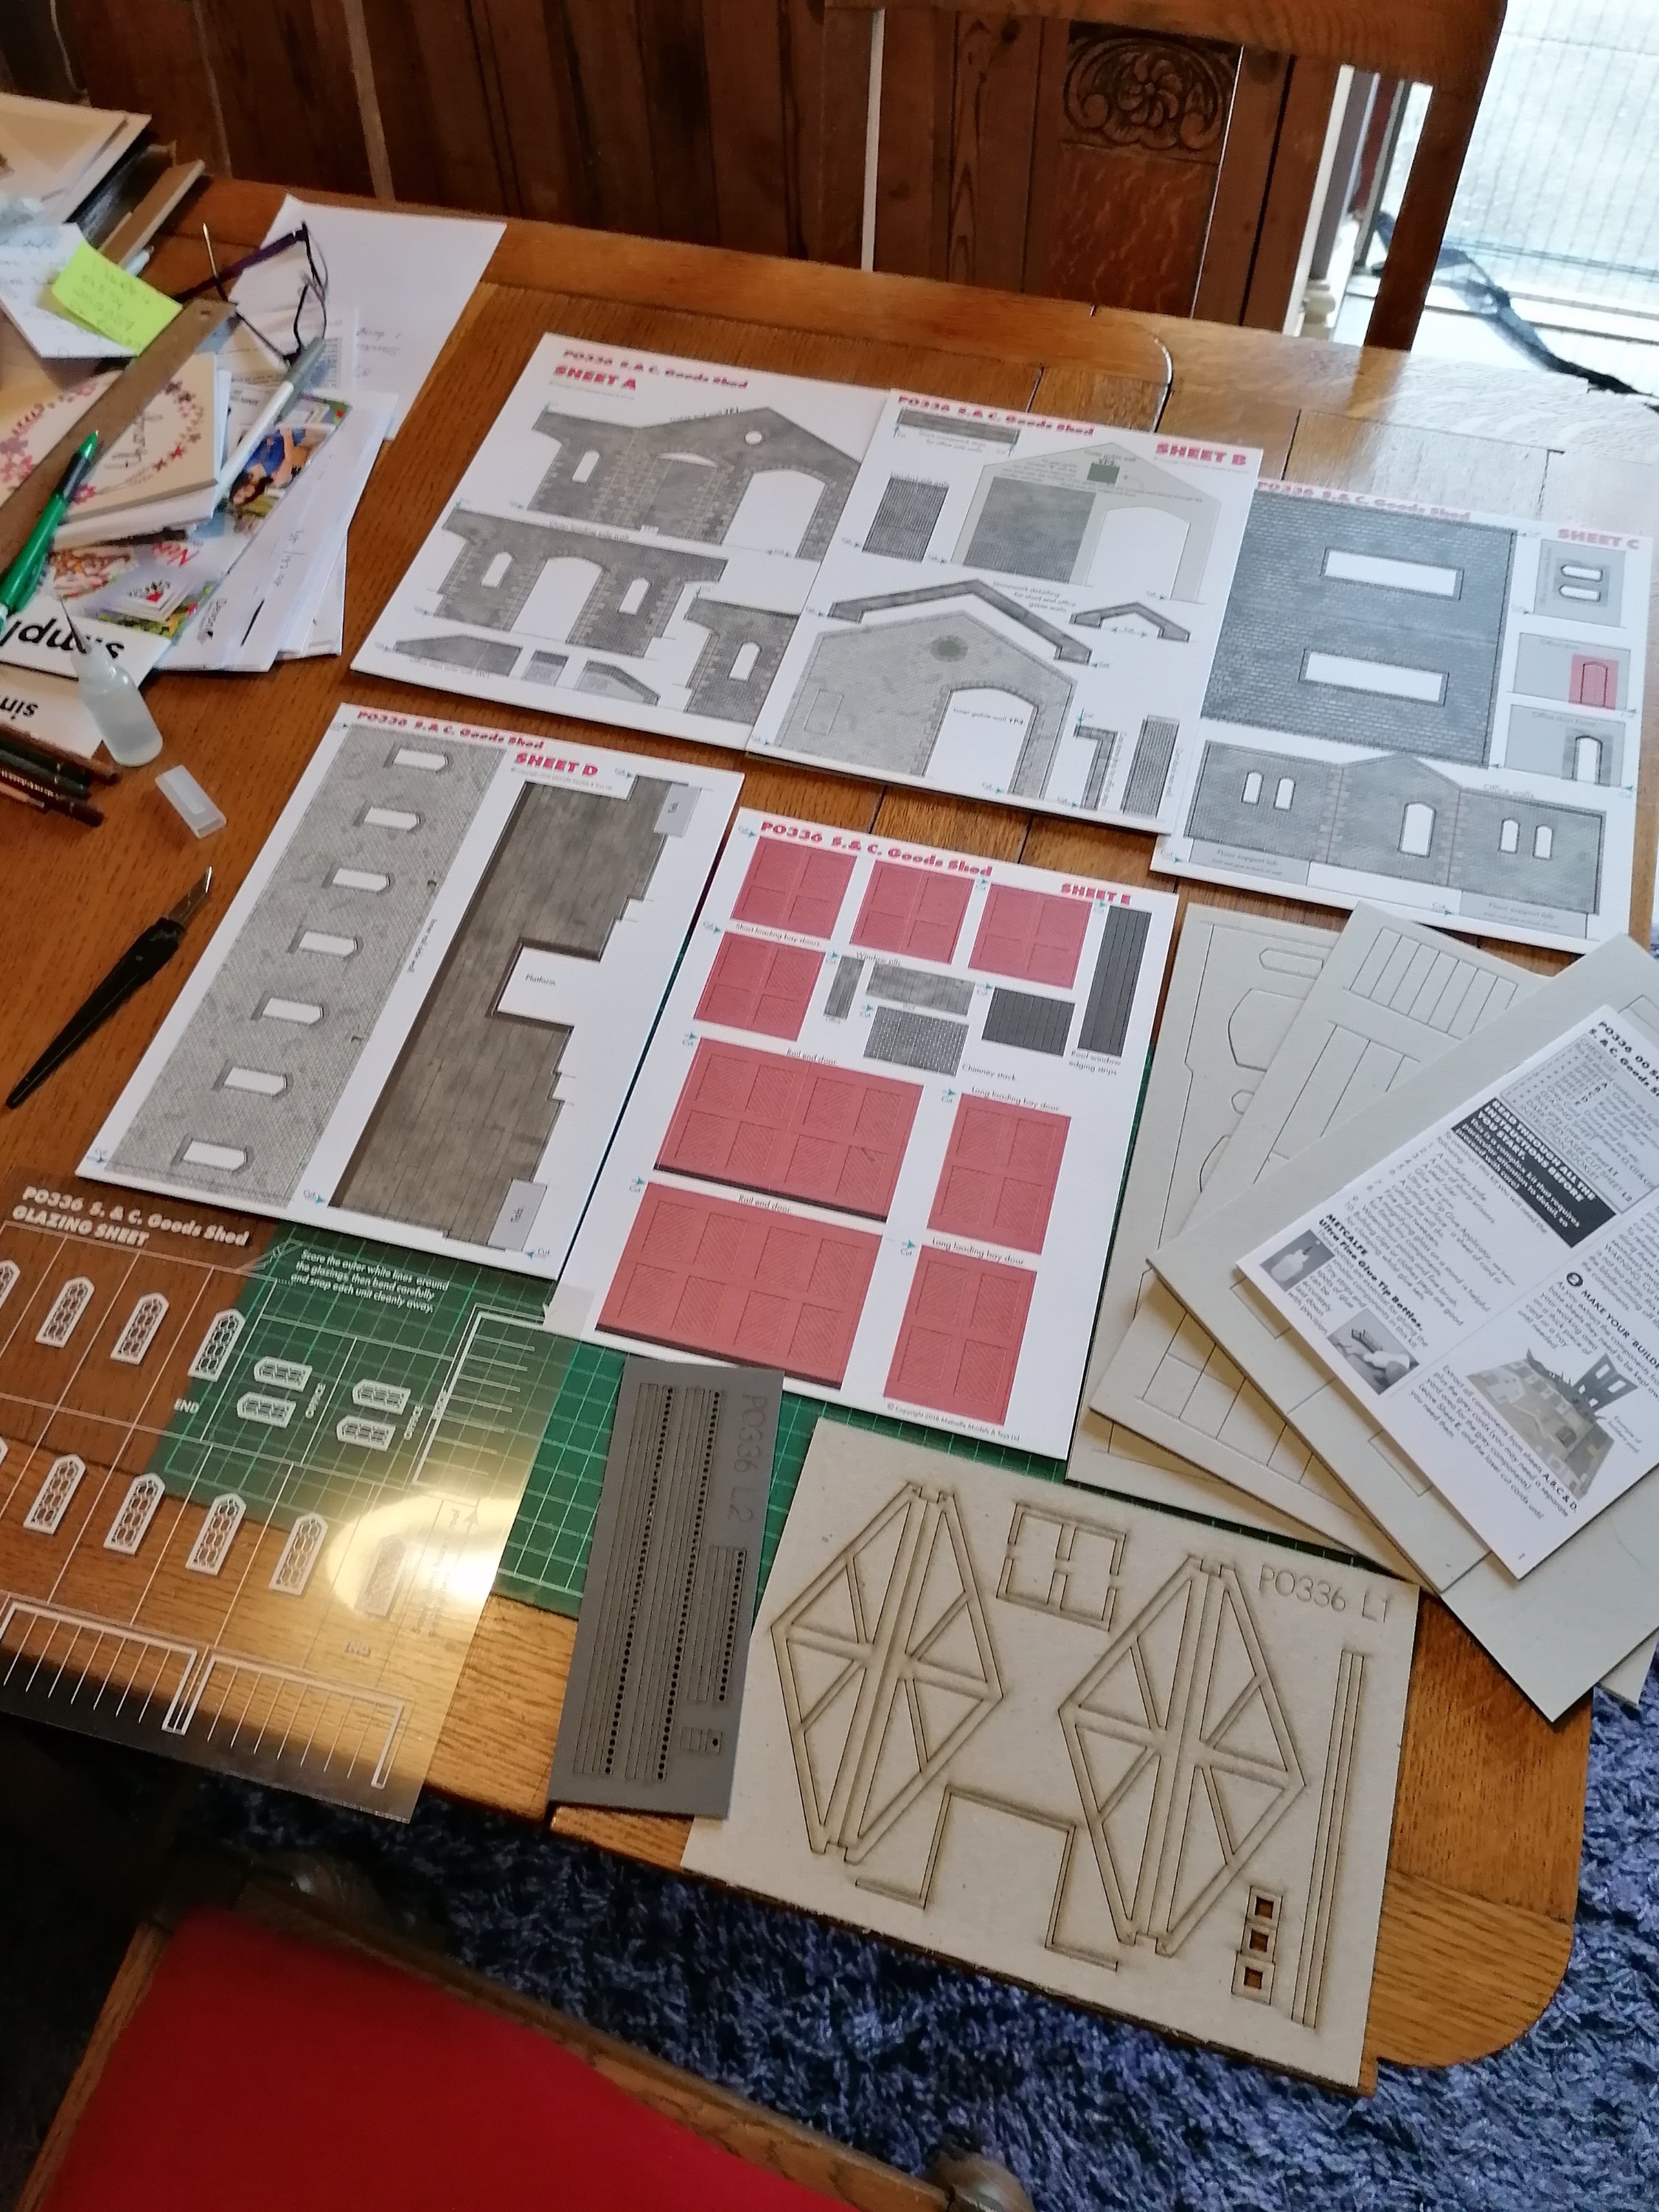
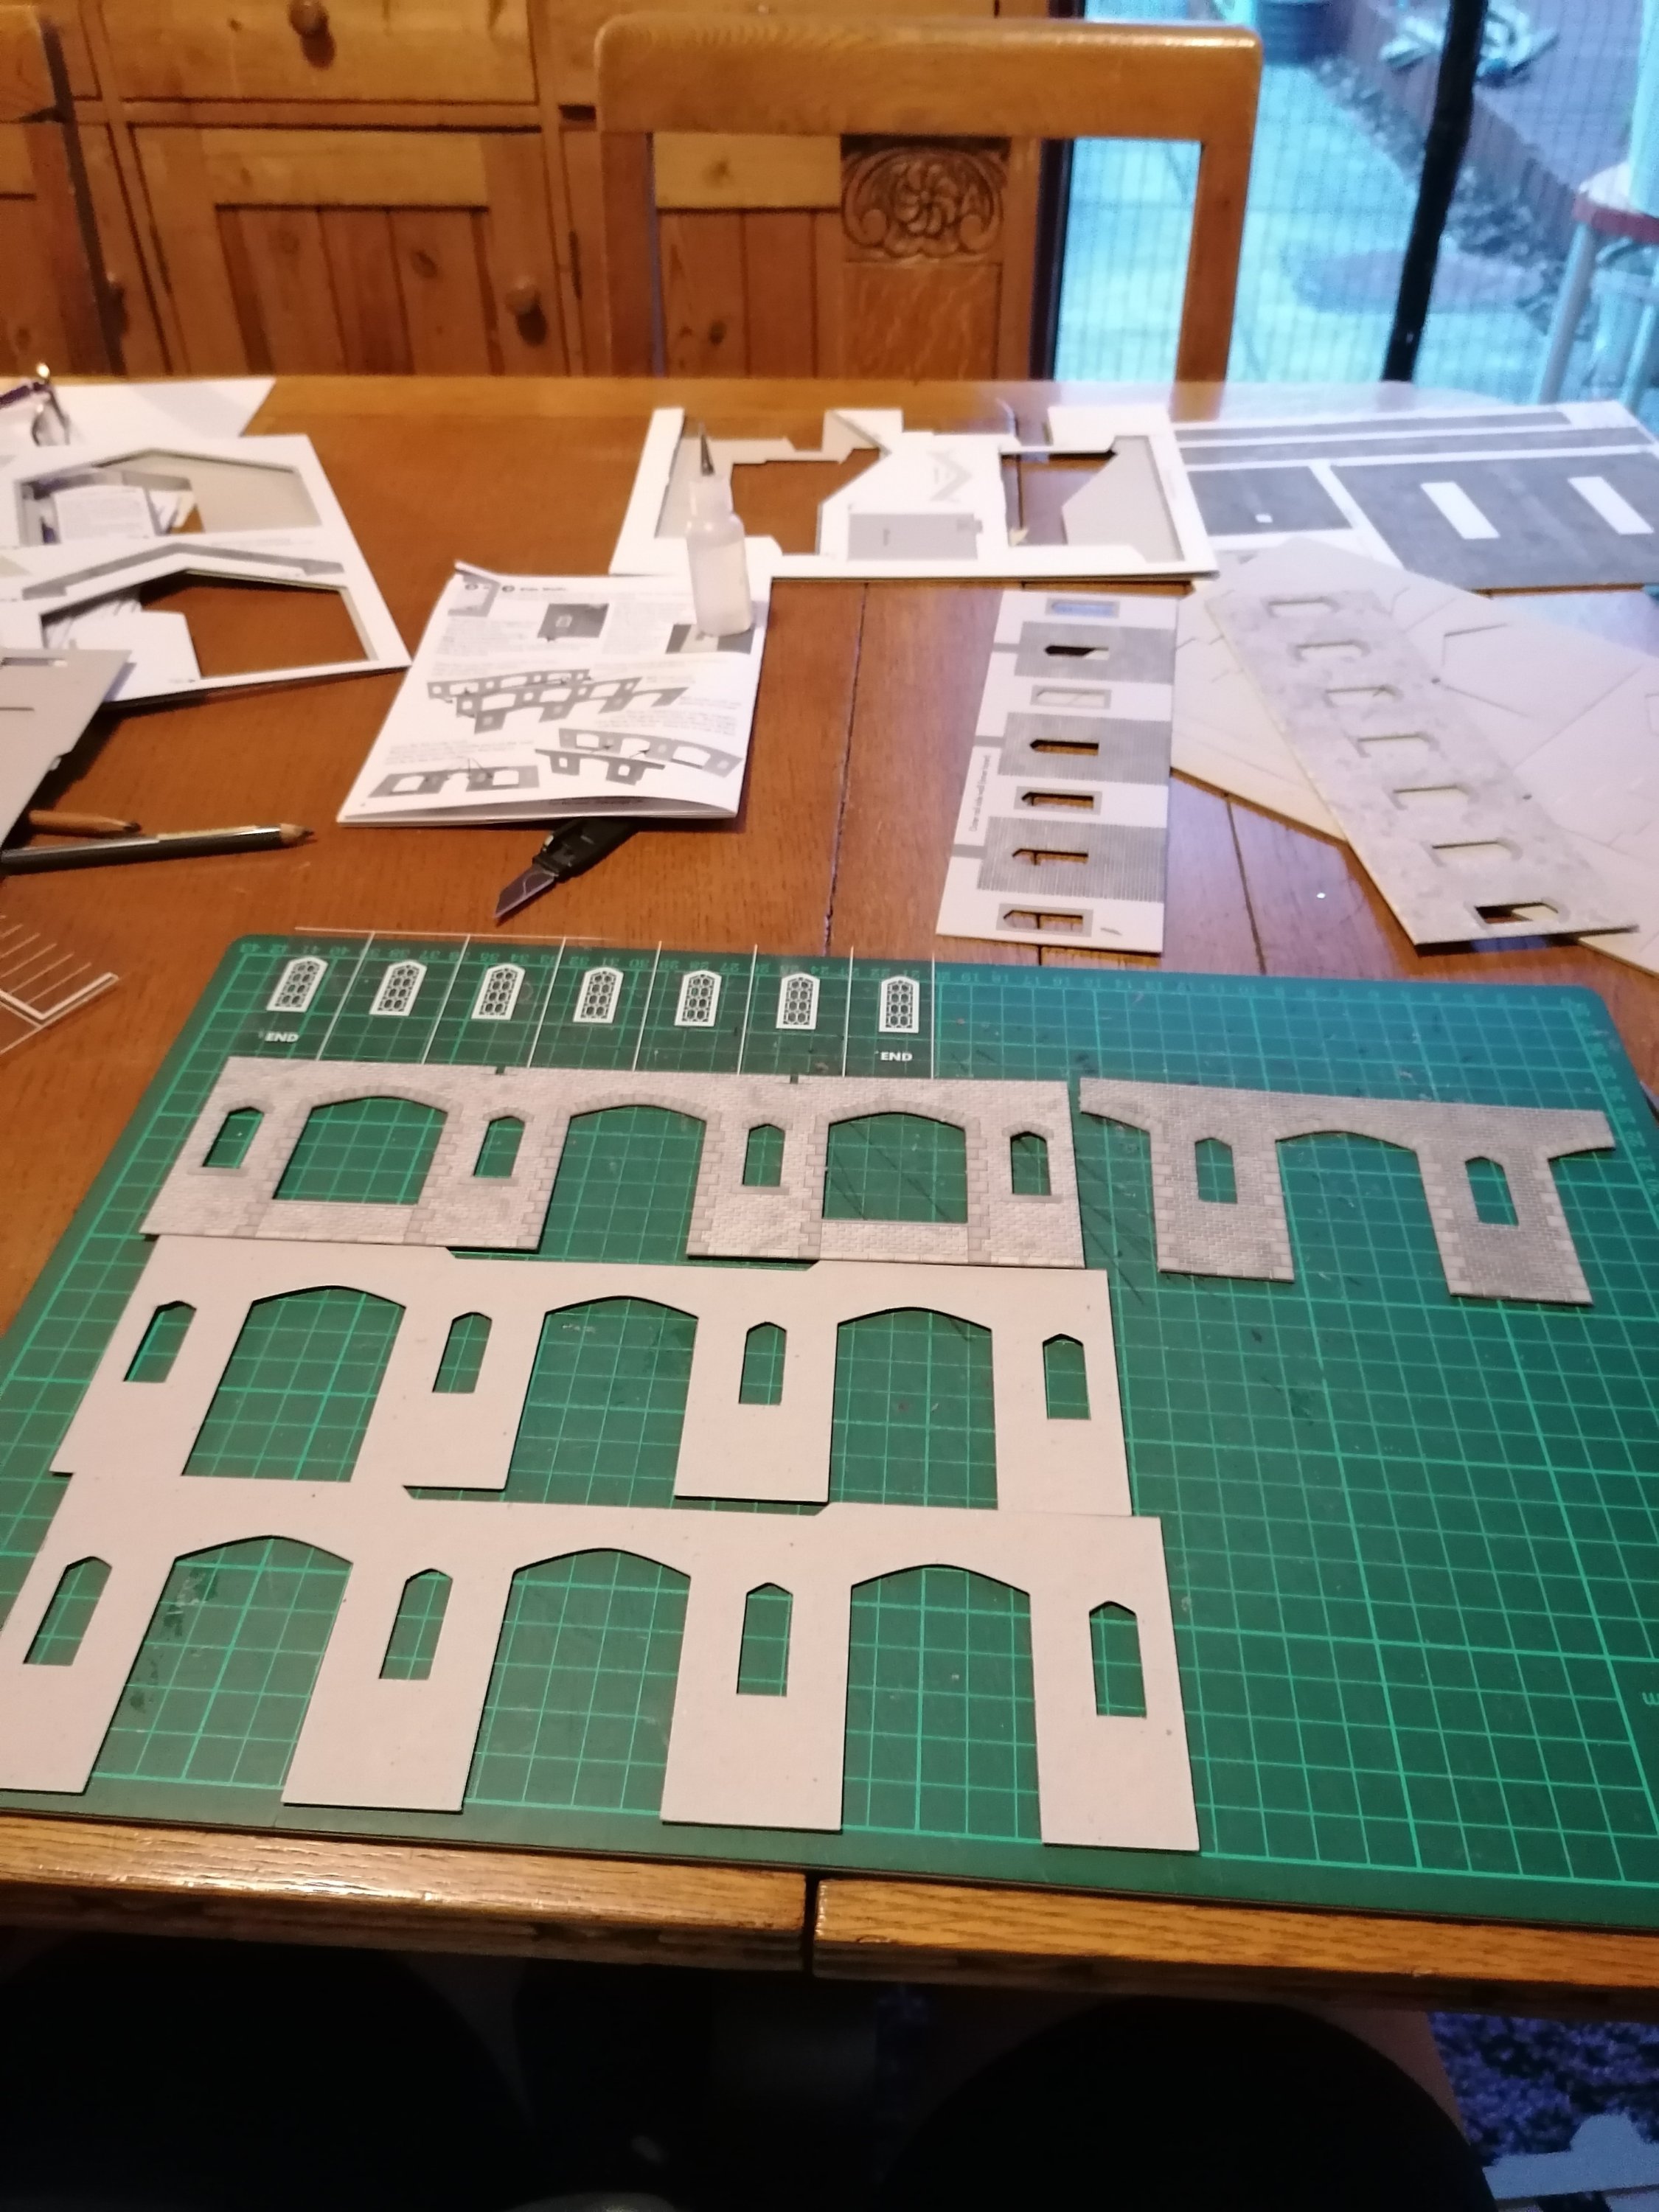
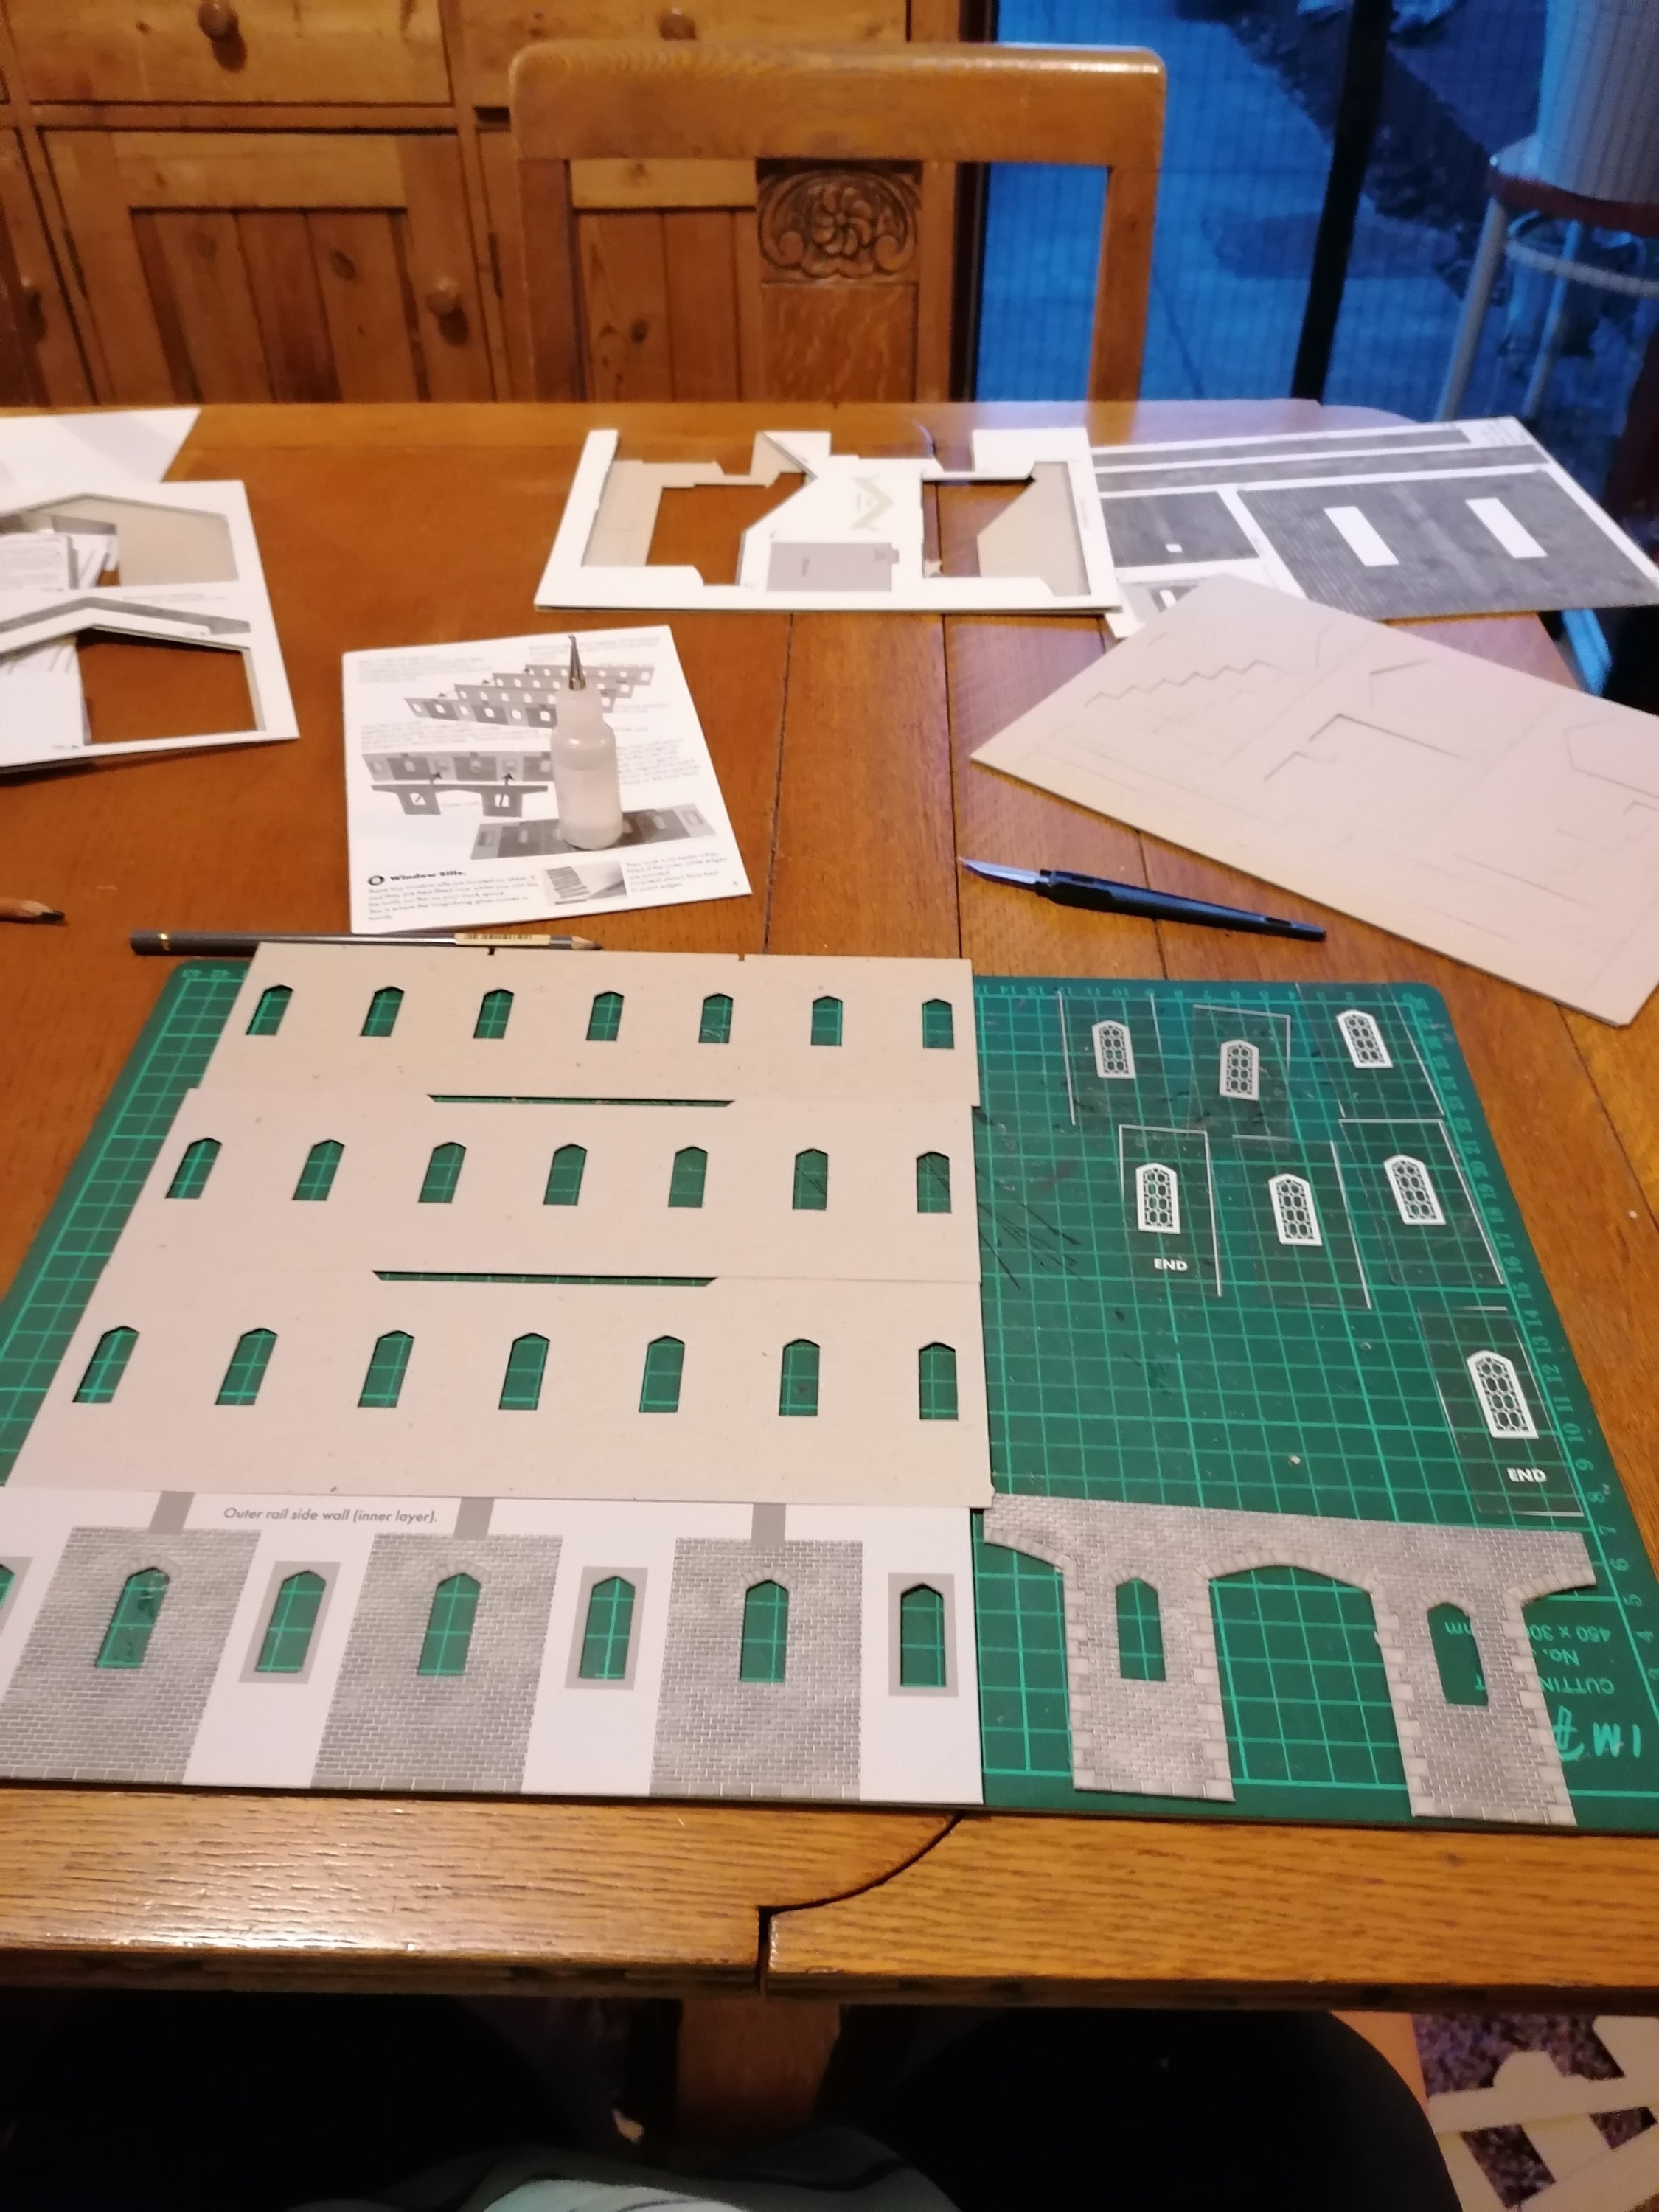
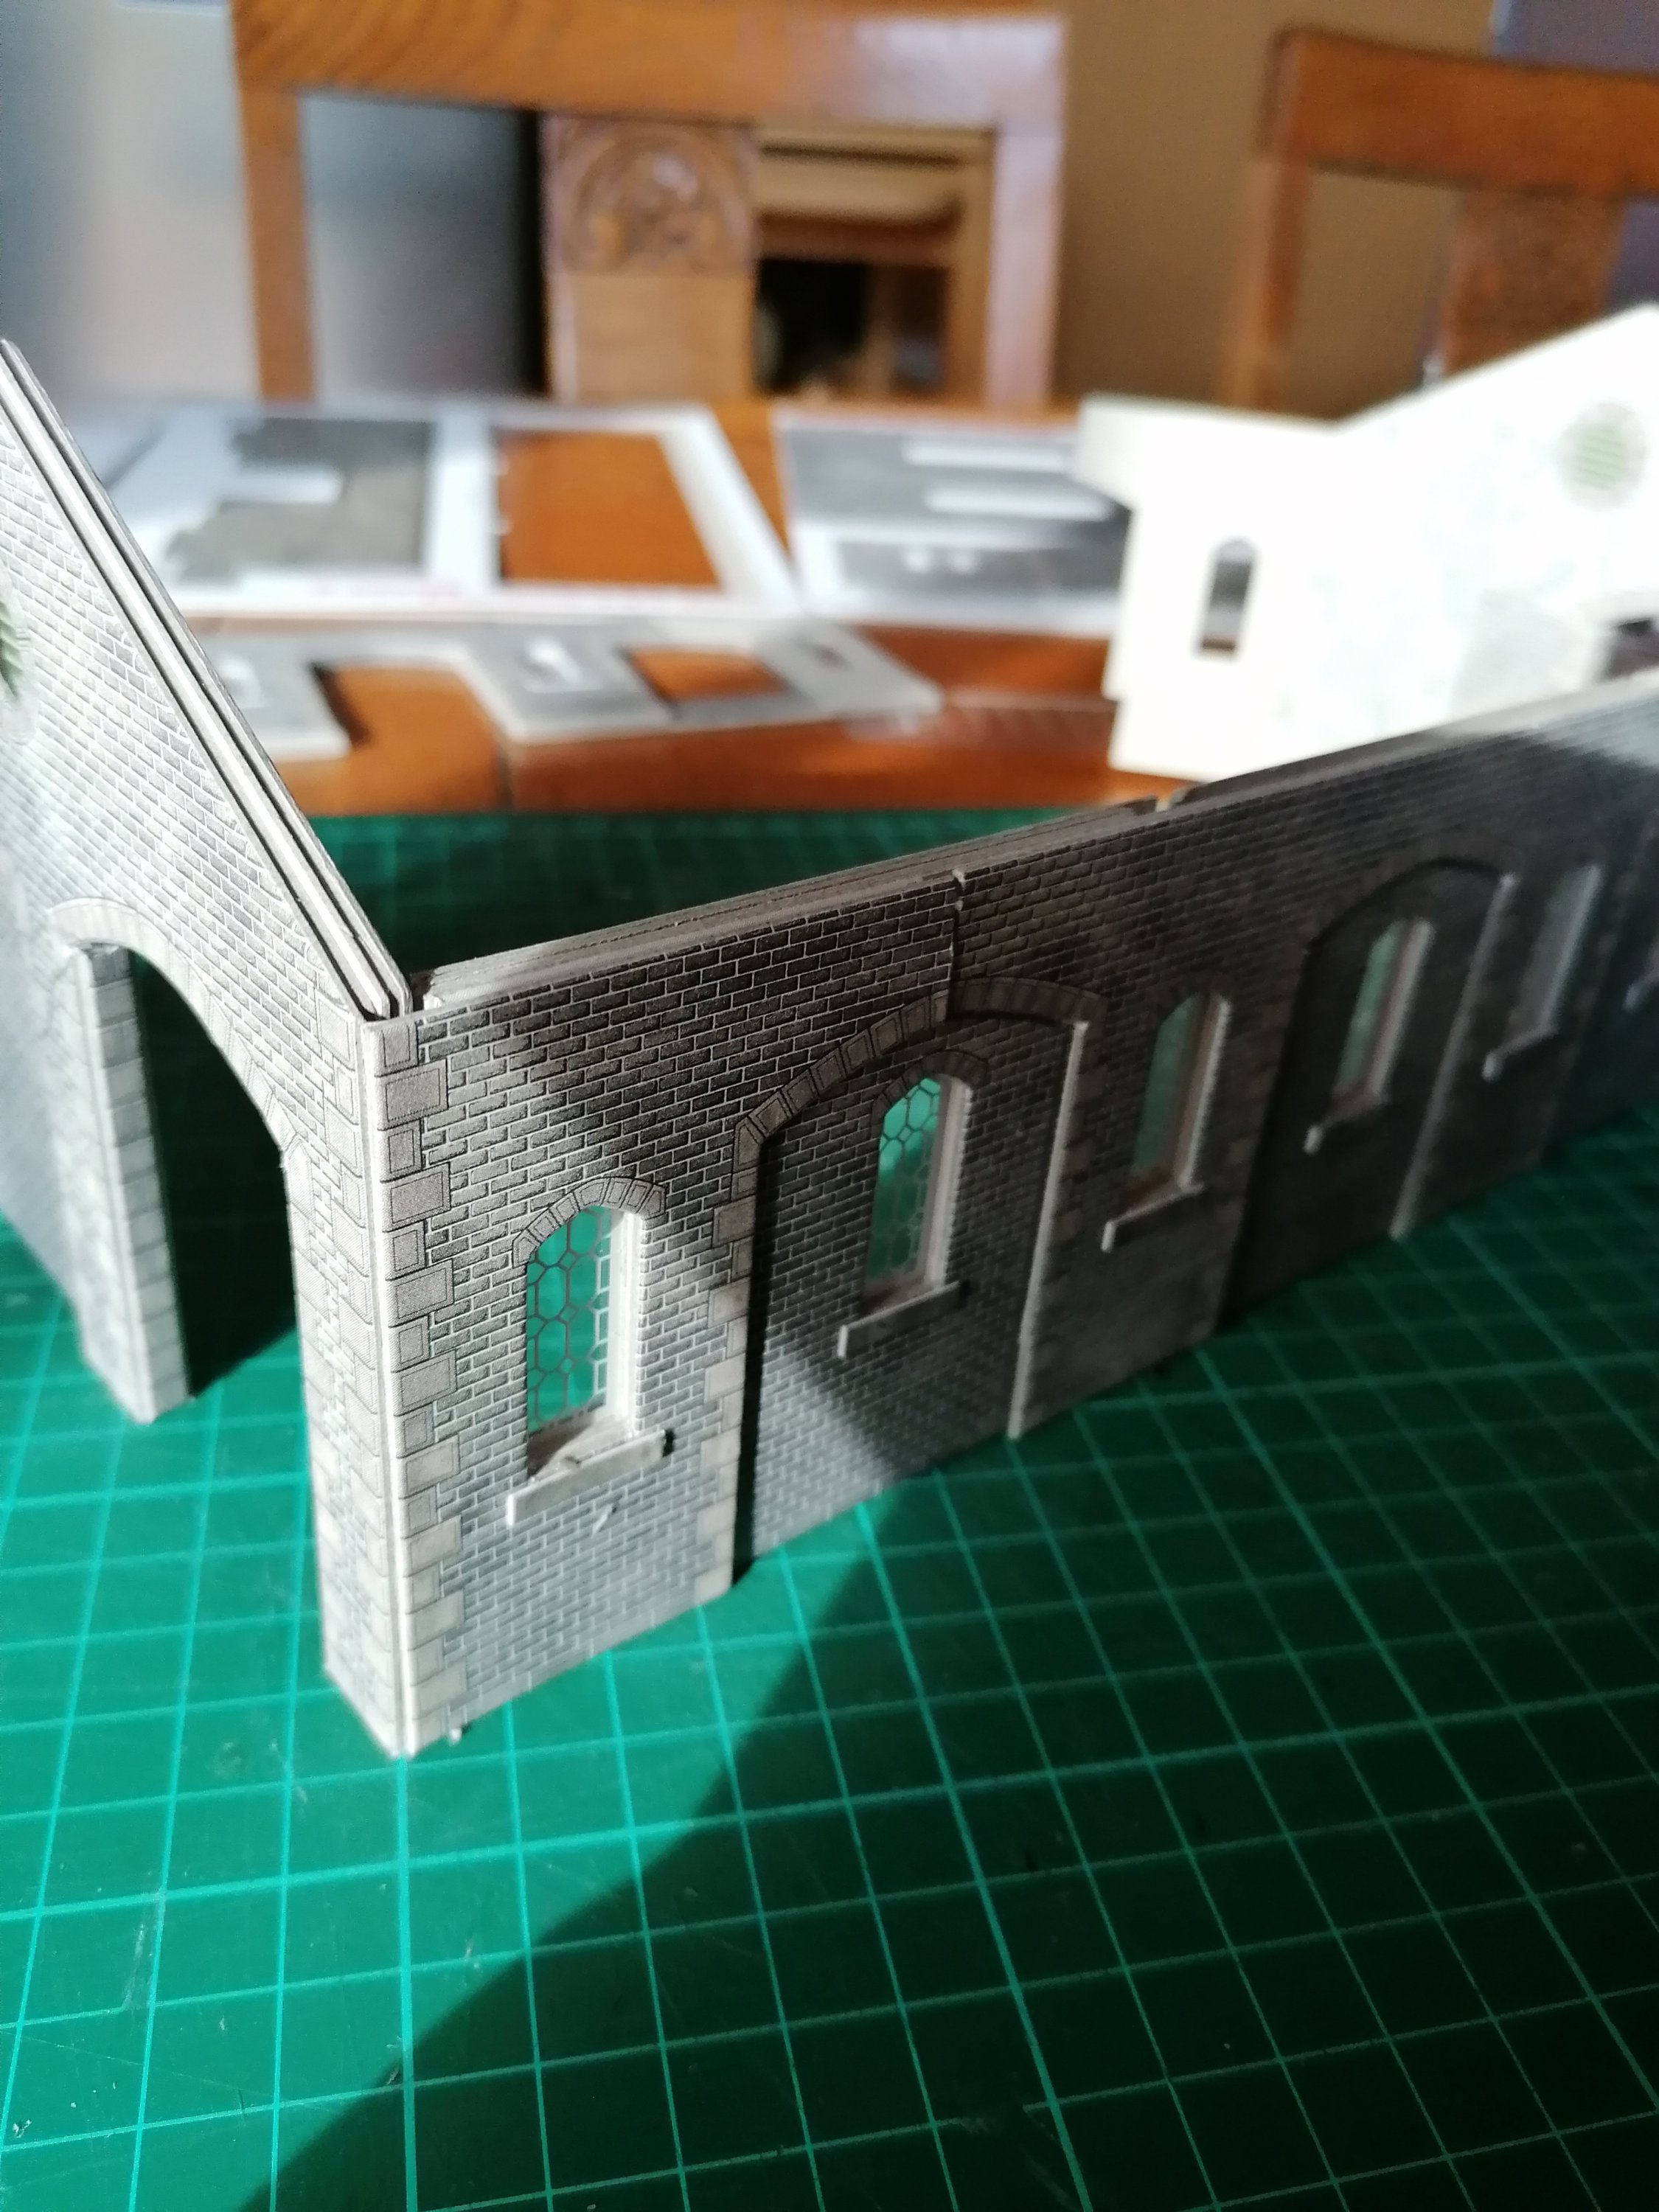
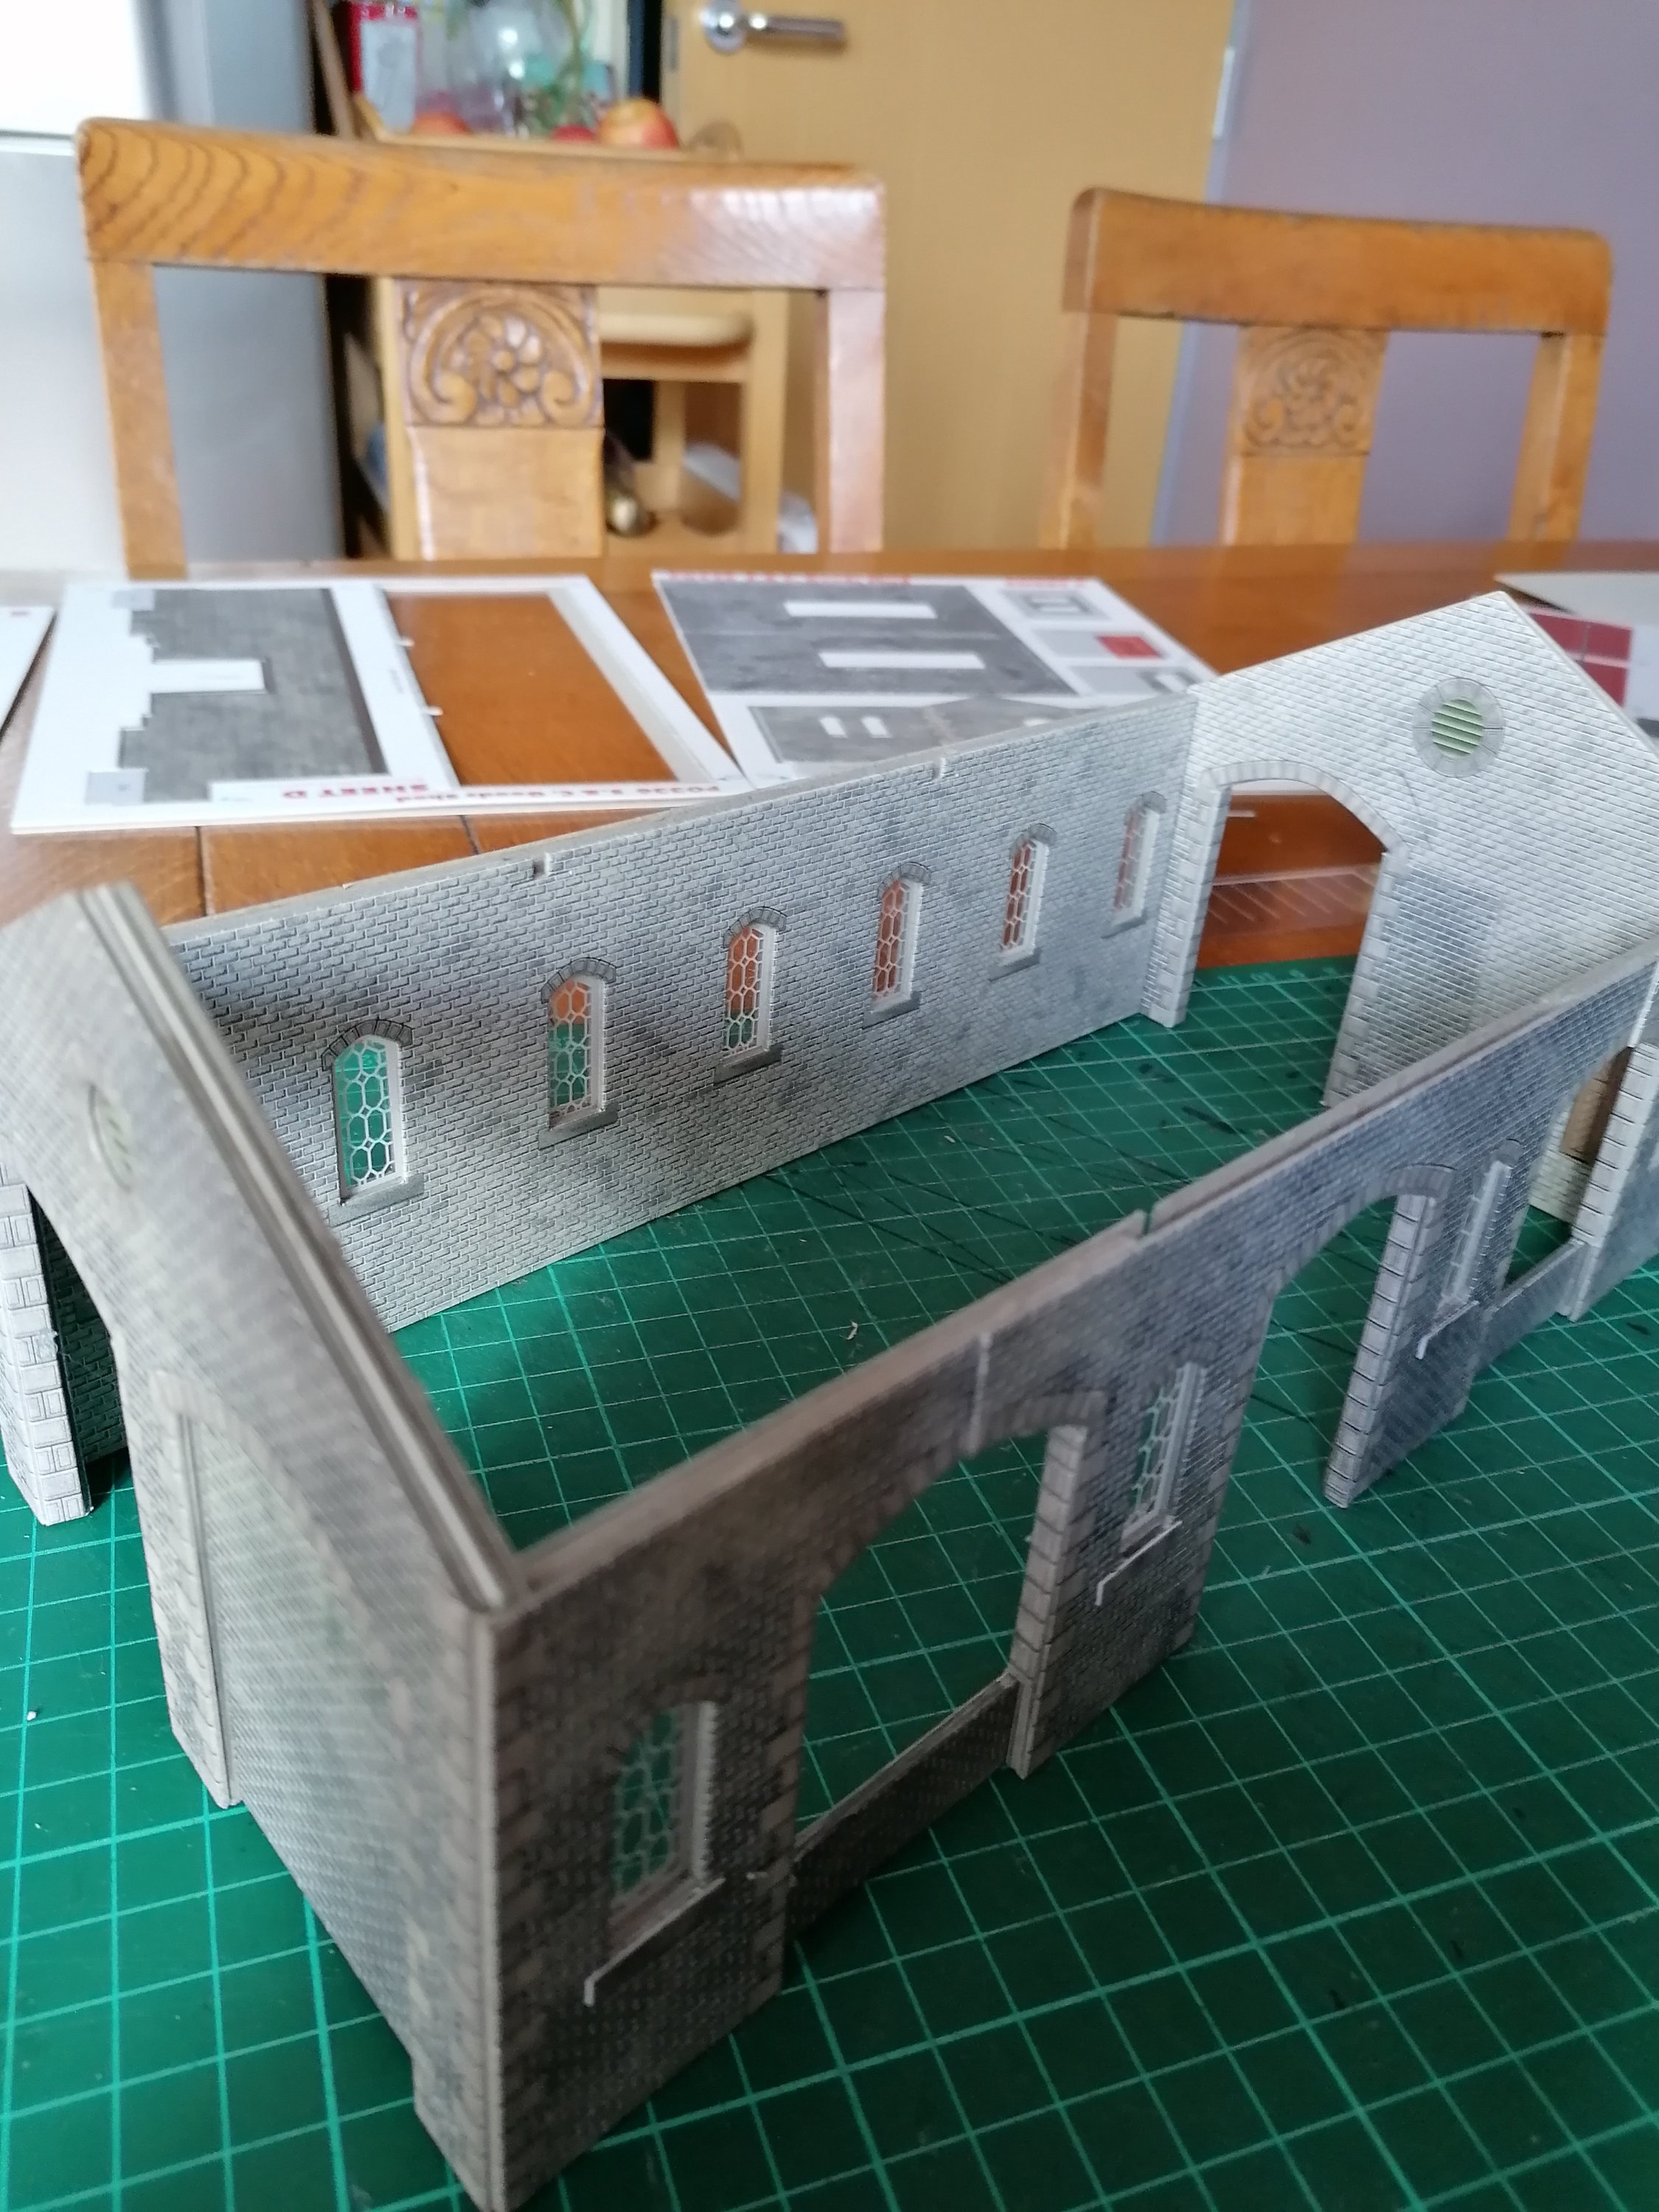
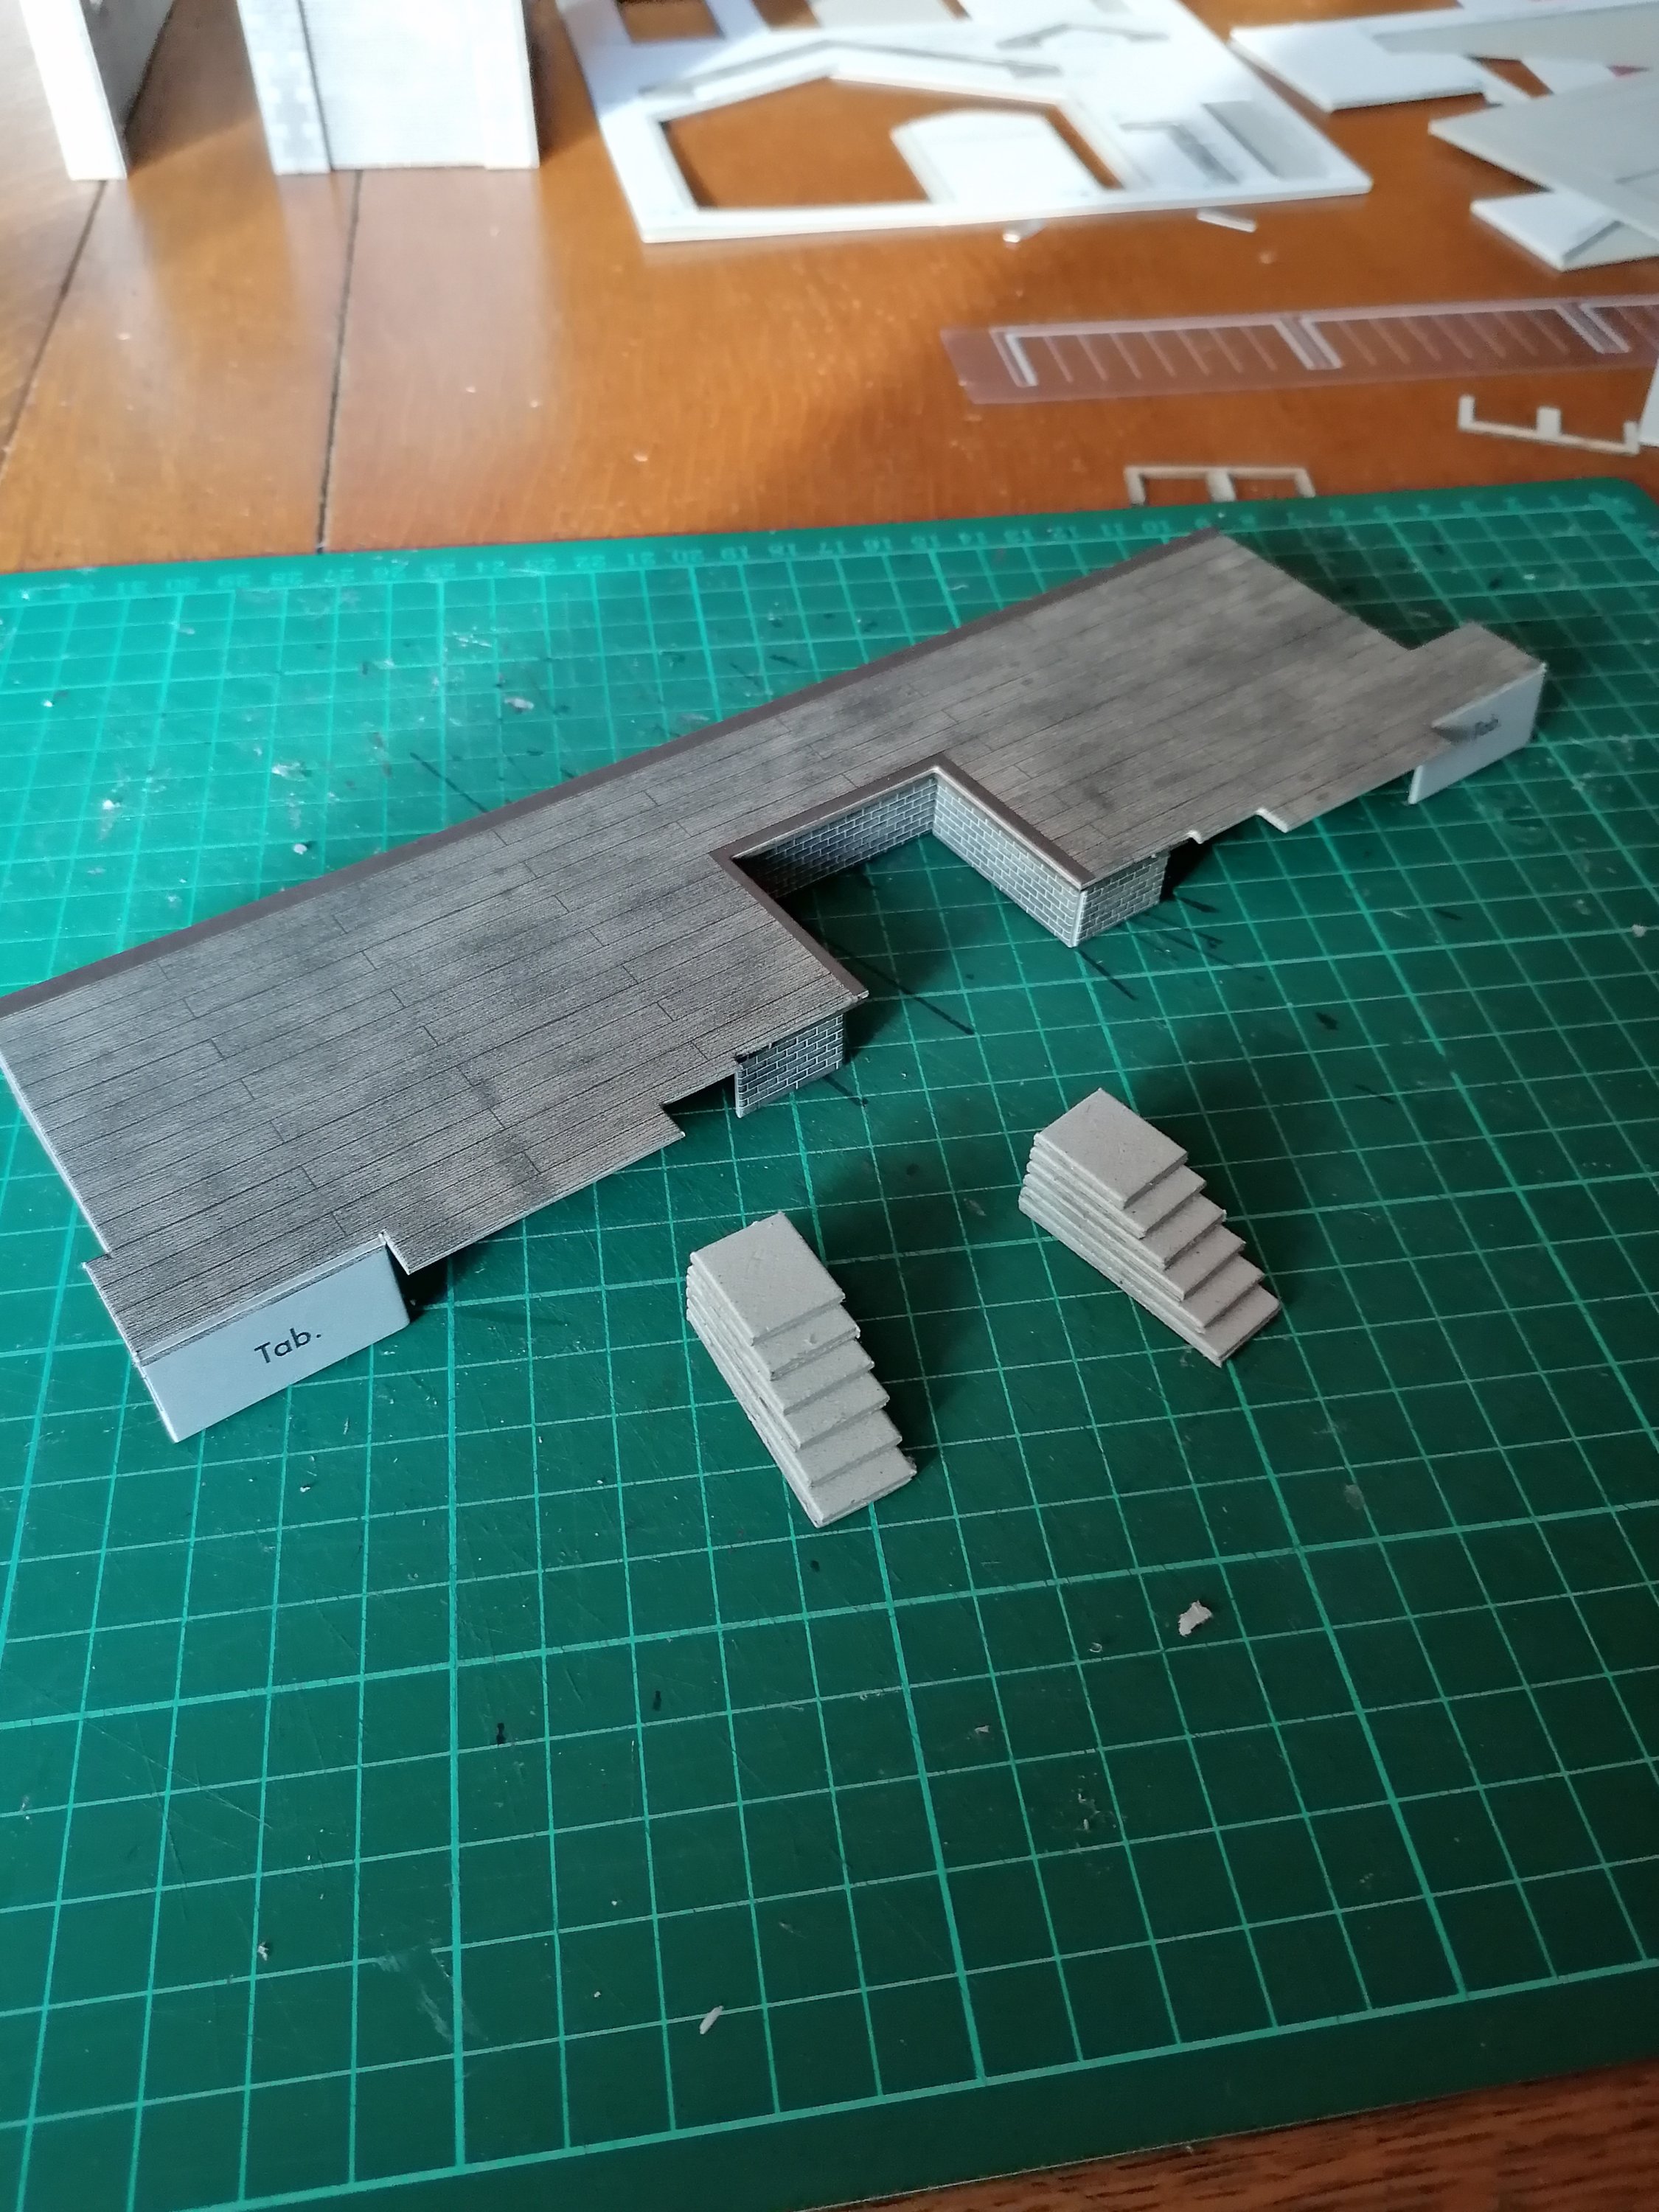
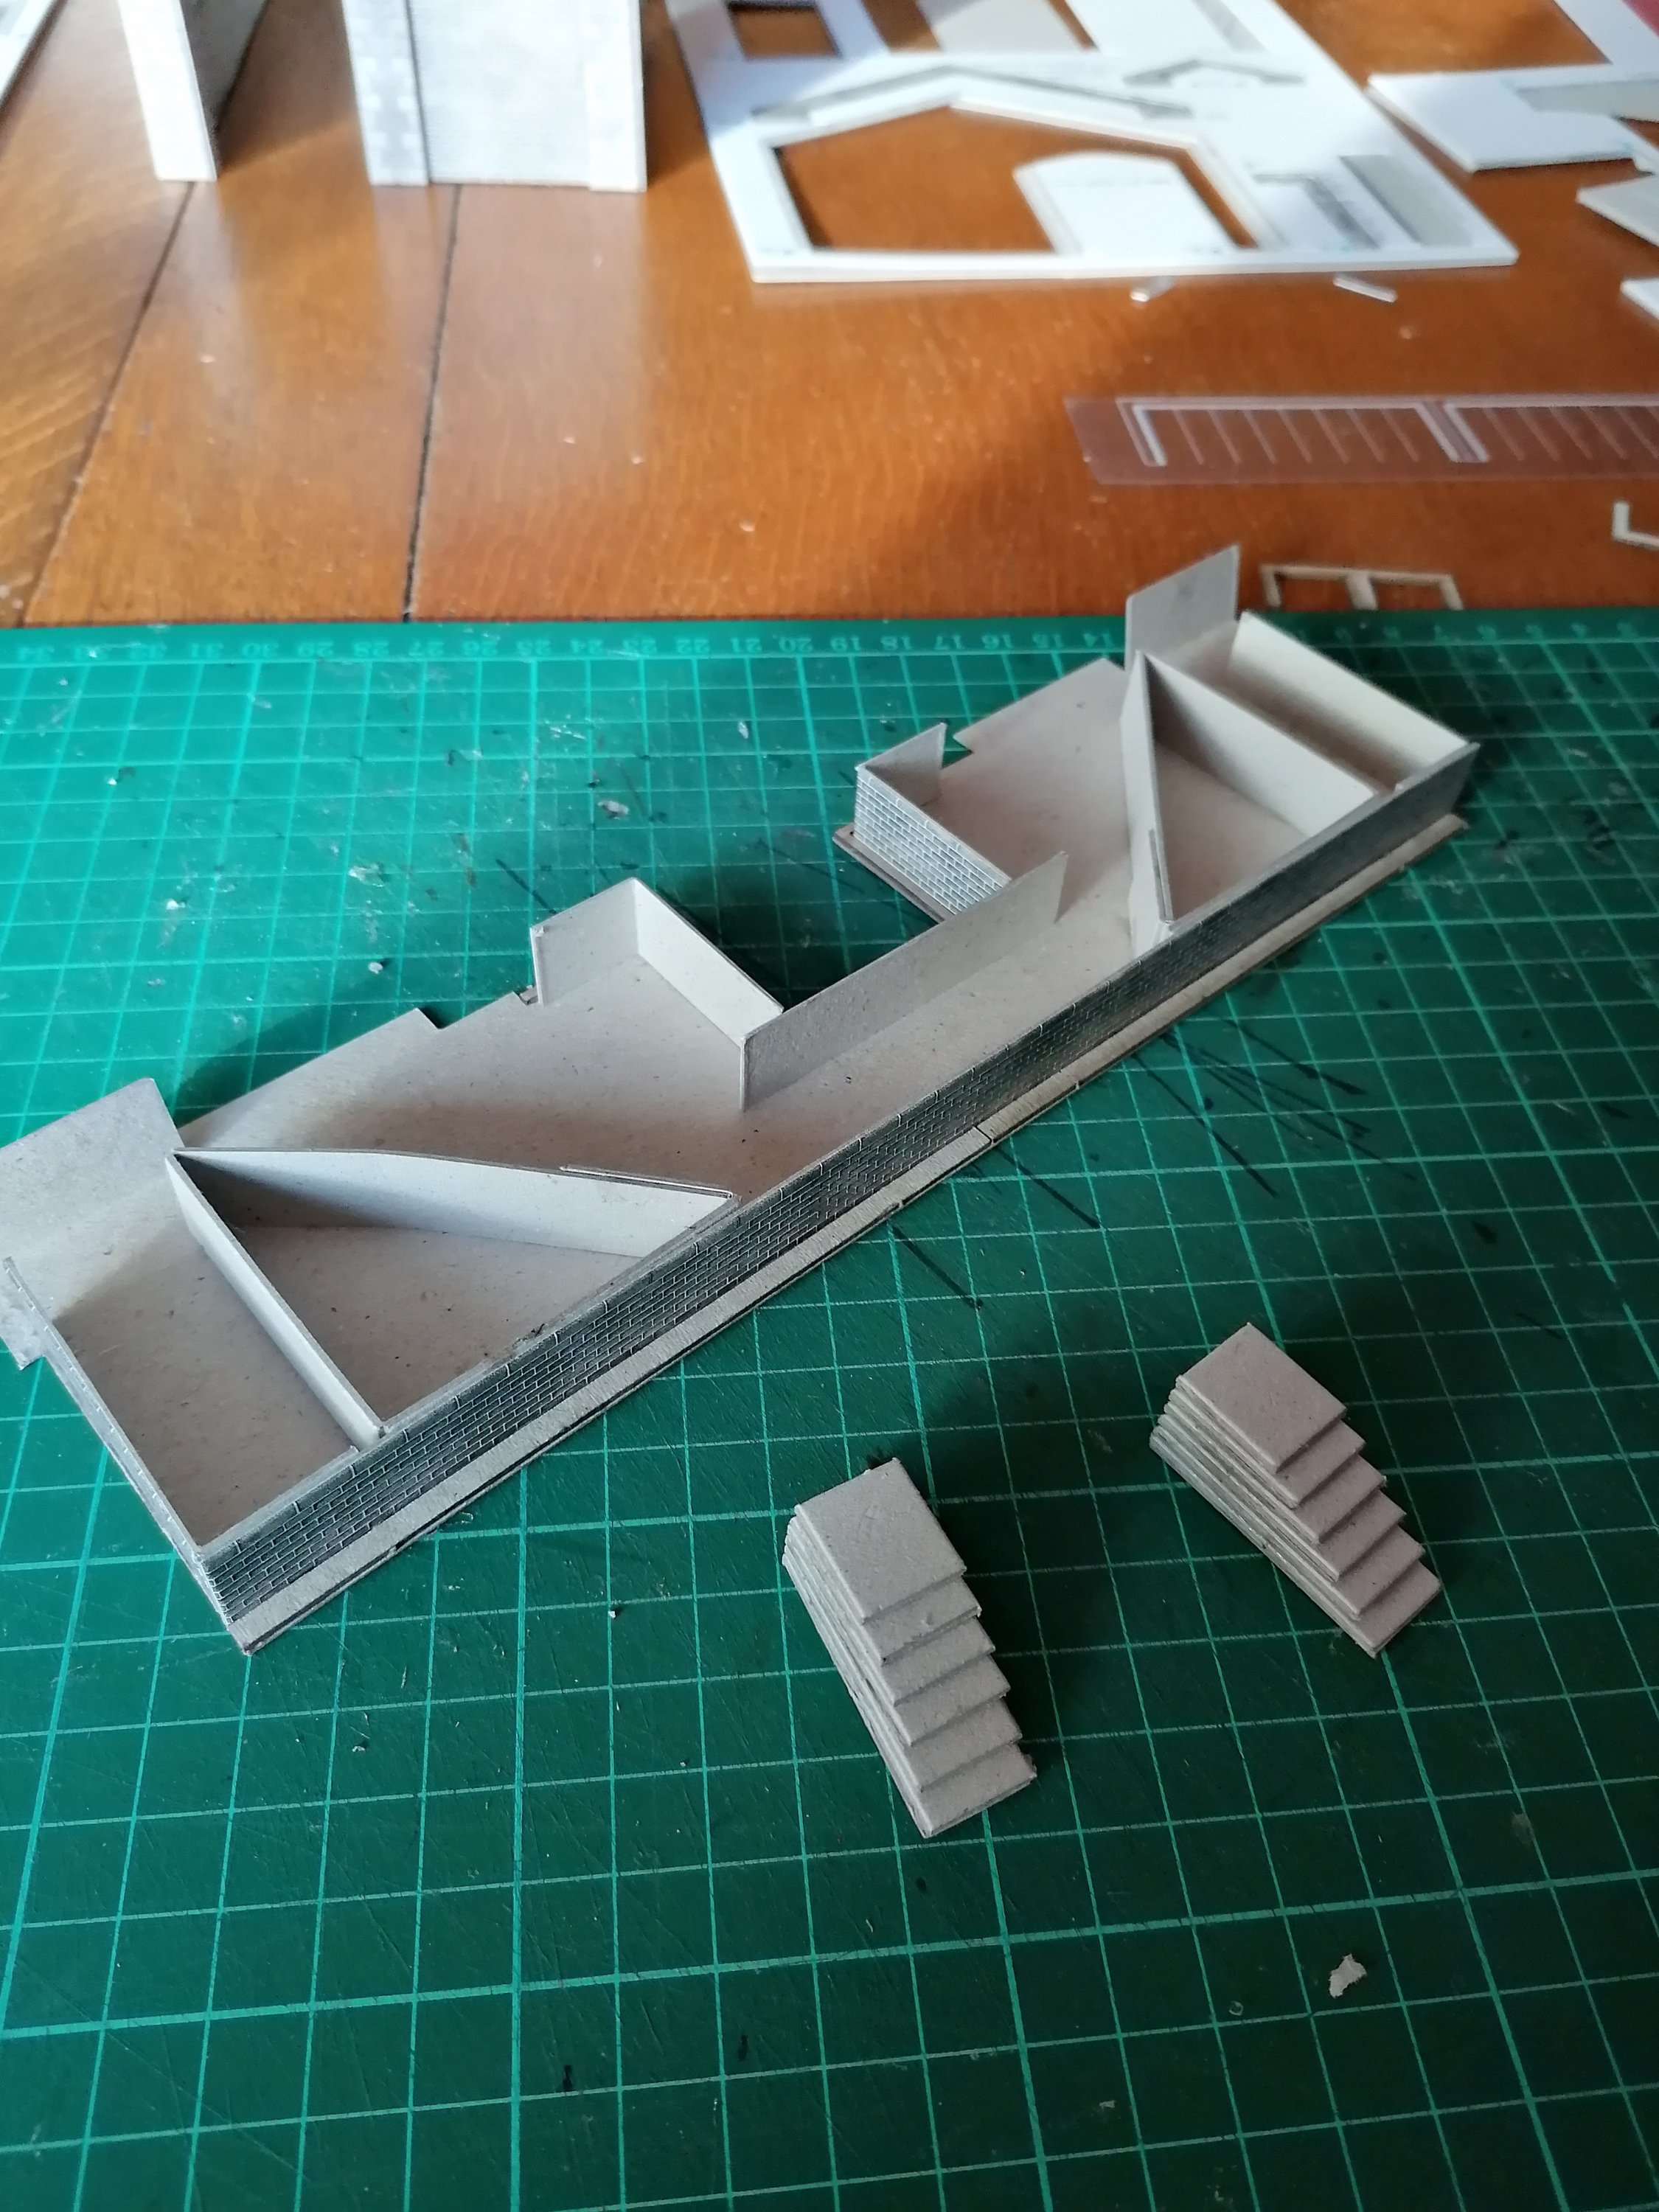
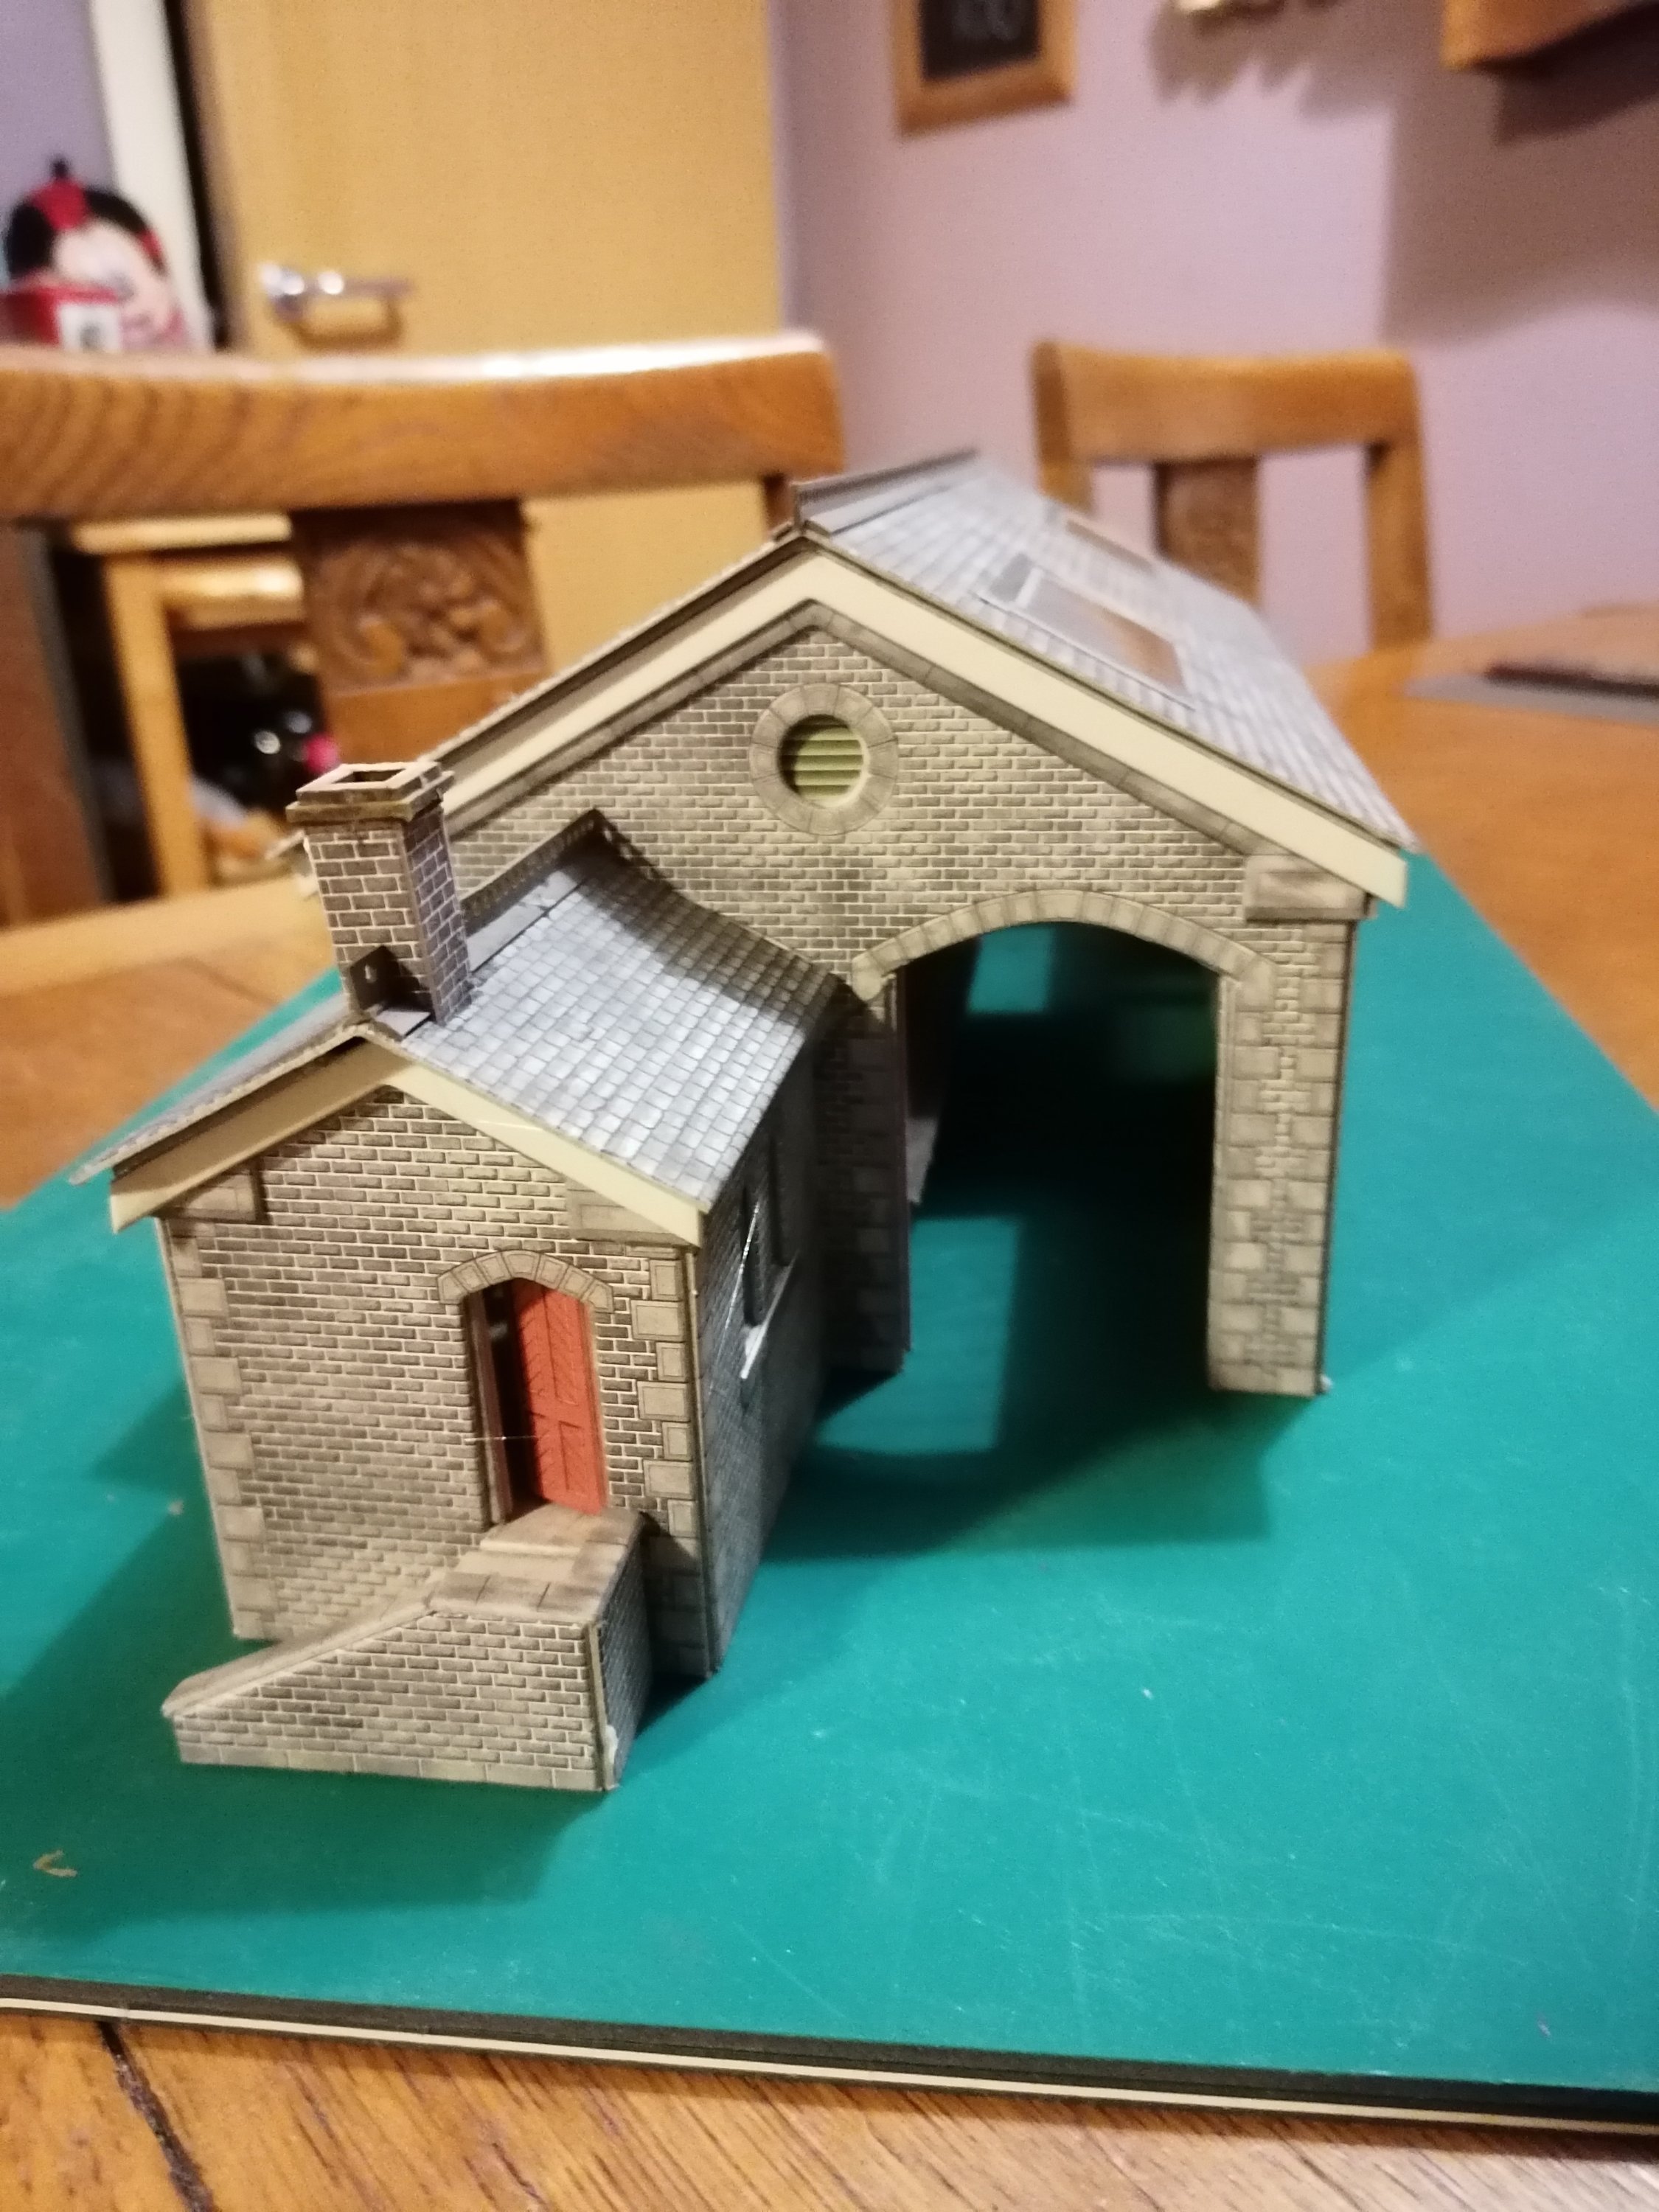
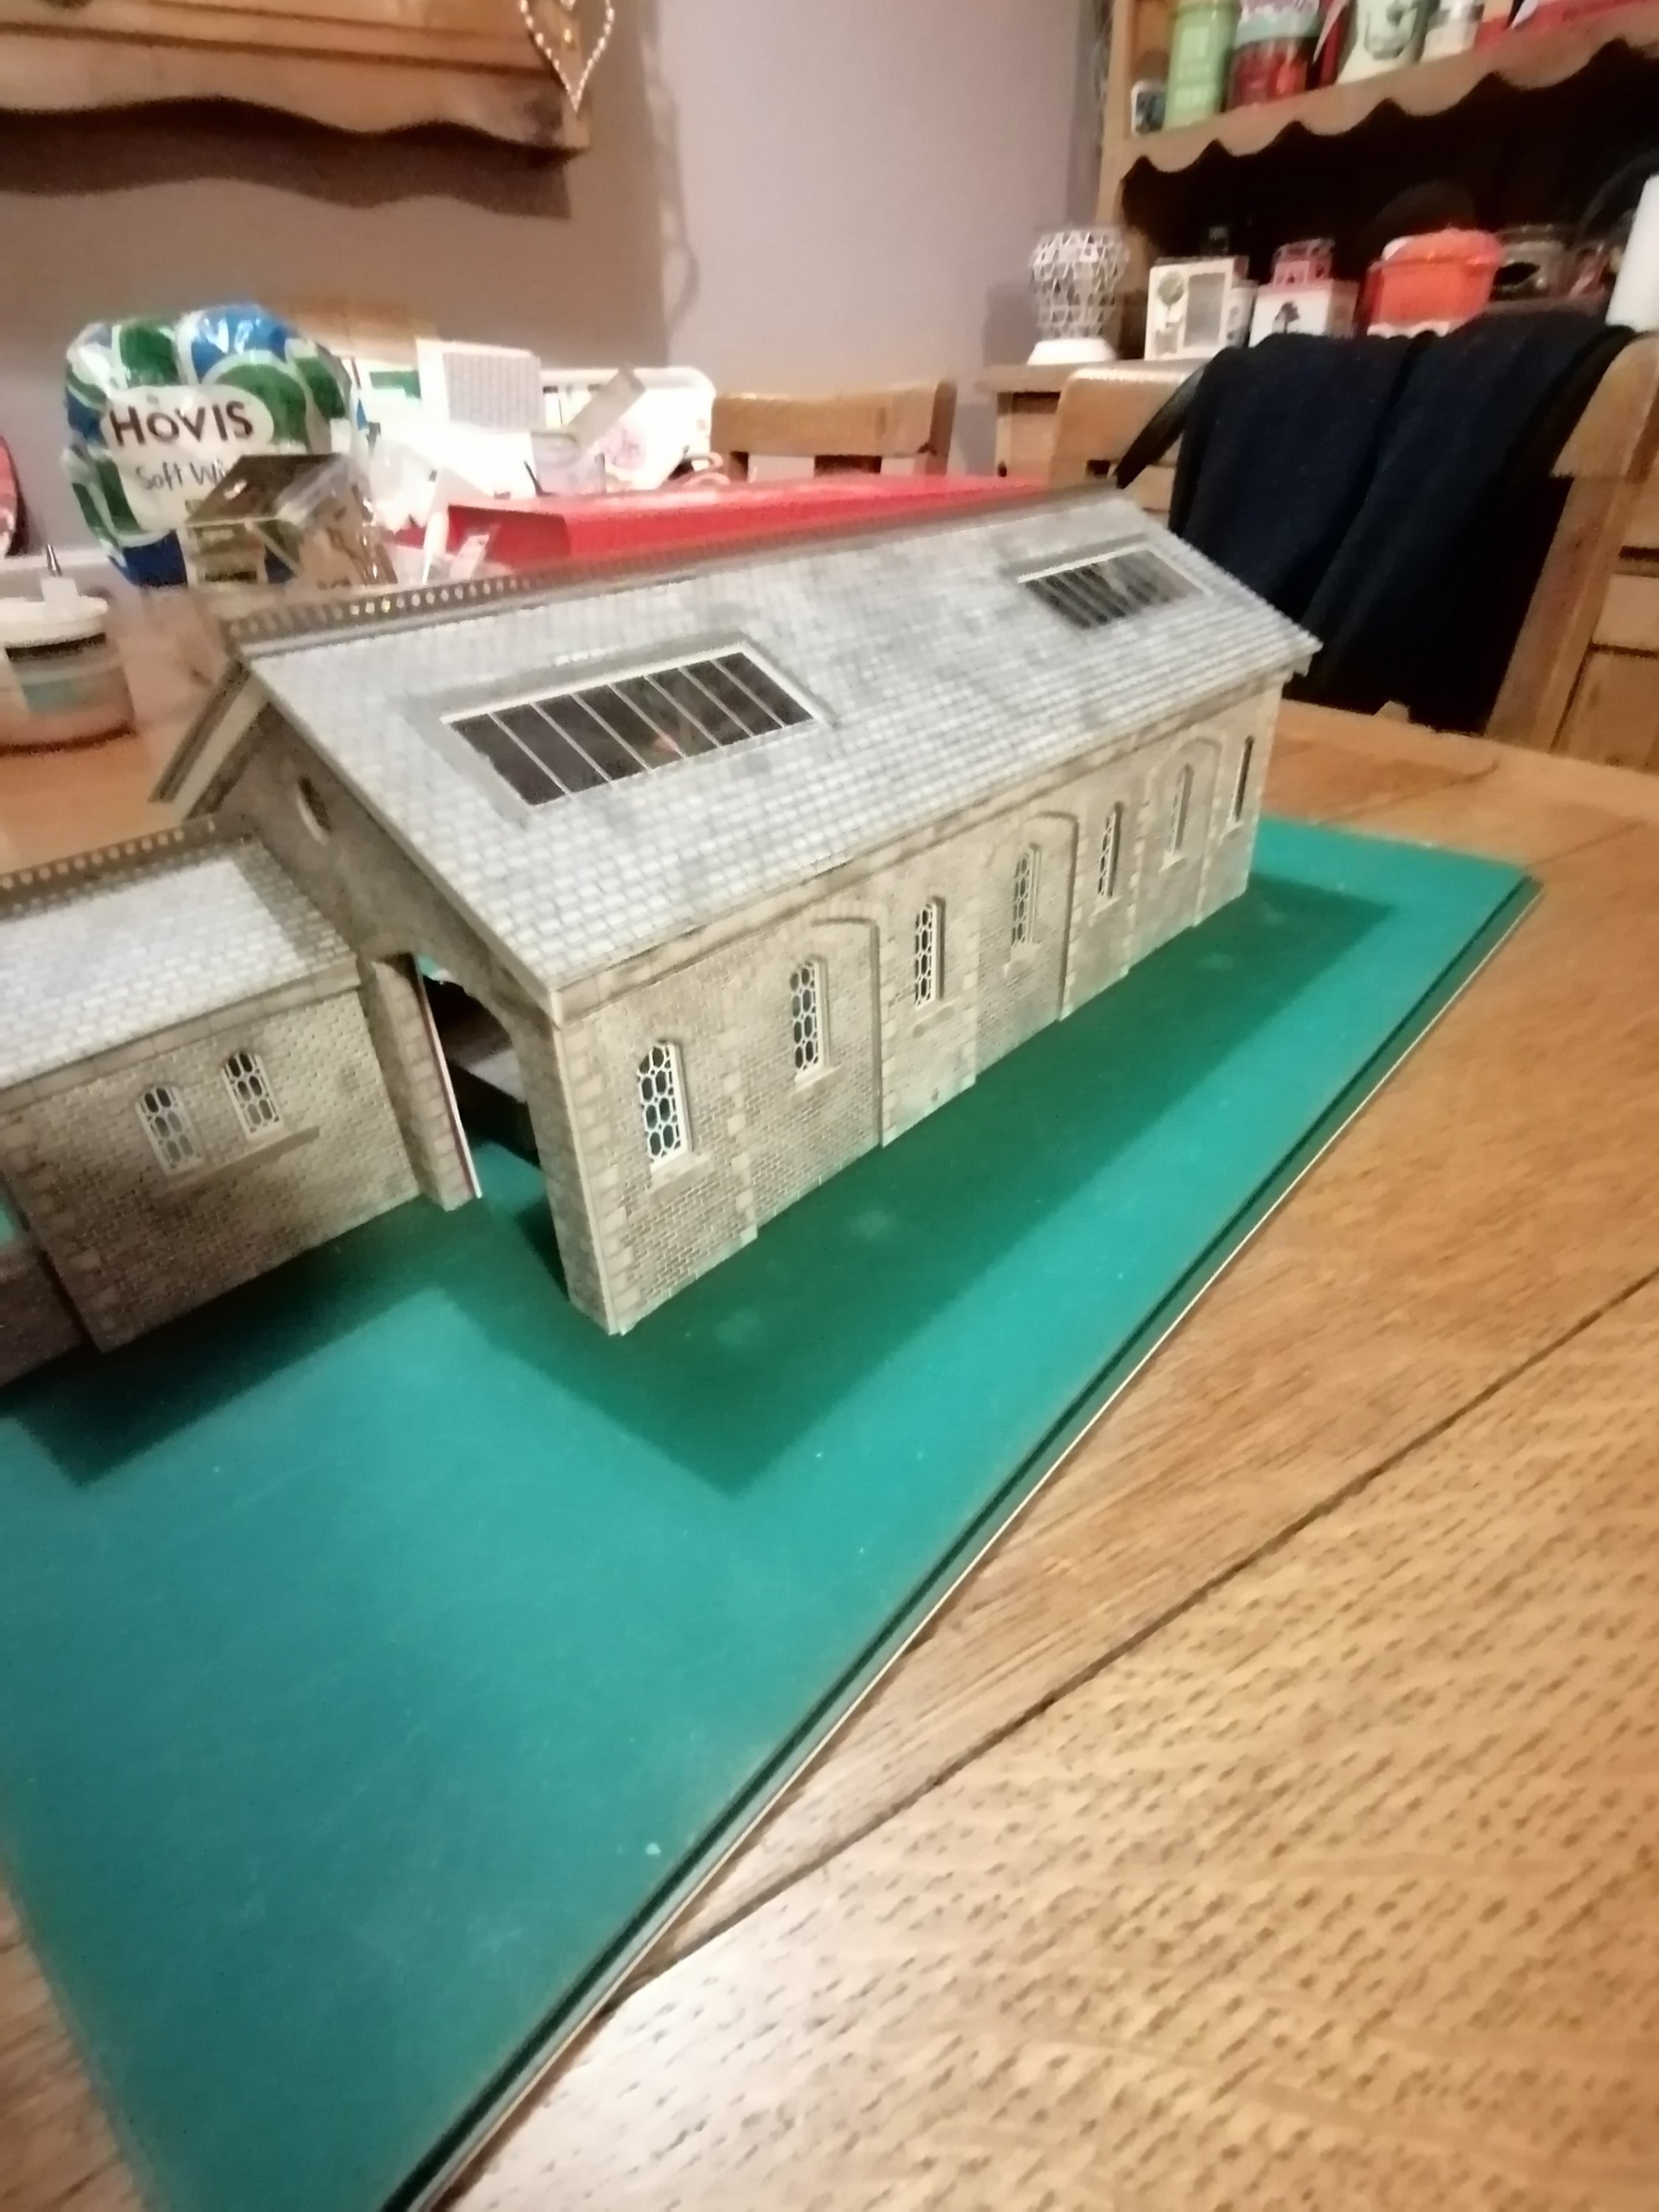
This blog concentrates on P0336 which us a goods shed based on the Settle to Carlisle railway (as will be the station). This is a very detailed model and is reasonably easy to construct. As you can see below a Sharpe knife, ruler, charcoal pencils, weathering powder and glue. In this case UHU glue works fine but make sure you use Metcalfes own glue dispensers as very small amounts of glue are needed on some very small pieces.
First things first, open the box and do two things.
1. Read the instructions, these are complicated and detailed models, ten minutes making sure you know what your doing could save a lot of time and frustration later.
2. Check all the parts are there. Some of these kits have a lot of parts so best to find out now if you have some missing (not that you will as these kits are amongst the best available).
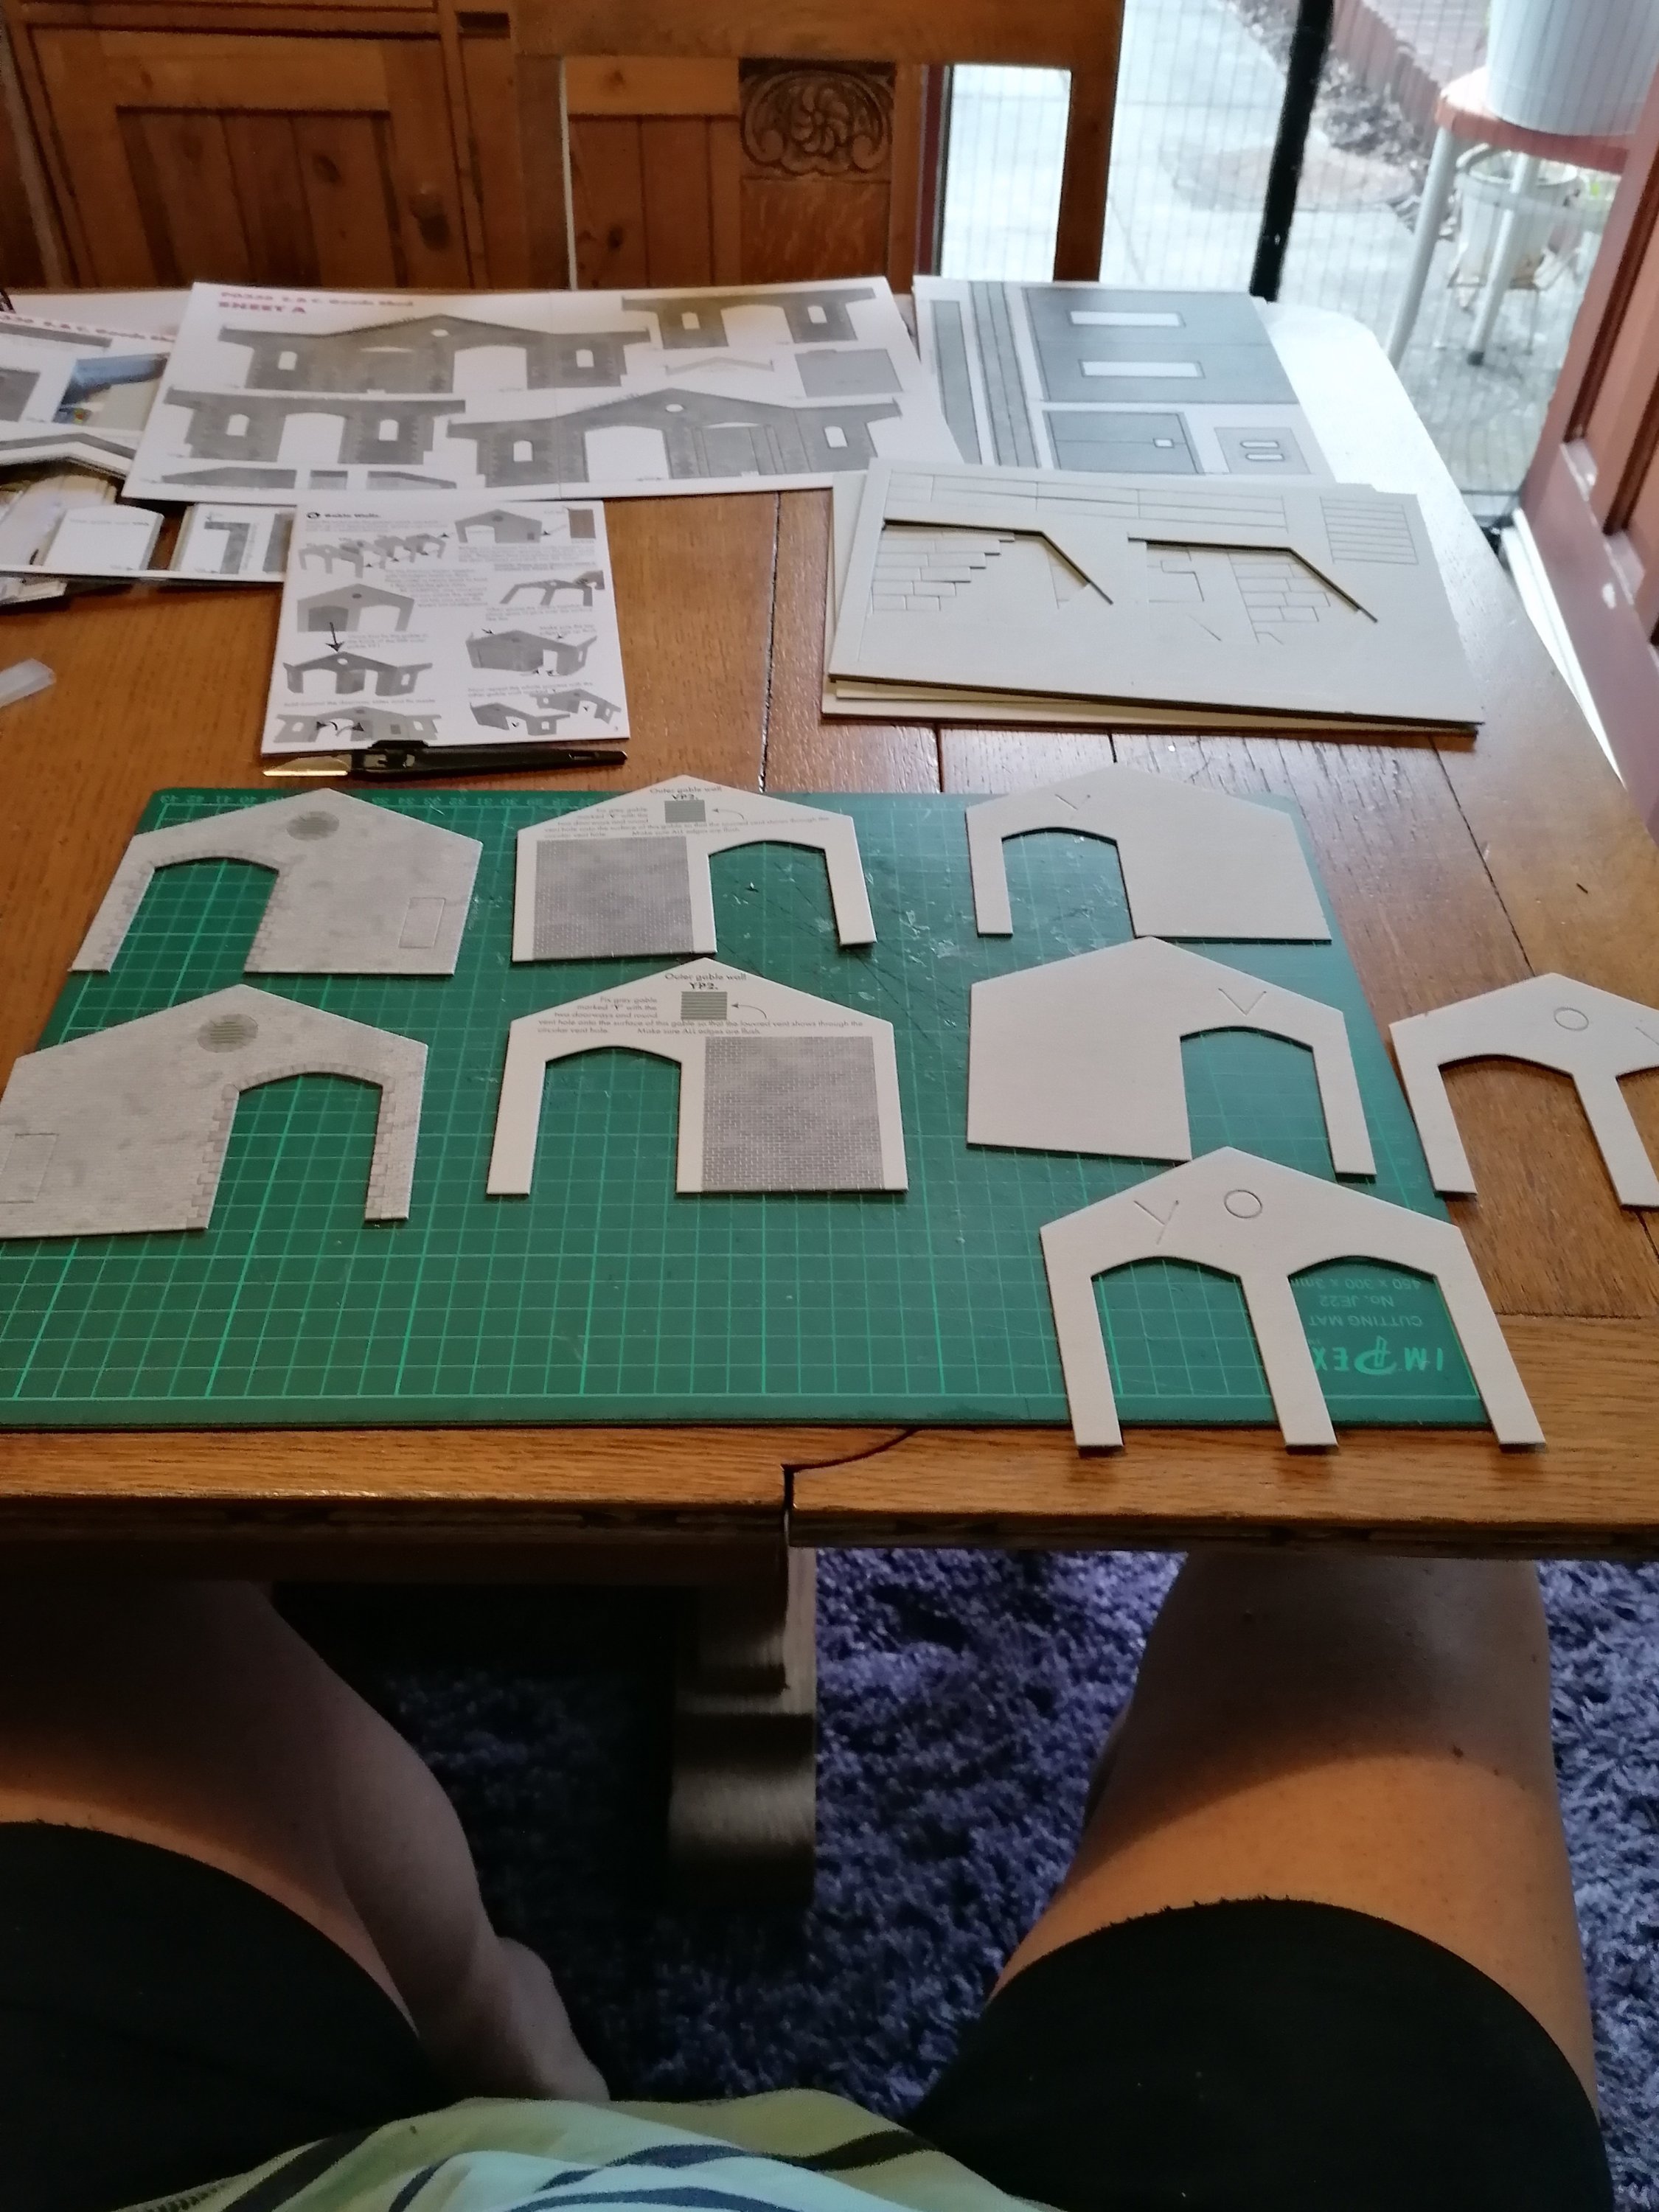
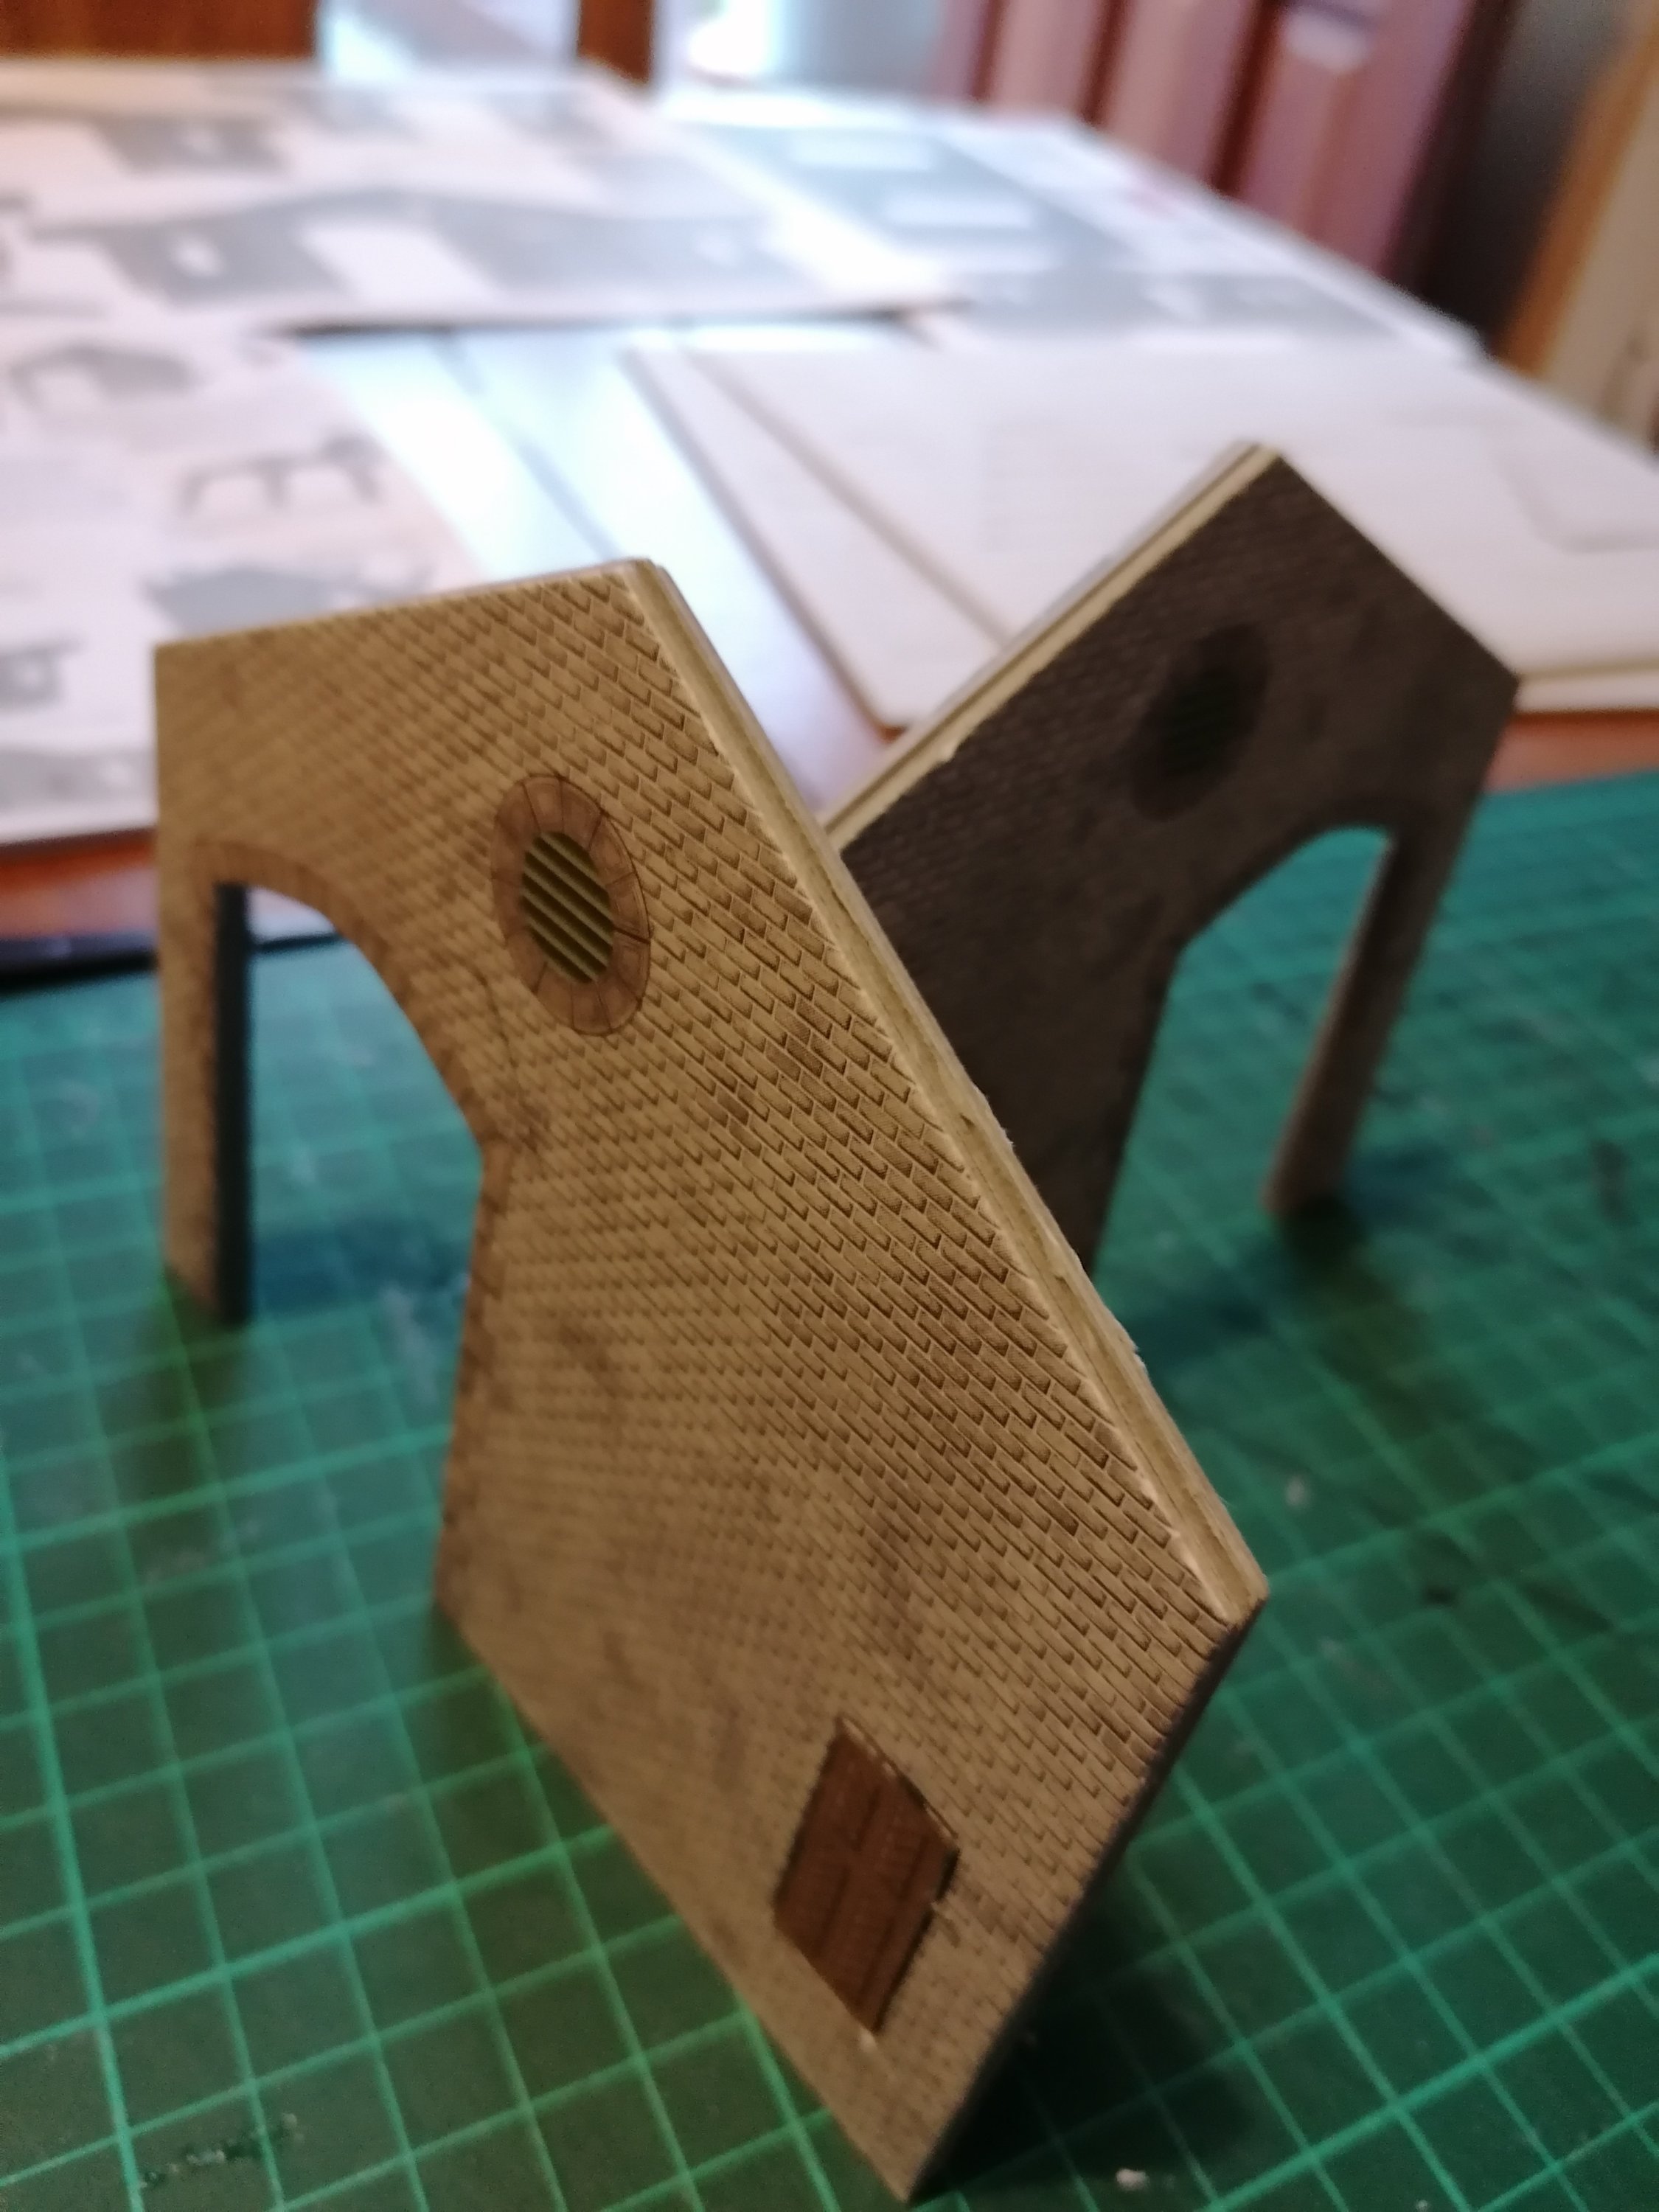
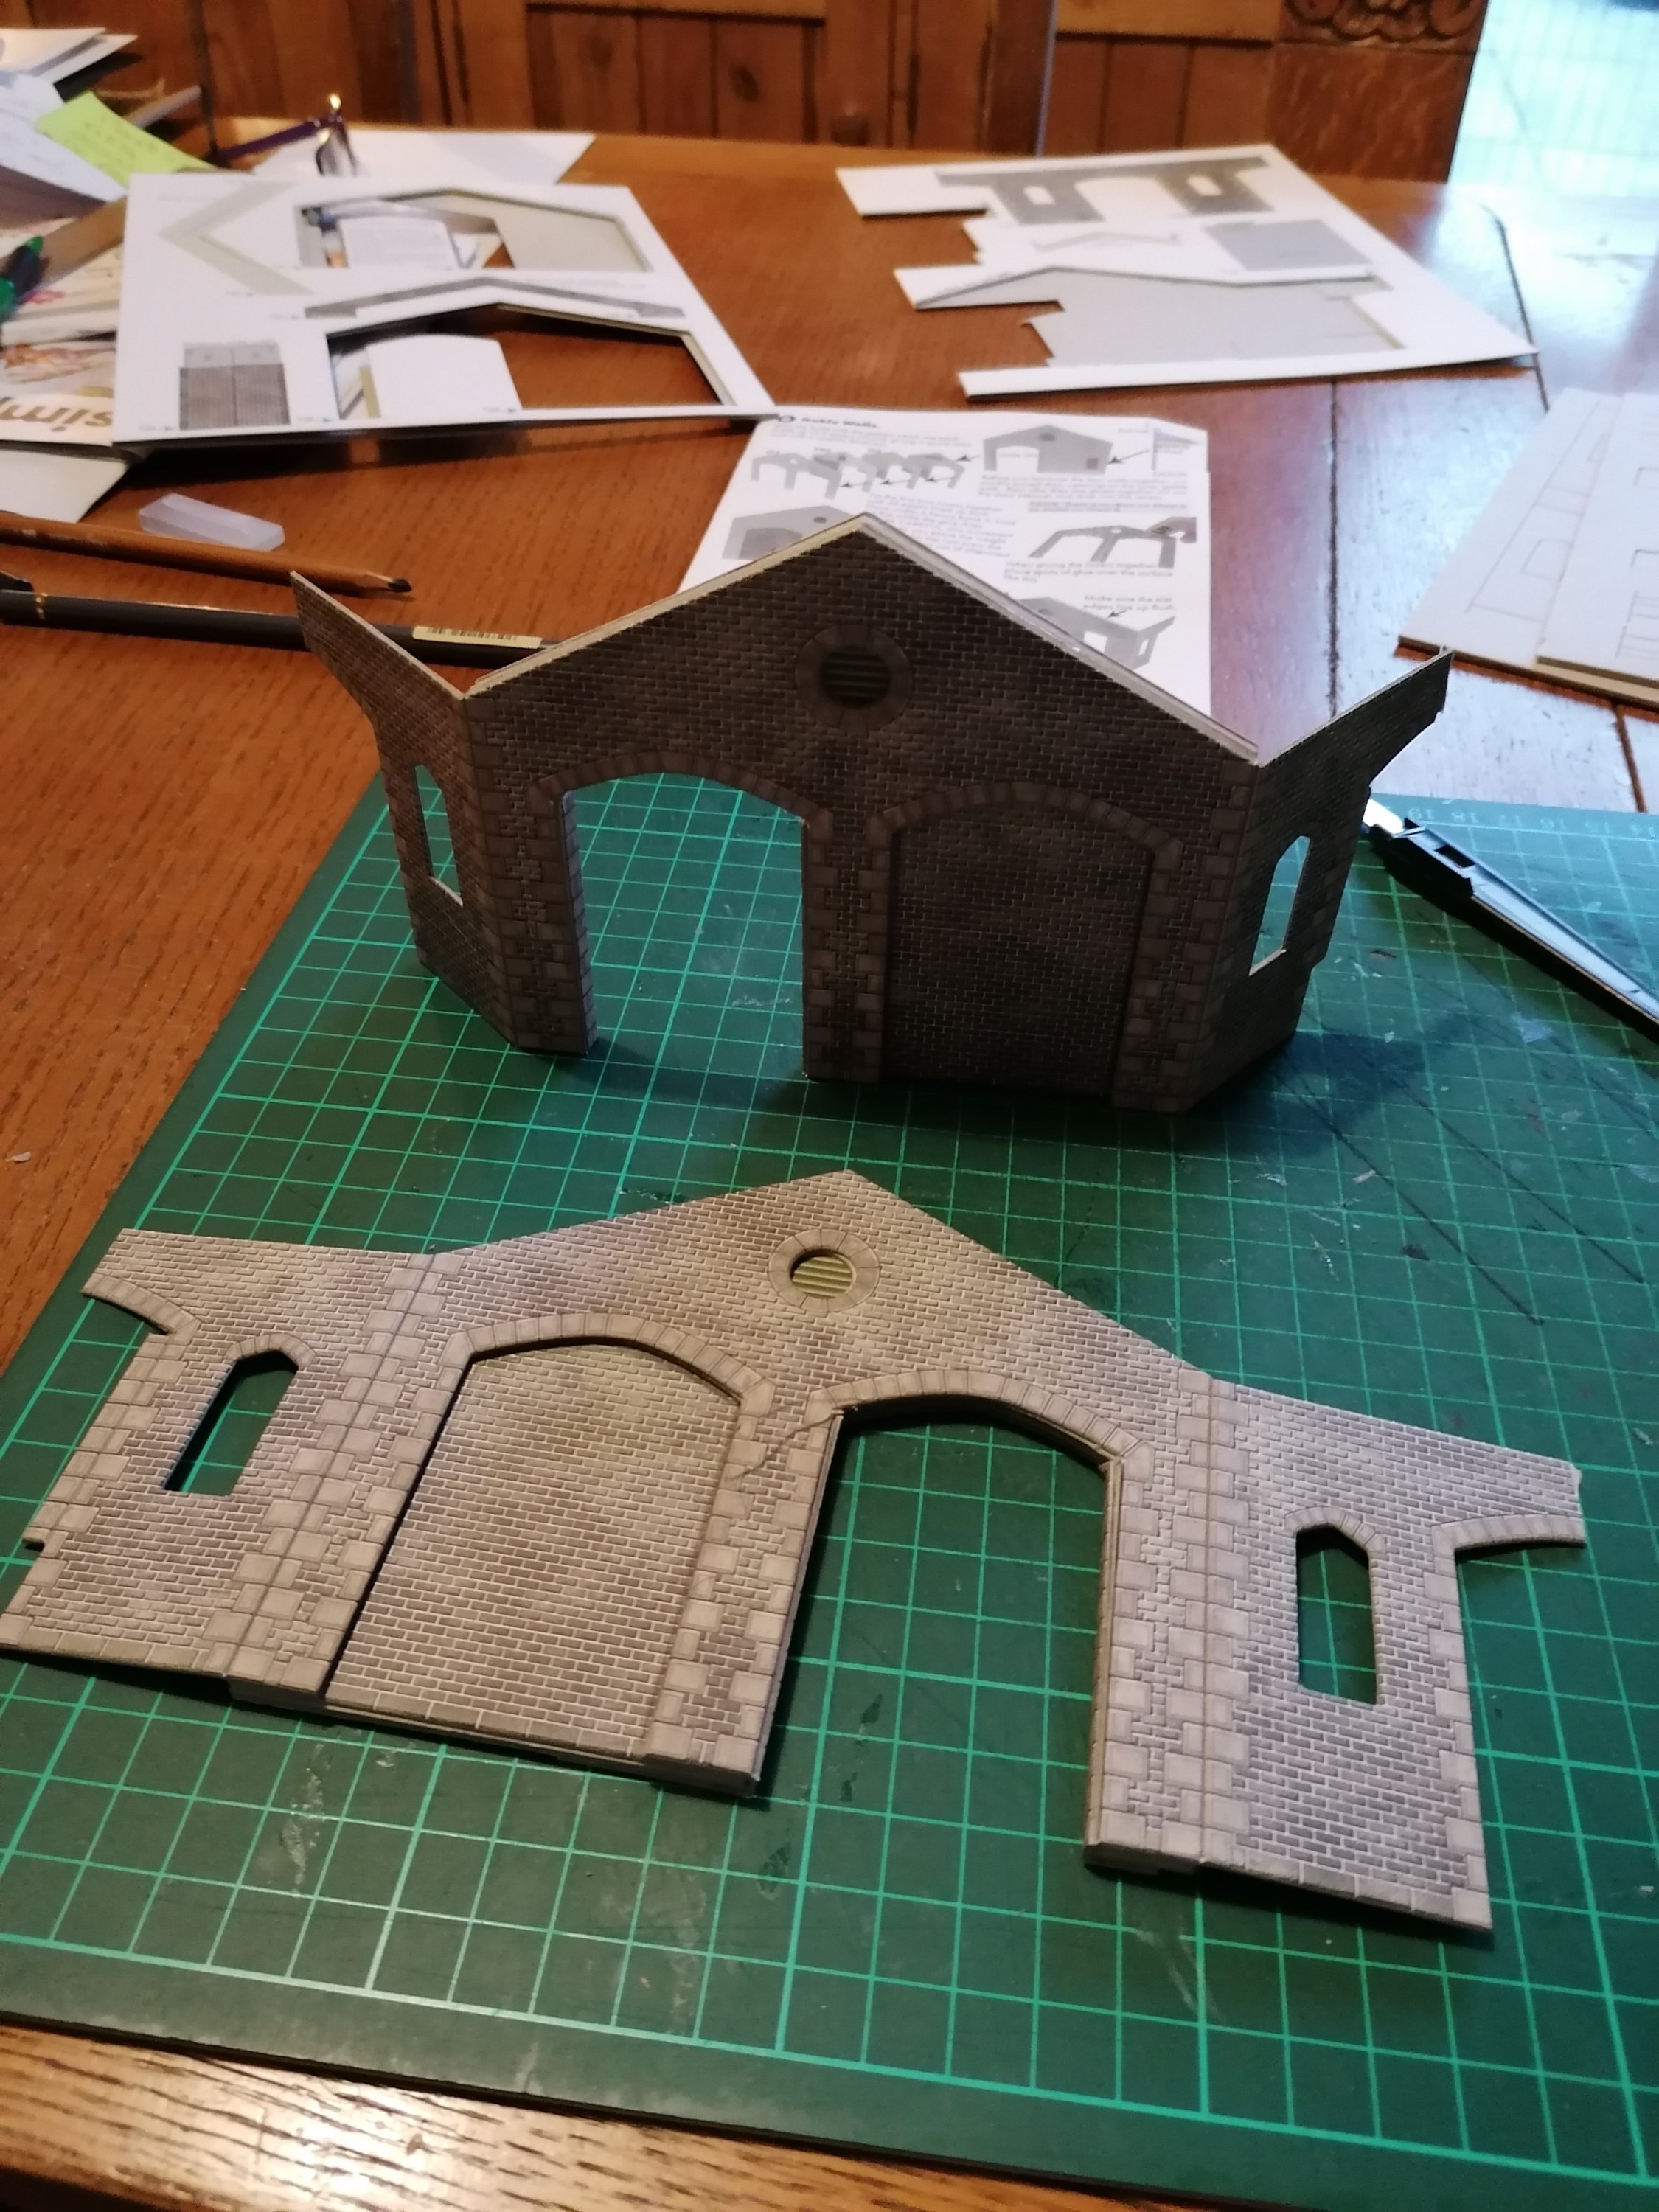
So let’s get building. I’ve said before a picture paints a thousand words so rather than tell I thought I’d show you how the kit evolves. The key really is to take your time.
So as you can see this is a stunning model and you’ll see the finished article when we look at SHIREBROOKE STATION.
In the next edition it’s time to bring SHIREBROOKE YARD nearer to the finished article.